Spray Foam for the Rest of Us
When the insulating task is small, a do-it-yourself spray-foam kit may be your best option.
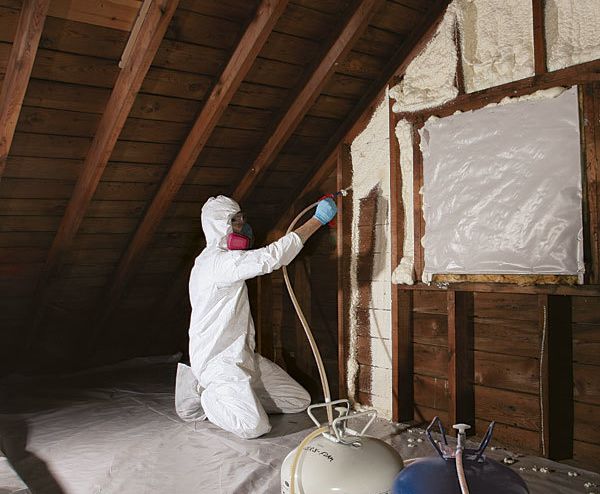
Synopsis: In most cases, installing spray-foam insulation is a big job by a professional insulator. With the advent of do-it-yourself spray-foam kits, however, smaller tasks are now manageable for nonpros. Associate editor Patrick McCombe tested five DIY spray-foam kits to examine how they work. McCombe learned that the kits are relatively easy to use and that they are good for insulating small, oddly shaped spaces. He also says that coveralls, goggles, and a respirator are necessities when working with a DIY spray-foam kit. This article includes a sidebar in the PDF below about possible difficulties with the disposal of used kits.
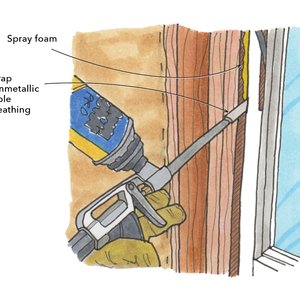
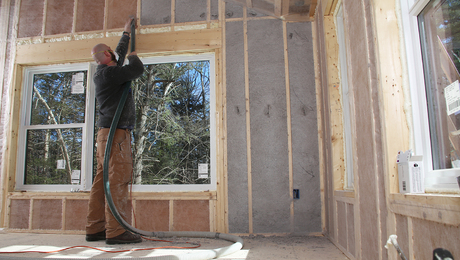
Spray foam is a nearly perfect insulation. It has a high R-value, it stops air leaks, and it fills odd-shaped and wire- or pipe-filled cavities effortlessly and without gaps. Perhaps the only downside to spray foam is convenience. Ordinarily, it requires a crew and a truck full of special gear and chemicals, making it prohibitively expensive for small insulating and air-sealing jobs.
Realizing this, several companies now sell smaller, two-part insulating kits designed for contractors and DIYers. I’ve air sealed acres with cans of spray foam, but until I tested the two-part kits for this article, I had never used one. These kits are targeted to folks who aren’t professional insulators. Since manufacturers claim they’re easy to use, I volunteered to try kits from five manufacturers and report my findings.
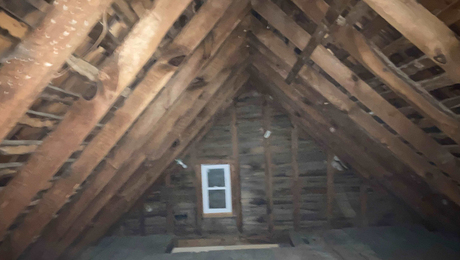
For testing, I chose an attic space with gable walls and multiple valleys. Admittedly, nobody would insulate an entire attic with these kits because it would be cheaper and easier to hire a pro, but this attic space, with its odd-shaped rafter bays and board sheathing, was an ideal test lab. It even was large enough to let me test all five kits on the same job.
Getting ready for foam
Each of these kits includes two tanks of chemicals (parts A and B), 15 ft. of hose, several replaceable nozzles, and a gun that mixes the chemicals and sprays the foam. They’re all closed-cell-type foams. Kits are sold in sizes from about 12 board feet (bd. ft.) to 620 bd. ft.; 1 bd. ft. covers 1 sq. ft. at a thickness of 1 in. The manufacturers say you should assume about 25% waste.
It’s recommended that the chemicals be between 60ºF and 80ºF; the higher end of the spectrum will produce the best yield. If the tanks are colder than 60ºF, they should be warmed over several days in a hot room or immersed in hot tap water for an hour or more. Some manufacturers caution against putting them in direct sunlight or near space heaters, although I’ve talked to weatherization crews that routinely warm foam canisters both ways without problems.
The surface temperature of the materials you’re insulating also should be above 60ºF. (Cooler surfaces prevent the foam from expanding and adhering properly.) In cold weather, surface temperatures can be increased with space heaters or by waiting for warmer temperatures later in the day. I found that a non contact infrared thermometer (about $40) was a handy way to check tank and surface temperatures.
Thoroughly mixing the chemicals is also important. At the recommendation of one manufacturer, I mixed the chemicals by rolling the tanks on the floor, which worked fine and was less taxing than trying to shake the 60-lb. tanks.
For more photos and details on DIY spray-foam, click the View PDF button below.
Fine Homebuilding Recommended Products
Fine Homebuilding receives a commission for items purchased through links on this site, including Amazon Associates and other affiliate advertising programs.
Utility Knife
Insulation Knife
Foam Gun
