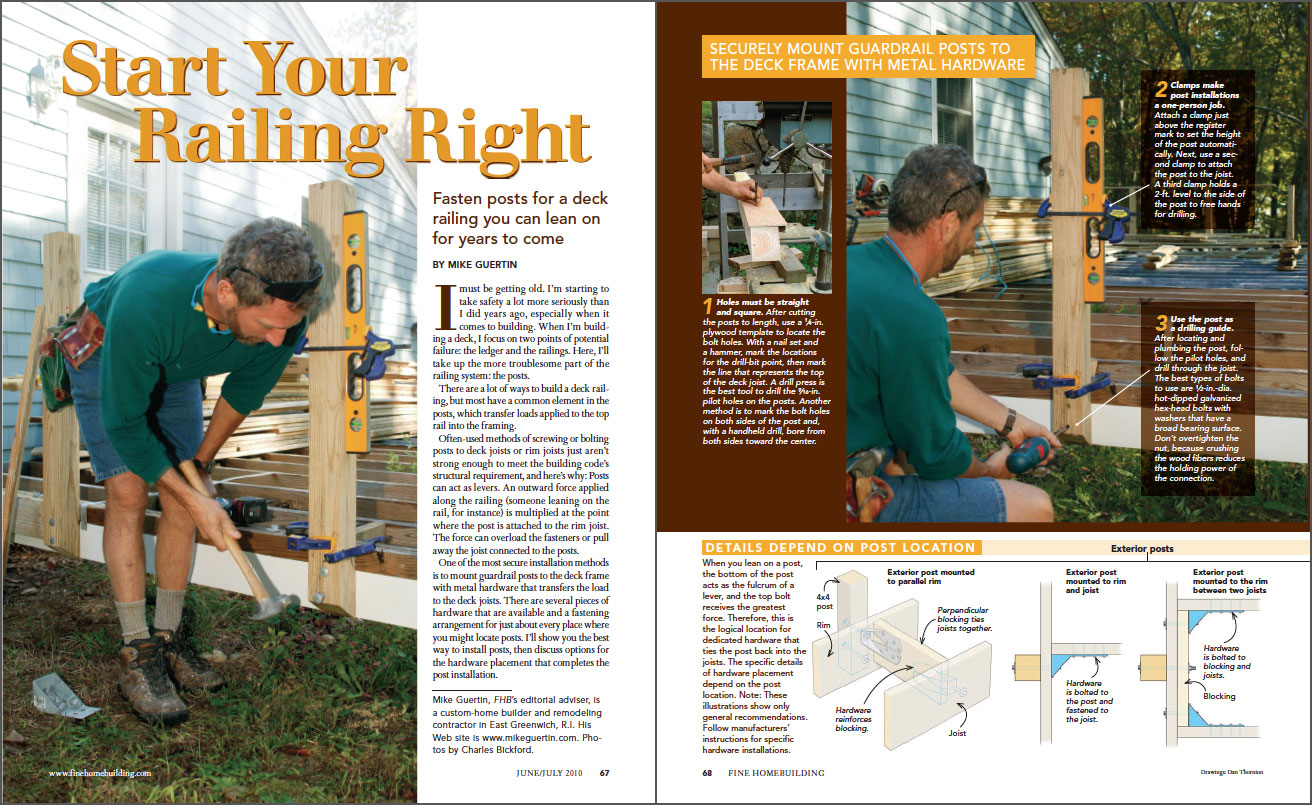
Start Your Railing Right
Fasten posts for a deck railing you can lean on for years to come.

Synopsis: Railings are a necessity on nearly every deck, but most methods of attaching posts to deck joists aren’t quite sturdy enough, at least not for veteran builder Mike Guertin. Guertin recommends mounting guardrail posts securely to deck framing with metal hardware. The detailing depends on the location of the post; a series of diagrams illustrates the proper bracket placement in a variety of interior and exterior post locations.

I must be getting old. I’m starting to take safety a lot more seriously than I did years ago, especially when it comes to building. When I’m building a deck, I focus on two points of potential failure: the ledger and the railings. Here, I’ll take up the more troublesome part of the railing system: the posts.
There are a lot of ways to build a deck railing, but most have a common element in the posts, which transfer loads applied to the top rail into the framing.
Often-used methods of screwing or bolting posts to deck joists or rim joists just aren’t strong enough to meet the building code’s structural requirement, and here’s why: Posts can act as levers. An outward force applied along the railing (someone leaning on the rail, for instance) is multiplied at the point where the post is attached to the rim joist. The force can overload the fasteners or pull away the joist connected to the posts.
One of the most secure installation methods is to mount guardrail posts to the deck frame with metal hardware that transfers the load to the deck joists. There are several pieces of hardware that are available and a fastening arrangement for just about every place where you might locate posts. I’ll show you the best way to install posts, then discuss options for the hardware placement that completes the post installation.
Securely mount guardrail posts to the deck frame with metal hardware
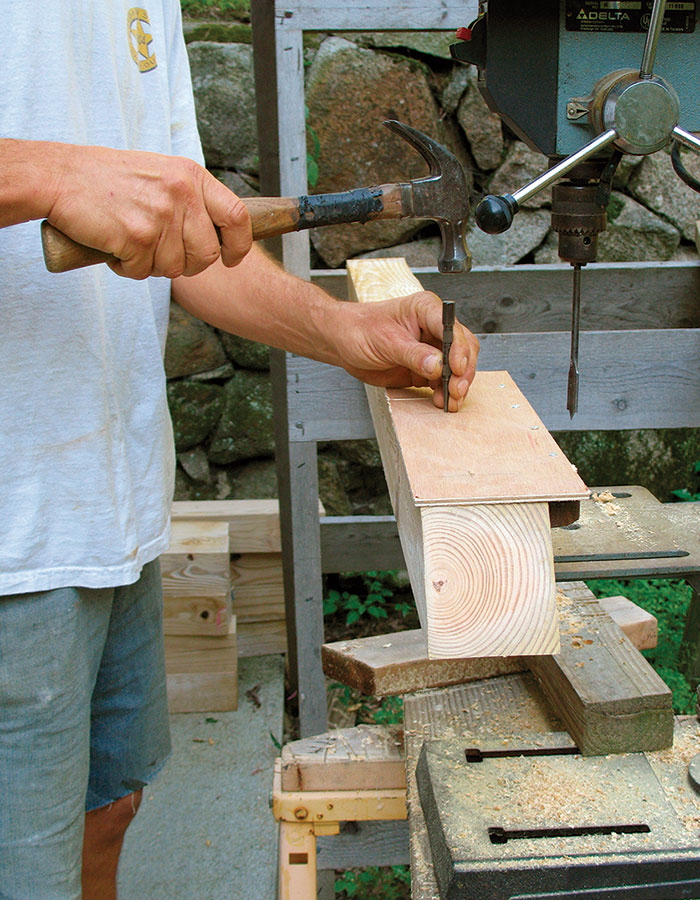
Holes must be straight and square. After cutting the posts to length, use a 1/4-in. plywood template to locate the bolt holes. With a nail set and a hammer, mark the locations for the drill-bit point, then mark the line that represents the top of the deck joist. A drill press is the best tool to drill the 9/16-in. pilot holes on the posts. Another method is to mark the bolt holes on both sides of the post and, with a handheld drill, bore from both sides toward the center.
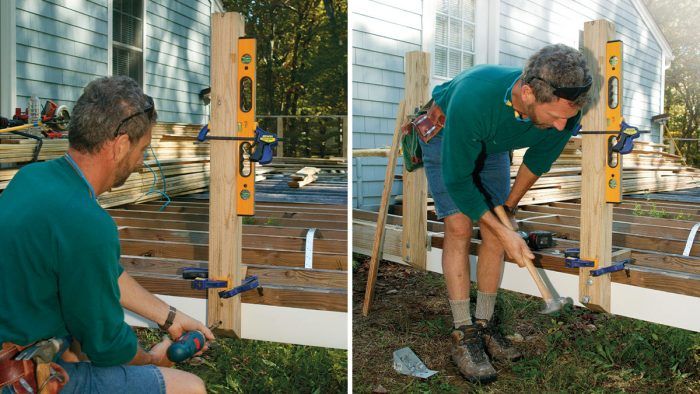
Clamps make post installations a one-person job. Attach a clamp just above the register mark to set the height of the post automatically. Next, use a second clamp to attach the post to the joist. A third clamp holds a 2-ft. level to the side of the post to free hands for drilling.
Use the post as a drilling guide. After locating and plumbing the post, follow the pilot holes, and drill through the joist. The best types of bolts to use are 1/2-in.-dia. hot-dipped galvanized hex-head bolts with washers that have a broad bearing surface. Don’t overtighten the nut, because crushing the wood fibers reduces the holding power of the connection.

For more photos, drawings, and details, click the View PDF button below:


