The Complete Guide to Building a Grade-Level Deck
Learn how to build a custom composite deck with benches, planters, and a decorative border.

Synopsis: This sixteen-page article is an in-depth look at how to build a grade-level deck of modest size with benches, planters, and rot-proof decking. Written by a seasoned professional builder, the article gives readers the best, code-compliant methods for layout, digging and pouring footings, attaching ledgers, framing, and installing decking. In addition, there’s detailed information on how to build deck stairs, great-looking built-in benches, and skirting that conceals the area below the deck.
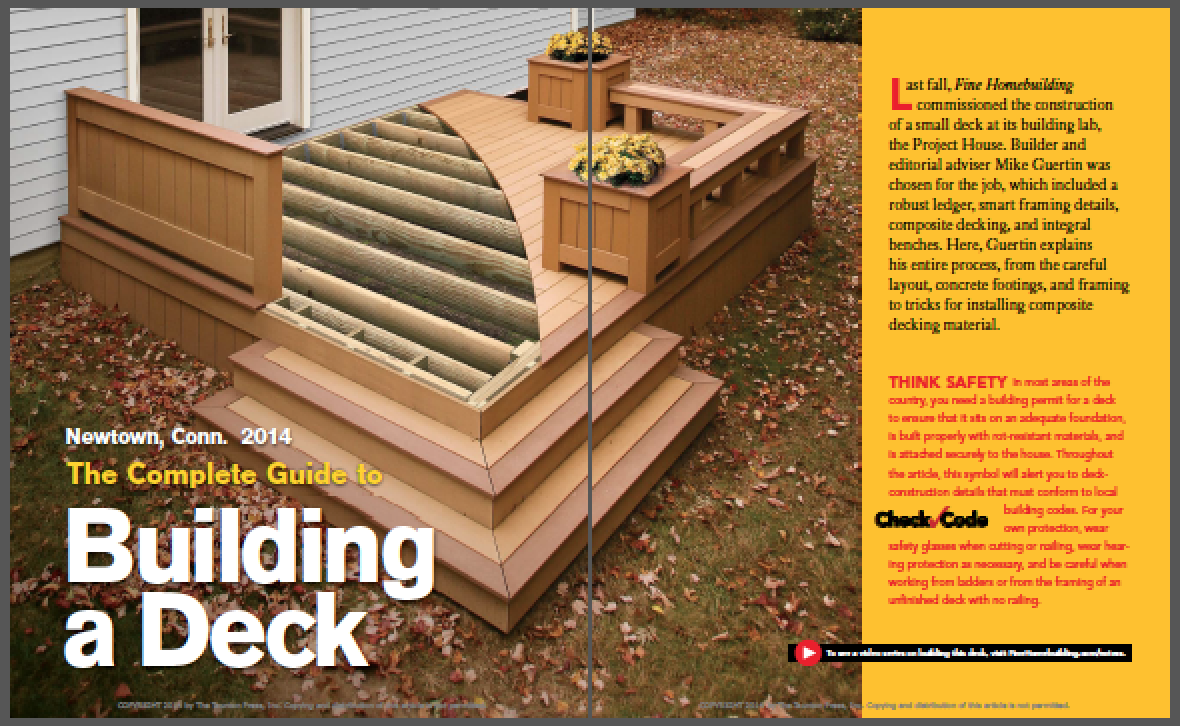
For this year’s whole-deck project, Fine Homebuilding asked me to participate in a cooperative effort to add a new deck to the Project House. Maryland-based contractor Clemens Jellema contributed a design for a compact, grade-level deck. I revised his plans to include some of the details that I wanted for this project, such as an integral rim beam, post-to-frame attachment, and robust ledger flashing.
Built with pressure-treated framing and composite decking, this deck doesn’t have a railing (none are required for decks less than 30 in. above grade) but still offers lots of fundamental, code-compliant details that can be applied to other decks. You’ll also find plenty of valuable tricks, such as site-made footing forms, improved ledger details, and tips on working with composite decking material.
It took me a day to sketch the details, but extra planning paid off by improving my efficiency on the project. Project House editor Justin Fink provided hands-on assistance.

Adjust the deck’s width
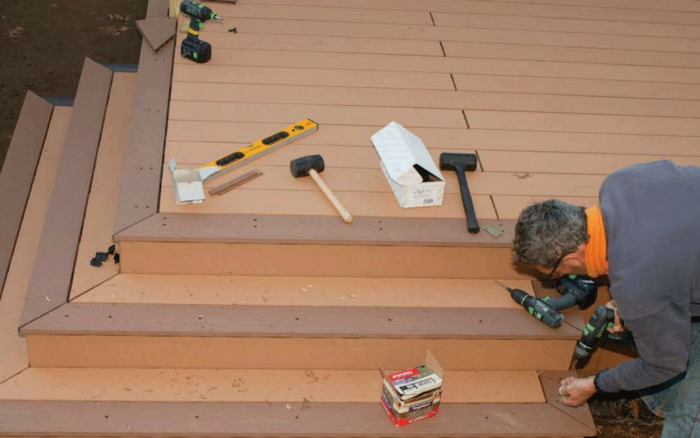
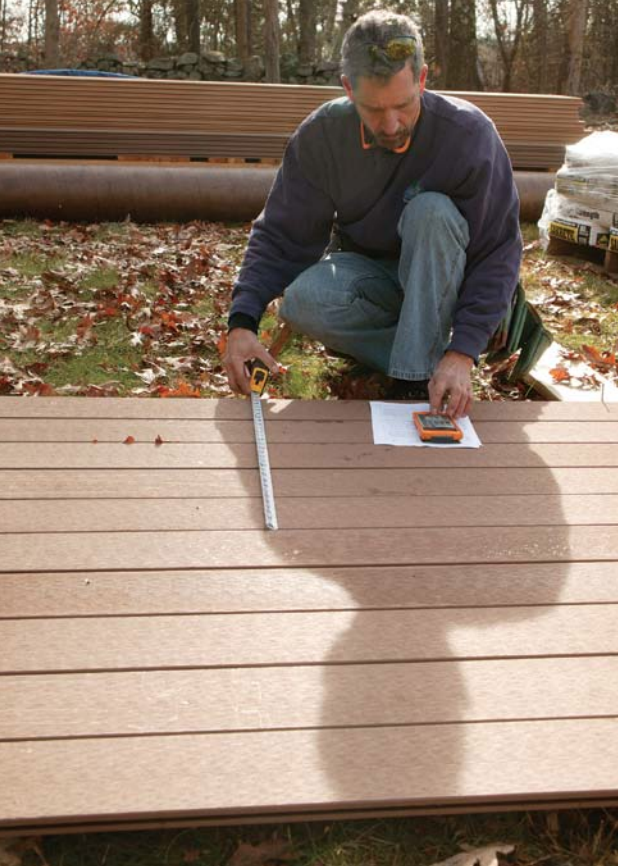
Every deck, even one with a simple plan, still has plenty of elements that must be worked through before it can be built. Here, the plans show framing dimensions of 16 ft. by 12 ft., but they don’t include details for things like decking, perimeter skirting, and trim. The composite decking chosen for the project uses a hidden-fastener system that locks into edge slots on the boards. I had to resize the deck frame slightly so that I could build with fullsize decking and trim boards, rather than have to rip everything to size and then screw and plug the ripped boards.
Locate and dig footings
To locate the footings that support the outside of the deck, and also the footing for the stairs, I started by locating the ledger on the house. Then I set up a stringline at the location of the deck frame’s outermost face. Using the Pythagorean theorem, I created perpendicular lines from the ends of the ledger to the stringline. This established the deck’s perimeter, which I needed to lay out and dig the footings.
I calculated the load each footing would carry and determined the necessary size. However, instead of digging 13-in.-dia. holes for the outboard footings and a 16-in.-dia. hole for the middle (which carries a greater load than the outboard footings), I dug 10-in.-dia. holes and flared the holes’ bottoms. Plastic bags attached to cardboard form tubes allowed the concrete to fill the holes and create spread footings. The required footing depth in this jurisdiction is 42 in.
After digging the holes and pouring concrete into our modified footing tubes, we placed the anchor bolts and checked their locations with the stringline. Once everything was set, we graded the soil from the footing holes to establish a positive slope away from the house. This was the last chance to adjust the grade beneath the low deck before we started to erect the frame. After raking the footing spoils smooth, we compacted them with a tamper.

Fine Homebuilding Recommended Products
Fine Homebuilding receives a commission for items purchased through links on this site, including Amazon Associates and other affiliate advertising programs.

Jigsaw

4-Gallon Piston Backpack Sprayer

Metal Connector Nailer


