The Essential Timber-Frame Joint
Learn a veteran timber framer's techniques for making precise mortises, tenons, and the pegs that hold them tightly together.

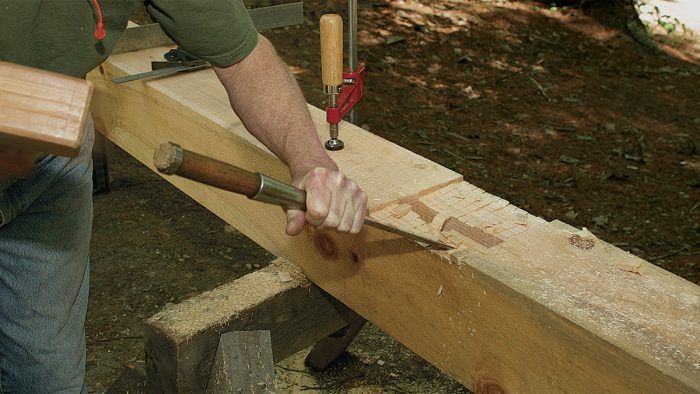
Synopsis: For this edition of “Master Carpenter,” builder and educator Will Beemer shows how to create a classic timber-frame joint, a large pegged mortise and tenon. Beemer begins the process by establishing a level work surface. Because timbers can be so large, it might be necessary to work on sawhorses with shorter legs. It’s also important to find the arris, or the intersection of the two sides of the timber that are square to each other. This becomes a key reference point. Cutting a tenon always begins with the shoulder and should be cut carefully. Next, cut the housing and the mortise. To finish, draw the joint tight with an offset peg. This article includes a number of sidebars, including one about a special tool of the trade that helps timber-framers to cut plumb holes using a mirror; a trick of the trade describing a process known as the French snap; and a brief guide about how to deal with timbers that are not perfectly milled and uniform.
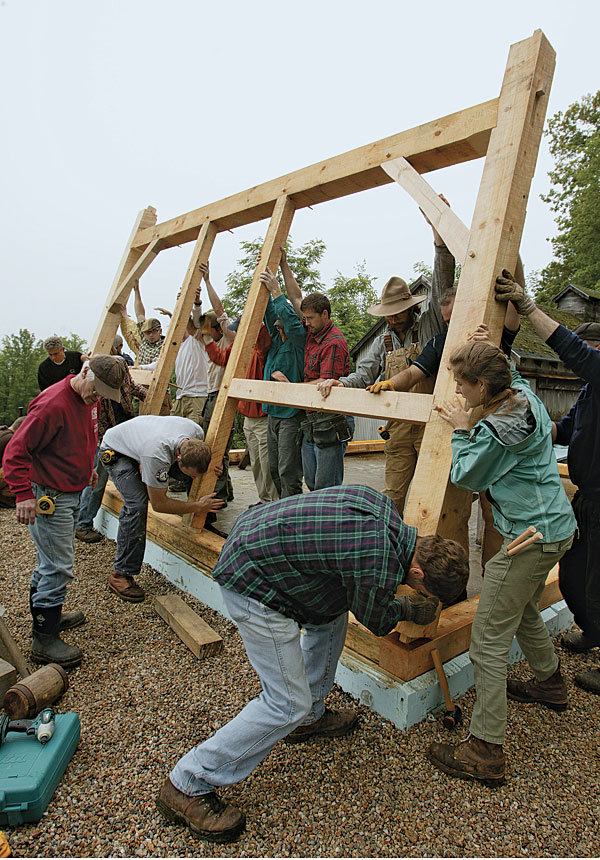
At first glance, a timber frame is all about the exposed wood and the strength implied by its large scale. Look a little closer, and you’ll see that the real magic lies in the joinery that unifies the wood into a structure. The joint I’ll concentrate on here is the mortise and tenon, which is ubiquitous throughout furniture-making and cabinet making and is used to join one piece coming in at an angle (often 90°) to another piece. As an extension of the long grain, a tenon inserted into a mortise increases the captured surface area within a joint. In a timber frame, pegs (also known as trunnels or tree nails) secure the joint and prevent rotation and withdrawal. Modern mechanical fasteners can be used instead of pegs, but in centuries past, they weren’t an option.
 Here, I’ll demonstrate the basic techniques used to cut mortise and tenon joints. I start by setting a timber level on sawhorses. I cut the tenon, then the mortise. I wrap up with drawboring, the technique to secure the joint. Before getting started, there are some things to know about timbers.
Choose timber wisely
In timber-framing, the mortise-and-tenon joint is meant to align the timbers in the frame, to pull the timbers tight during assembly, and to keep them tight as the frame shrinks. Some mortise-and-tenon joints are not even pegged if their role is just to register timbers. Some joinery also can bear a considerable weight in compression or shear after the frame is up, but I usually rely on the shoulders or housings around the joints, rather than the tenon itself, to take on this work, especially because the tenons are often tapered a bit to make assembly easier.
The large dimensions of the timbers themselves create some unique issues. For example, you usually bring the tool to the timber rather than vice versa. Also, as wood dries, it becomes more difficult to work with hand tools, so if you’re planning to use seasoned timbers, hardwoods, or a species like Douglas fir that has hard annular rings, you might want to opt for power tools. If you prefer hand tools, you should use an easy to-work species, such as green eastern white pine.
I recommend that you cut joints as soon as possible after timbers are milled, get the frame raised, and let the timbers shrink after being locked in place. You can accommodate shrinkage in the design and joinery decisions. If you are going to season the timbers, begin by peeling the logs and letting them dry. Wait to mill them square until just before cutting the joints. If you mill timbers square or do the joinery and then store them unassembled for more than a year or so, they may twist so badly that they’ll be unusable. Again, use a species that shrinks less, like eastern white pine, rather than hardwoods.
From Fine Homebuilding #228
To view the entire article, please click the View PDF button below.


