A Bungalow Bath Remodel
In six months and approximately 400 man-hours, one reader transforms his 1915 bungalow bath
Forty-five minutes into what what supposed to be a simple bathroom makeover, Fine Homebuilding reader and Breaktime poster, Paul Waterloo realized a total gut job was called for. He and his fiancée decided to use the opportunity to create their dream bathroom. View photos of the remodel’s milestones and read A Decisive Bathroom Remodel for Paul’s first-hand account of the project.
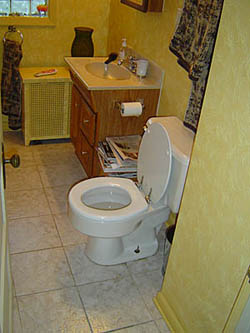
Improving functionality. Before the remodel, the existing bathroom had a poor layout. You had to step around the toilet to go anywhere, and the light switch for the single circuit was located 5 ft. inside the room. The radiator took up valuable floor space, and the glass-block window allowed no ventilation in the summer and would not seal during the winter.
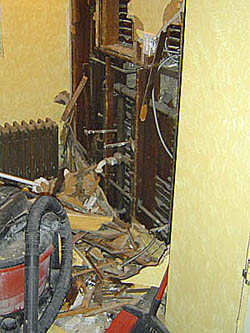
Unexpected suprises. Once I started taking up the floor tile, I realized the cementboard underlayment was coming up with it and would have to be removed. Then I discovered there were multiple layers of flooring under the cementboard, including the original 1×6 subfloor, tongue-and-groove finish flooring, and a layer of linoleum.
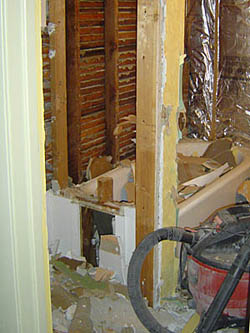
Destructive improvements. The shower made a terrible squealing noise when water was flowing, and the floor was out of level 1-1/2 in. from the outside wall to the doorway. Soon after this photo was shot, I used my sledgehammer to smash the tub into Dumpster-sized pieces.
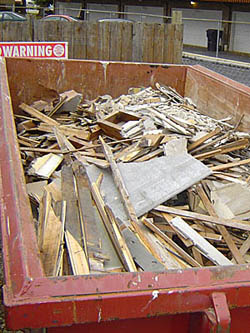
Eliminating waste. Even though the bathroom is only 7 ft. by 8 ½ ft., the debris from gutting it filled a 10-yard Dumpster. The container rental cost $250, but it was well worth it. Make sure you get one for any gut job, and always get the biggest one possible. Rip out everything at once in the beginning of the job, so you are not continuing to create dust as more and more items are cleared out.
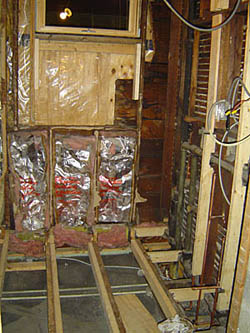
Correcting past wrongs. To level the floors, I sistered 2x4s to the existing floor joists with construction adhesive and deck screws. I used new copper pipe from the water main to the distribution header. Two new drains for the shower and the vanity were installed as well as three new vents. A new vent corrected the problem of an improperly vented stack that allowed sewer gas to burp into the house through the old bathtub
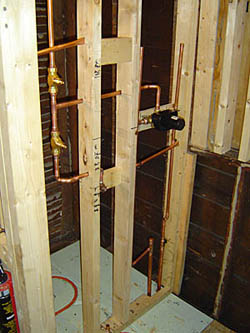
I hired a plumber to rough in the plumbing. He stubbed in the hot- and cold-water lines before I installed the Warmboard subfloor throughout approximately two-thirds of the room. I figured out a detailed layout of final positioning of stop valves, temperature control, and water outlets before the shower frame was started. Notice the tricky bends in the piping: That installation and running an additional line (not shown) to the ceiling for a rain-shower-style showerhead took my plumber three hours. Money well spent, in my opinion.
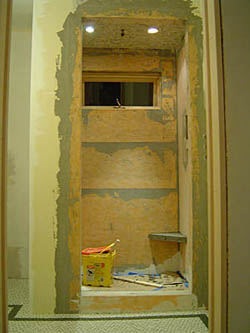
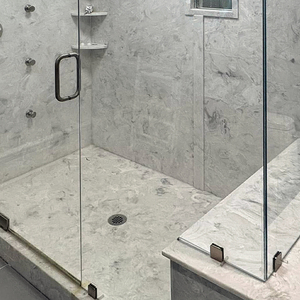
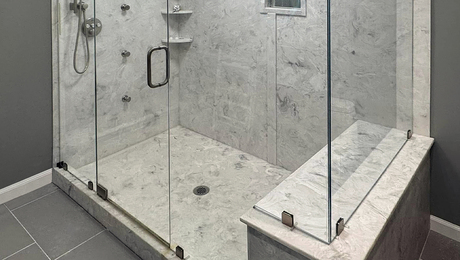
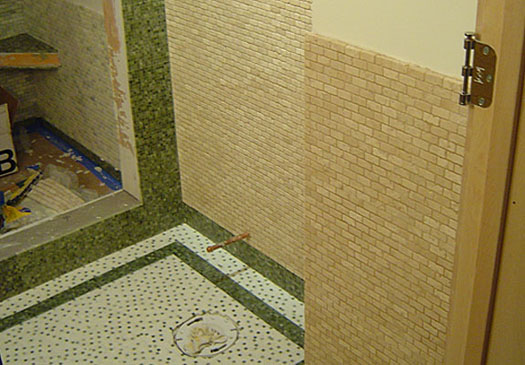
Preparing the surface. Horizontal sheets of the Schluter-Kerdi waterproof membrane were used for the back wall of the shower, and a large vertical sheet was used for the side walls. Additional pieces were applied to the window jamb to waterproof the corners. The floor tile was completed before the wall tile. HardieBacker was attached to the subfloor with thinset mortar and nails, and the tile attached to the backing board with thinset mortar.
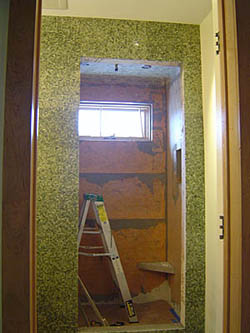
Larger than normal. The previous owner of the house had drywalled over the existing plaster, increasing the wall thickness, which required a custom and visually appealing 6-in.-wide door jamb. The wall tile was tricky to install in the shower-door jamb; the tile needed to extend slightly past the Kerdi membrane to give the jamb a crisp 90º corner.
Establishing a baseline. Before the wall tile could go up, the door had to be trimmed out so that there would be a ground to run the tile to. The right-hand-swing, 28-in.-wide door just clears the toilet.
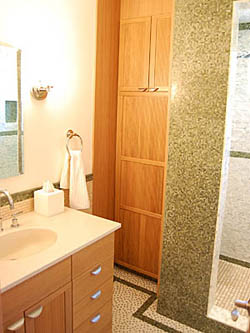
Adding storage. The vanity and the storage cabinets are from Ikea’s kitchen collection. The storage cabinet is a 24-in. by 88-in. pantry cabinet installed in a 27-in.-wide opening, which allowed for mounting a 2×4 on one wall to anchor the cabinet.
Improving on a basic design. After doing research on toilets, I decided to go with a Toto. And after having a Toto toilet, I am baffled by why all toilets do not work on the same flush principle.
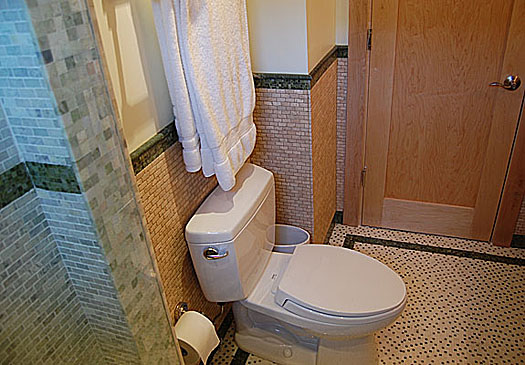
Final thoughts. The end product of our remodel is exactly what we wanted. There are details on top of details, but it is very relaxing and comfortable. I would never guess that a 7-ft. x 8 ½ -ft. bathroom could feel so large, but it does.
Photos by: Paul Waterloo


