Troubleshooting a Prehung Door Installation
If you know where things go wrong, you can install a door that will swing the way it’s meant to for years to come.
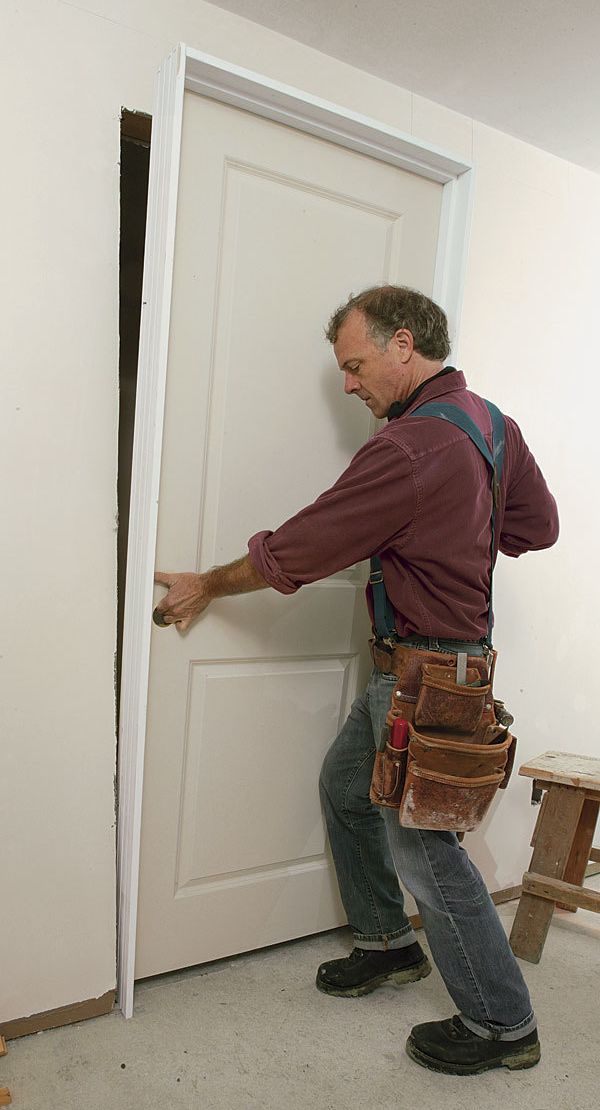
Synopsis: Even when the factory has mounted the hinges and assembled the jambs, prehung doors still can be tricky to install. Finish carpenter Tucker Windover begins by assigning one carpenter to each side of a door. This team approach makes installation faster than two people working solo. In this article, he outlines nine steps for a basic installation of a solid-core prehung door, then gives solutions for five potential problems: (1) A bowed jamb above the top hinge creates a gap that’s too tight on the strike side; (2) the gap at the head is too tight on one side; (3) the gap at the head is too big on one side; (4) the door doesn’t close evenly against the stop; and (5) the door doesn’t close properly because the hinges are binding or because the hinge-side gap is too big.
The whole point of prehung doors is to save money on materials and labor, right? But even when the factory has mounted the hinges and assembled the jamb, a prehung door still can be tricky to install. After installing enough of these doors to spot the pitfalls, I have developed a series of techniques that explain away the mysteries and improve installations.
A prehung door assembly is really just a rectangle (the slab) swinging inside a rectangle (the jamb). I think of the door slab as a template for the jamb. The trick is to establish and maintain a consistent gap between the two, which should translate to a properly operating door.
Although prehung doors are far and away the most common setup found on a job site, there are some variations. The doors themselves may either be hollow core or solid core. Some prehungs (usually hollow core) are set in split jambs that fit together with a tongue and groove. These doors have casing already applied for a simple, one-person installation. The methods that I describe here, though, were developed to tackle the heavier solid-core doors.
Get Started Before The Door Delivery
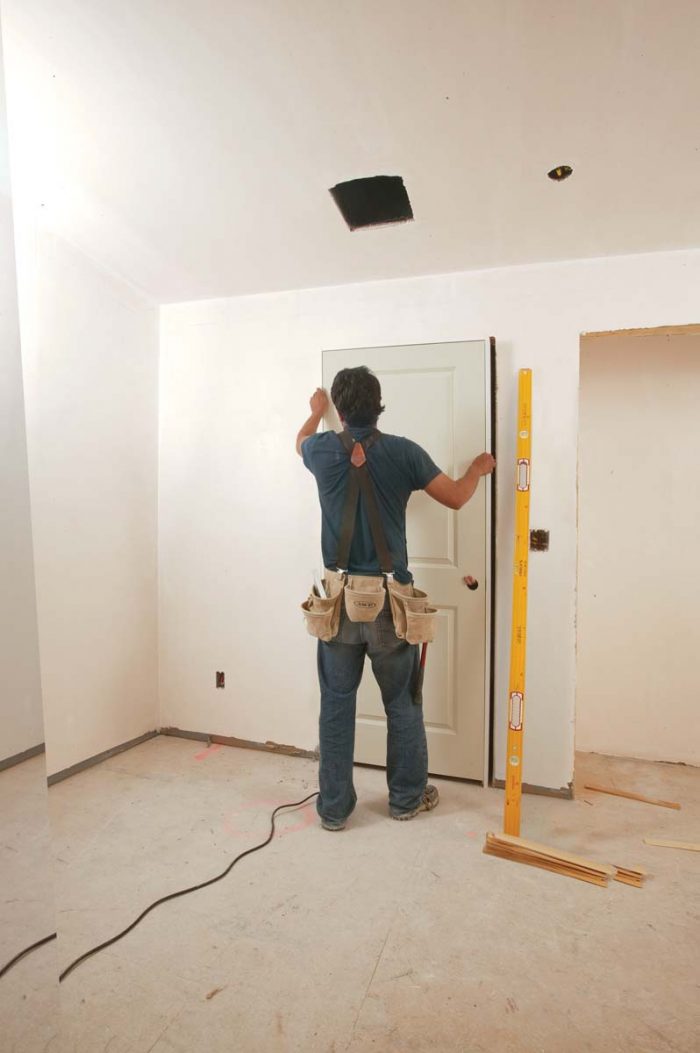
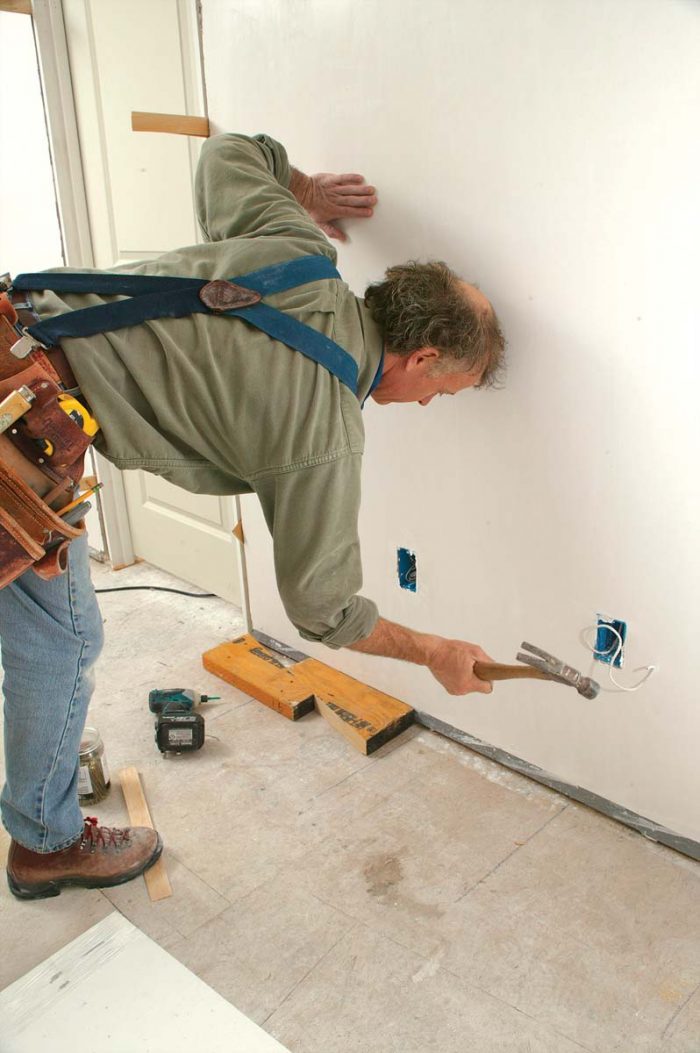
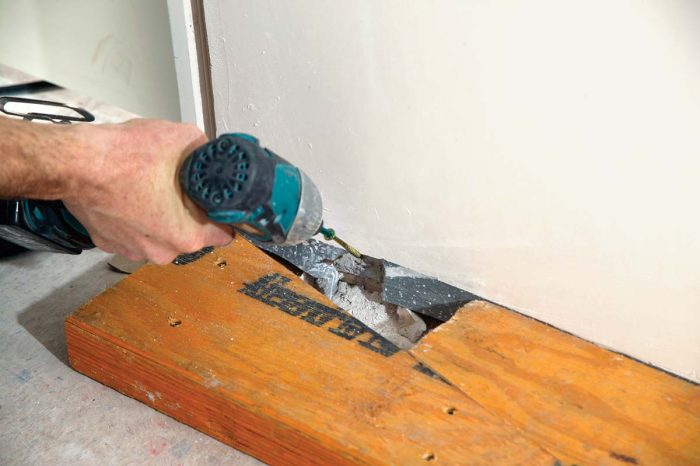
The first thing my crew and I do before the doors arrive is trim back the drywall from the frame. To make distribution efficient, we mark the door size on the hinge side of the frame and indicate its direction of swing with an arrow. When the doors are delivered, we place each one as close as possible to its intended location.
The existing conditions of the floors and walls are usually more important than the level. For example, if I’m installing a closet door in the corner of a room and the adjacent wall is out of plumb, I typically follow the wall. A plumb door in this situation creates noticeably converging lines. At this stage of construction, I prefer to keep the lines running parallel. While one side of the door may be adjacent to an out-of-plumb wall, the other side’s head jamb may need to be aligned with that of a nearby door. The solution is to split the difference between one side and the other. This situation happens a lot, and it’s one of the reasons I prefer to hang doors with a partner.
The other thing that no longer surprises me is finding a wall — even in new construction — that’s a bit wider (and occasionally narrower) than the jamb. By the time you add up the factors of a twisted or misaligned stud, a proud nail head in the rough frame, or built-up joint compound on the drywall, the wall thickness can easily exceed the jamb width by 3⁄16 in. or more. This can make the casing installation tricky, especially where the casing is mitered. Typically, when the jamb is more than 1⁄8 in. shy of the drywall, I install a jamb extension to make up the difference because trying to make a neat miter joint over uneven surfaces is a time-consuming chore. The simpler solution is to center the head jamb between the sheets of drywall, with each side just a little shy of the plaster. Any straightedge that can span the corner of the rough opening will give a quick and accurate reading of the jamb’s relation to the plane of the drywall. My colleague Alex and I take readings on each side of the wall, and we work together to split the difference.
It’s A Job For Two
I achieve the most consistent results with prehung doors when I work in tandem with another carpenter. Although prehung doors are sold as a one-man job, there’s too much to do on both sides of the door for one person to accomplish efficiently. Sometimes you’re trying to install a door so that it’s equal in height to an adjacent door, while at the same time centering the door in the opening, maintaining even gaps, shimming, and nailing. It’s easier with two people, and once you’ve established a rhythm, it’s quick. One person eyes the gap on one side, and the other person nails the jamb on the stop side. You don’t need two carpenters to install every door, but when you’ve got momentum, it’s nice to have those extra hands.
A Basic Installation In Nine Steps
 |
 |
|
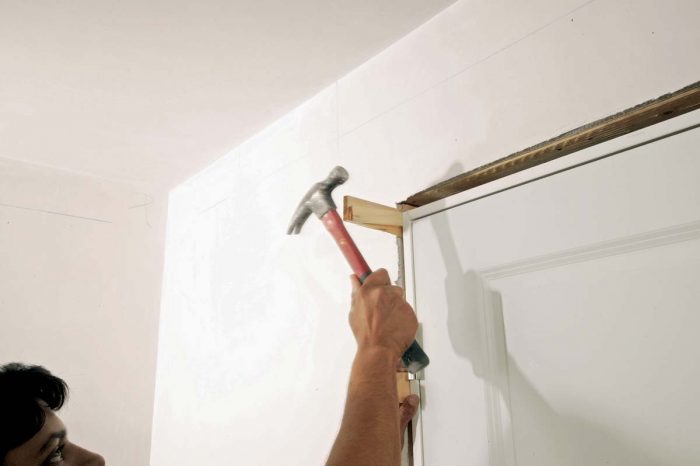
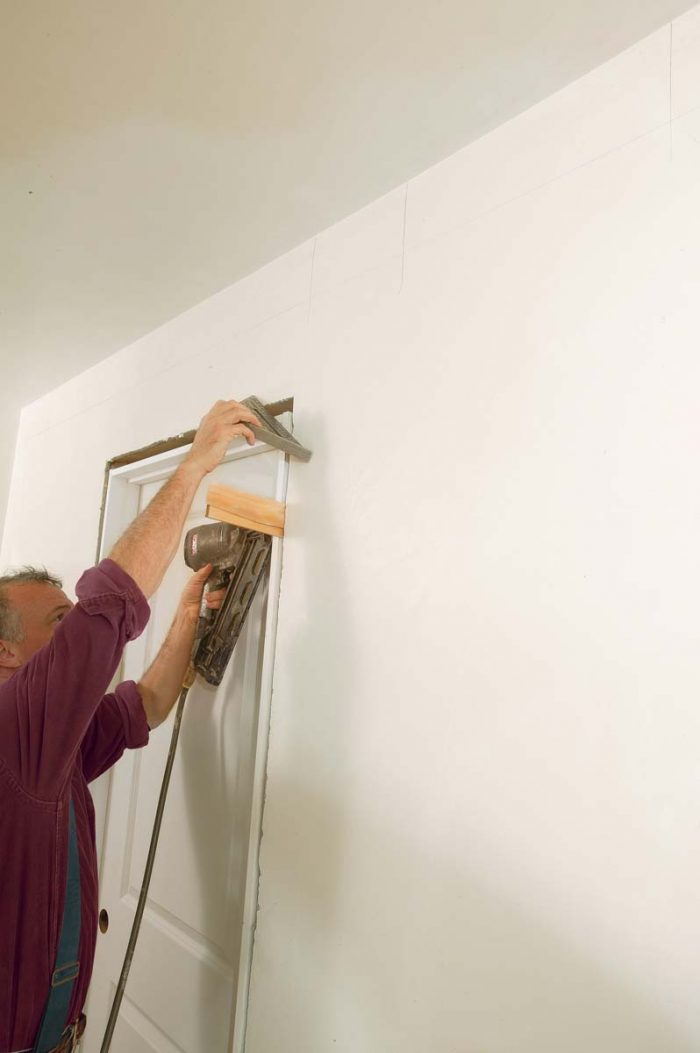
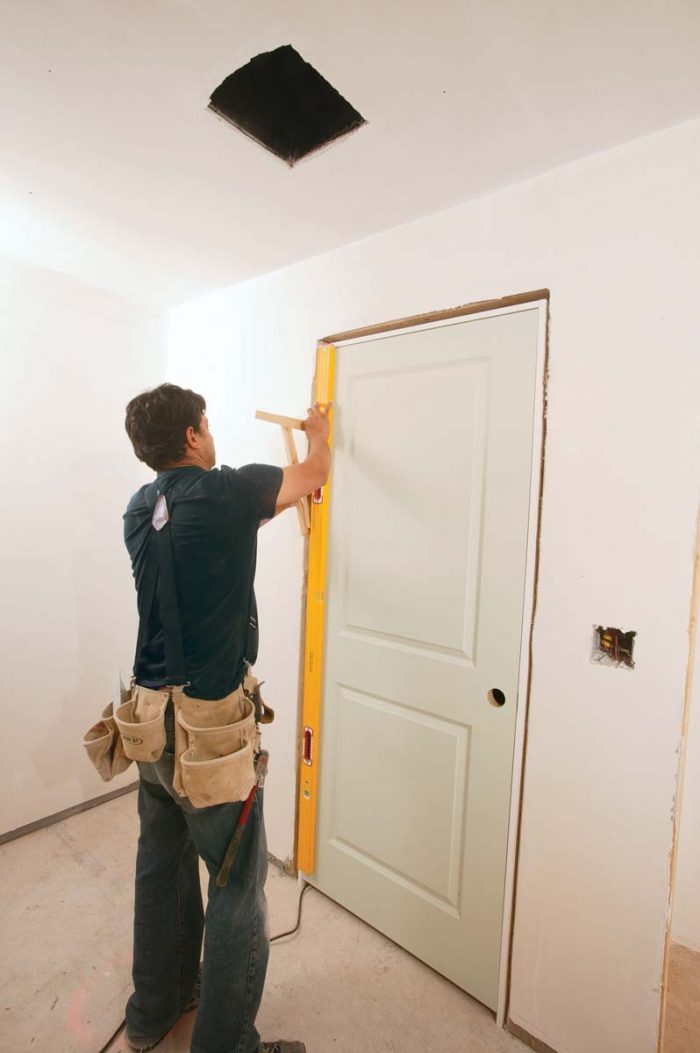
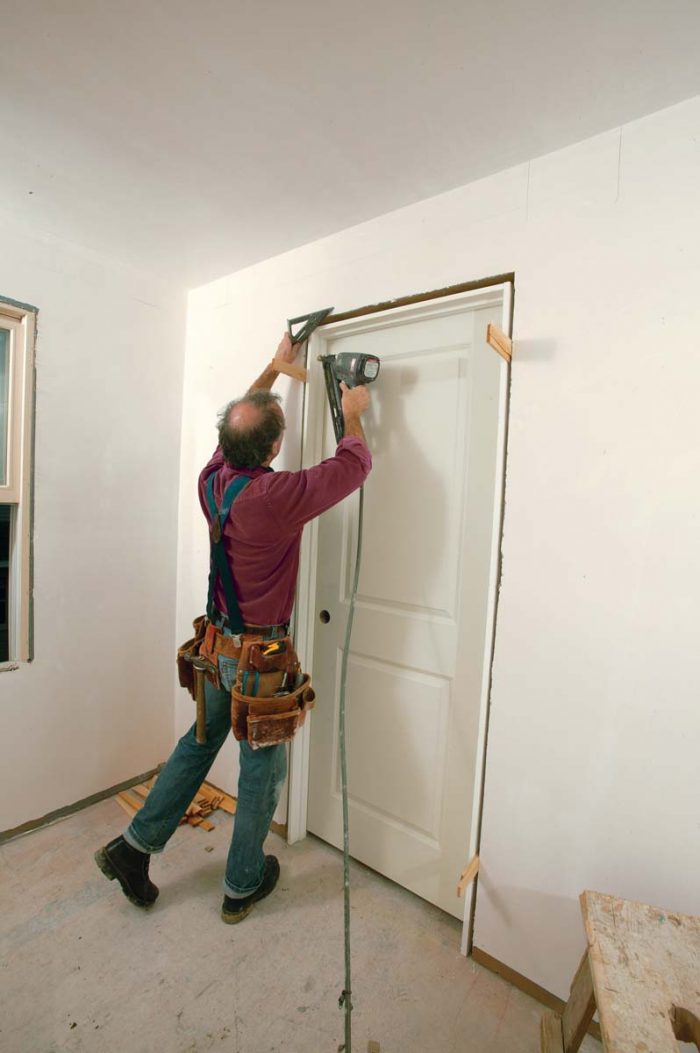
2,3. Start at the hinges. Shims are placed just under the top and bottom hinges. When the jamb is plumb, Tucker nails the jamb at the shims. Speed Squares on both sides verify that the jamb is flush with the drywall. |
 |
 |
|
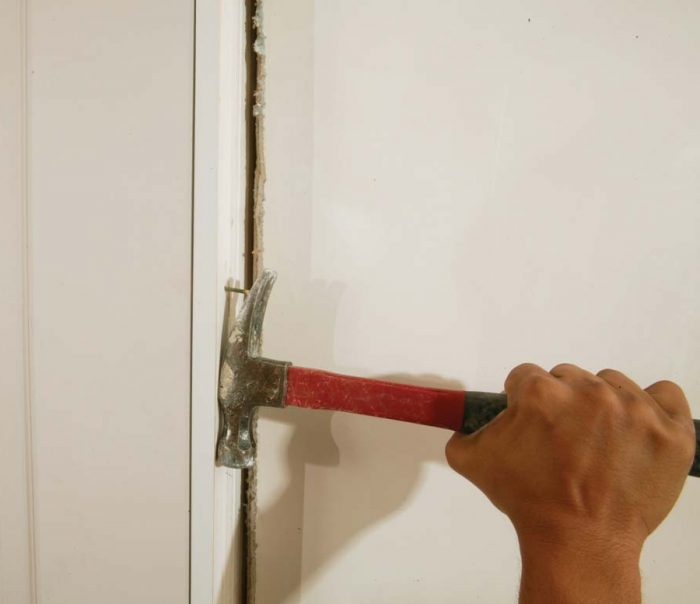
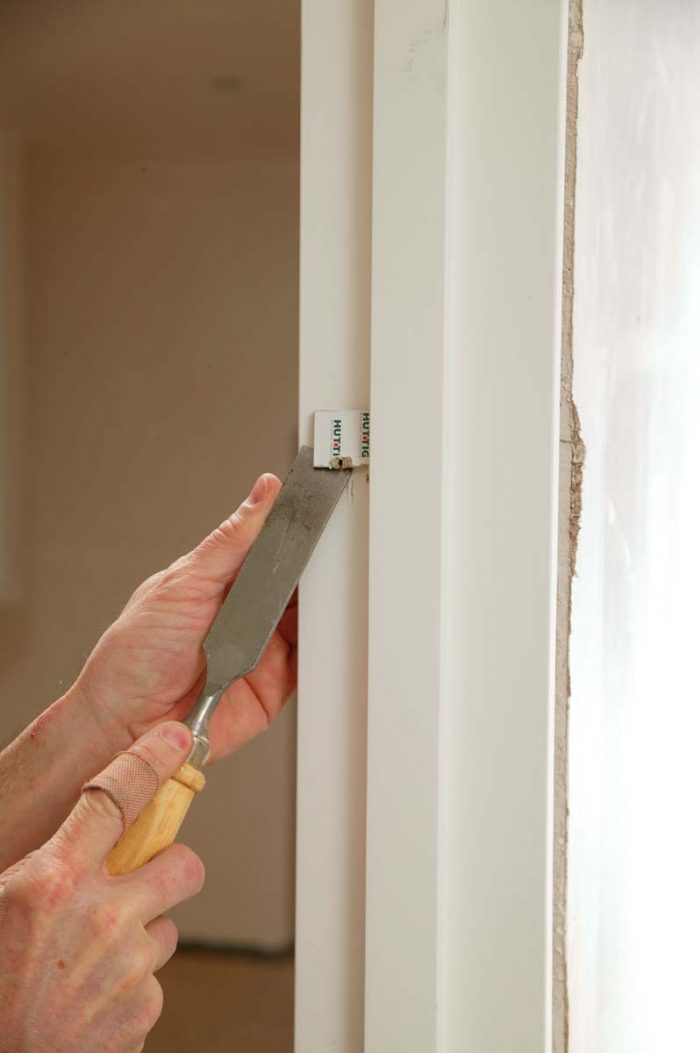
4,5. No false readings. Remove the nail holding the door to the jamb and any cardboard shims stapled to the edge of the door. Now the door will operate as dictated by the position of the hinge jamb. |
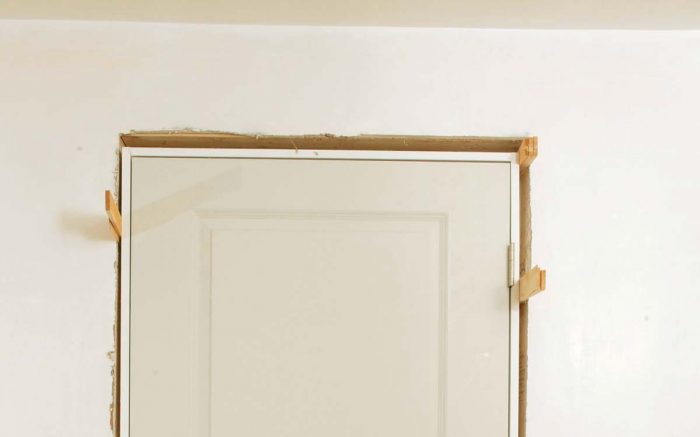 |
6. Check the head. If the gap is consistent across the head jamb, proceed to the strike side. |
 |
 |
|
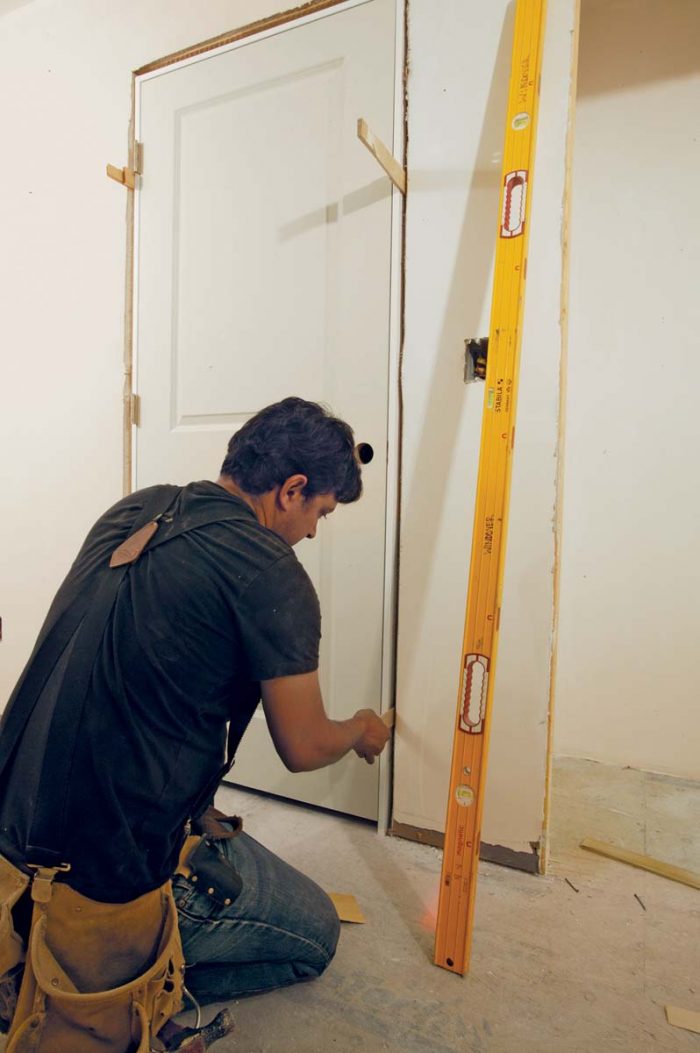
7,8,9. Establish the gap at the strike side. Shim the strike side at the top, behind the strike plate, and at the bottom. Check the gap, and nail off the jamb. Don’t forget to check the swing, too. When the door is closed, it should hit the stop evenly down its length. |
Troubleshooting A Door In The Real World
 |
|
|
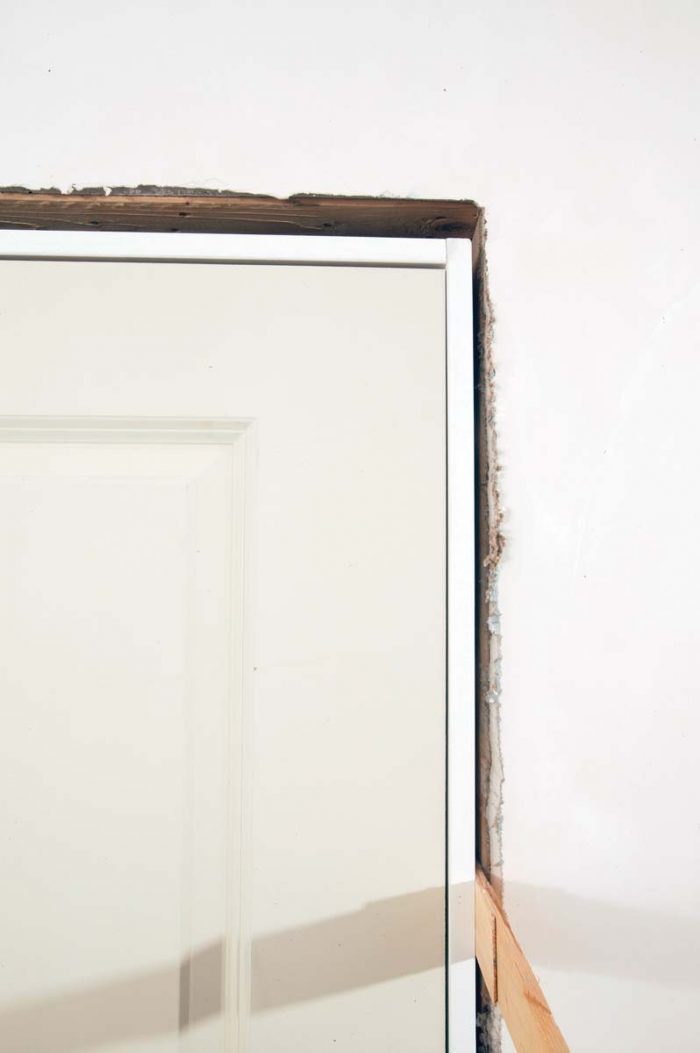
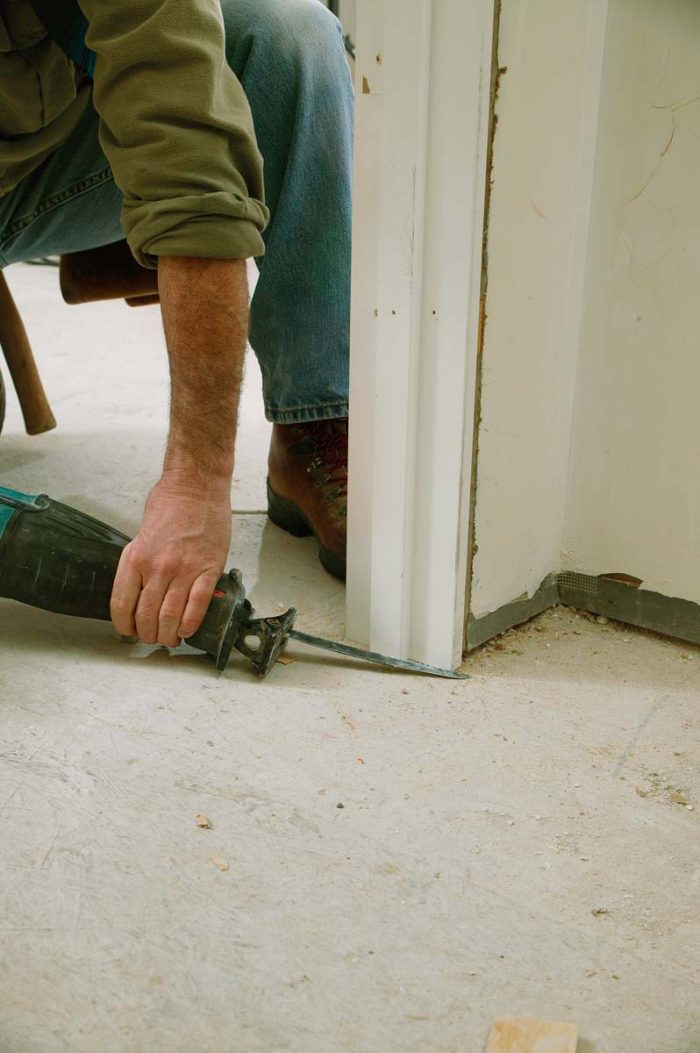
Problem: The gap at the head is too tight on one side. |
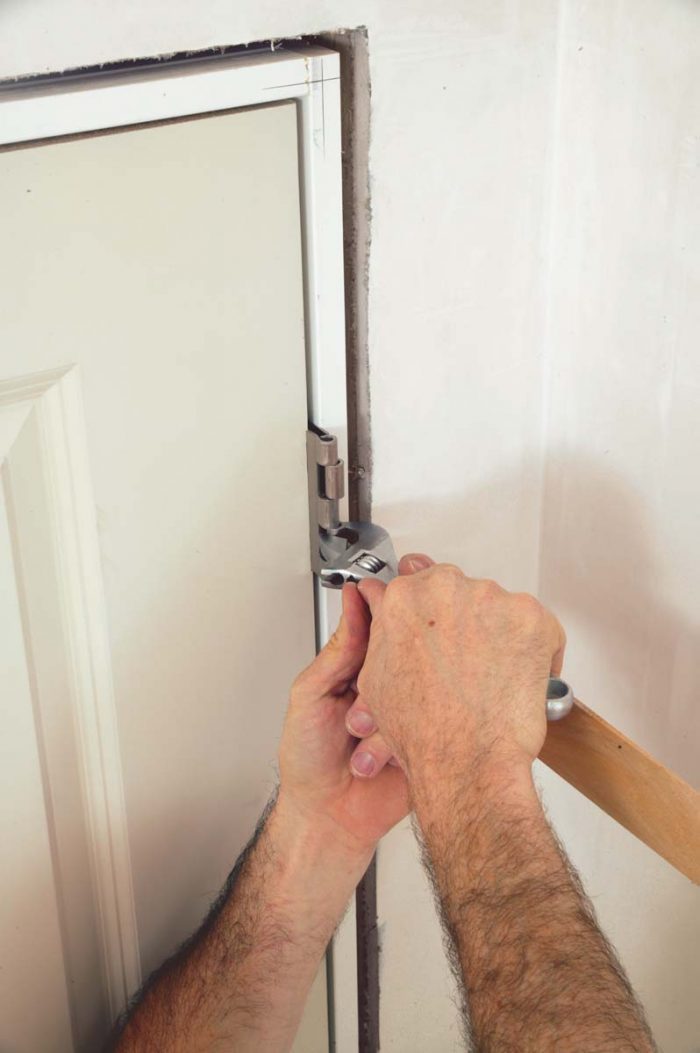
Solution: Lower the jamb on the wide side by trimming it with a reciprocating saw. |
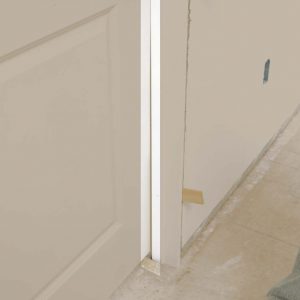 |
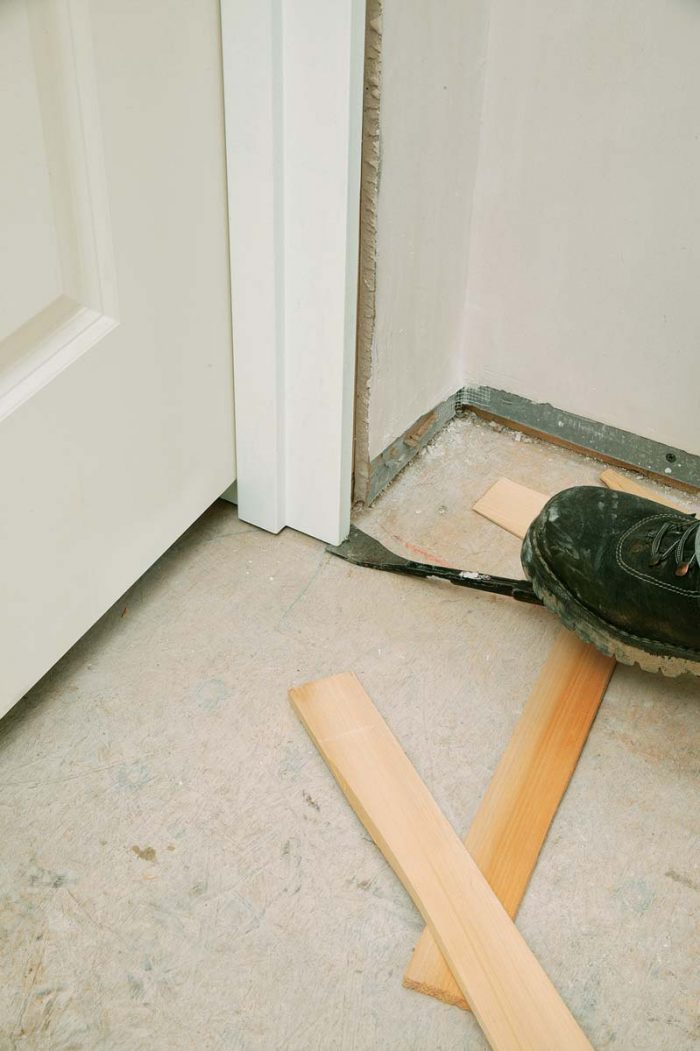
Problem: The door doesn’t close evenly against the stop. |
For more photos and details, click the View PDF button below:

