Upgrading to a Tile Shower
Learn from a pro tilesetter how to remove an old bathtub and replace it with a custom tile shower.
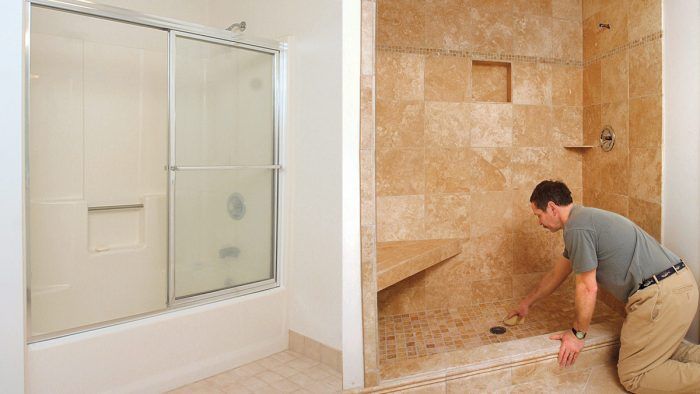
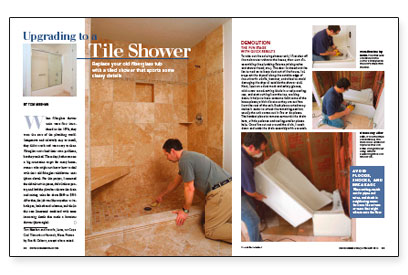
Synopsis: In this remodel, tilesetter Tom Meehan tears out an old fiberglass tub and surround, then replaces them with a limestone-covered walk-in shower. The article discusses options for the base, but focuses on the tile installation, which includes a tiled bench and a shampoo shelf.
When fiberglass shower units were first introduced in the 1970s, they were the stars of the plumbing world. Inexpensive and relatively easy to install, they didn’t crack and were easy to clean. Fiberglass units had their own problems, but they worked. These days, bathrooms area big renovation target for many homeowners who might not know how to deal with their old fiberglass tub/shower units. For this project, I removed the old tub unit in pieces, did a little carpentry, and had the plumber relocate the drain and mixing valve for about $400 or $500. After that, the job was like any other: a site-built pan, backerboard substrate, and tile (in this case limestone) combined with some interesting details that made a luxurious shower.
Demolition — the fun stage with quick results
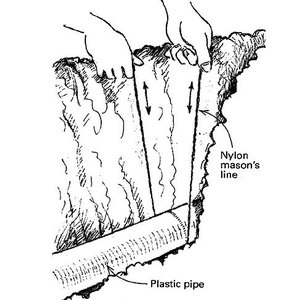
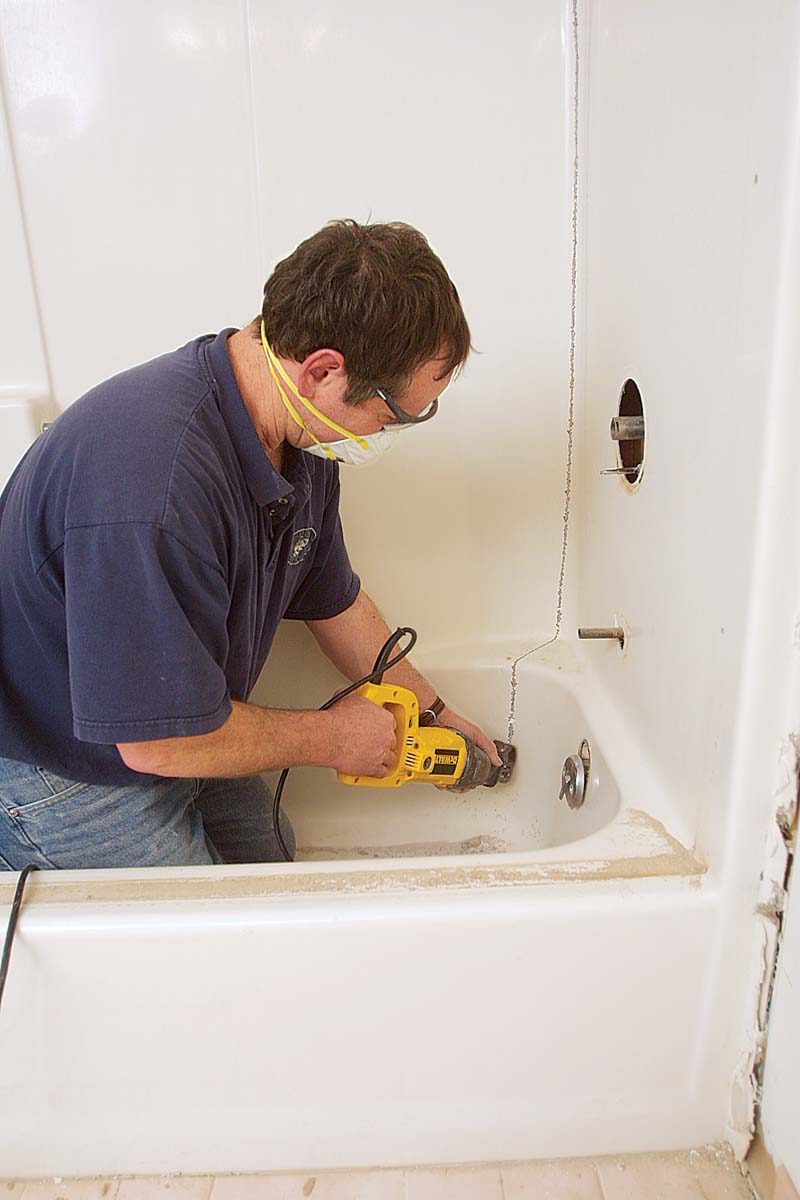
To take out the existing shower unit, I first shut off the main water valve to the house, then start dis-assembling the plumbing fixtures (mixing valve and shower head, etc.). The door is closed and the fan turned on to keep dust out of the house. I always cut the drywall along the outside edge of the unit with a knife, hammer, and chisel to avoid damaging the drywall outside the shower stall. Next, I put on a dust mask and safety glasses, stick a new wood-cutting blade in a reciprocating saw, and start cutting from the top, working down. It helps to have someone hold some of the loose pieces, which vibrate as they are cut freefrom the rest of the unit. Each piece carted away makes it easier to attack the remaining section; usually the unit comes out in five or six pieces. The hardest piece to remove surrounds the drain; here, a little patience and cutting smaller pieces help. Once I’ve cut out around the drain, I reach down and undo the drain assembly with a wrench.
Plumbing — Relocating the drain for the new pan
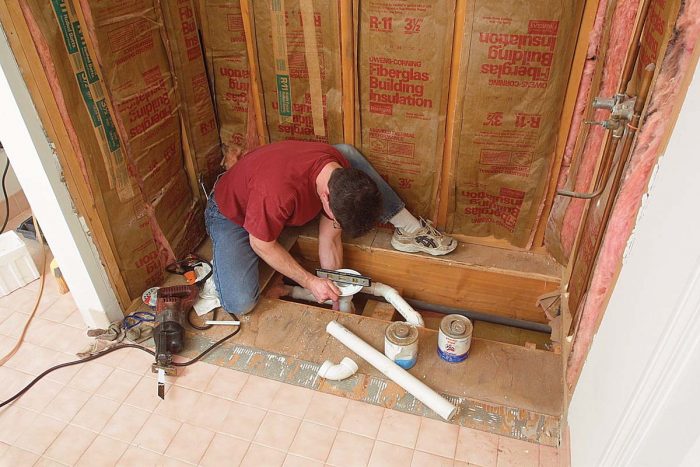
Once the old tub is removed, the drain typically must be moved from the tub end to the center of the new shower pan. After I open the subfloor, the plumber can reroute the drain and vent to the new position.
Shower Construction — Backerboard creates a water-resistant substrate
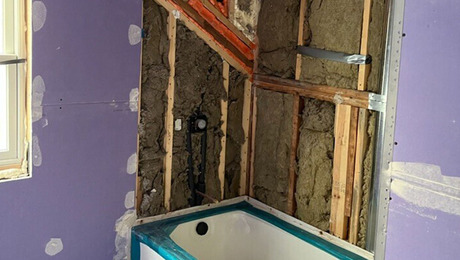
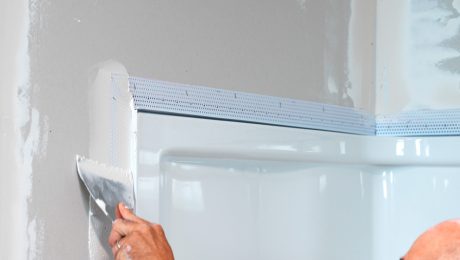
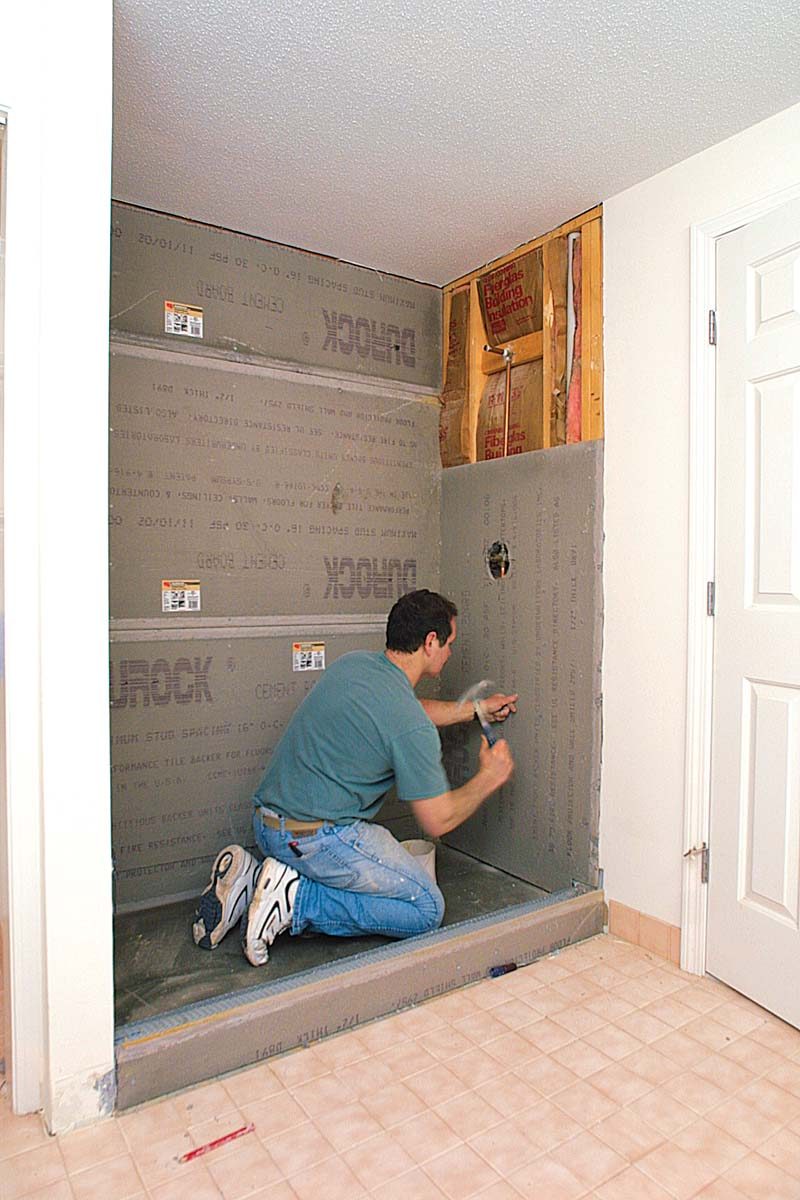
Unlike moisture-resistant gypsum-based products, cementitious backerboard can’t come apart, even if it’s soaking wet. Unless the installation is for a commercial steam shower, I don’t use a vapor barrier between the framing and the backerboard. My experience tells me that any water vapor that does end up in the stud bays won’t react with the backer or thinset and will evaporate quickly.
Here are a few other tips:
• Use the largest pieces possible. Fewer pieces equal fewer joints, which minimizes any potential for water problems.
• Attach backerboard with 11 ⁄2-in. galvanized roofing nails or screws, and don’t put any fasteners lower than 2 in. above the threshold to avoid leaks.
From Fine Homebuilding #160
To view the entire article, please click the View PDF button below.
