Cutting a Prehung Exterior Door
While it's good practice to order the door cut to fit from the lumberyard, it is possible to shorten the unit yourself.
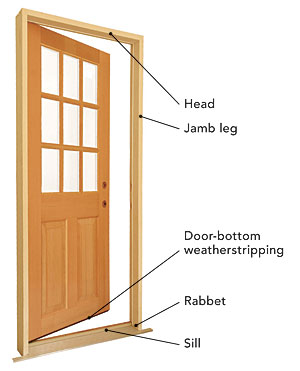
Most times when you need a prehung exterior door that’s shorter than normal, it’s easiest to order it from the lumberyard. It’s possible, however, to shorten the unit yourself. Manufacturers typically allow wood doors to be trimmed by 1⁄2 in. at the top and 1-1⁄2 in. at the bottom. You can cut more away from the bottom without hitting one of the dowels that hold the door together. If possible, I like to cut the top of a prehung exterior door because then I don’t need to remove and reinstall the door-bottom weatherstripping. Here, though, enough had to come off that I cut the bottom.
Disassemble the unit
Take the door out of its frame, and place it on a surface that won’t scratch the door, with the protruding hinges facing down. That keeps the hinges out of the saw’s way when the cut is made.
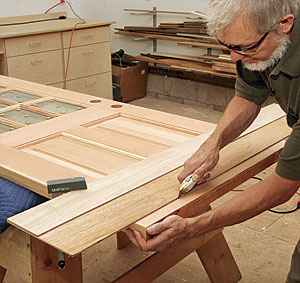
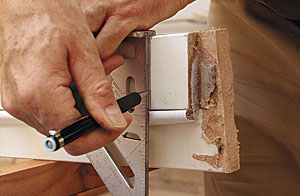
Remove the door-bottom weatherstripping carefully so that it can be reinstalled. Mark the cut on each edge of the door, and clamp a shooting board to the door, with the edge of the board indexed on the marks. Position the clamps with their long ends down so that they won’t interfere with the saw, and place a block under each clamp to protect the other side of the door.
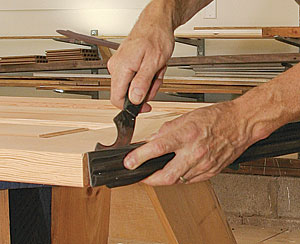
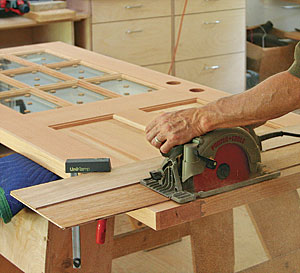
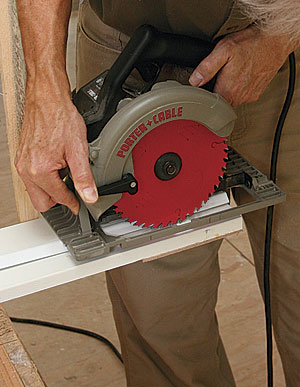
To prevent tearout, score the door with a sharp knife before cutting it with a circular saw. With the saw’s baseplate against the fence of the shooting board, cut slowly but without stopping.
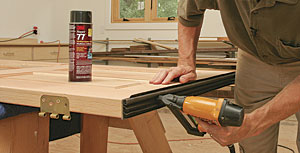
Reattach the door-bottom weatherstripping with spray adhesive and staples, or with caulk and low-profile screws or roofing nails.
Cutting the frame
Cut the same amount from the bottom of the frame as you cut from the door. Because exteriordoor frames are rabbeted, in addition to shortening the jamb legs, you need to recut the rabbets for the sill.
Cut the fasteners holding the jambs to the sill with an oscillating multitool. You also can use a hacksaw. Don’t worry about caulk residue or minor splitting on the jamb legs; they’ll be cut off later.
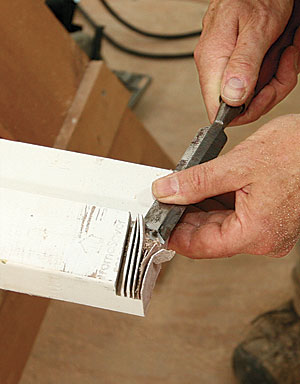
Before cutting the jamb legs, mark the new location of the sill rabbet, measuring the cut and the angle from the original rabbet. If you shorten the jambs before marking the new rabbet cut, you lose the reference point. Pull out the weatherstripping, and keep it out of the way with a spring clamp. Later, shorten it with a knife, then stuff it back into its kerf. Mark the height cut on the outside of the jambs, and cut a sill rabbet with a circular saw and chisel.
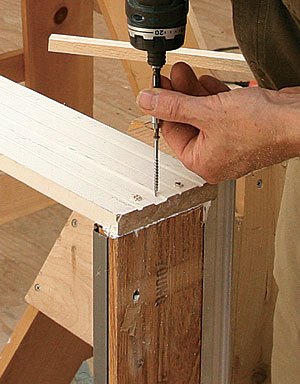
On a wood jamb, seal cuts with primer. The bottom of the jamb shown here is plastic, so no primer was needed. Apply a bead of paintable exterior sealant such as urethane caulk to the end of the sill, and reassemble the frame. I used stainless-steel decking screws.
That’s it. You’re done—except for installing the door, but that’s another story.
 |
|
9) Reassemble the frame.Use corrosion-resistant screws to fasten the sill back in place. |
Make A Shooting Board
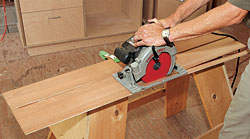
Shooting boards are jigs that keep the saw’s baseplate from damaging the workpiece, serve as a fence, ease layout, and minimize chipping. They can be made in any length and are custom to each saw. Start with a base made of 1⁄4-in. plywood or hardboard that’s about 12 in. wide. Glue to one edge of the base a piece of 1⁄4-in. plywood that’s about 5 in. wide. This will serve as a fence, so be sure it has straight edges. The amount of base to the side of the fence must be wider than the base of your circular saw. Once the glue has set, cut off the excess stock by running the circular saw along the fence. The edge of the shooting board is now indexed exactly to the sawblade, so there’s no guesswork about where to place the shooting board.
Photos: Patrick McCombe

