Install a Toilet
Plumbing pro Mike Lombardi explains his nine-step process for installing a toilet.
Ask a group of plumbers the proper way to install a toilet, and the conversation can get heated quickly. There are two major points of controversy: where to mount the flange and whether you should caulk the bottom of the toilet to the floor. When I install a toilet, I always make sure the closet flange is on top of the finished floor and anchored securely. This gives me the best chance for a sturdy, long lasting, leak-free installation because the weight of the toilet and any occupant is transferred to the floor, not the connected piping.
Equally important, when the flange is on top of the finished floor, the outlet on the bottom of the toilet (the horn) is positioned so that it’s below the top edge of the flange. This makes the wax seal last longer because the wax isn’t being worn away by the constant flow of water. It also better protects the soft wax from the spiral-shaped hook at the end of toilet and drain snakes.
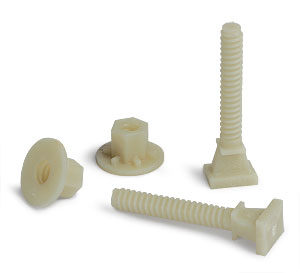
When connecting a toilet to the closet flange, I use plastic closet bolts made by Sioux Chief. The bolts have chunky shoulders that help to hold them upright so that they’re ready to accept the toilet as it’s lowered into place. The bolts won’t rust and will break if overtightened, a safeguard against cracking the toilet’s base.
Caulking the bottom of the toilet to the floor is required by the International Plumbing Code and the International Residential Code. (To find out why, see “Should You Seal the Joint Where a Toilet Meets the Floor?” FHB #237)
Step 1
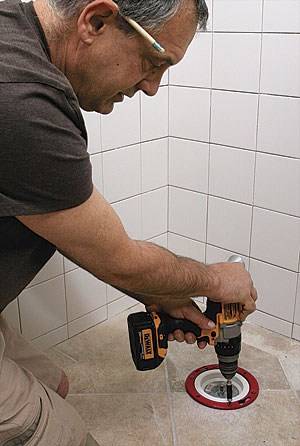
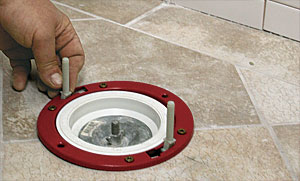
Secure the flange. Dry-fit the flange so that when the closet bolts are at the end of the mounting slots, they will be 12 in. from the wall behind the toilet. When fitting is done, glue the parts together (see “Prep and Glue Plastic Fittings,” FHB #229). Screw the flange to the subfloor with zinc-coated screws, and install the closet bolts.
 |
 |
Step 2
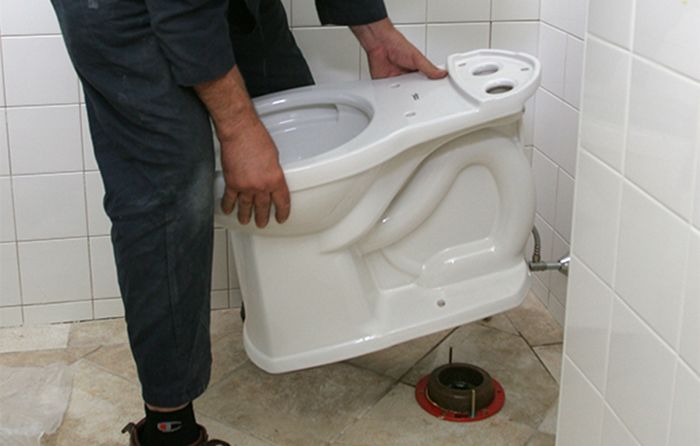
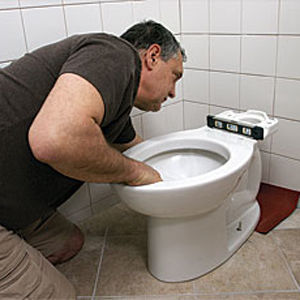
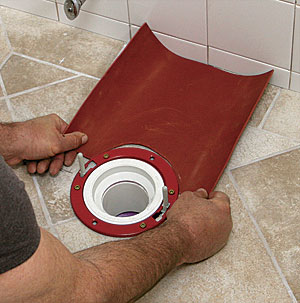
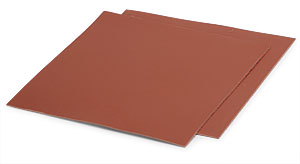
Dry-fit the bowl. To identify installation problems early, always do a dry-fit. Because this bowl isn’t quite level and has a slight rock, the author uses rubber-gasket material as a shim. Once he’s satisfied, he removes the bowl and trims the rubber to fit around the flange.
 |
 |
Step 3
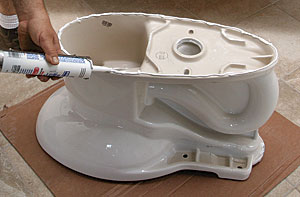
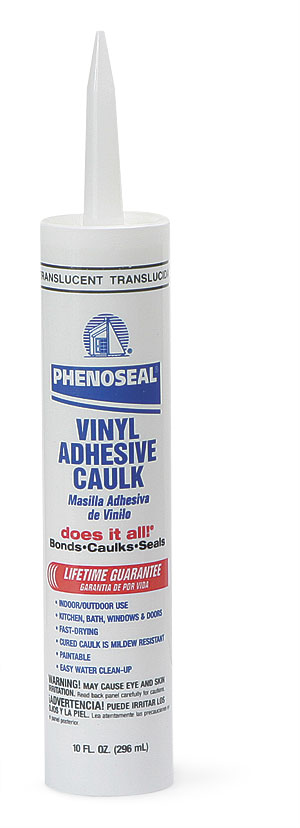
Caulk the bottom. With the bowl upside down, apply a bead of translucent adhesive caulk around the entire outside edge. This important sanitary measure is required by the IRC and the plumbing code.
Step 4
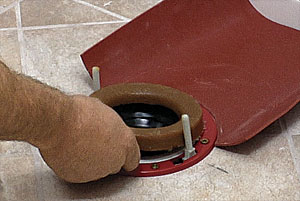
Install the wax ring. After removing the plug, place the ring in the flange. This ensures that the wax seal is centered over the toilet outlet. The author prefers the plastic-horned Hercules johni-ring.
Step 5
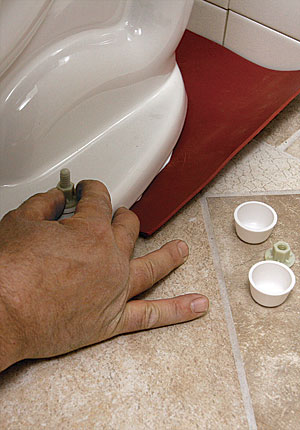
Fasten the bowl. Carefully lower the bowl over the closet bolts. Lean on the bowl, compressing the wax seal until the bowl is in full contact with the floor. Then, with the cap bottoms in place, tighten the two bolts a little at a time.
Step 6
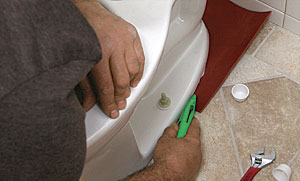
Trim the shim. Holding a utility knife so that the blade angles in, trim the rubber gasket flush with the bottom of the toilet. Use a fresh blade, and make the cut in several passes so that the blade doesn’t slip and scratch the floor.
Step 7
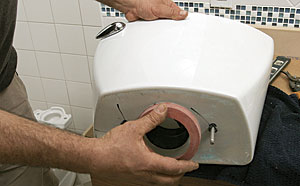
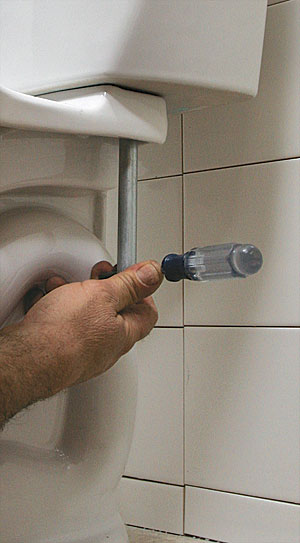
Install the tank gasket. In a conventional two-piece toilet, a soft rubber gasket seals the tank to the bowl. The brass bolts are tightened with a long socket provide by the toilet manufacturer. Go easy; overtightening can crack the tank.
 |
 |
Step 8
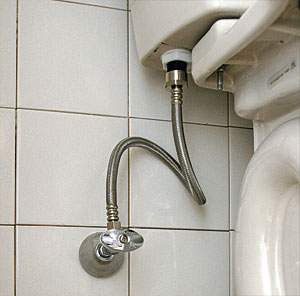
Connect the supply. The author likes to use braided supply lines with brass nuts at both ends. Choose one long enough to put a loop in the tubing. This puts less stress on the ends, which is where most leaks and breaks occur. Both ends have rubber washers, so the connections don’t have to be tightened excessively.
Step 9
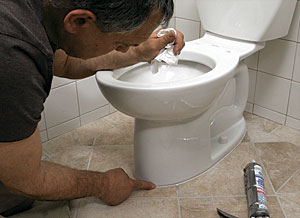
Caulk again. Flush the toilet several times, inspecting the toilet and the basement for leaks. Once everything looks OK, apply another bead of caulk to seal the base to the floor, and smooth the joint with a moistened finger.
Problem-solving products
Best bolts Plastic closet bolts from Sioux Chief ($1.20) won’t rust, and they’ll break before they’re tight enough to crack the toilet. Square shoulders keep the bolts upright in the flange.
Shim stock Rubber gasket ($5) makes an excellent shim for rocking bowls. This long-lasting material, available in the plumbing section of home centers, is impervious to water, is easy to cut, and molds to uneven surfaces.
Superior seal The author likes translucent Phenoseal caulk for sealing the bottom of the bowl to the floor. The sealant prevents water from getting under the bowl.
Photos by Dan Thornton & Patrick McCombe


