Replace a trap, and add a cleanout
A plumber teaches you the right way to remove the drain plug, attach the new Y-fitting, and glue the trap and cleanout in place
The trap in a sink drain line has some key functions. Not only will it catch the wedding ring or anniversary earring that slips down the drain, but it also creates a place for a water block to prevent sewer gases from coming up the drain line and into the house. For all the good a trap does, it’s vulnerable under the sink and can be knocked around easily by cleaning buckets and stray bleach bottles. This bruising can lead to leaks and hundreds of dollars in water damage.
Replacing a trap is something you can handle yourself. It’s a straightforward plumbing task that requires a minimum of materials and can be done easily in an afternoon. If I’m replacing a trap, I always add a cleanout if one is not there already. A cleanout is a code requirement in many areas, and it will save you a big headache if the drain line ever gets blocked.
Don’t be afraid to get comfortable
Step 1: I avoid kneeling whenever I can, preferring to get right in there. Remove the drain plug on the old trap, and let the water drain out. Then loosen the slip nut and disconnect the trap from the sink’s tailpiece. Make sure there’s enough room for a new cleanout Y-fitting. Hold the new Y-fitting roughly where it should go. Cut the drain line square about an inch away from the wall. Deburr the drain stub, and test-fit the Y-fitting.
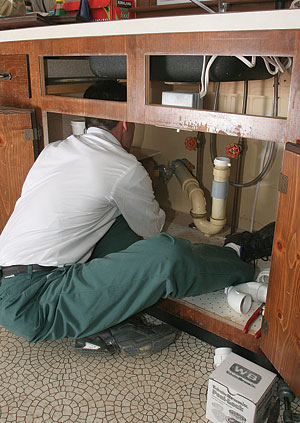
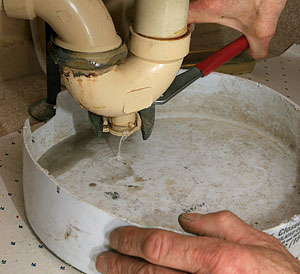 Remove the drain plug.
 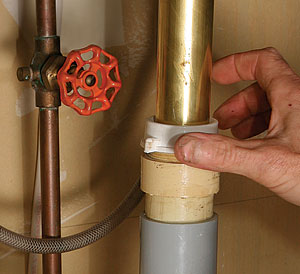 Loosen the slip nut.
 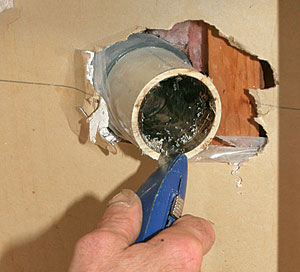 Deburr the stub.
 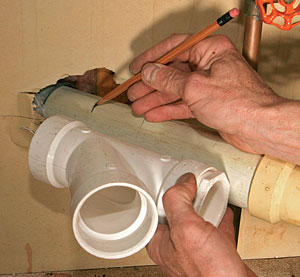 Test-fit the new Y-fitting.
Cable saw for tight spots
 Krysta Doerfler
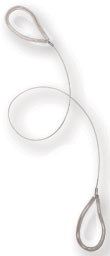
Trying to cut pipe with a handsaw in the cramped space under a sink can bang up my knuckles and elbows. I often use a battery-powered reciprocating saw with a stubby blade, but even this tool can be too big for really tight spots. A handy little device for these situations is a PVC cable saw. It’s a cable with a rubber-coated loop at each end. When you pass this cable behind the pipe and pull back and forth, the cable slides through PVC like butter. The cable doesn’t actually cut the pipe like a saw. Instead, it melts its way through the PVC with friction from the back-and-forth sawing motion. Cable saws are widely available in hardware and plumbing stores for less than $15.
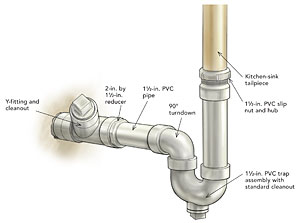
Attach the Y-fitting, and measure the horizontal and vertical PVC-pipe sections
Step 2: Install the Y-fitting level but with the cleanout section tilted up. To glue the cleanout, coupling, and other sections, coat both surfaces evenly with primer; then coat both surfaces with glue. Fit the sections together, and hold secure for 20 seconds to allow the glue to set up. I hold a level up to the Y-fitting while the glue is setting so that it ends up where I want it.
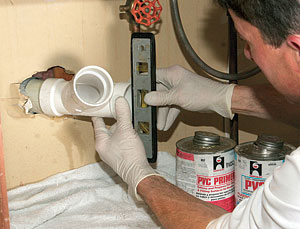
Step 3: Measure for the vertical pipe section that connects the tailpiece to the trap. It’s best to do this after gluing a 2-in. by 1 1/2-in. reducer to the Y-fitting, as shown below. Measure from the inside lip of the trap to the tailpiece, then add 1 in. Glue the slip-nut hub onto the vertical pipe. Dry-fit the trap, and eyeball the alignment to the cleanout. Measure from the coupling to the trap, and add 1 1/4 in. for the horizontal pipe section. Glue the 90° turndown to the horizontal pipe.
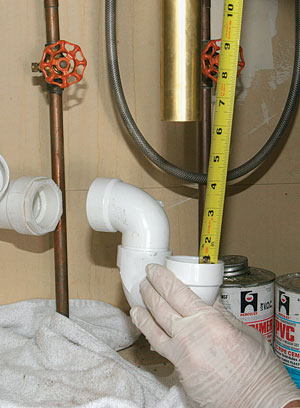
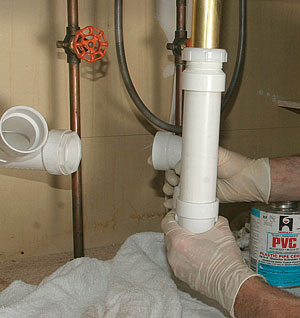 Dry-fit the trap.
 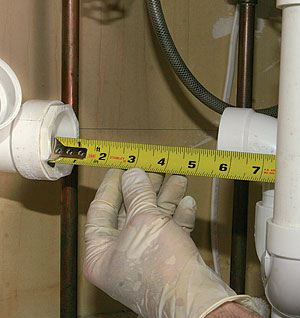 Measure the coupling.
Glue the trap and cleanout in place
Step 4: Level the vertical PVC pipe by loosening the slip nut. Retighten the slip nut, and glue the trap to the vertical and horizontal pipe sections. New glue especially will want to push the joint apart before it is set, so hold it for an extra 10 seconds.
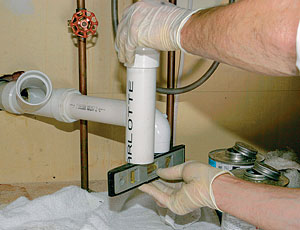
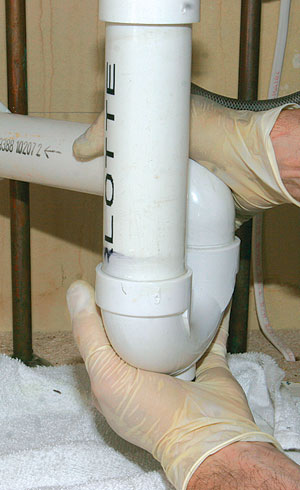
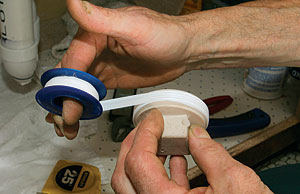
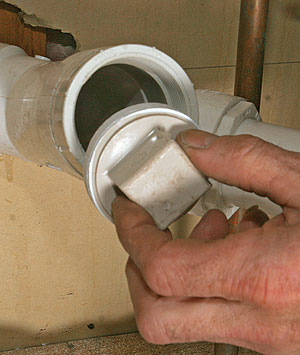
Step 5: Complete the cleanout. Take the threaded plug out of the cleanout, and glue the cleanout to the Y-fitting. I wrap the cleanout’s cap threads with Teflon tape, then add some pipe dope on the threads as an extra precaution. After the glue is good and dry, tighten the plug to a snug fit with a wrench or adjustable pliers.
Photos by: John Ross, except where noted; drawing by: Chuck Lockhart
