Soldering Copper Cap Flashing
Learn how to shape and solder copper cap flashing, a window's first line of defense against water and the best way to prevent rot, insects, and mold.
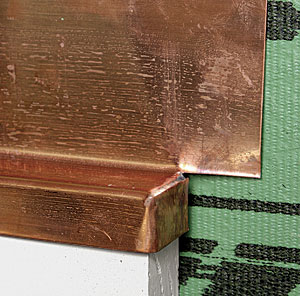
Cap flashing, which is installed atop the head casing, is a window’s first line of defense against water infiltration. When bending cap flashing, I like to use 20-oz. copper for both appearance and durability. Unlike aluminum, the folded copper ends can be soldered, so I don’t have to rely on caulk to seal the joint. I use 20-oz. copper because it is thin enough to work easily yet provides protection far beyond my lifetime. I use a portable sheet-metal brake, which can be rented at most home stores, to bend the flashing’s profile.
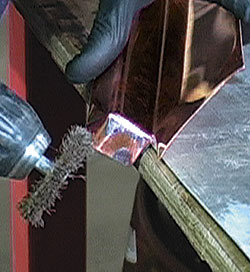
For the soldering work shown here, I use a propane soldering iron (as opposed to a torch) because an iron offers me more control over the heat, which I apply to the copper fold. You also can buy electric soldering irons at most hardware stores.
Prior to soldering the ends, I apply flux to the flashing. Flux enables the solder to adhere to the copper. I also mix 1 part Ruby flux ($4.95 for a pint) and 3 parts water in my dipping jar, which I use to keep the iron clean.
Bend The Profile, Then, The End Flaps
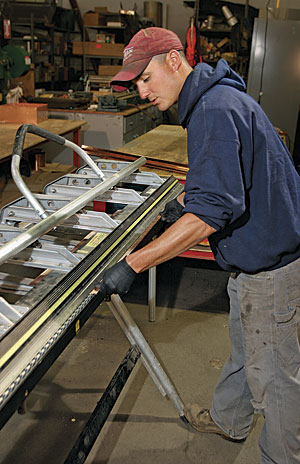 |
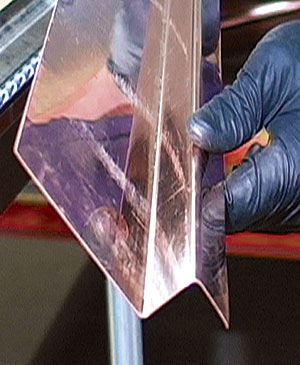 Bend a simple Z. Start with a 4-in. piece of copper 3 in. longer than the window’s head casing. Using a sheet-metal brake (FHB #190), bend the copper into a Z that fits over the trim. |
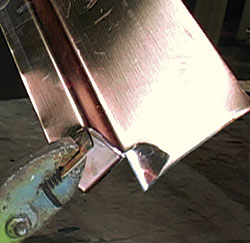 |
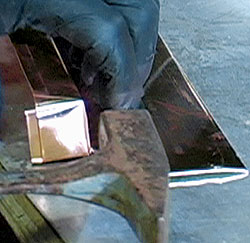
Bend in the flaps. To give the end a seamless look, bend down the top flap first, then the front flap back. Pliers work for these small bends. |
Apply Flux, Heat, And Solder, In That Order
 |
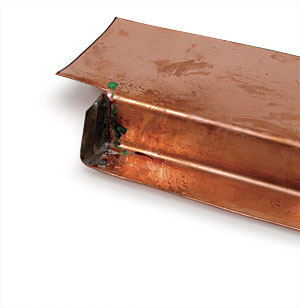 |
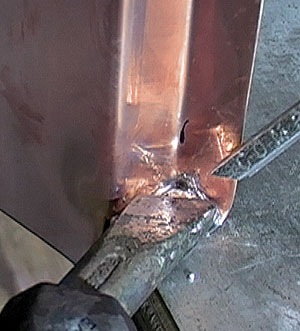
| Solder from the inside. Set the end of the cap on a nonflammable surface. Apply the flux, also called a tinning agent, directly to the copper. Press a hot iron into the corner to heat the copper and the flux. Touch the solder to the iron. The solder will melt and run down the iron into the corner. When solder just starts to bleed out the other side, you’re done. When working with uncoated copper, use a solder stick that is 50% solder and 50% lead. |
Snips: Don’t Cut Costs
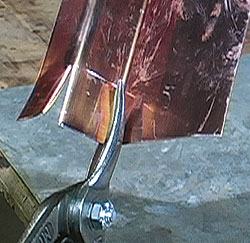
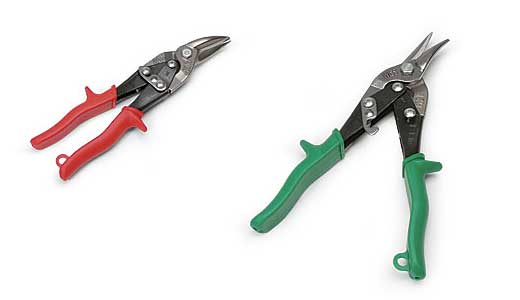
Inexpensive metal snips are a curse on any project. You’ll end up with sloppy cuts, creases where the metal should be flat, and probably an extra nick or two on your fingers as you struggle through a project. The high-quality snips shown here (www.cooperhandtools.com) cost only $5 more than a generic brand. For only $14.95, you can afford to avoid frustration.
If you’re really into pampering yourself by buying more tools, then you can get two pairs, red ones and green ones. Using these snips, you’ll soon discover that the colors aren’t simply for fashion. The green-handled snips cut with the waste to the right, and the red cut with the waste to the left. This is convenient when cutting anything but the simplest profiles. Of course, once you buy two pairs of metal snips, you’ll have to buy two holsters ($14.95; www.bestbelt.com) to carry them around.
—John Ross, Web producer
Magazine extras: Everyone can get the basics by watching John shape and solder copper cap flashing. And FineHomebuilding.com members can go beyond the basics and learn how John applys additional bends with his brake to make a decorative copper cap flashing.
Photos by John Ross, except where noted.



View Comments
Make sure you use copper nails to install this copper trim. Using galvanized roofing tacks or button caps is a no no. Dissimilar metals dont do well together.