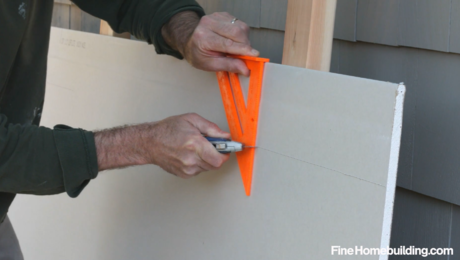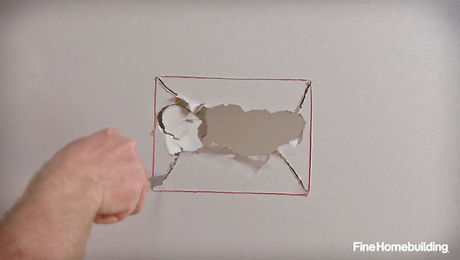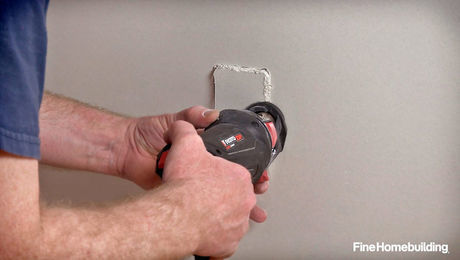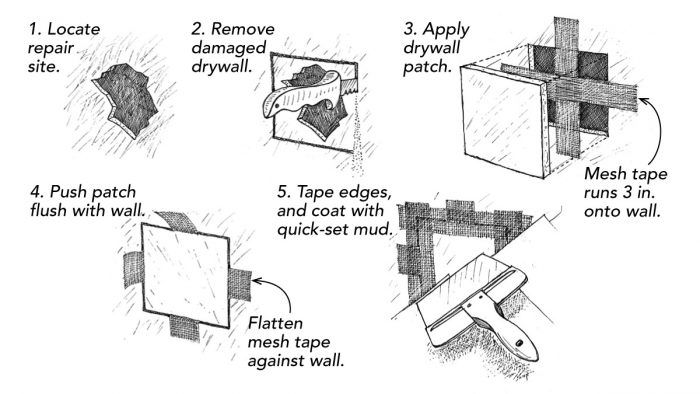
As a drywall contractor, I often encounter situations where I have to patch walls of different thicknesses, from 1/4-in. to 7/8-in. for old plaster walls. Instead of carrying all those different thickness of drywall, as well as scraps of wood for backing and furring, all I need in my truck is a remnant of 1/2-in. drywall, a roll of fiberglass mesh tape, hot-mud (quick-setting) joint compound, and my normal taping tools. As shown in the drawings at left, I cut out the damaged area; then I cut a piece of drywall to fit the resulting hole. Next, I cut two pieces of mesh tape, one piece about 6 in. longer than the width of the patch and another 6-in. longer than the height. I center the tape over the hole, forming a cross with the sticky side toward the wall.
Next, I push the patch over the cross until the patch is flush with the existing wall. Then I press the four mesh-tape tabs that are now poking out until they also are flush with the wall. I always tap on the patch to make sure the mesh tape running behind it is taut. If the patch is too deep, I just lift the tabs and adjust it outward. Then I put mesh tape over the joints and apply a coat of mud, as shown in drawing 5. When that coat is set, I sand the patch flat and apply a skim coat to ready it for painting.
Corey Latimer, Pearce, AZ
Edited and Illustrated by Charles Miller
From Fine Homebuilding #225


