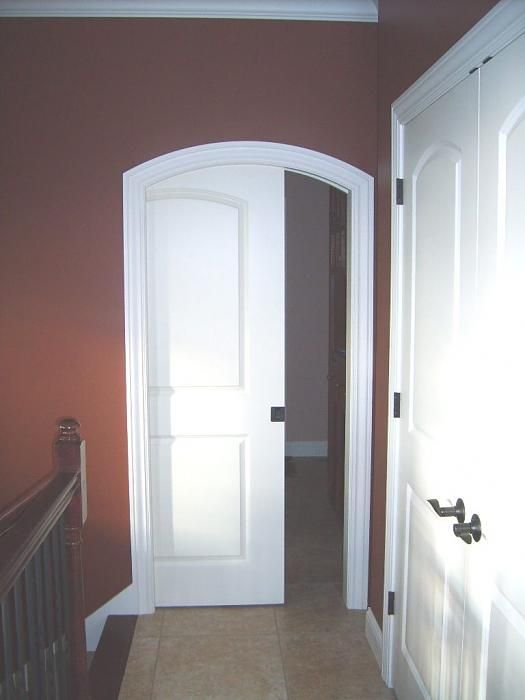
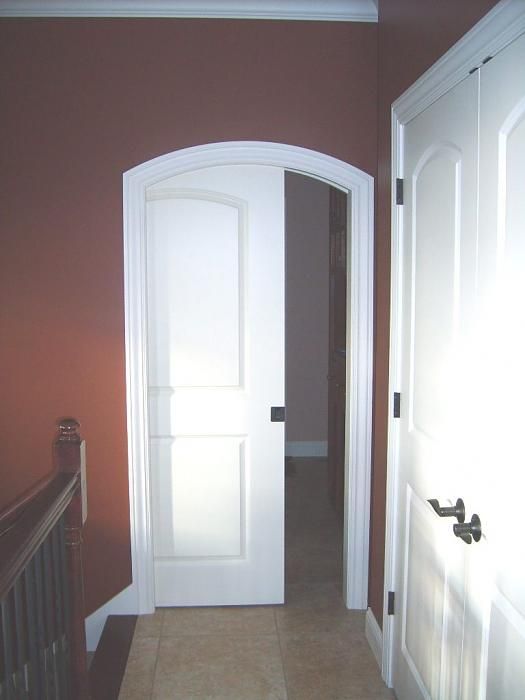
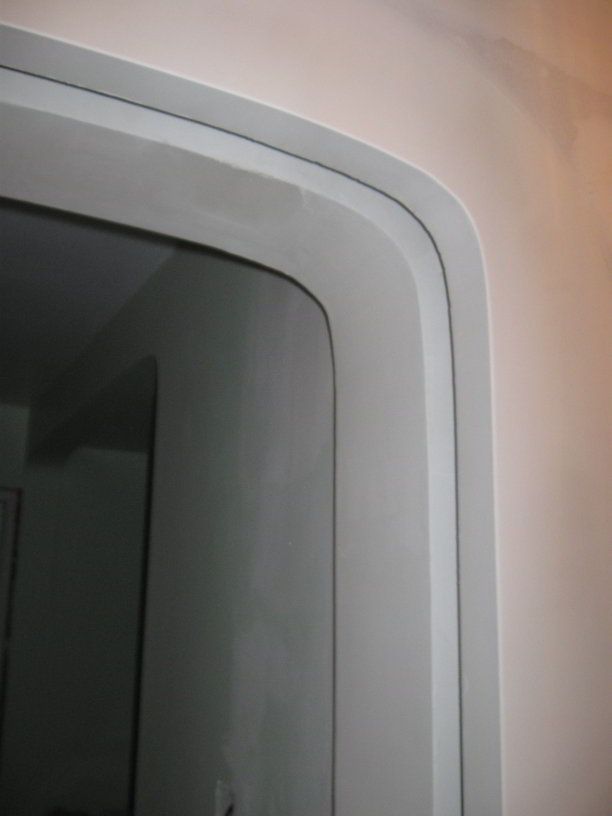
This will be a series of posts showing how I do arches, including a couple of arches that house pocket doors. I did my first arched pocket door a few years ago with an arched wood split-jamb trimmed with arched wood casing. The one I am doing now involves an arched drywall pocket. Here are a couple of photos of a finished version and one that will be completed this week.
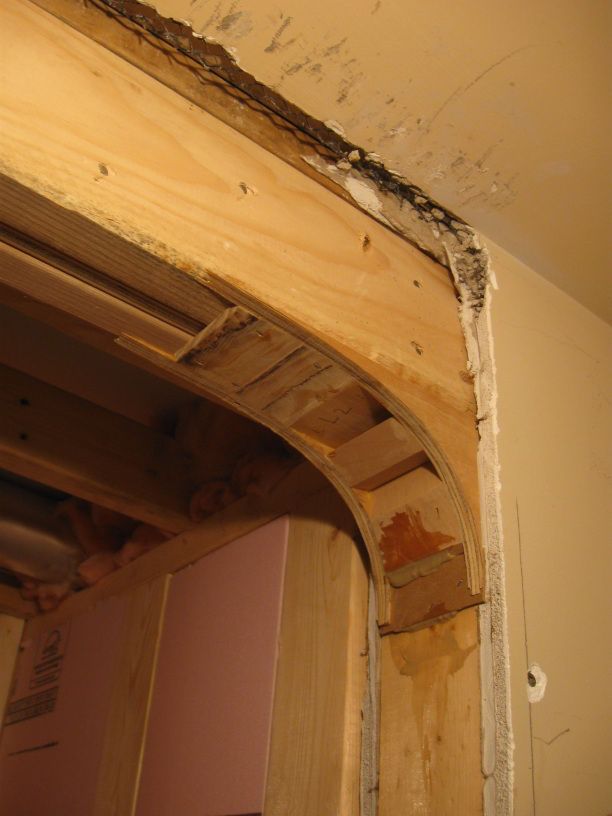
Now back to the beginning, the arches: This latest batch are pseudo-elliptical arches. I copied and existing arch in a home I am remodeling and duplicated them for five other openings. The arched corners have a elliptical geometry with the arc starting with a tight radius and splaying wider at the top, like an ellipse, but the top of the arches flatten out, rather than continuing the elliptical curve.
The arches are being added to old plaster walls (except for the pocket door opening) and each arch is a different width and and depth. The radius was tighter than any arch forming product I found on the market and with different wall thicknesses and a unique tight radius, so I made my own arch corner frames.
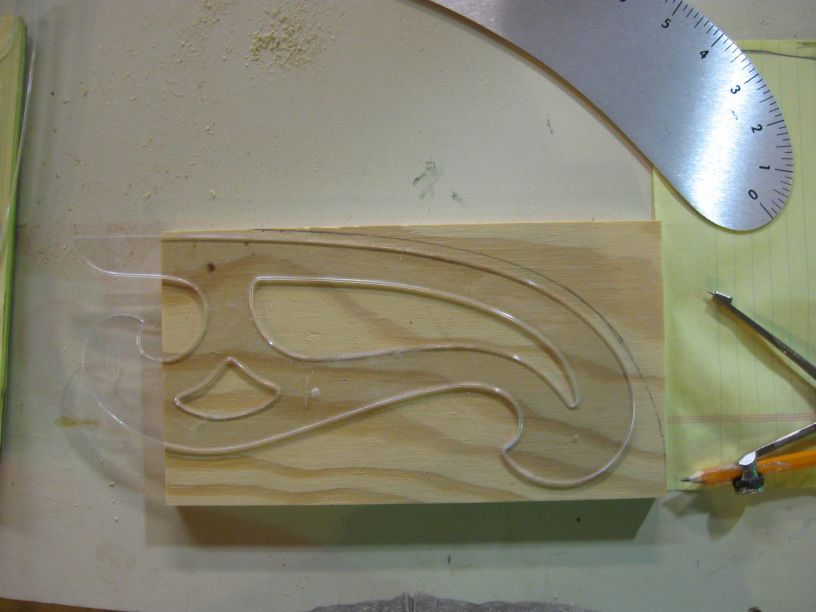
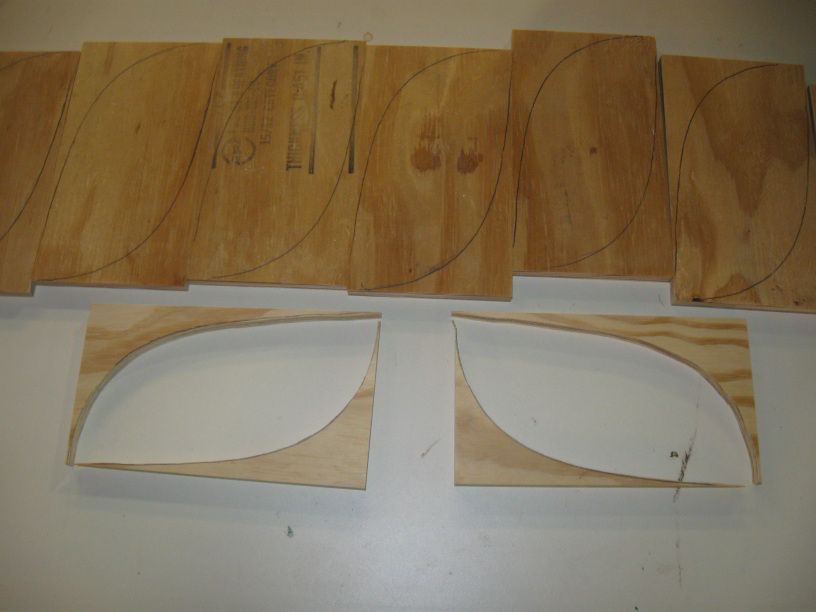
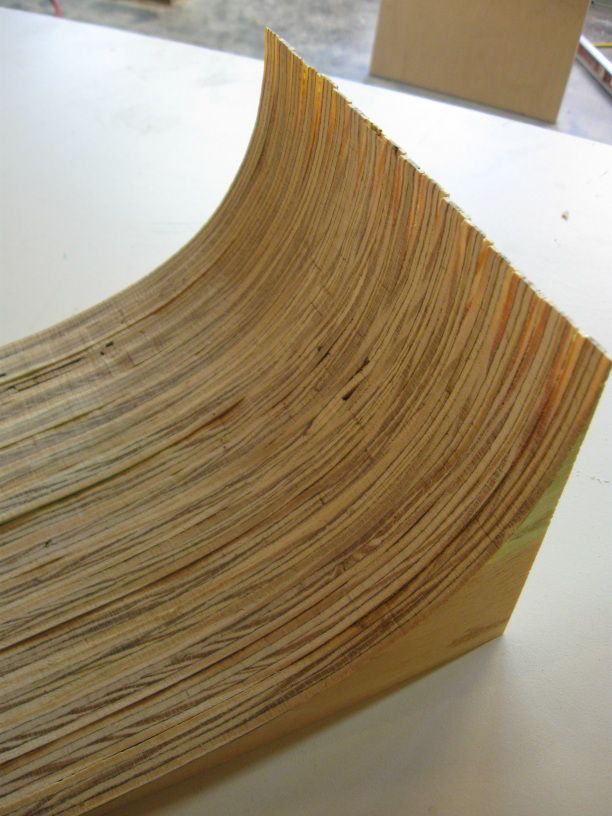
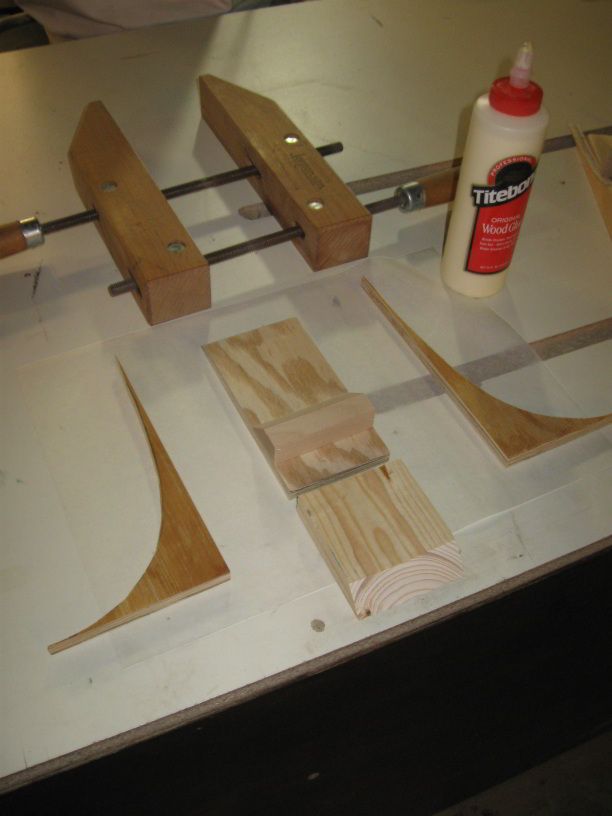
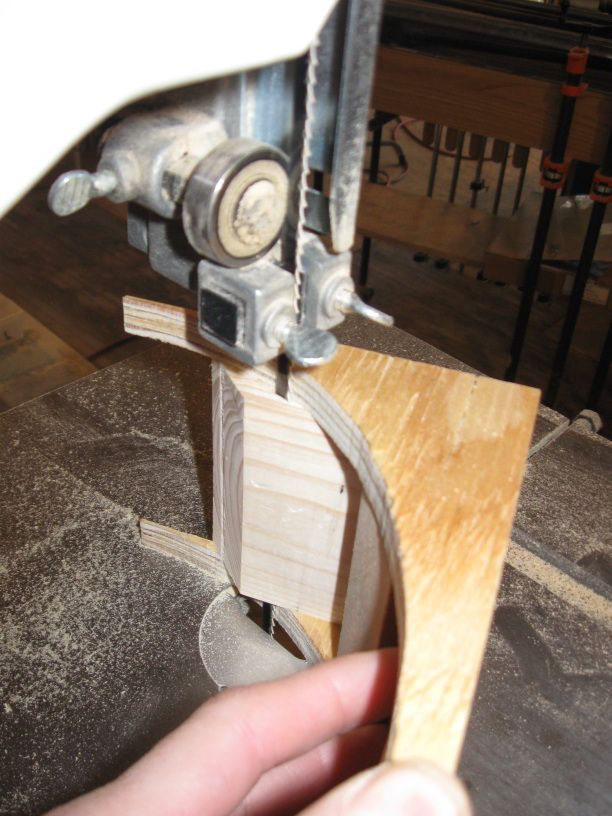
I started with 5×9″ blanks of 1/2″ ply. Traced the pattern and rough cut the curves with the band saw. The middle of the sandwich is an L-shaped frame of a vertical 1x block and a horizontal piece of 1/2″ ply. An extra backing block was added in the middle of the curve for a total of 5 pieces.
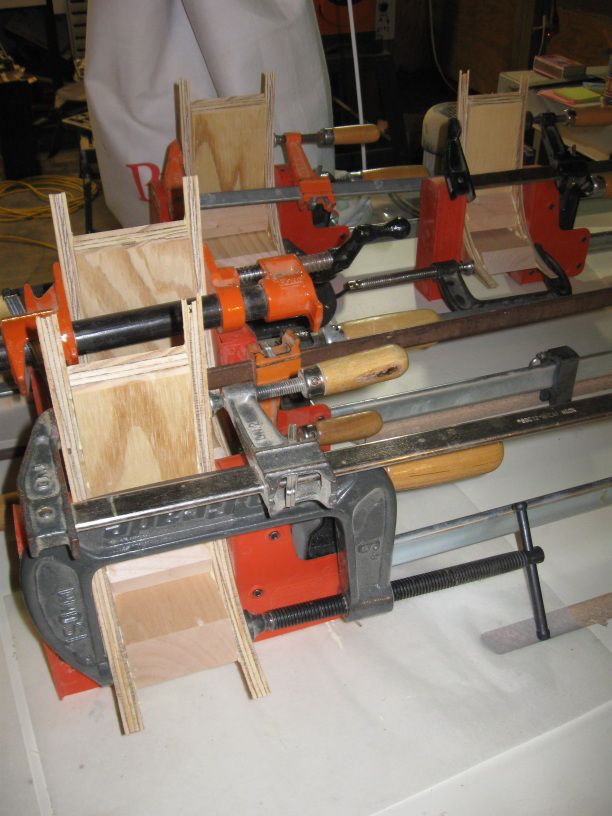
I did the glue up with the ends of the “L” extending beyond the points of the curves and trimmed them flush on the bandsaw the next day. I do the glue up over parchment paper (bakers wax paper) to keep from gluing stuff to my bench.
Fine Homebuilding Recommended Products
Fine Homebuilding receives a commission for items purchased through links on this site, including Amazon Associates and other affiliate advertising programs.

Not So Big House

The New Carbon Architecture: Building to Cool the Climate

Get Your House Right: Architectural Elements to Use & Avoid








View Comments
Excellent post! Keep it coming - I really like finding out how to do arches the right way!
Thanks! J
Thanks for the great information. I'm off to start my arch right now.
Now this is a FineHomebuilding quality post.
Keep up the great work.