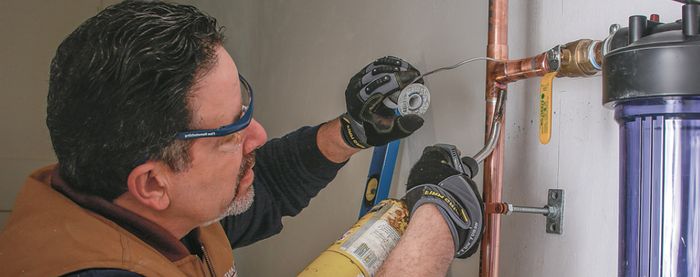
Installing a Cast-Iron Kitchen Sink: Faucets and Drain
In the first part of this video series, learn how to attach the fixtures before you install the sink.
After realizing that the old sink he is replacing is rotted beyond repair, plumber Bruce Norman demonstrates how to install a new cast-iron sink.
Fit the sink to the countertop
All new sinks should come with a template for cutting the hole in the countertop that the sink will drop into. The template will also show how wide the lip of the sink is, to help you plan the clearance you will need around the hole. Use the template to layout the hole, and then cut it with a circular saw or a jigsaw.
Install the fixtures before you install the sink
It can be difficult to fit and tighten down the drain, faucet, and any other fixtures if the sink is already attached to the cabinet. To minimize time spent crawling under the sink, attach everything you can before you drop the sink into place. Use beads of plumbers’ putty to seal where fixtures meet the surface of the sink. After the faucet and drain are in place, attach the water lines that will connect to the water-shut-off valves inside the cabinet. Sink water lines usually have rubber o-rings so you shouldn’t need to add any Teflon tape or sealant to the fittings – just thread them on, and tighten them down.
Watch part 2 of this series to see Bruce complete the sink installation.
Check out more videos and articles by Bruce Norman here.


View Comments
Thanks for the visualizations to replace kitchen sink. It is showing actually how we can replace the kitchen sink and it is the most effective way to describe. I have bought beautiful sink for my kitchen from Appliances Connection, once I have faced one problem in it and immediately I got the repair from Appliances Connection. Its providing really very nice service to the consumers.
http://www.appliancesconnection.com/sinks-b1216.html