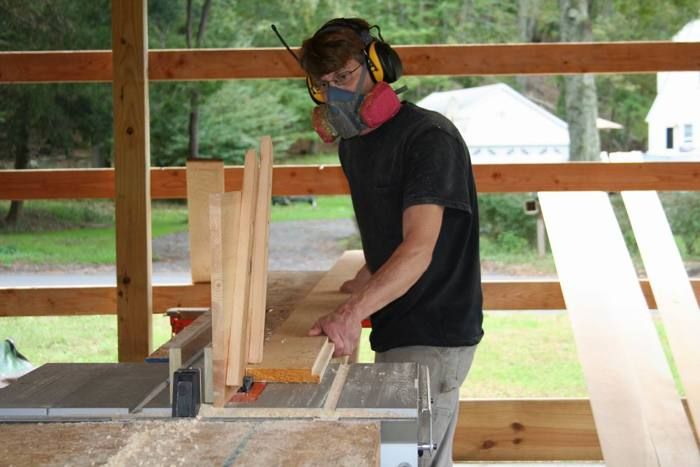
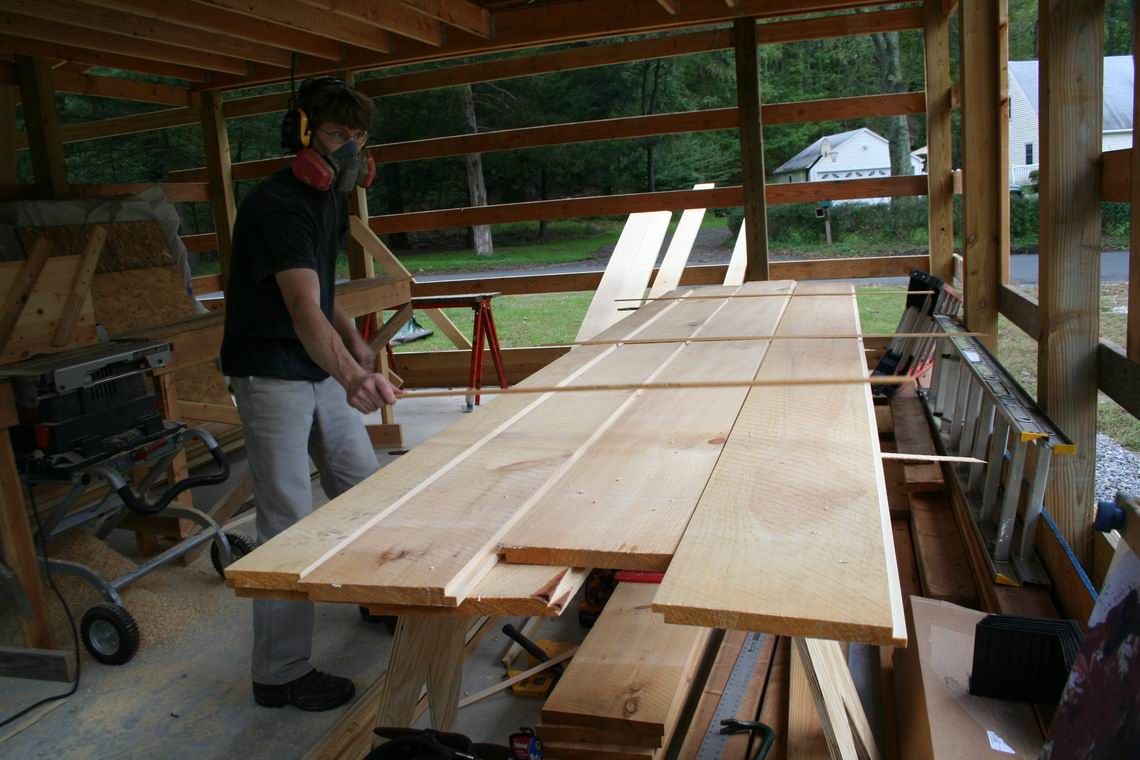
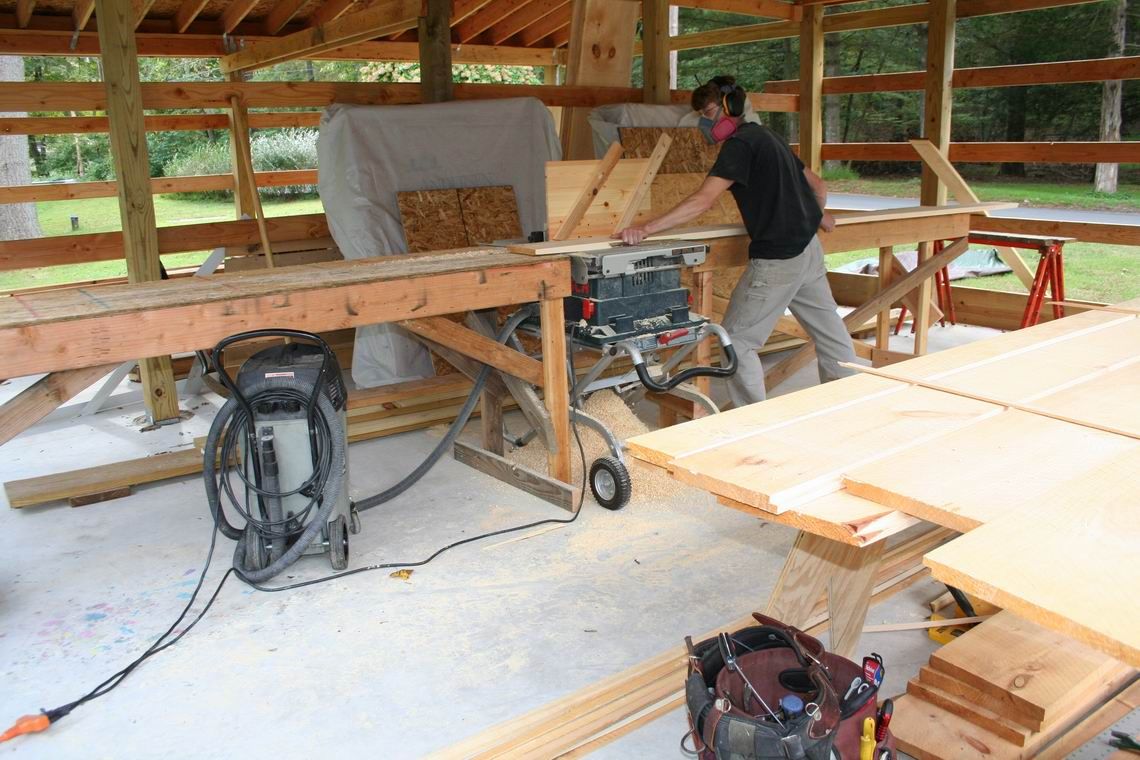
You may remember from an earlier post that I got a huge stack of local white pine back in August that was saved from the chipper by my coworker Dan Morrison. The time has finally come to start milling the rough stock into siding. Last Saturday morning, I got started by rounding up my equipment and building infeed and outfeed tables to support the boards, most of which are 13 ft. or longer.
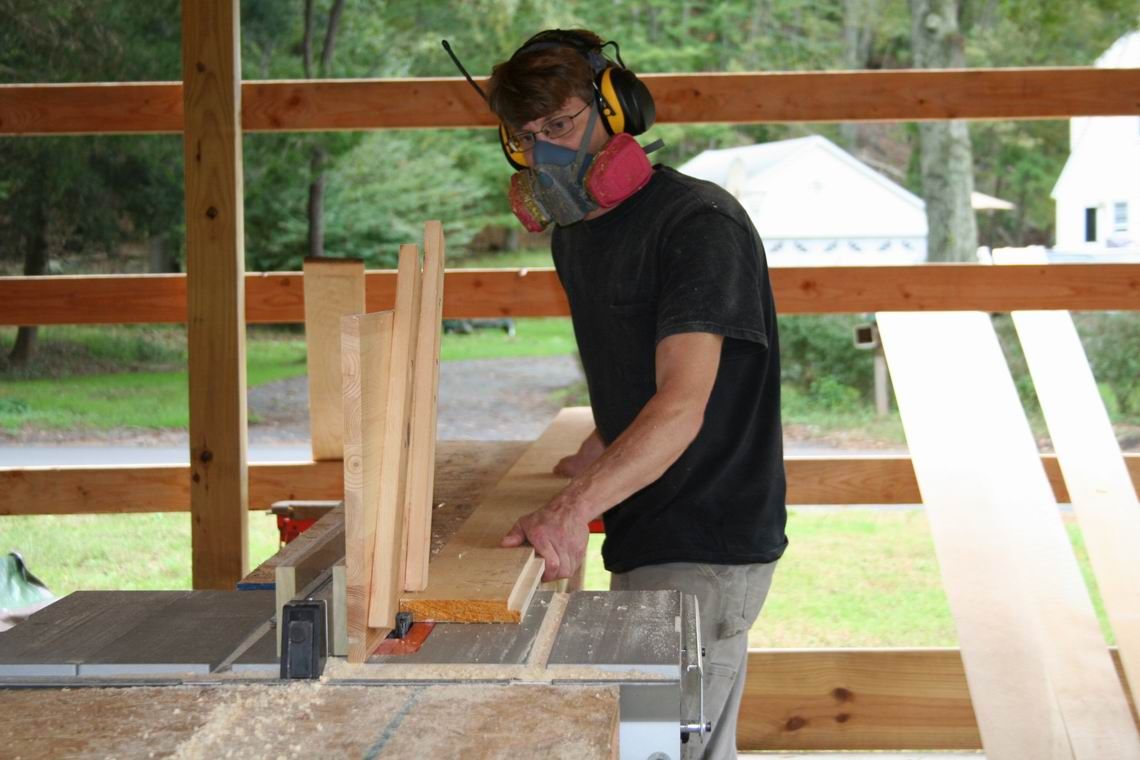
I started my workday Sunday by drilling the aluminum rip fence on my Bosch 4000 tablesaw to mount an extra piece of flat stock. The extra piece of stock, which is often called an auxiliary fence, would allow me to attach a pair of feather boards to the fence to hold the the stock tight to the table while I rabbeted the edges with a dado set. This work took a surprising amount of time (doesn’t everything?) because I had to disassemble the fence to make sure I wasn’t going to damage anything by putting a pair of 1/4-in. holes through the center.
Bosch, if you’re reading this, you really should drill and tap the holes at the factory. I can’t imagine the operation adding more than a dollar or two to the final price of the machine. Drilling and tapping the holes at home or at the job site is a big pain; unfortunately, it’s necessary for anybody who wants to do more with their saw than just rip and crosscut stock.
Once the fence was ready, I ripped clean edges on both sides of about a dozen boards. Once that was finished, I installed my feather boards and a stacked dado cutter to make the 1/2-in. by 1/2-in. half laps. I was pleased that my saw had enough power to do this hefty cut in a single pass. And it left a surprisingly smooth finish. I’m guessing I made about 100 sq. ft. of siding in this trial run. This weekend I’ll get serious about production; winter is fast approaching.
Read more about my barn here.
Fine Homebuilding Recommended Products
Fine Homebuilding receives a commission for items purchased through links on this site, including Amazon Associates and other affiliate advertising programs.

8067 All-Weather Flashing Tape

Handy Heat Gun

Affordable IR Camera








View Comments
Patrick--this is great! Do you have any additional words of advice on drilling the holes in the Bosch fence? I need to do this to my saw and I've been putting it off for fear of messing up the fence. Anything that could save me time and frustration (and probably others--this is a popular saw)? I'll be doing a small run of flooring for a staircase landing as soon as I have the setup completed. Thanks.
Thanks. As I recall, I drilled a pair of 1/4-in. holes 1 1/8-in. up from the bottom (double check, please). There's a single steel rod inside that you have to go underneath. I'm using countersunk carriage bolts with wing nuts to hold on the poplar fence because it saved a little time, but tapping for flat head machine screws would be better. I have a larger piece of butcher-block pine screwed to the poplar fence (good plywood would be fine)and a pair of 4-in wide feather boards screwed to the pine. I layed-out the holes on both sides of the fence very carefully and drilled from both sides toward the center of the fence. I got to use an automatic center punch for the first time. I bought it secondhand for a few bucks about a year ago. Cut and paste this into you browser if you're not familiar with this neat little tool: http://en.wikipedia.org/wiki/Automatic_center_punch