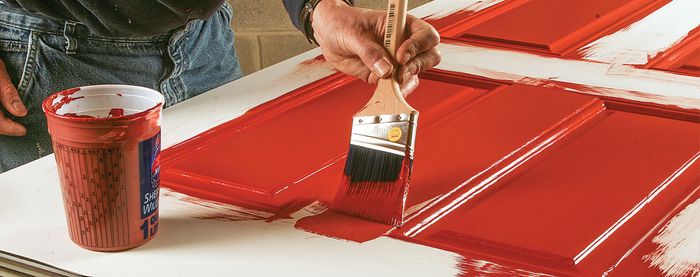
An Efficient Way to Paint Doors
This simple setup uses a couple of sawhorses, some long screws, and a few pieces of plywood to make a spinner for supporting a door while it is painted
This one was sent to us by one of our favorite Tipsters, Don Mathis of Macomb, Ill.:
The setup uses a couple of sawhorses, some long screws, and a few pieces of plywood to make a spinner for supporting a door while it is painted.
First, we tie a couple of sawhorses together with a 2×6 screwed to their crossbars. Then we screw a plywood upright to each crossbar. The uprights have notches in their top ends, as shown in the drawing. Concrete-screw axles centered in the ends of the door ride in the notches, allowing the door to be rotated for painting both sides in the same session. Make sure that the uprights are tall enough to allow the rotating door to clear the 2×6 cross tie.
To assemble the axles, we use 1/4-in.-dia. by 4-in.-long concrete screws and a short piece of 3/8-in. I.D. tubing sandwiched between a fender washer on the outside and a smaller washer on the door side. The tubing acts as a bushing for the screws as the door is rotated. We install another 4-in. concrete screw 3 in. to the side of each axle. These offset screws protrude about 21/2 in. As shown in the drawing, the offset screws enable the door to be locked easily in any position with a simple plywood brace and a clamp.
When we have a lot of doors to paint, we set up a drying rack that consists of rows of uprights with 4-in.-deep notches. The doors hang vertically in the notches as they dry, making it easy to put a lot of doors in a relatively small space. The screws act as handles for easy carrying by two workers and ensure that the doors will hang vertically.


