Bathroom Remodel Reality Check
A no-nonsense look at the complications of common bathroom upgrades.

Let’s face it: It all looks easy on cable TV. But when it comes to projects such as remodeling a bathroom, some ideas for improvements may not be worth the time, trouble, and cost.
It’s important to understand what goes into the execution of those projects, not only for the purpose of planning but also for the big increase in time or cost they may involve or for the possibility they will leave your bathroom at risk of problems down the line. Here’s an unvarnished look at six popular bathroom upgrades and what you need to consider before beginning the work.
Recessed Storage
Recessing a medicine cabinet, display shelf, or shampoo niche into an empty stud cavity provides an extra 4 in. or more of space, but you need to understand what you’re cutting into.
First, never do this in an exterior wall. Exterior walls are for insulation, and insulation is more important than clever storage.
Second, don’t cut studs if you aren’t sure what they support. Some interior partition walls don’t support anything above and so can be cut back without much hassle, but load-bearing walls require a structural header. One workaround here is to limit your storage to the space between two studs.
Third, don’t brazenly reroute plumbing pipes. For instance, vent pipes are part of a properly functioning whole-house drainage system, and something as simple as routing a vent pipe horizontally to get around a recessed medicine cabinet can pose a major health risk if the system ever clogs and backs up.
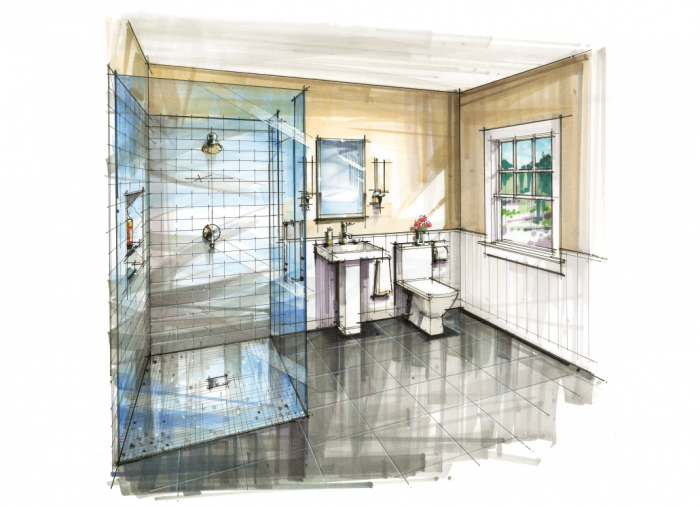
Curbless Shower
The most common approach for adding a curbless shower is to notch the joists under the shower, setting that space lower than the rest of the floor. Be careful of spans, though. Lumber is graded based on complicated criteria, including size and location of acceptable defects, such as knots. A 2×6 floor may meet span requirements, but that doesn’t mean you can rip 2 in. off the existing 2×8 joists and call it a day. Changing the relative placement of once-acceptable knots and other defects means that the altered board may not pass a building inspection. Best practice is to double the joists or reinforce them by gluing and screwing plywood to both faces.
Pedestal Sink
Before you commit to replacing your bathroom cabinetry with an open-base vanity or pedestal sink, check that the existing cabinetry has been installed over the floor tile. If the cabinetry went in first, you’ll be looking at bare subfloor or old flooring underneath it, and you’ll have to replace the tile floor.
Toilet Relocation
Setting up a waste pipe is more complicated than most people realize, and relocating a toilet can mean major bathroom surgery. The 3-in.- or 4-in.-dia. waste pipe must have enough vertical space to be pitched 1⁄4 in. per ft., which may not be possible if the run is long or the joist bays are shallow. The situation gets more complicated if the pipes need to be run perpendicular to the joists. This job will likely involve holes cut in the floor or the ceiling below the bathroom to determine the best plumbing layout, which should be created only after consulting with a trustworthy plumber.
Wainscot
Before adding wainscot, think carefully about transitions and the fit of fixtures and mechanicals. Basically, anything that projects through the wall needs to be adjusted.
This may include:
- extending water-supply stub outs at the toilet and sink
- boxing in or rerouting baseboard heaters
- adding spacers to electrical outlets
- adding depth to the projection of door and window trim
Also, be sure that the wainscot cap you choose won’t interfere with the placement of your medicine cabinet, towel racks, mirror, faucet, or vanity-top backsplash. Finally—and this is what most people forget—make sure that your toilet will still fit. Adding layers to the wall may push the toilet far enough forward that it no longer can be set directly atop the closet flange.
Tile Flooring
Replacing your existing flooring with tile doesn’t always mean you have to rip it up; you can sometimes tile over existing flooring. The two things to ask are whether the existing flooring will allow for a proper bond and whether the floor structure is stiff and strong enough. If you have vinyl, you can cover it with new tile underlayment to provide a porous base for bonding the tile. If you have tile, you can lay new tile over it as long as the tiles aren’t loose, broken, or have cracked grout joints. These are signs of a subpar tile job, hidden moisture damage, or a floor that needs to be beefed up. Also, tiling over flooring of any kind usually means removing the baseboard molding, trimming the door and its casing, and adding a thicker threshold and spacers at the toilet’s closet flange.
Justin Fink is Project House editor.
From Fine Homebuilding #255
RELATED STORIES


View Comments
Would it be possible to address the code issues of a curbless shower? IMHO the codes need to change. It's often impossible to turn the entire bathroom floor into a shower pan so that the drain is 2" down from the entrance to the bathroom, which is what code in CA requires.