5 Steps for Flashing a Deck Ledger
A multilayered approach keeps water out of the house at this critical connection.
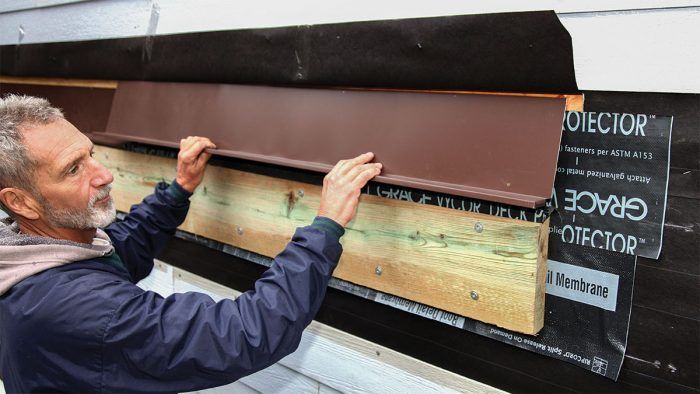
Synopsis: Editorial advisor and seasoned deck builder Mike Guertin points out that the building codes give requirements for deck-flashing materials, but offer little guidance about how to accomplish the process of flashing the ledger. In this article, he walks through his ledger-flashing strategy step by step, and includes recommendations for types of membrane and rigid flashing, strategies for scoring flashing tape, and details about integrating with the water-resistive barrier for a fully waterproof assembly.
I’ve dismantled many old decks in preparation for building new ones. In several cases water that leaked around insufficient ledger flashing or through holes in the flashing caused the rim joists to deteriorate. Fortunately the rot on those homes was limited and didn’t lead to any deck collapses. But given more time, the water leaks and decay could have led to the ledgers loosening and not being able to support the deck.
There’s no single right way to flash a deck ledger to prevent water from leaking into the house. Because of the different climatic conditions in different regions, the risk can be different. A flashing approach that works in the arid Southwest that receives less than 12 in. of rain per year—where occasional water that leaks by or through the flashing likely dries quickly—probably won’t work in a more humid climate that receives 30 in. to 40 in. of rain.
Ledger flashing and the code
The 2021 International Residential Code (IRC) gives little direct guidance on deck-ledger flashing. Footnote “a” under table R507.9.1.3(1) reads, “Ledgers shall be flashed in accordance with Section R703.4 to prevent water from contacting the house band joist.” But the only additional information in section R703.4 is this: “… corrosion-resistant flashing shall be applied shingle-fashion in a manner to prevent entry of water into the wall cavity or penetration of water to the building structural framing components.”
The IRC goes on to note that self-adhered membranes and fluid-applied membranes shall comply with certain standards. Section R507.2.4 describes the minimum standard for flashing material as corrosion-resistant metal at least 0.019 in. thick, or approved nonmetallic material (meaning approved by the local building official). And the flashing must be compatible with the deck framing and decking materials. These sections of the code focus on the objective—use flashing to prevent water from entering the wall—but they offer little about how to accomplish it.
A method for a damp climate
In the Northeast where I live and do most of my work, we typically receive over 40 in. of rain annually. My strategy for waterproofing the ledger is installing a redundant flashing system that uses self-adhering flashing tape and rigid cap flashing. This technique prevents water from leaking into the house along the top, sides, and bottom of a deck ledger.
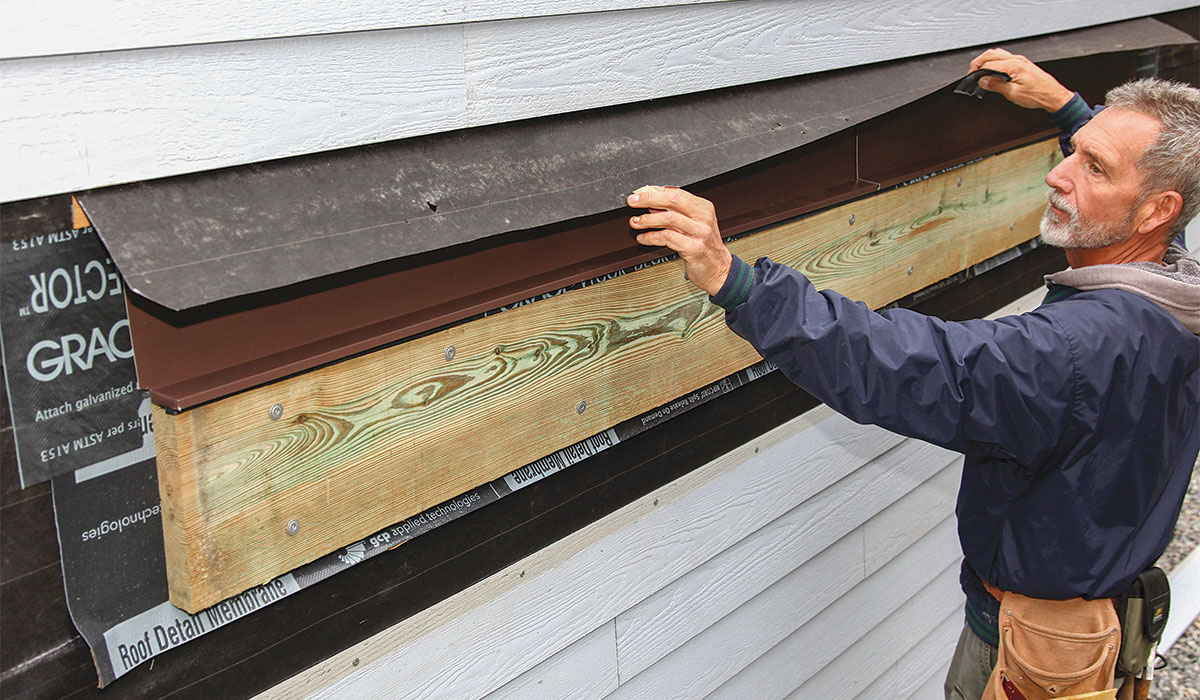
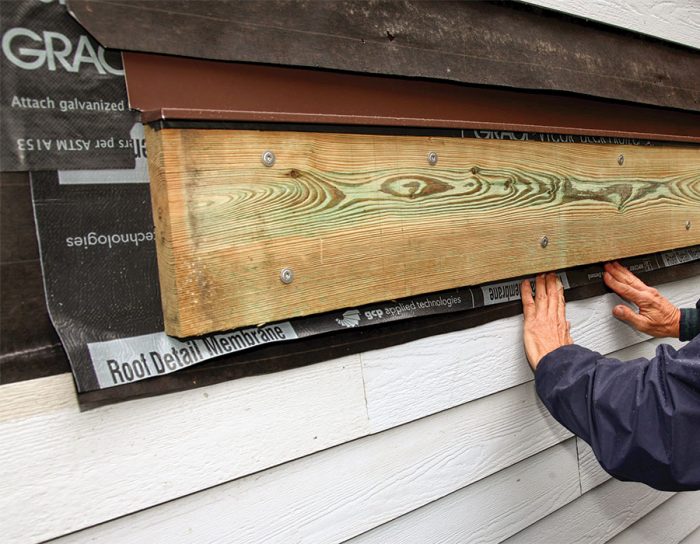
The last line of defense in this system (and the first layer to be applied), is a sheet of self-adhering flashing tape or roofing underlayment bonded to the wall sheathing behind the ledger position. Next is a second layer of flashing tape that attaches to the wall above the ledger and then wraps over the top of the ledger. Finally, a rigid metal or plastic cap flashing sits on top of the ledger and the flashing tape to shed the bulk of the water.
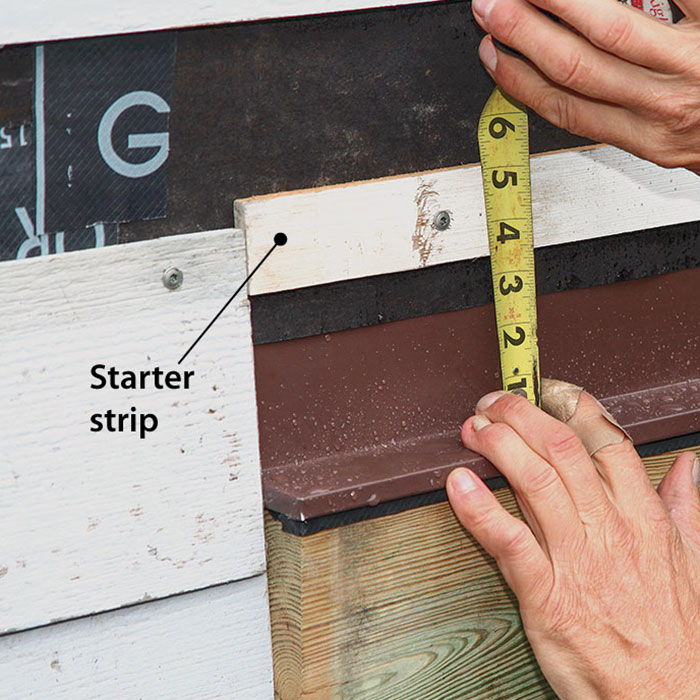
This rigid flashing protects the flashing tape from UV-light exposure and covers the clearance space between the top of the deck boards and the bottom of the siding. The recommended clearance height for siding above the ledger varies with the type of siding, ranging from 1 ⁄ 2 in. for red-cedar shingles to 2 in. or more for red-cedar lap siding and some fiber-cement brands.
Importantly, this flashing system integrates with the water-resistive barrier (WRB) of the house. This method works for both new construction and renovation, and it works whether the deck attaches to the house at grade level or above. I recently had the opportunity to install and flash a ledger for an above-grade deck on an existing home, and this is how I did it.
STEP 1: Peel back the layers
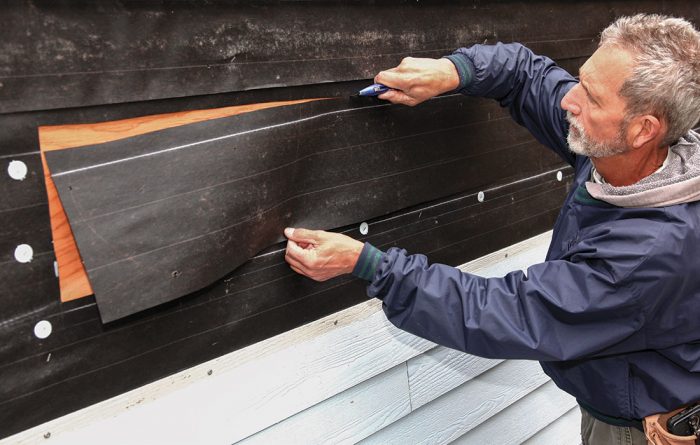
I start by removing the siding from the wall in the area where the ledger will be installed, at least 8 in. above the ledger location, 2 in. below, and 3 in. from each end. The steps for removing the siding will vary depending on the type of siding, but the most important factor is taking care not to damage the housewrap or water-resistive barrier (WRB) above the top of the ledger location. This section of the WRB is needed to lap over the ledger flashing near the end of the process.
STEP 2: Prep and protect the wall
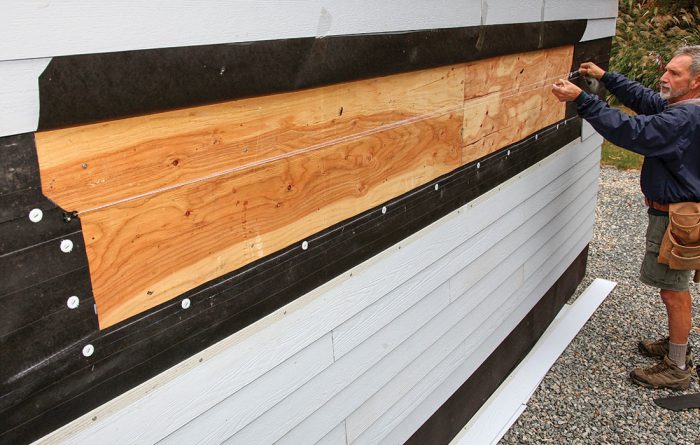
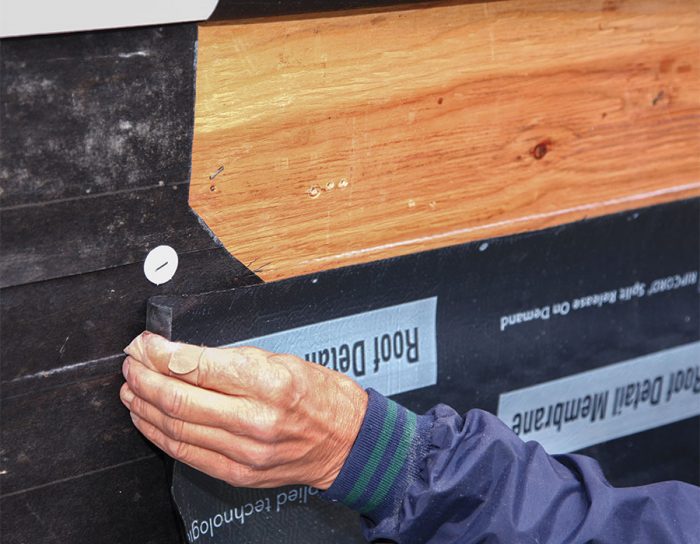
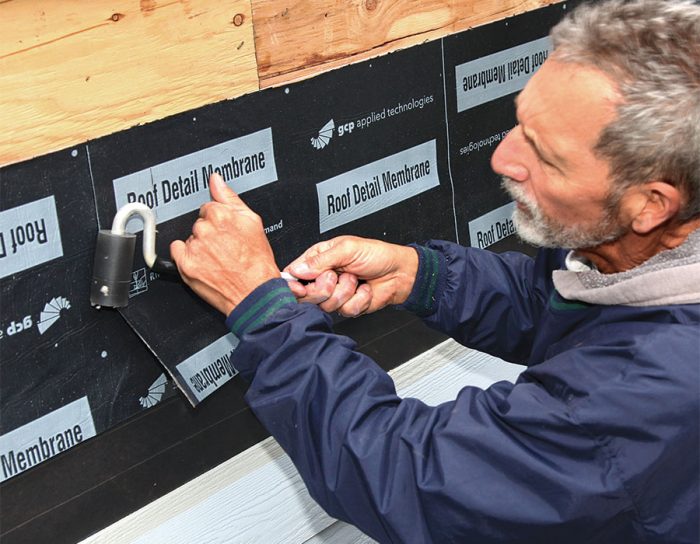
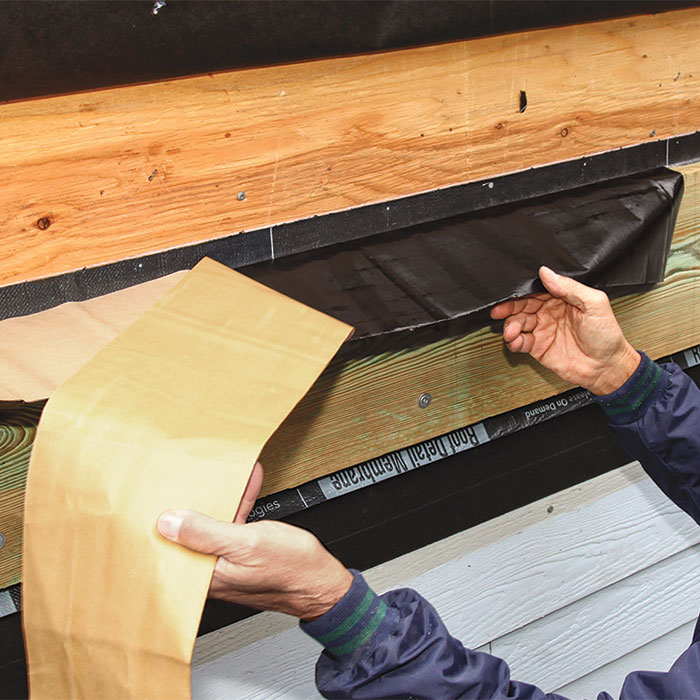
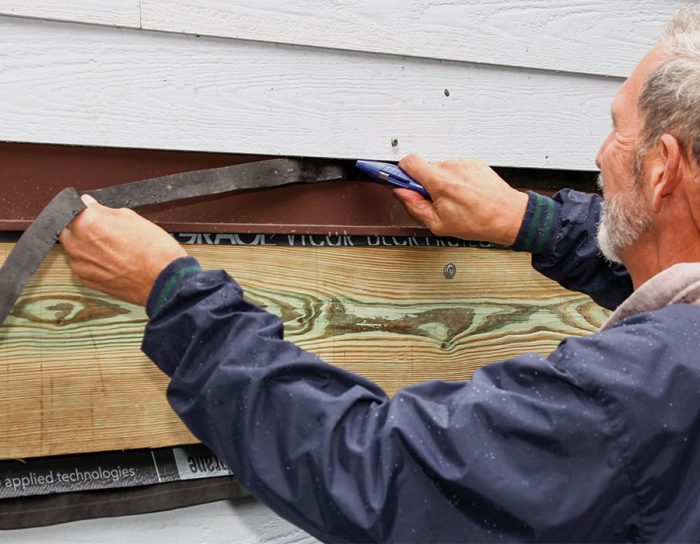
With the WRB out of the way, I apply strips of self-adhering membrane to the wall sheathing behind the ledger. On this ledger I used wide flashing tape; strips from a roll of waterproof roof underlayment work as well. The membrane strips must be at least 3 in. wider than the ledger so they can be installed with at least 1 in. above the top of the ledger and 2 in. below. To make the strips easier to handle by myself, I cut them into 5-ft. to 6-ft. lengths. I leave a portion of the release liner on the bottom strip; at a later stage, the cladding under the ledger will tuck behind this last strip of flashing tape.
Scoring flashing tape
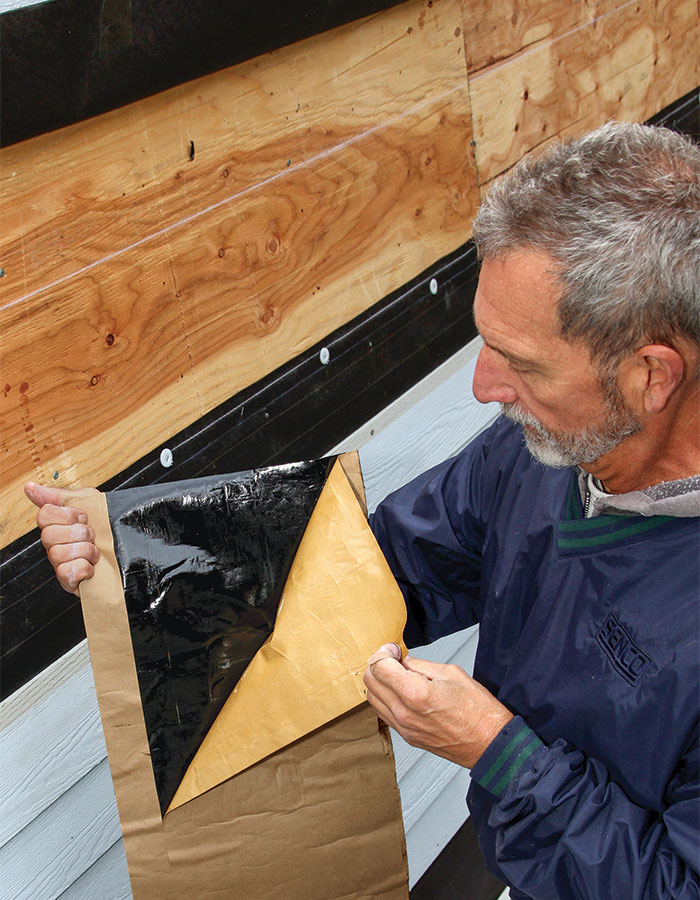
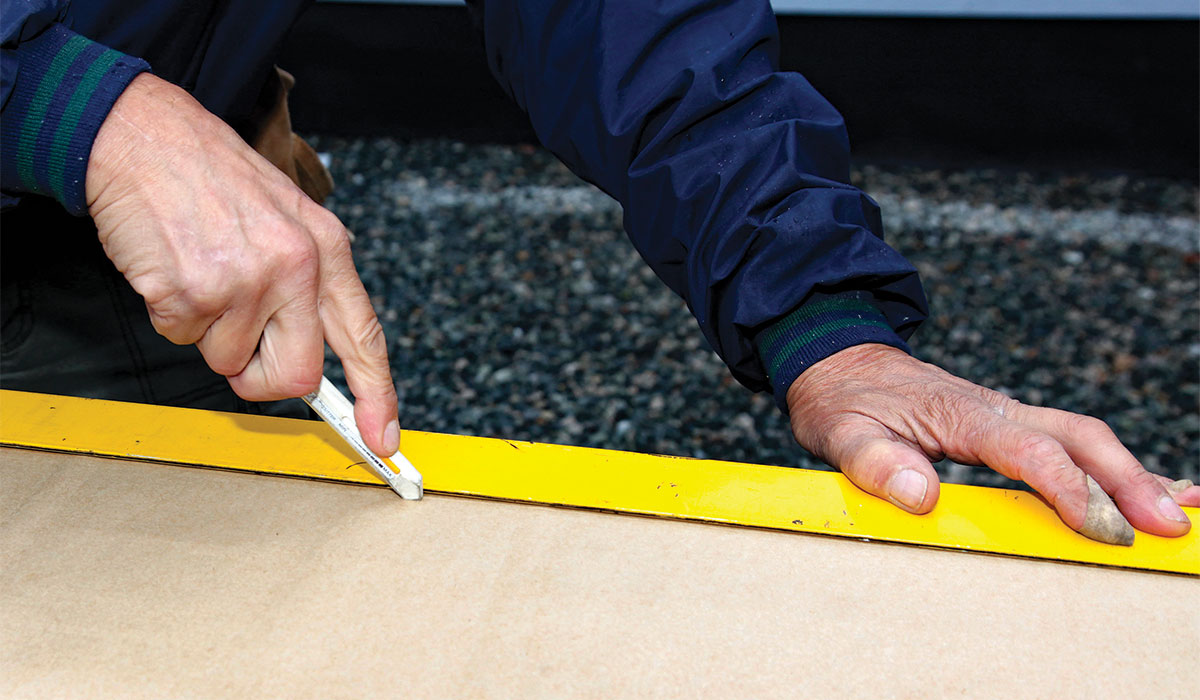 It’s easier to work with sticky flashing tape when a portion of the release liner is left on. This keeps the tape from getting stuck to itself or to surfaces other than where you want it. Scoring the release liner comes in handy in a couple of places when flashing a ledger: at the inside corner where the top of the ledger meets the wall and below the ledger where the siding tucks under the flashing tape. In order to remove the release liner in separate sections, it needs to be scored without cutting through the tape itself. The safest way I’ve found is to use a Top Sheet Cutter made by Olfa ($15); its blade extends a tiny amount and has a pressure adjustment that controls how deeply it cuts. Alternatively you can use a fresh, sharp blade in a utility knife using very light, even pressure. In either scenario, run the knife along a straight edge for an accurate cut. After cutting through the release liner, fold the tape along the score line to ensure the liner is cut through cleanly, and rescore any spots that didn’t cut through the first time. I recommend making a few test cuts on a scrap of flashing tape until you get a feel for the technique. —M.G. |
STEP 3: Install and flash the ledger
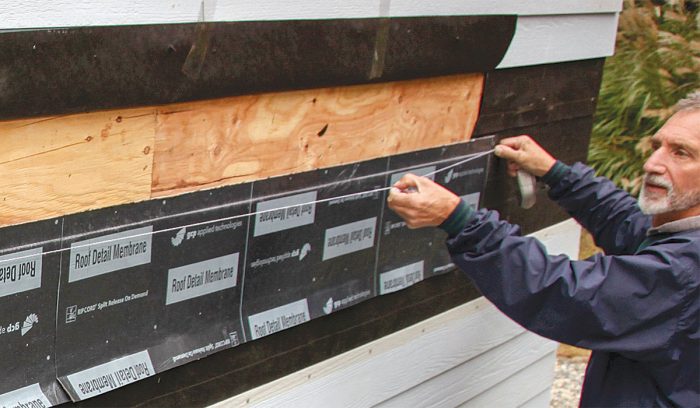
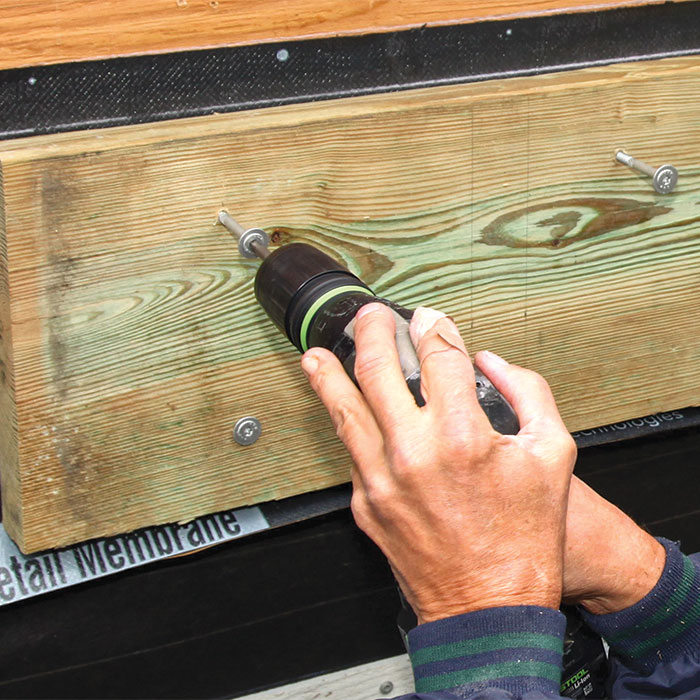
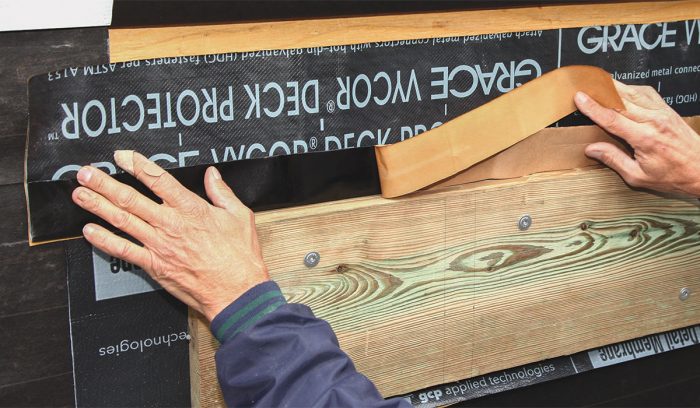
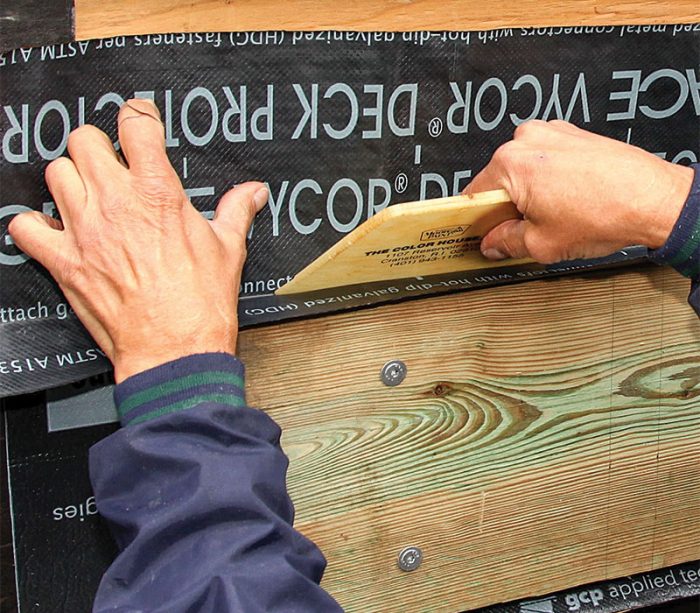
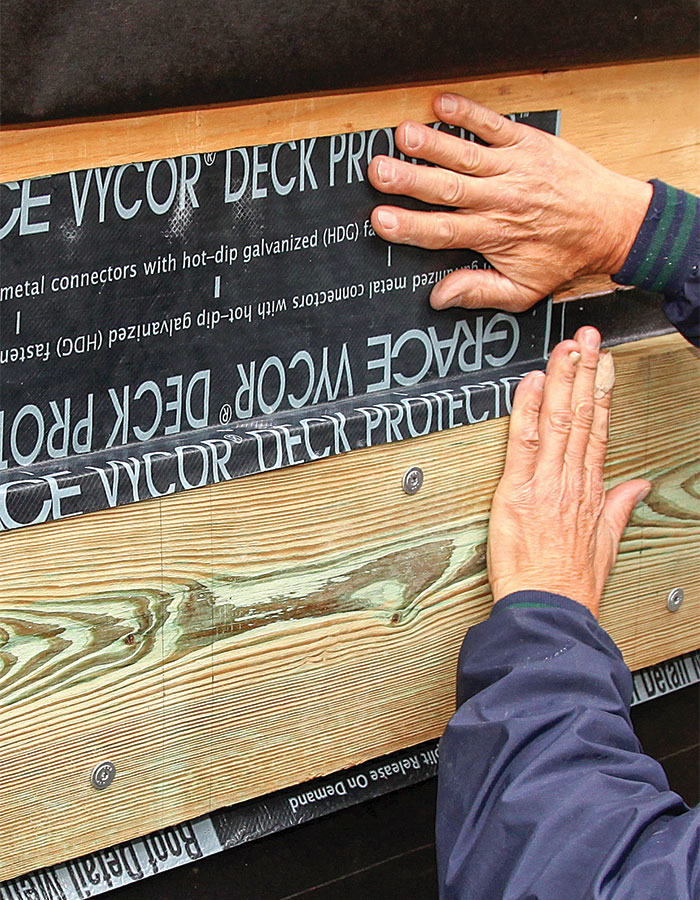
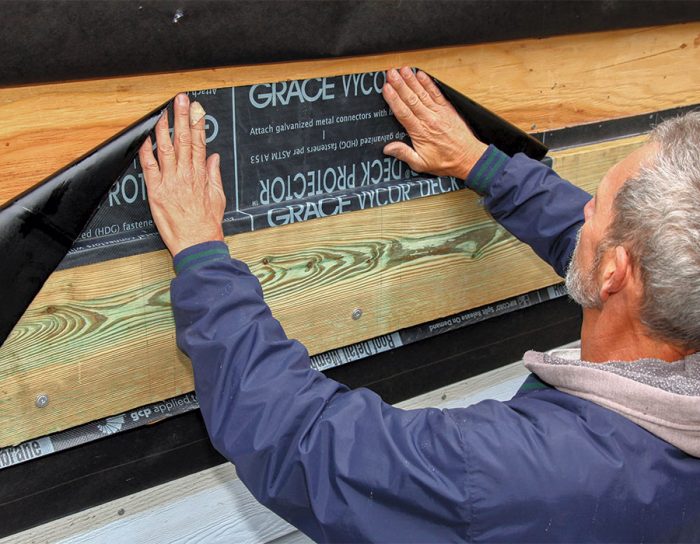
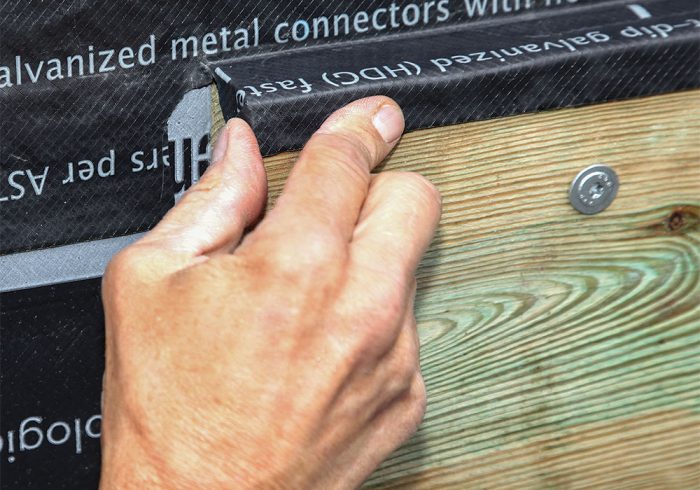
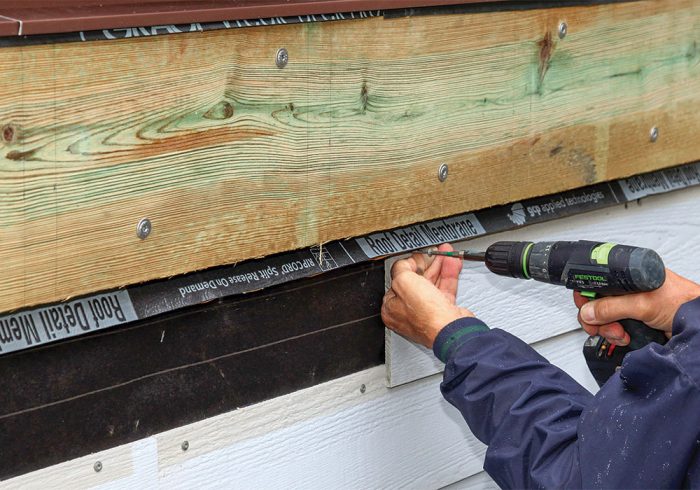
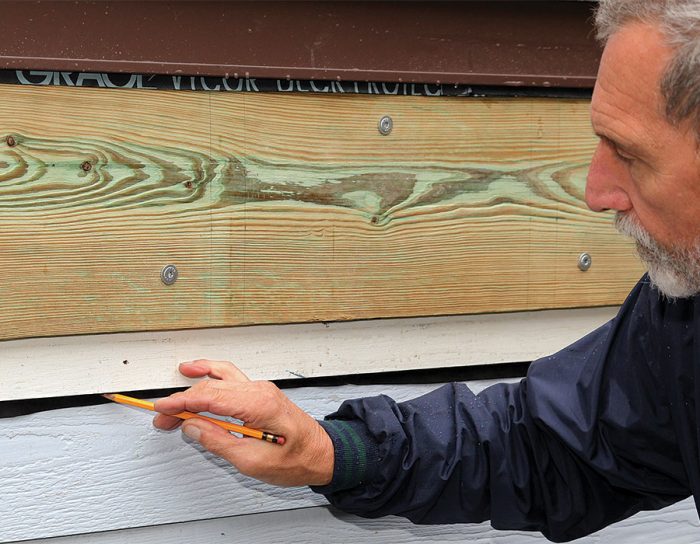
To guide the ledger installation, I re-snap the chalkline for the top edge of the ledger on top of the membrane I just installed. I partially drive a couple of screws under the bottom edge of the ledger to support it temporarily while I drive the attachment screws. To cap the top of the ledger and seal it to the wall, I use 9-in.- to 12-in.-wide flashing tape. This size lets me extend the tape at least 1 ⁄ 2 in. down the face of the ledger while spanning the 1-1 ⁄ 2-in. top of the ledger and still leaving 7 in. or more to continue up the wall. This wall coverage may seem excessive, but that height is needed for the WRB and siding to overlap properly. Remember that decking is usually 1 in. thick, and some siding types require at least a 2-in. clearance space between the decking surface and bottom of the siding course. So of the 7-in. wall leg of the flashing tape, only about 4 in. will be covered by the WRB and siding.
STEP 4: Make and install rigid cap flashing
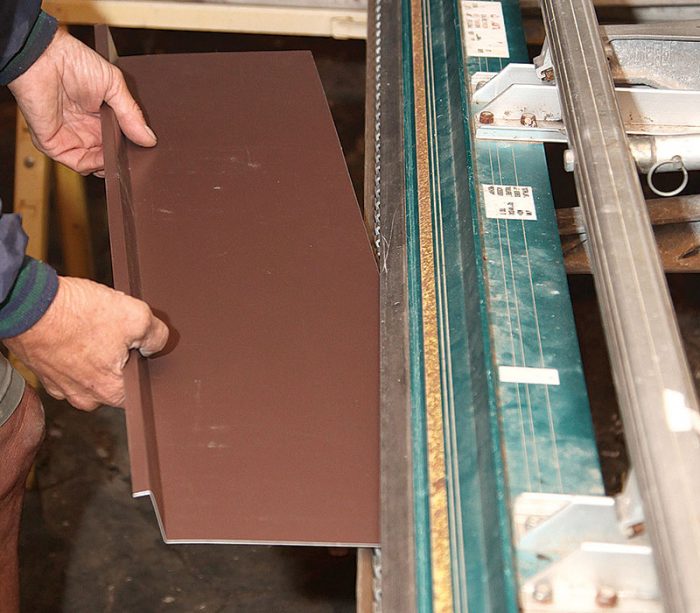
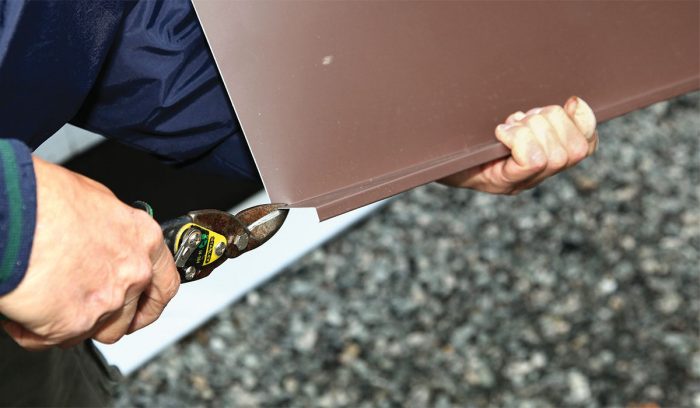
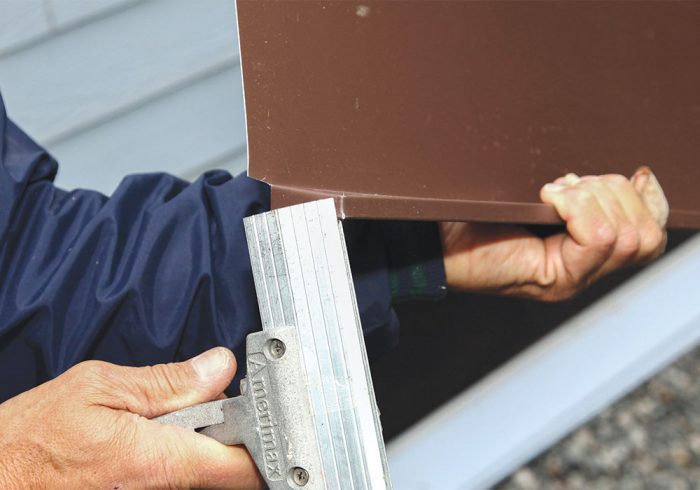
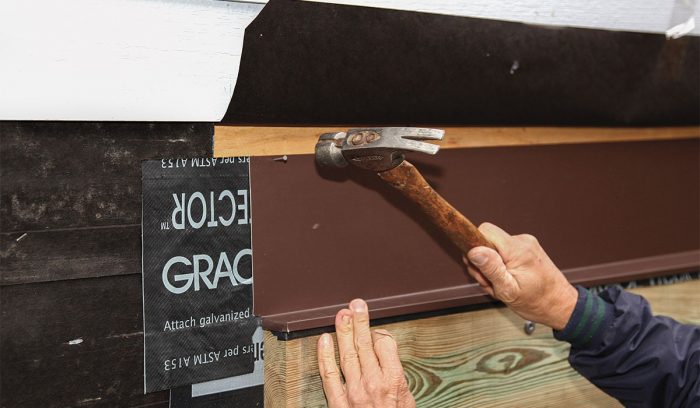
The IRC requires any metal flashing to be at least 26 ga. or 0.019 in. thick. Some of the stock cap flashing sold at box stores and lumberyards is only 0.011 in. thick and won’t meet the code requirements. But standard colored aluminum coil stock is usually 0.019 in. or slightly thicker, so that is my go-to material choice for making flashing. The upper leg of this deck-ledger flashing should be at least 7 in. wide. Some people just form a simple L-shaped flashing, leaving a wider ledger leg that extends straight out over the top of the deck joists instead of turning down the face of the ledger. If you choose this alternative, don’t let the joist leg extend beyond the gap in the decking planks; otherwise it can trap leaves and other debris that can be difficult to clean out.
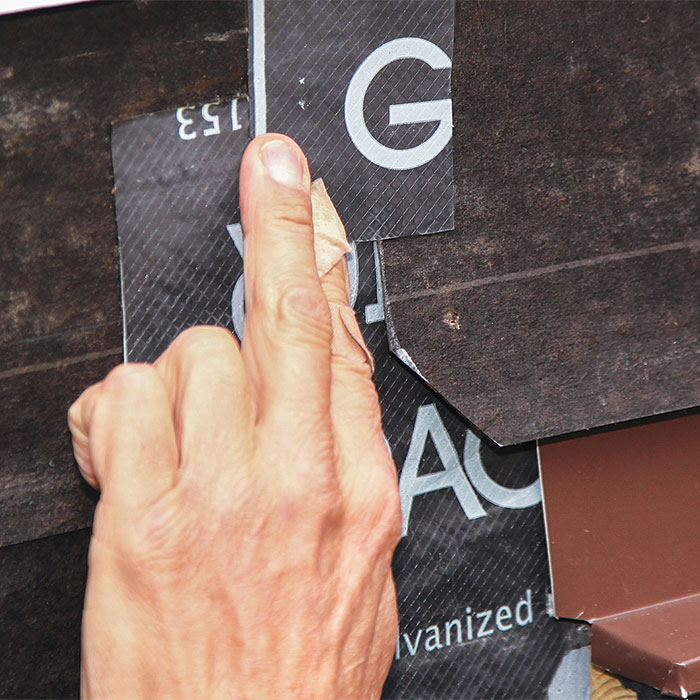
STEP 5: Re-install the siding
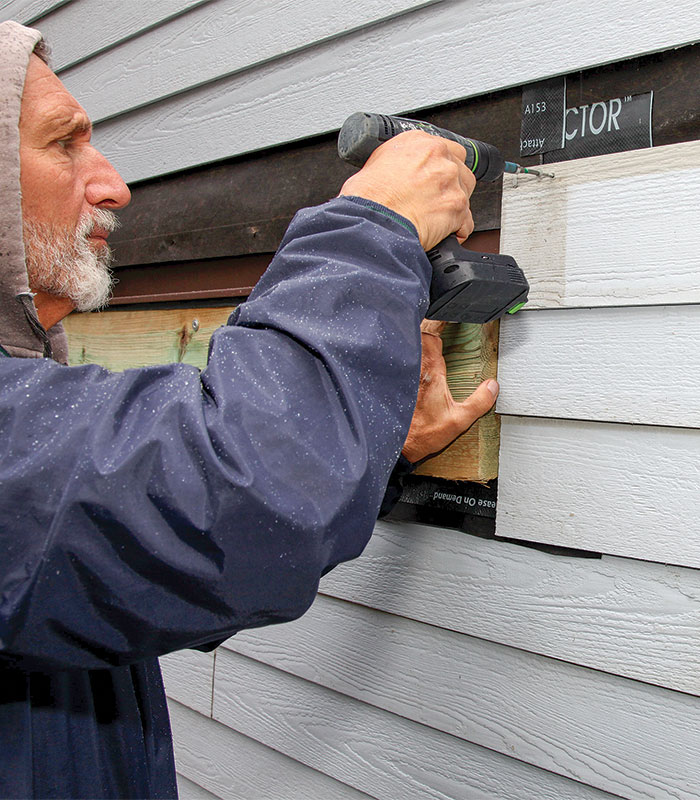
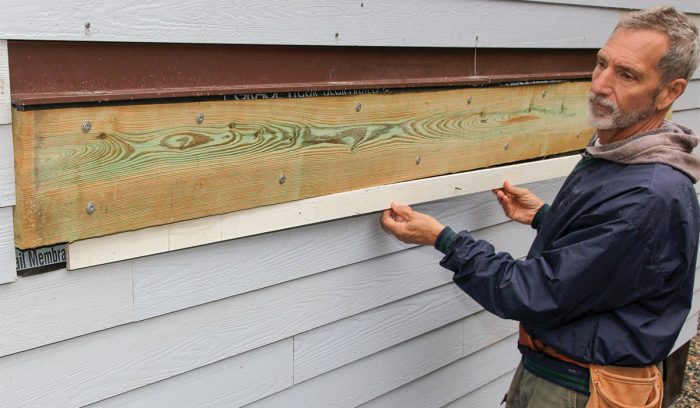
For this project, the deck is above grade level, and siding covers the wall beneath the ledger. I first re-install the lap siding up to the next-to-last course below the ledger, and then fold the bottom flap of flashing tape (left unsecured in step two) down over the top of the siding to direct water away from the wall.
—Editorial advisor Mike Guertin lives and works in East Greenwich, R.I
Photos by Roe Osborn.
For more photos and details, click the View PDF button below:
From Fine Homebuilding #313
RELATED STORIES
Fine Homebuilding Recommended Products
Fine Homebuilding receives a commission for items purchased through links on this site, including Amazon Associates and other affiliate advertising programs.

Jigsaw

MicroFoam Nitrile Coated Work Gloves

Metal Connector Nailer


View Comments
This is really an impressive work. Thx!