Synopsis: In the final installment of this three-part series on building deck stairs, Kevin Manning, project manager at Red House Design, talks through adding the final piece of the stairs: hardwood railings. The railings were assembled in sections, secured to a bottom rail, and then topped with a molded handrail for a professional finish. Manning discusses how to assemble the baluster sections, trim the posts, install the sections, and add the handrail to complete the railing system.
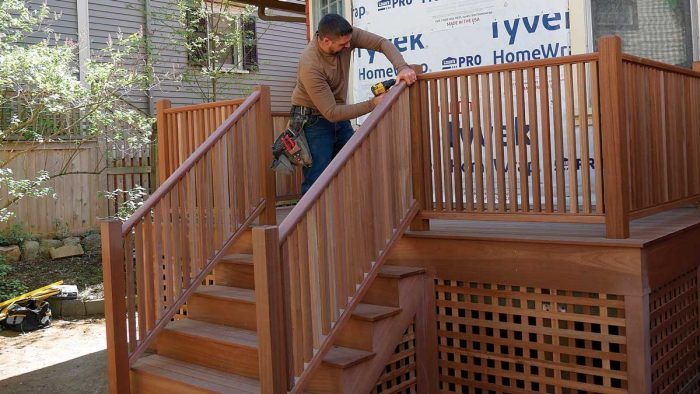
This is the final piece in our three-part series on building deck stairs. (View links to the other articles in the series at the bottom of this page.) The stringers are complete, the stairs are trimmed with Meranti Mahogany, and now it’s time to complete the hardwood railings. We constructed these railings by assembling them in sections and securing the bottom rail before fastening the sections in place. What looks like a complicated assembly involved just one setting on a miter saw, which makes the necessary cuts simple and quick. A molded handrail completes the railing system, covering visible hardware and providing a professional look.
Fit and fasten the bottom rail
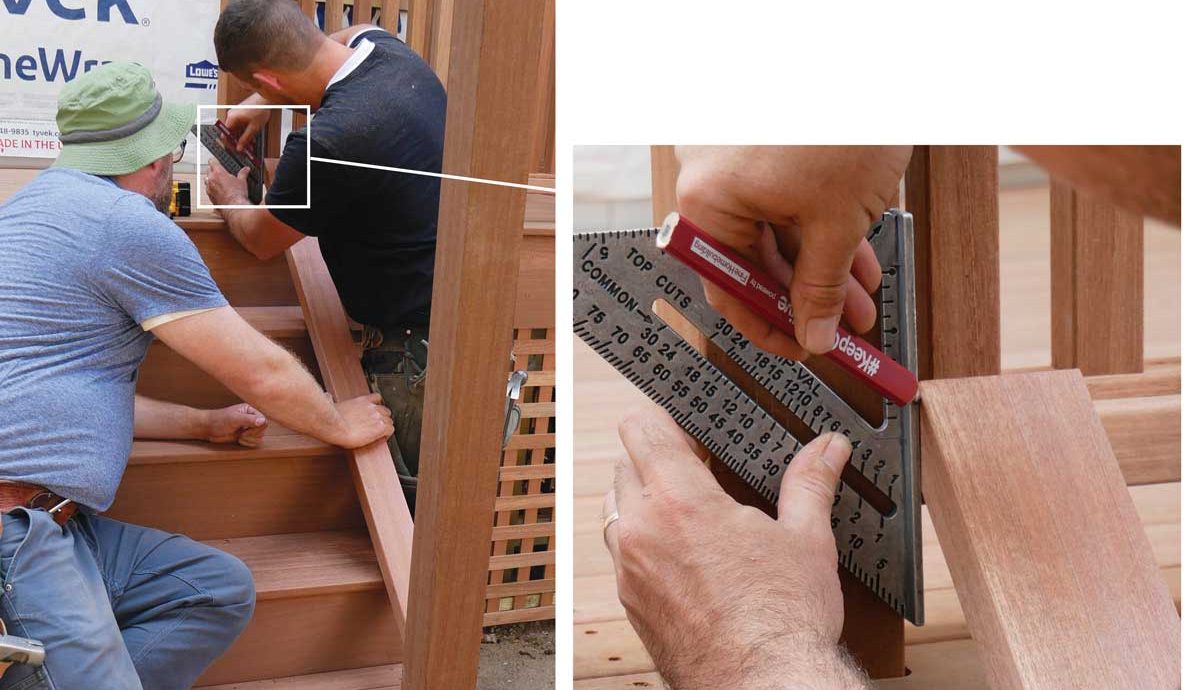
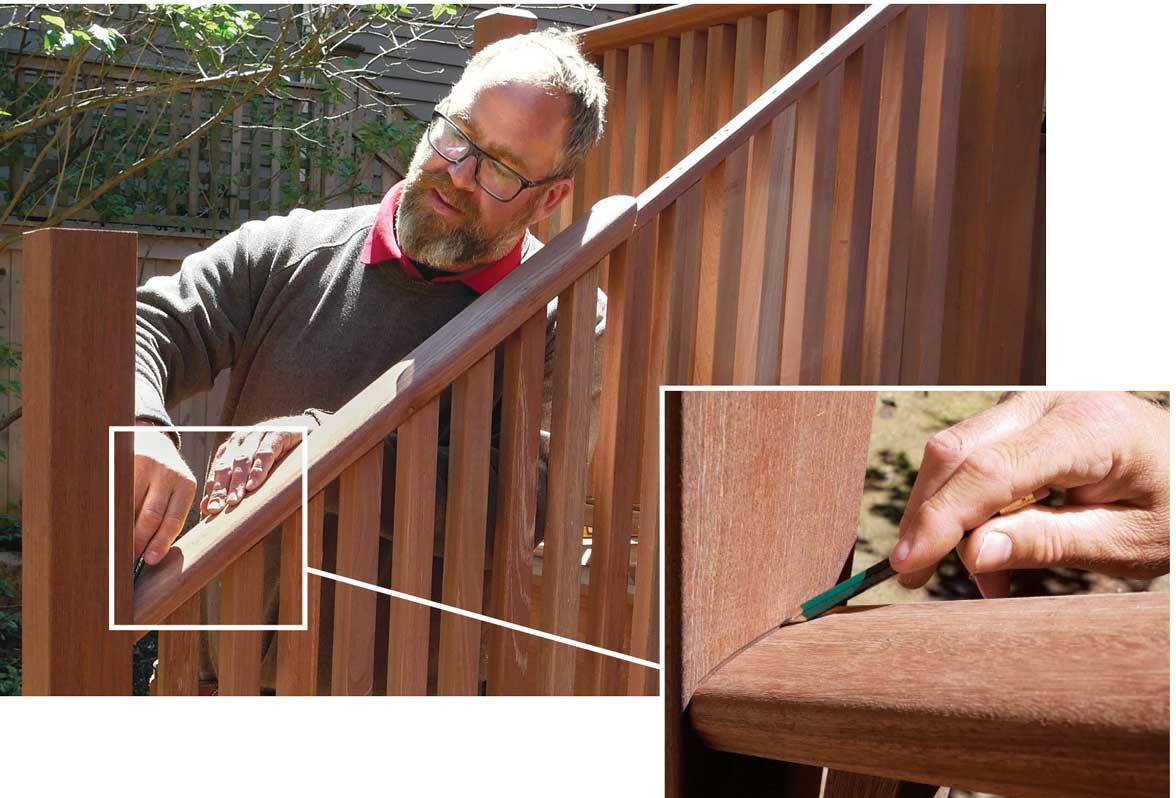
Scribe the top angle. Lay the 2×4 bottom rail on top of the stair nosings to determine the angle where the rail meets the top post. Scribe the angle onto the edge of the board using a square.
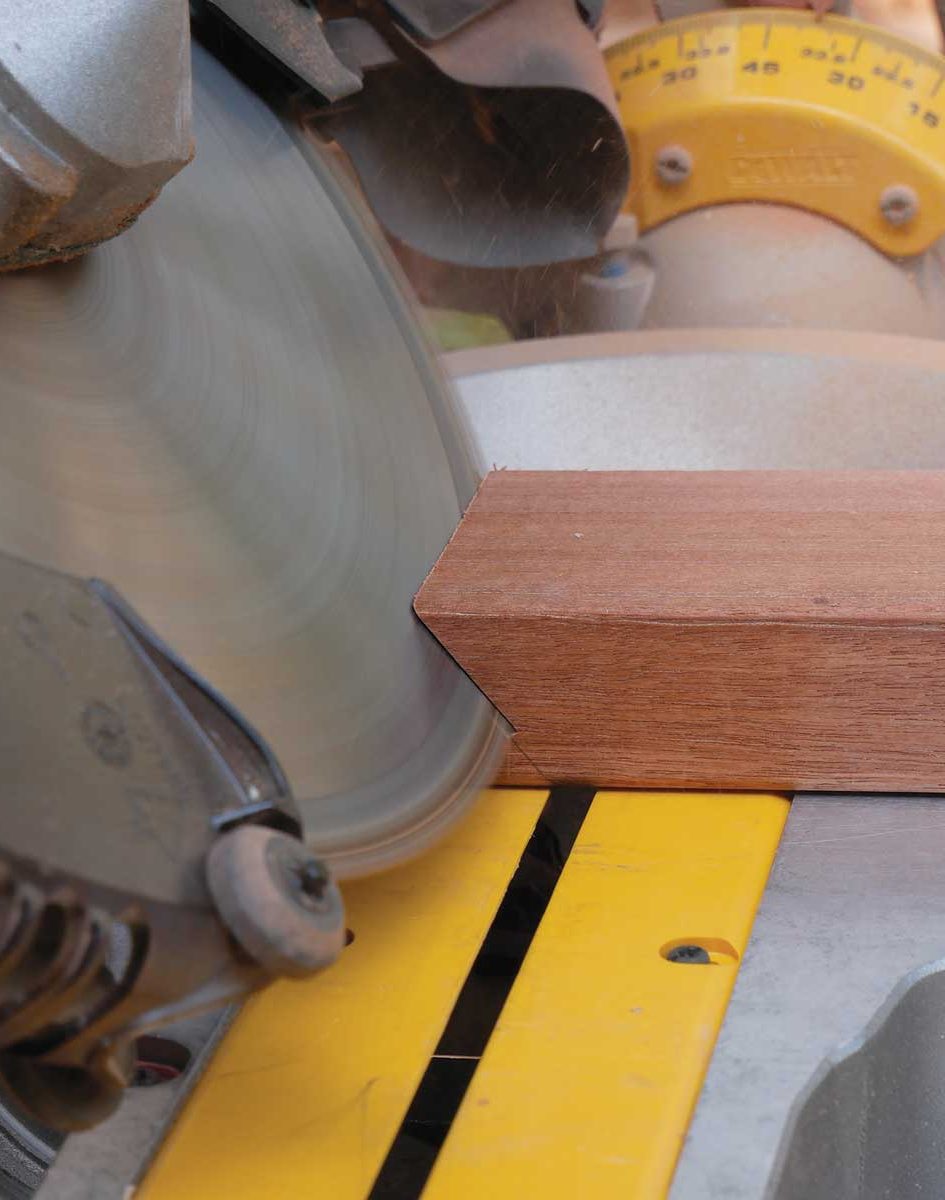
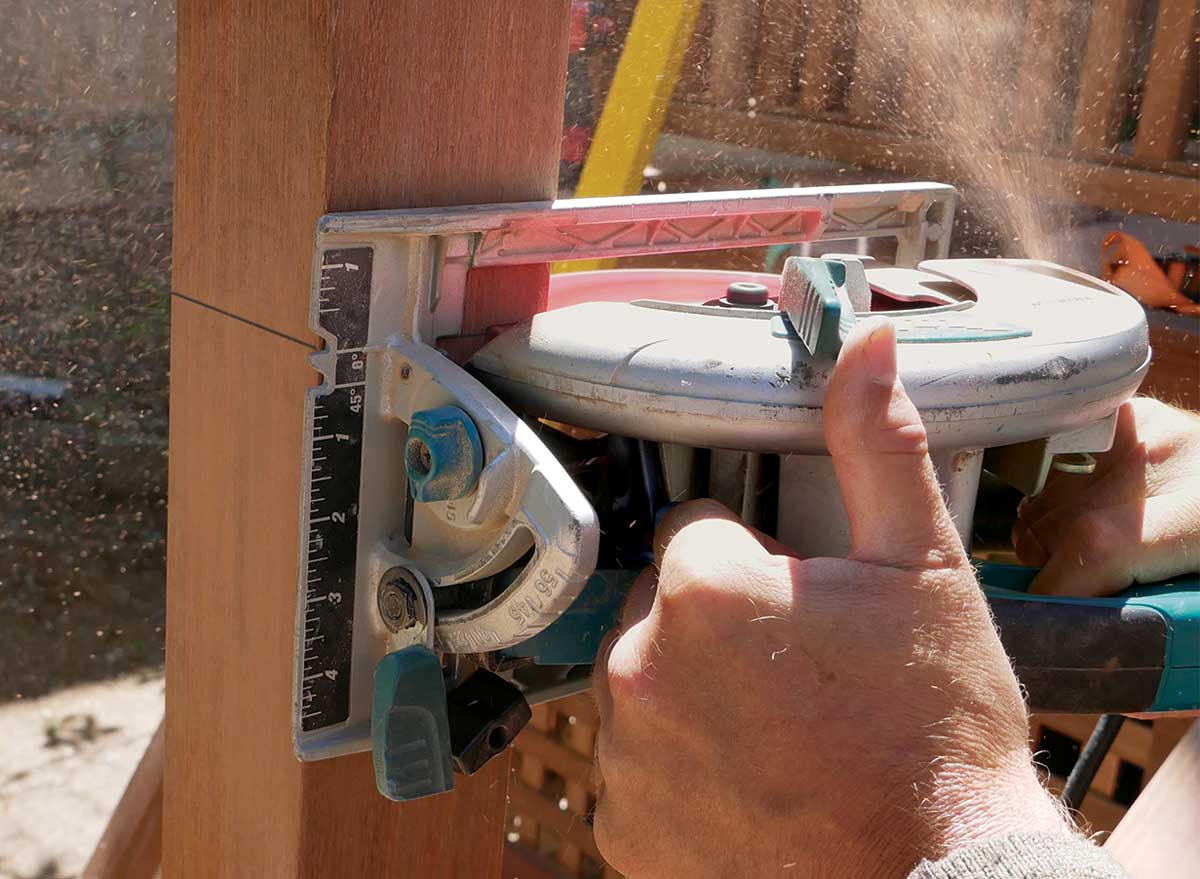
Transfer to the saw. Use the scribed stock to transfer the angle to a miter saw. Make practice cuts until you have dialed in the exact bevel setting.
Scribe the bottom angle. After cutting the top angle, hold the stock tight to the top post and resting on the tread nosings to scribe the bottom cut. Cut along the outside of the pencil line to avoid undercutting. Use the same process to cut the other bottom rail.
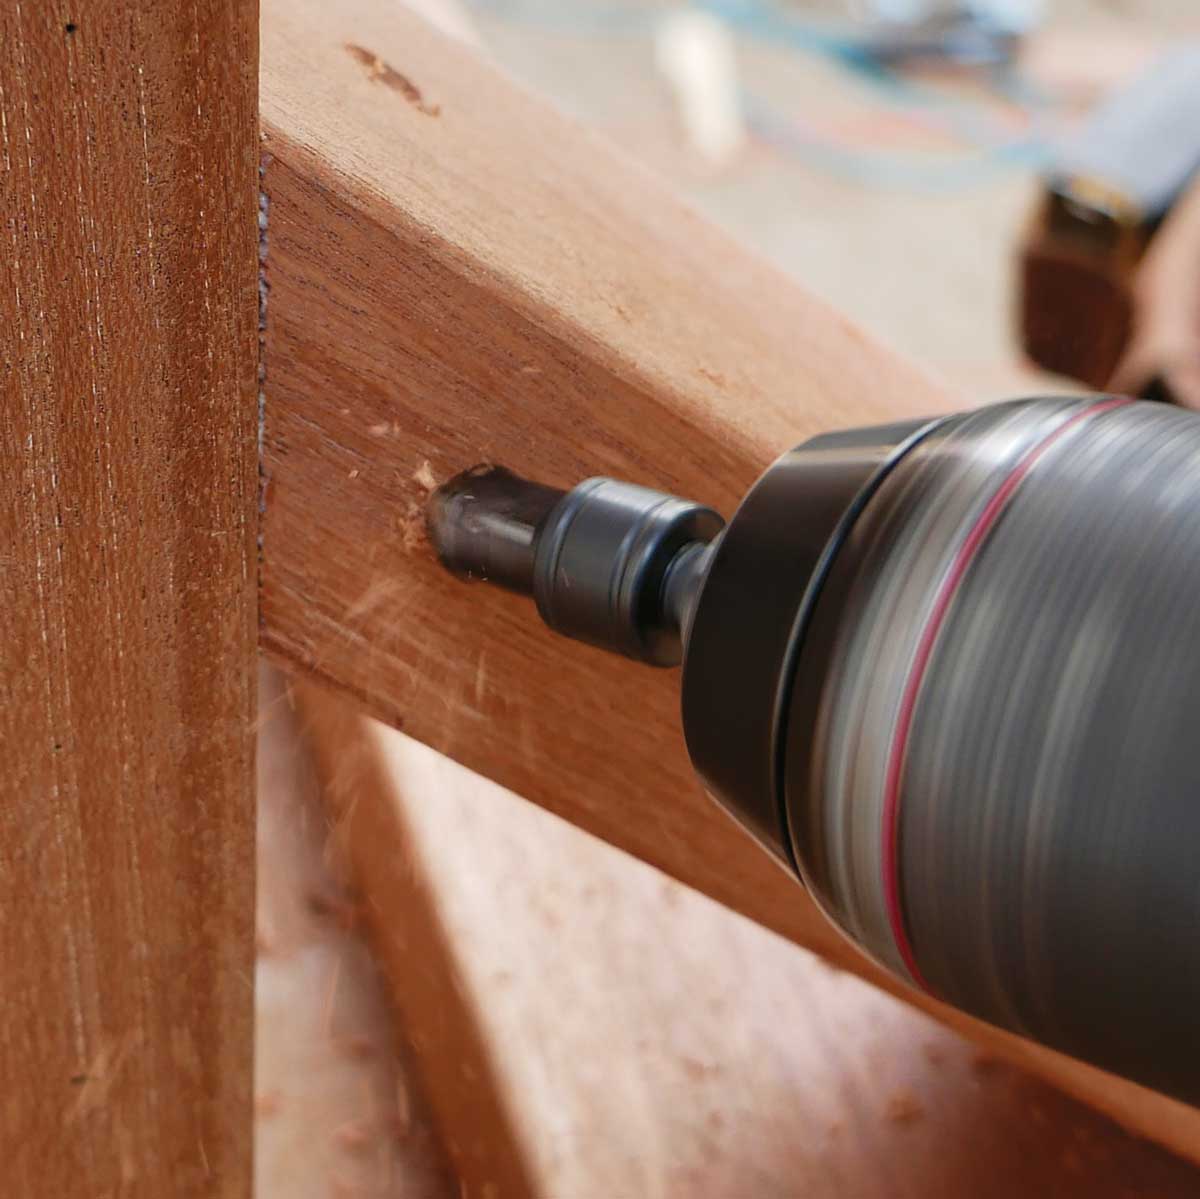
Fasten the bottom rail. Use a scrap of rail stock placed on the bottom stair nosing and another at the edge of the deck to space the bottom rail above the treads evenly, leaving approximately 1 in. to 1-1⁄2 in. of space from the tread nosings to the bottom rail. Drill a pilot hole and a countersink before fastening the rail using two 2-1⁄4-in. screws into the post, one in the center and one on the inside of the rail.
Assemble the baluster sections
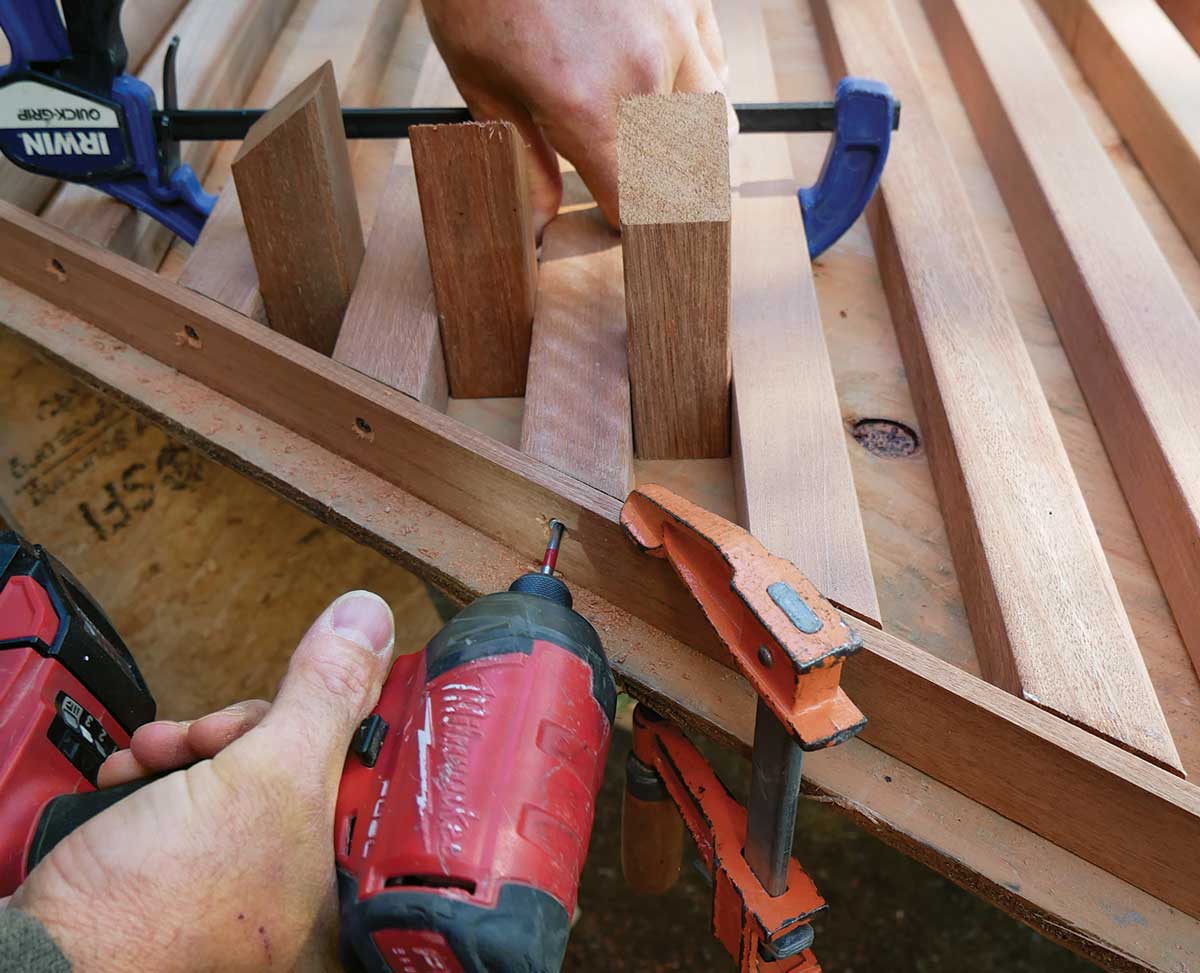
The baluster sections are made up of 2×2 balusters sandwiched between a top and bottom subrail. The subrails are 1⁄2 in. thick, ripped from 2x stock and cut to the same length as the bottom rail, with matching beveled ends. The gaps between the balusters match the 2x baluster thickness, so cutoffs are used as spacers—just be careful not to inadvertently drill into a spacer instead of a baluster.
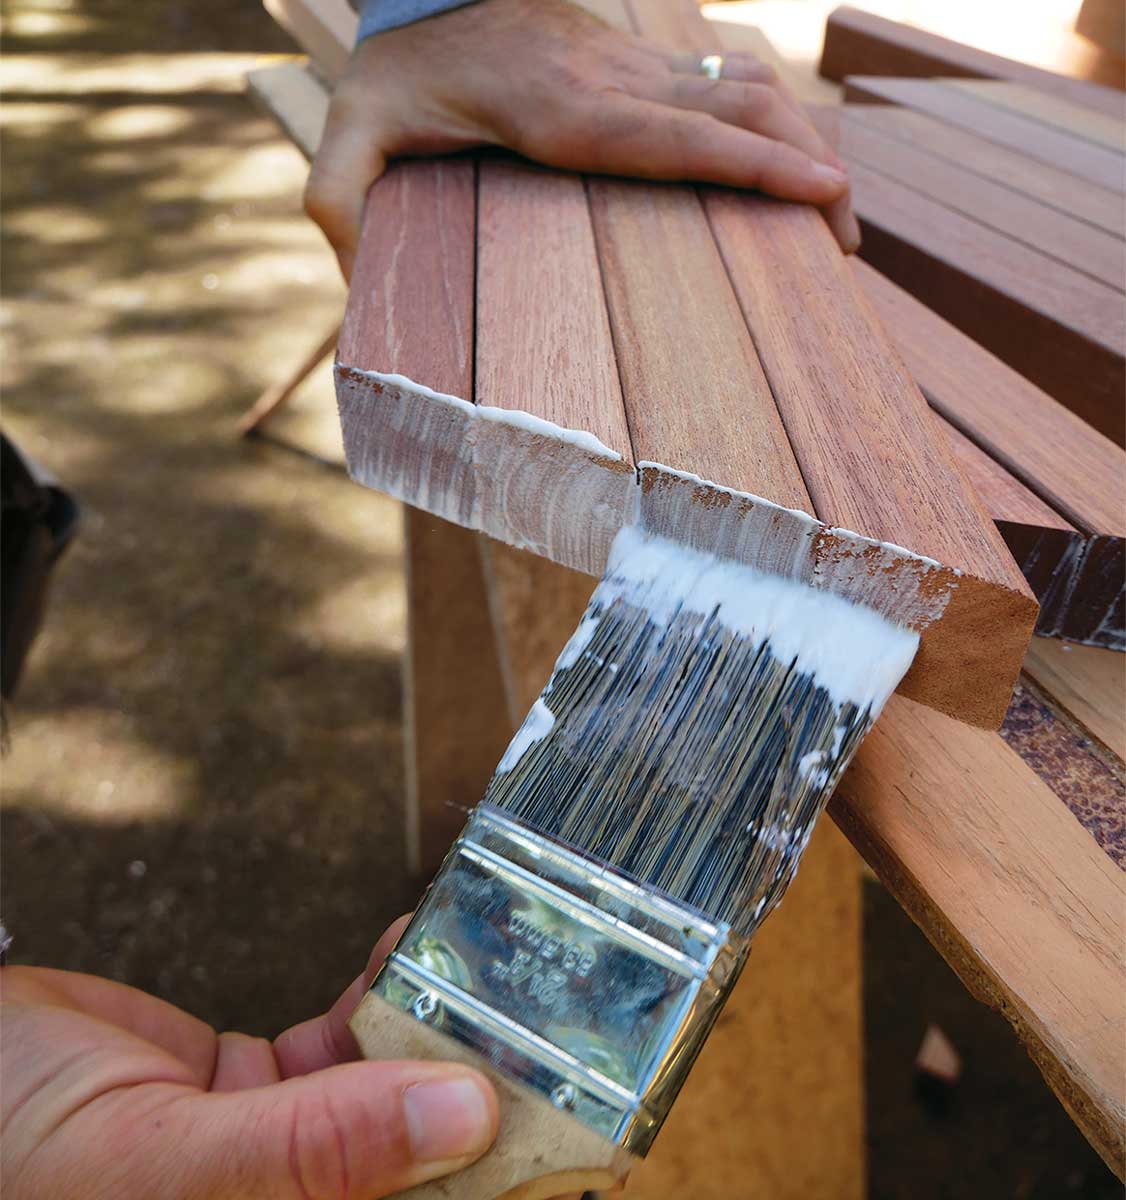
Bevel and seal the balusters. Cut the balusters to length (these balusters are 30 in. for a total 36-in.-high railing) using the same miter-saw setting used to bevel the rails. Butter the cut ends with a wax emulsion to prevent the end grain from taking on water, leading to rot.
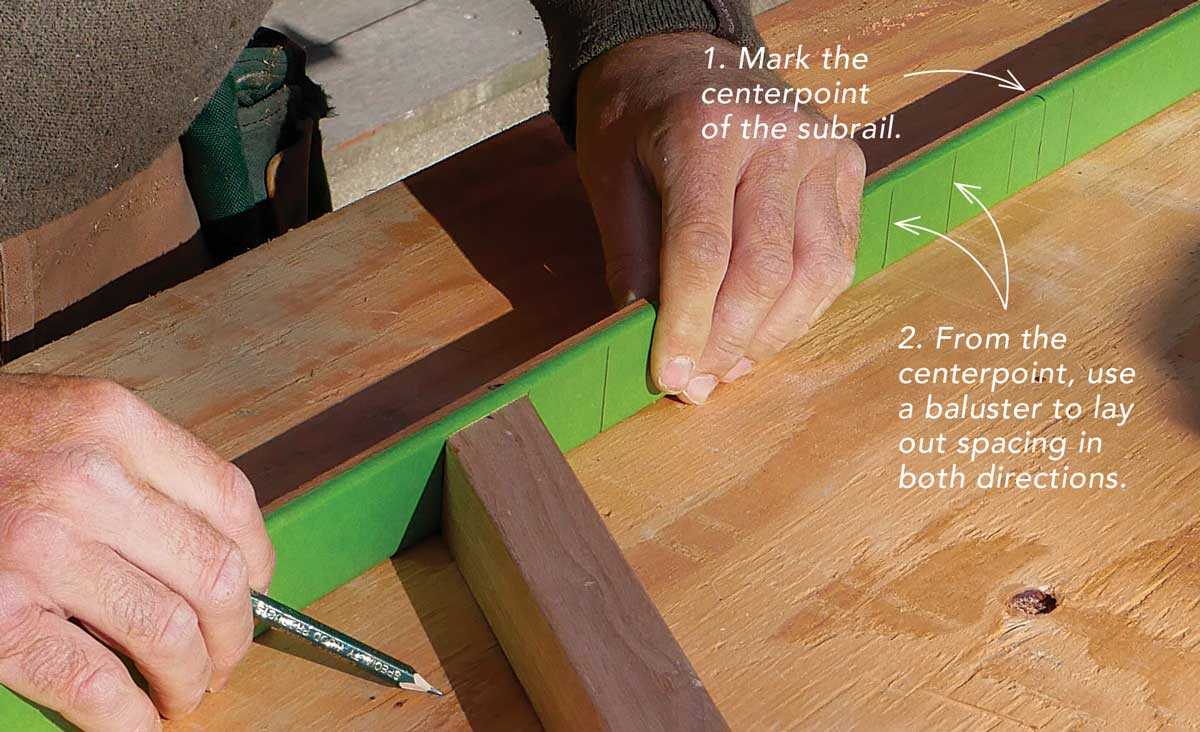
Space the balusters. Cover one side of the subrail with tape to avoid erasing pencil lines later. Find and mark the centerpoint of the subrail, and then mark the baluster spacing in both directions. Lay out the entire section to ensure the spacing remains consistent. The centerpoint can be a baluster or a space, depending on what is best for the overall fit across the run.
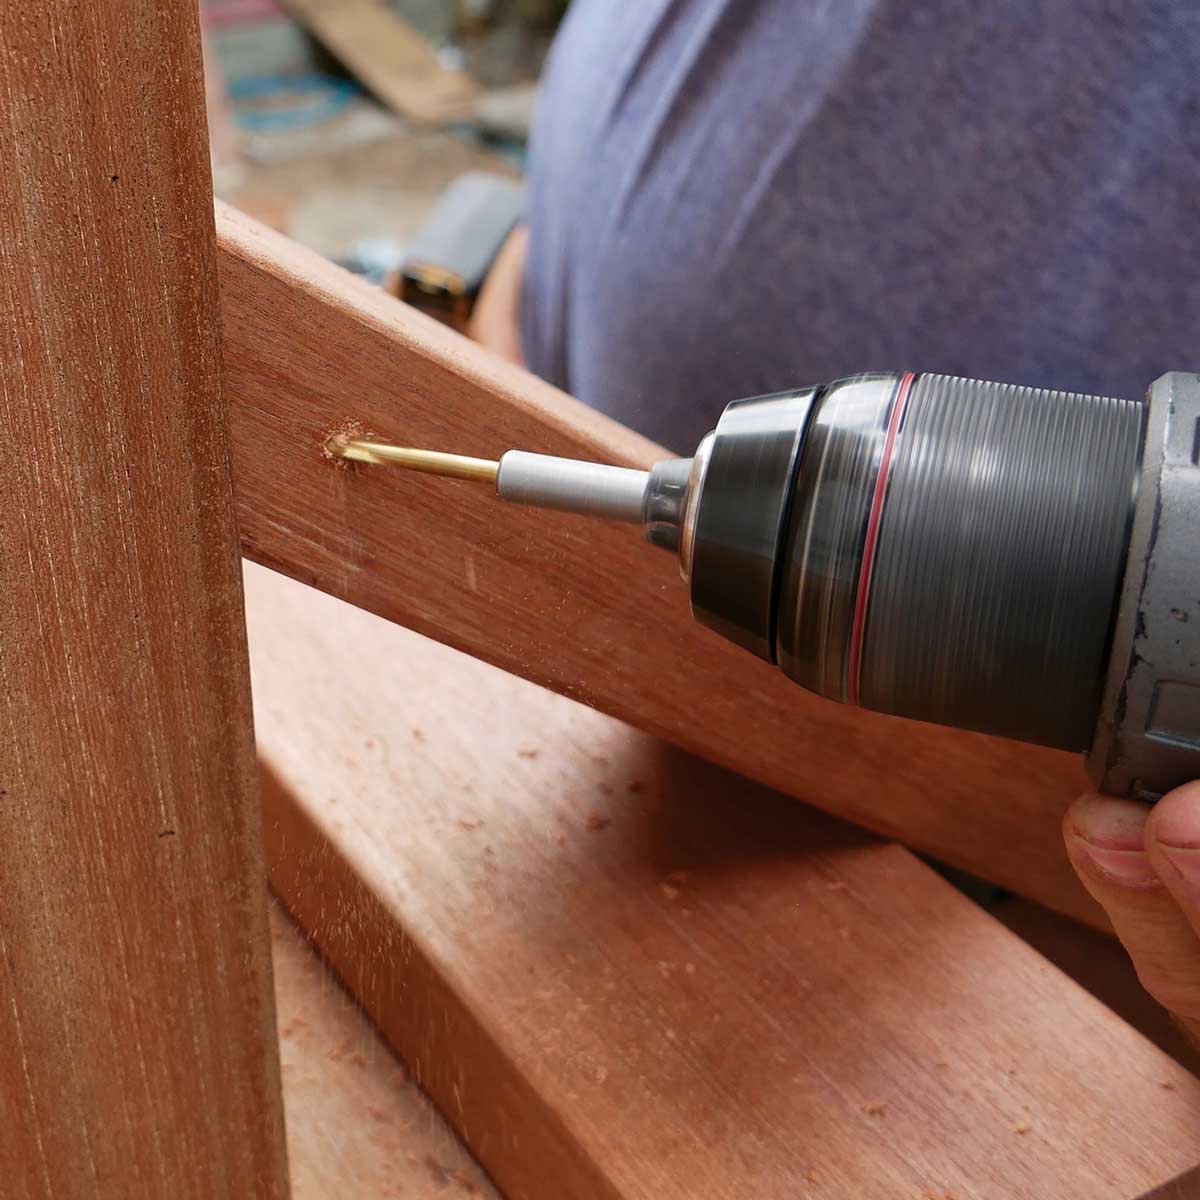
Add the bottom subrail. Use cutoffs and clamps to ensure proper spacing as you predrill for screws and fasten the balusters. One screw per baluster is sufficient.
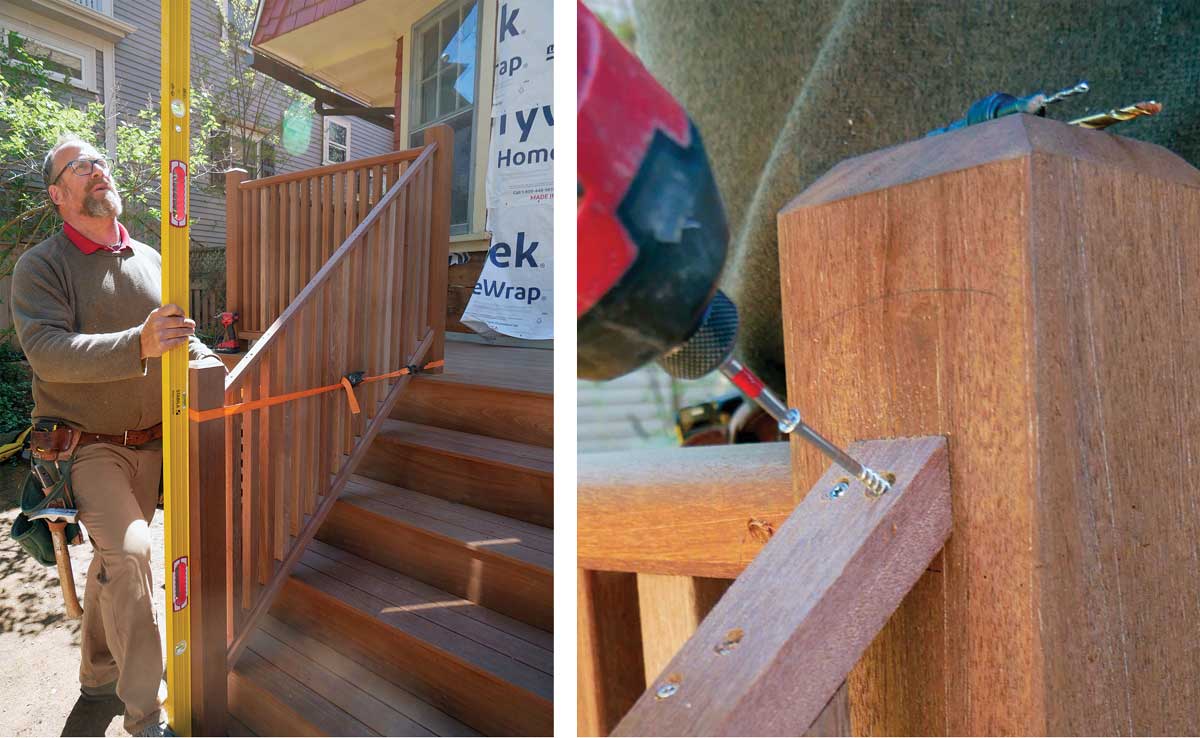
Trim the posts
Find the post height. It is easier to trim the posts before installing the baluster sections. Temporarily set each section in place and add a piece of handrail stock. Mark the location of the top of the handrail, then measure up 3 in. to mark the top of the post.
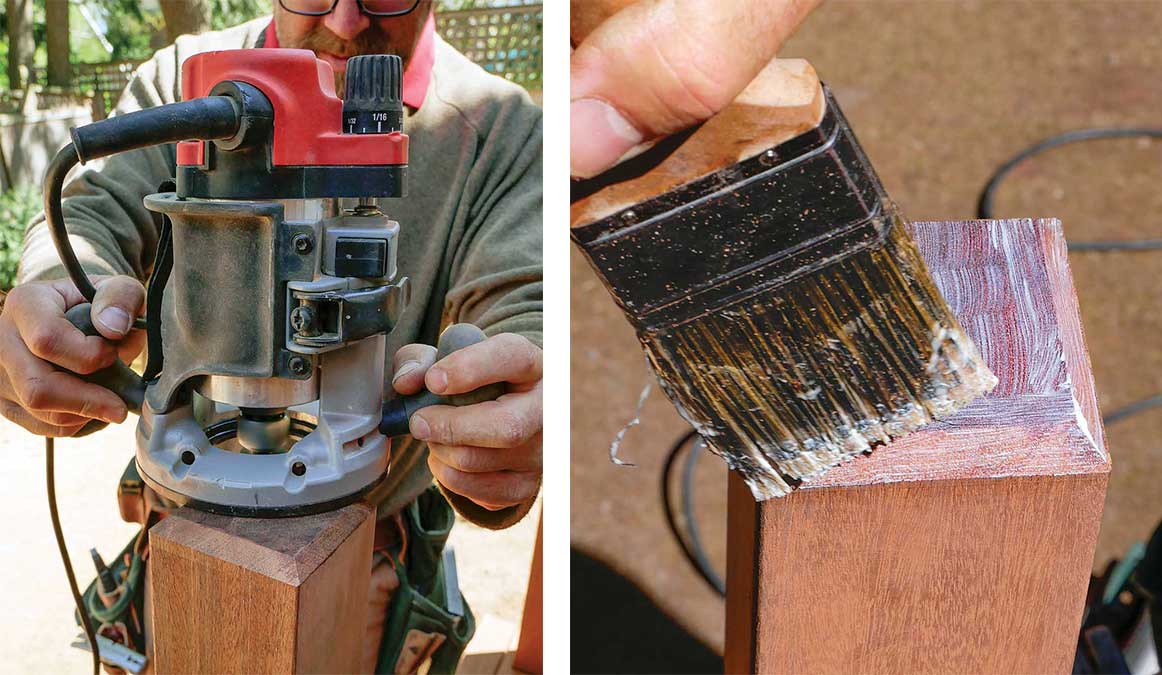
Rout a 3⁄4-in. chamfer around the edges of the post tops before coating the end grain with wax emulsion.
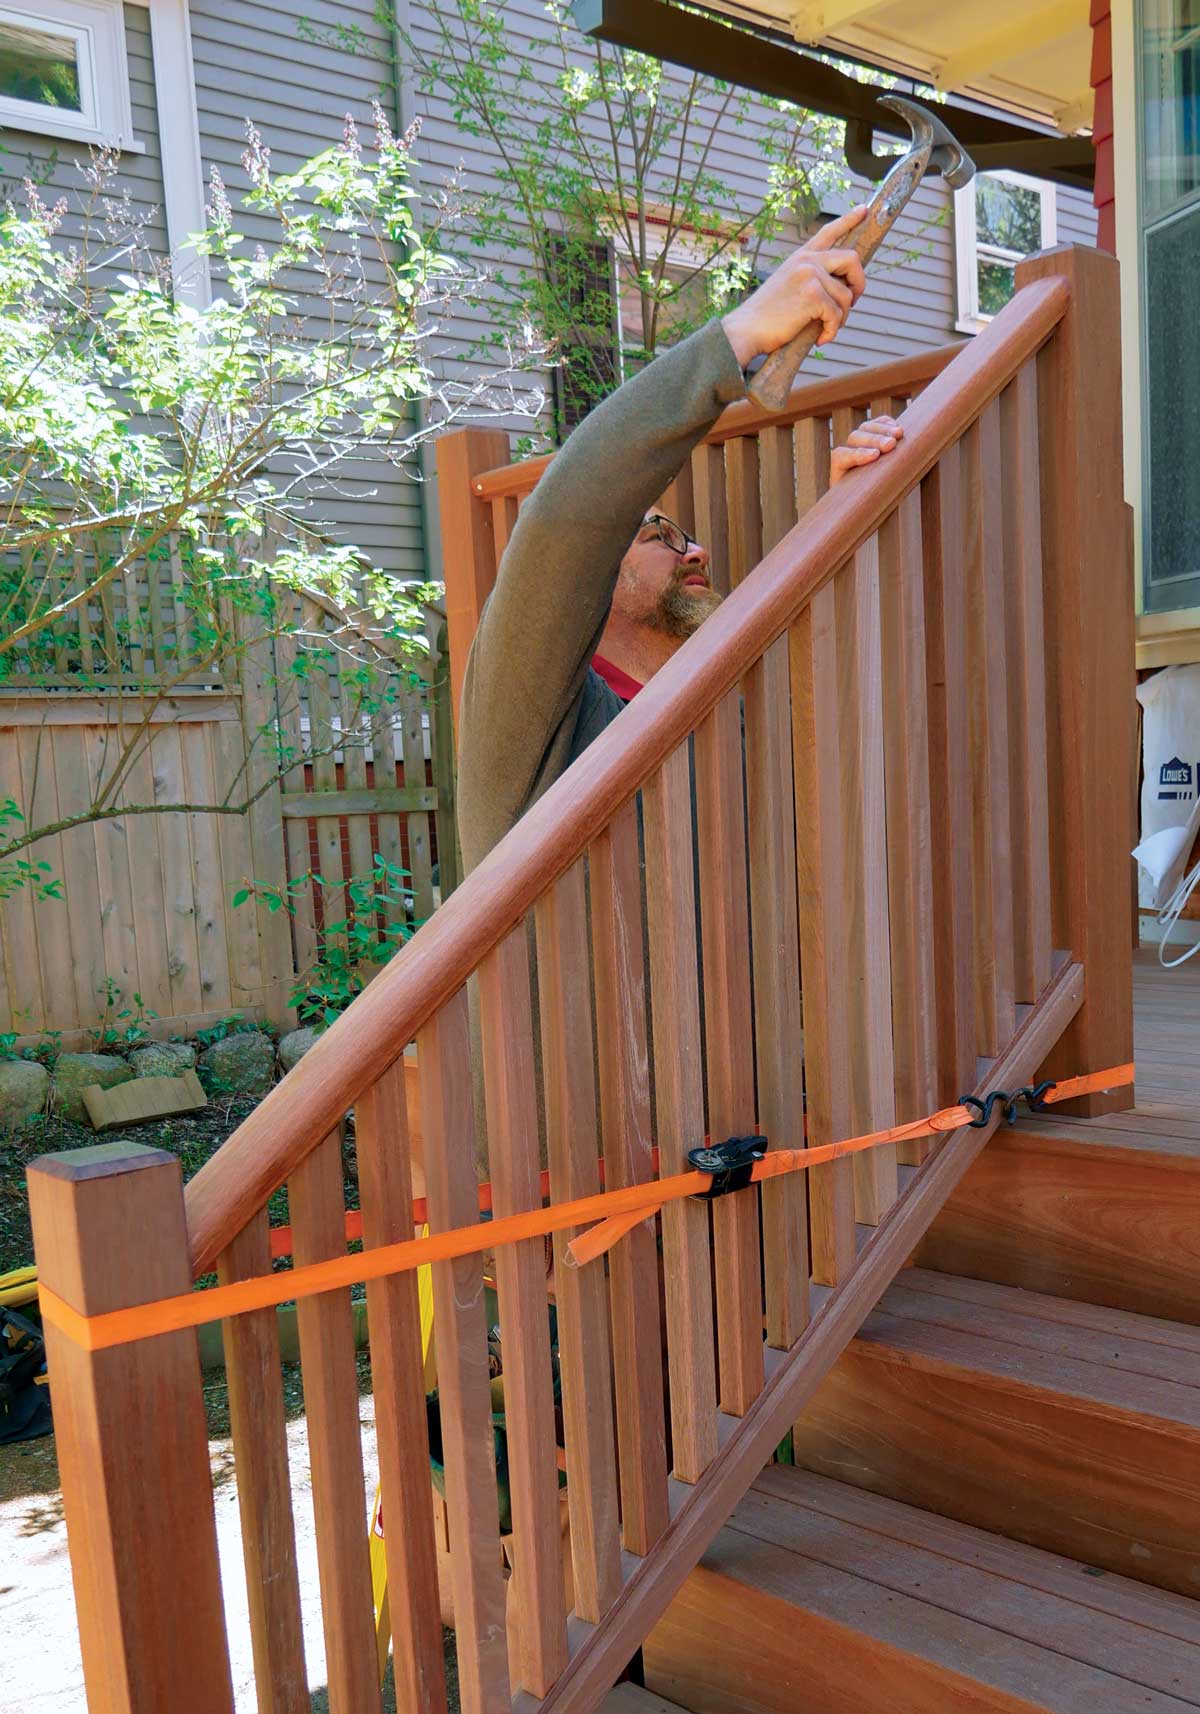
Install the balusters
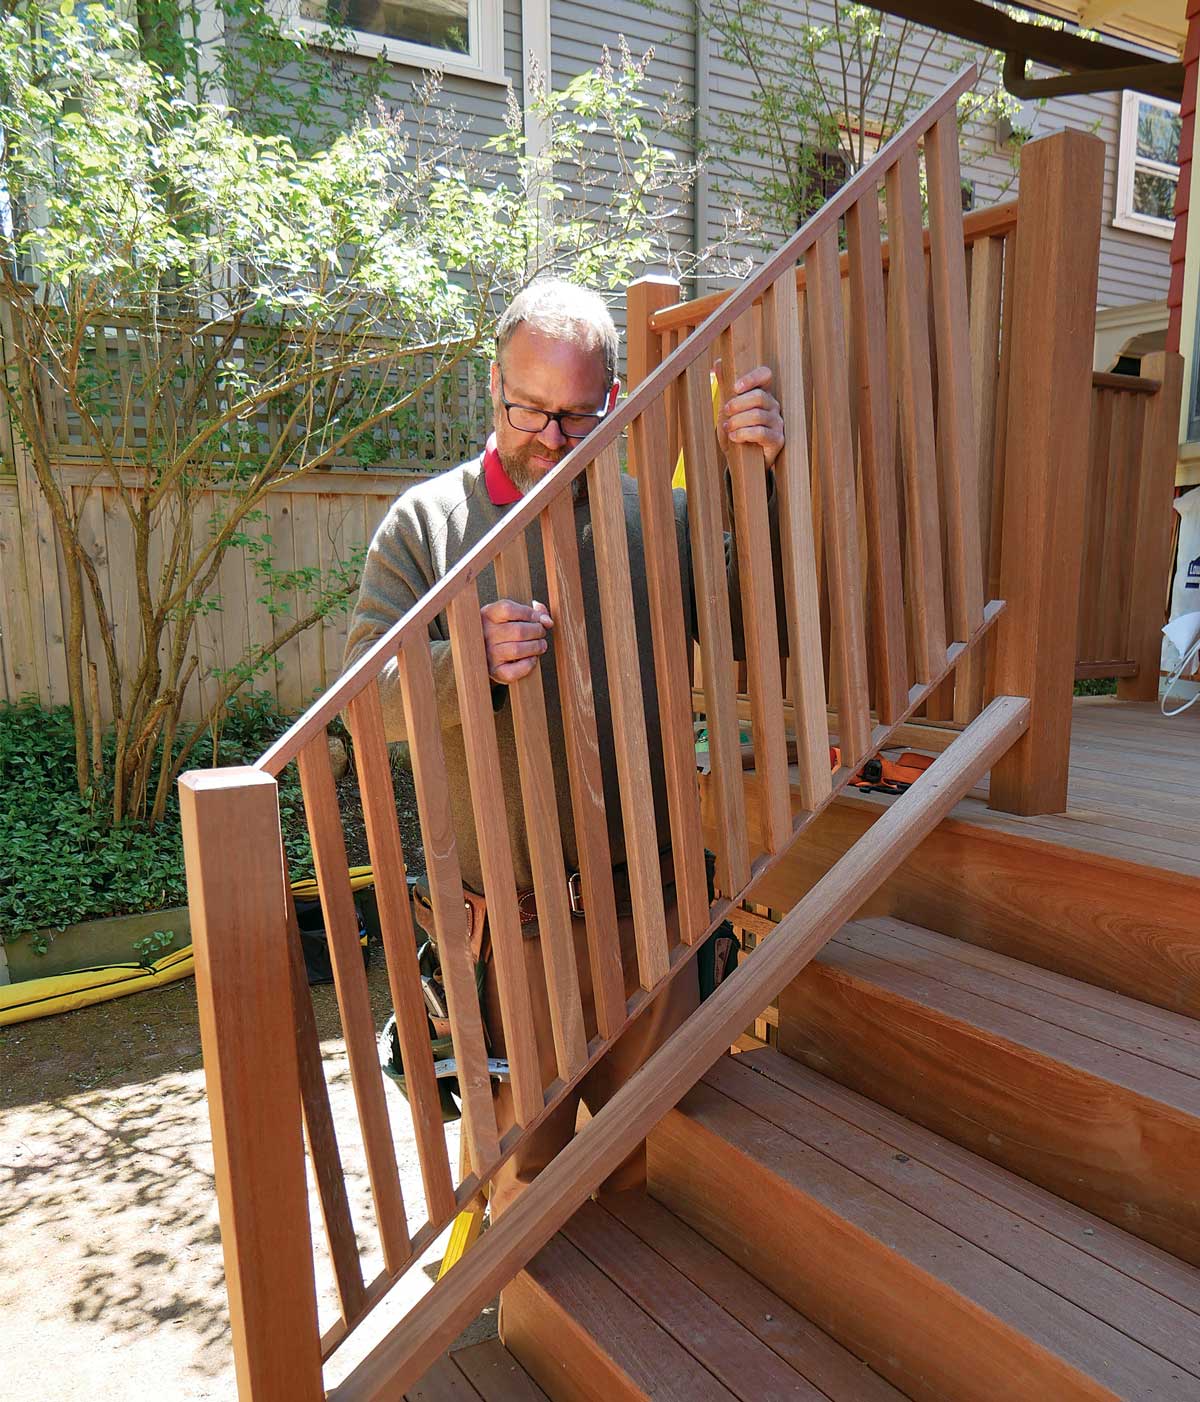
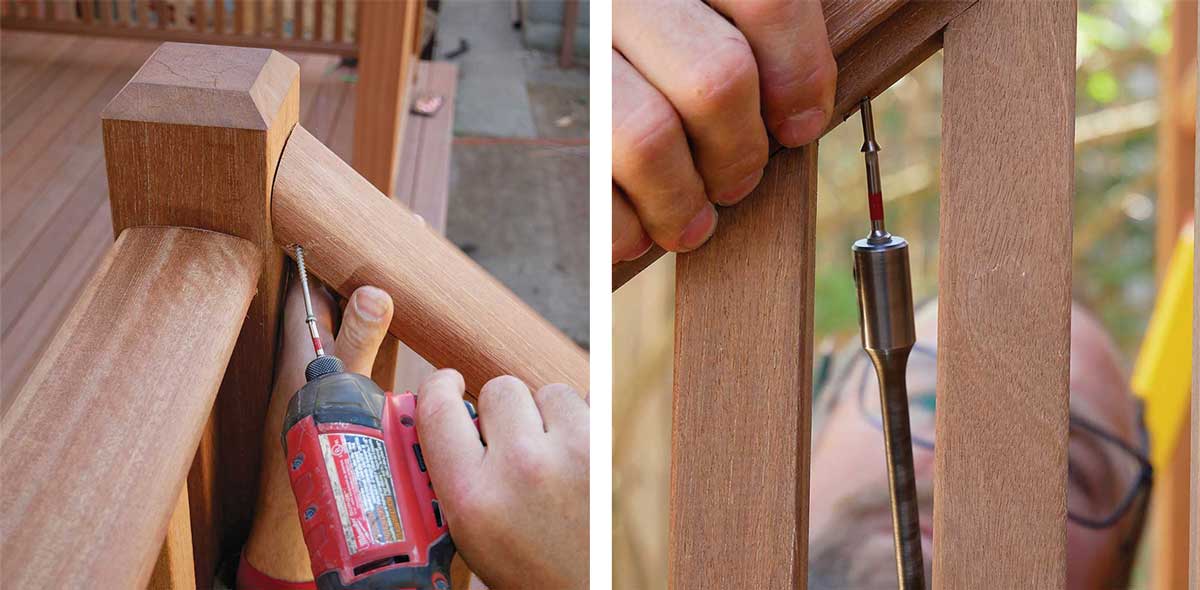
Screws lock everything down. Set the railing section on the bottom rail, using a ratchet strap to hold it in place while you check for plumb. Secure the section from underneath with screws through the bottom rail, and then secure the top subrail with two screws into each post.
Add the handrail
Hide the hardware. A molded handrail is cut to length and placed on top of the subrail to complete the railing and cover the visible hardware. The fit should be snug, and you may need to tap it into place. The cap is toescrewed to the posts to hold it in place and secured with screws from below for a refined finish.
Kevin Manning is a project manager at Red House Design in Providence, R.I., and completed this project with his coworker Aaron Crocker. Photos by Colin Russell.
Fine Homebuilding receives a commission for items purchased through links on this site, including Amazon Associates and other affiliate advertising programs.
Jigsaw
When it comes to fitting and installing decking, a cordless jigsaw is a must-have for custom cuts — especially around posts.
This tool is nice to have for fitting in tight spaces when fastening hardware. While you may not use it often, you'll be glad you have it when you need it.
This is a dialog window which overlays the main content of the page. The modal window is a 'site map' of the most critical areas of the site. Pressing the Escape (ESC) button will close the modal and bring you back to where you were on the page.
We use cookies, pixels, script and other tracking technologies to analyze and improve our service, to improve and personalize content, and for advertising to you.
We also share information about your use of our site with third-party social media, advertising and analytics partners.
You can view our Privacy Policy
here and our Terms of Use here.