Better Ways to Frame a Deck
Smart details for ledgers, posts, and joists create a solid, attractive frame that should last as long as the house.
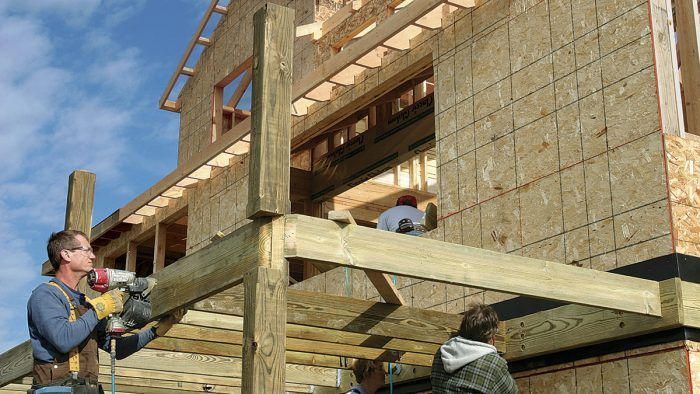
Synopsis: A good deck should be safe, attractive, and as long-lasting as the house it’s hanging from. John Spier has worked in Rhode Island’s coastal environment for 20 years, and in this article, he shares his strategy for erecting the posts and joists for a deck. Anchoring and flashing the ledger board are key details explained in drawings and photos. Also highlighted are some specialized tools that speed the process, such as a pneumatic impact wrench.
The wood frame of a deck leads a hard life. Without the protection of roof or walls, a deck frame is completely exposed to the weather. Though subjected to heavy loads, a wood deck is supported by just a few posts or piers instead of a solid foundation. And it’s a rare homeowner who gives a second thought to maintaining a deck once it has been built. In spite of all this, a deck is expected to be safe and attractive, and to last as long as the house that it’s hanging from.
These goals aren’t unreasonable if you pay attention to the details and materials that I explain in this article. Although the deck featured here is framed against a new addition, these details work equally well when a new deck is added to an existing house.
Off to a good start
I’ve been building houses on Block Island, R.I., for almost 20 years, and unless otherwise requested, I frame decks with pressure-treated lumber, which stands up well to the rigors of weather. I use straight material free of major defects. For fasteners, I prefer hot-dipped galvanized nails driven by hand. The deck ledgers attach with galvanized bolts and lags. I use gun-driven nails only to tack framing in place until permanent fasteners are installed, such as when nailing the spacers to the ledger.
Laying out and installing piers is an article all by itself, so I’ll start with the assumption that the piers are in place (and in the right place) with metal post bases installed. A quick check confirms these facts before I start.
Waterproof, then frame
Before the ledger goes on, I waterproof the house sheathing with an adhesive-backed membrane. I like to use Grace Ice & Water Shield. The membrane goes on well above the top of the deck ledger and runs 6 in. or so past the end.
Above the deck, the housewrap has to overlap the membrane and flashing, but below the ledger, the membrane must overlap the housewrap. If the housewrap hasn’t been installed (as in this case), I score the membrane’s peel-off backing and leave about 3 in. along the bottom of the membrane so that the housewrap can be tucked under at a later date. A combi-nation of careful detailing and high-quality flashing materials completes the waterproofing measures.
Two ledgers protect house and frame
The actual deck framing starts with a ledger securely fastened to the house. For decks less than 8 ft. wide, a single ledger may suffice, but for most decks, I prefer a double ledger that’s fastened to the house with through-bolts and lag screws. The two-ledger system lets me attach the deck board nearest the house without perforating the flashing.
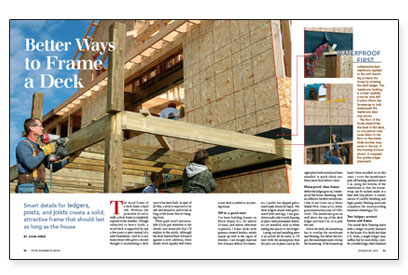
For more photos and details, click the View PDF button below:
Fine Homebuilding Recommended Products
Fine Homebuilding receives a commission for items purchased through links on this site, including Amazon Associates and other affiliate advertising programs.
Standard Marking Chalk
Portable Wall Jack

Jigsaw


