Build an Elevated Deck Series: Installing Joists
Deck rim joists, joists, blocking, and newel posts complete the framing before decking boards can go down.
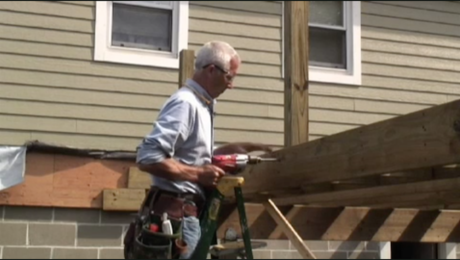
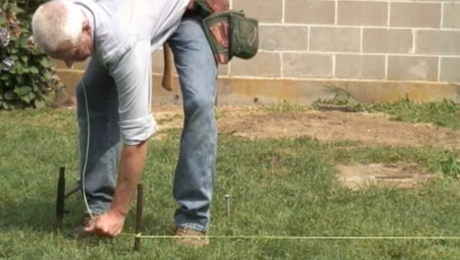
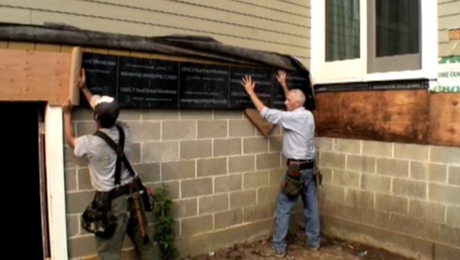
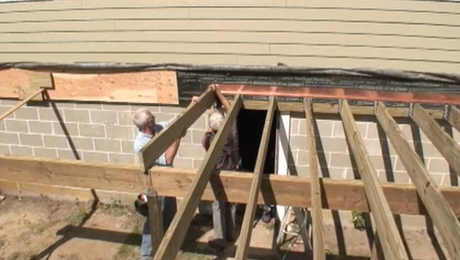
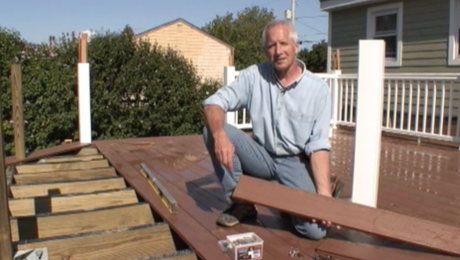
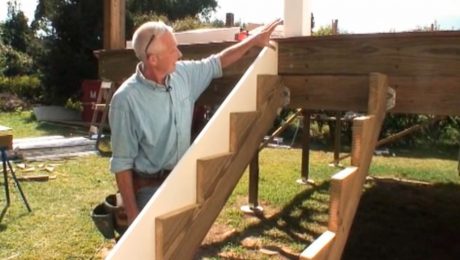
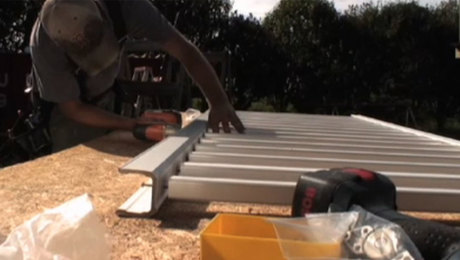
In this episode from builder Rick Arnold’s video series on building a raised deck, Rick and his crew are ready to move on to the joists after installing the main posts and support beams. The first joists to go in are the rim joists on each end of the deck frame. These will provide reference points for Rick to set the layout for the remaining joists in between. Once laid out, the joist are all installed and left to overhang the outside beam. After the last joist is installed, Rick snaps a line on top of the joists and cuts them to length. The next step is to install the additional rim joist pieces that wrap around the long side of the deck. Then it’s on to blocking that will support a picture-frame border Rick plans to install. The final framing parts are the railing posts, which get bolted to the rim joist around the entire deck.
Videos in the Series
-
How to Build an Elevated Deck
-
Build an Elevated Deck Series: Build a Solid Foundation
-
Build an Elevated Deck Series: Framing the Deck
-
Build an Elevated Deck Series: Installing Joists
-
Build an Elevated Deck Series: Laying Down Decking
-
Build an Elevated Deck Series: Building Basic Deck Stairs
-
Build an Elevated Deck Series: Assembling Deck Railings

