Deck Demolition 101
Deck builder Greg DiBernardo shows how to remove an old deck safely and efficiently.

It is almost inevitable that before you can begin building a new deck, an existing and usually decrepit deck that is standing in the way has to be removed. No part of demolition is glamorous. The best you can hope for is efficiency and safety. The faster the old deck comes down, the sooner you can start building the new one.
On exactly one occasion, I was able to back a dump trailer directly beneath a small raised deck, drop the deck precisely into the trailer, and haul it away in under five minutes. On every other occasion in my career, I have had to dismantle the deck in a methodical manner and carry the debris to the Dumpster.
Plan ahead
If the Dumpster is not at the job site when you begin, you’ll end up handling all the debris twice; you’ll have to stack everything somewhere and transfer it later to the Dumpster. Call far in advance to make sure the Dumpster is on-site when you need it.
Next, have the tools you need at hand. I rely on several specialized tools to make quick work of deck demolition. While a good oldfashioned crowbar gets the job done, tools designed for this purpose are usually superior. In no particular order, the tools I have used are the Gutster, the Duckbill Deck Wrecker, and the Demo-Dek. Spending $50 to $150 on a specialized tool is a no-brainer if you have a significant amount of work ahead of you.
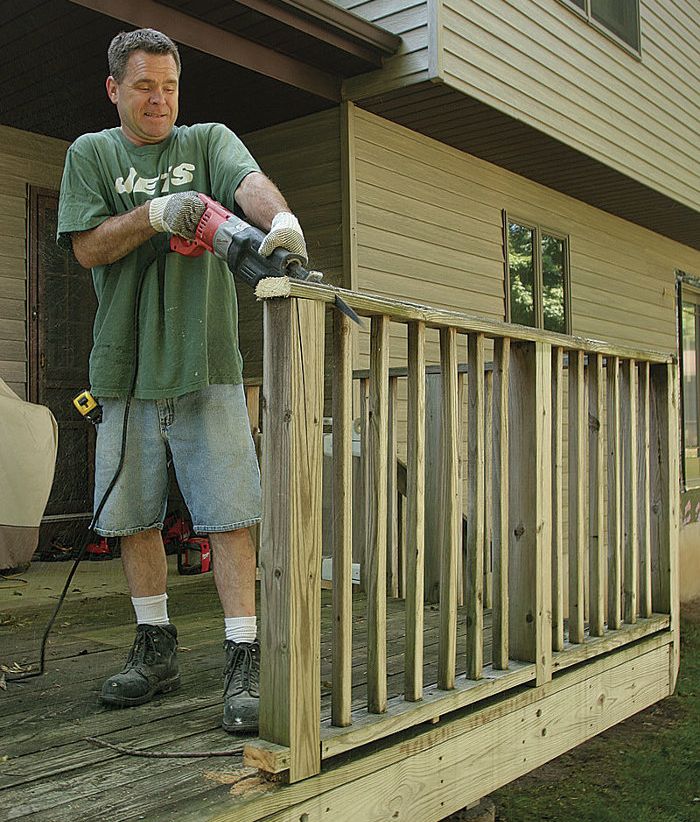
I also rely on a flat bar, a circular saw, a reciprocating saw, a chainsaw, and an impact driver to get through an average demolition job. While I typically use old blades in my circular saw in case I hit nails, I try to use fresh, aggressively toothed wood blades in my reciprocating saw. Pruning blades work great; just don’t hit any nails or you’ll burn through a lot of blades. Chainsaws make even quicker work of cutting off railings, beams, and big sections of deck. Again, watch carefully for nails. Not only will they instantly dull the chain, but the chain can fling the nails back toward you.
Begin with the railings
Remove the railing in sections, cutting it free with a chainsaw or a reciprocating saw. The freed section should be small enough to carry. If the rail system’s balusters are nailed to the rim joists, cut the balusters flush to the deck surface, and then cut the upper rail into manageable sections, leaving the balusters attached to the upper rail. If the balusters are not nailed securely into the rim, kick them off with your boot instead of cutting. Next, cut the rail posts off the rim joists. Don’t unbolt posts; it’s a waste of time when cutting is so much faster.
For more detail and photos, click the View PDF button below.
Fine Homebuilding Recommended Products
Fine Homebuilding receives a commission for items purchased through links on this site, including Amazon Associates and other affiliate advertising programs.

MicroFoam Nitrile Coated Work Gloves

Jigsaw

Flashing and Joist Tape


