Deck stairs should be situated so that they create practical traffic and egress patterns. I like to design stair locations so that the foot traffic from the house to the stairs doesn’t interfere with the prime deck territory along the outer rail. Placing the stairs at a right angle from the house keeps them from interfering with views from below the deck.
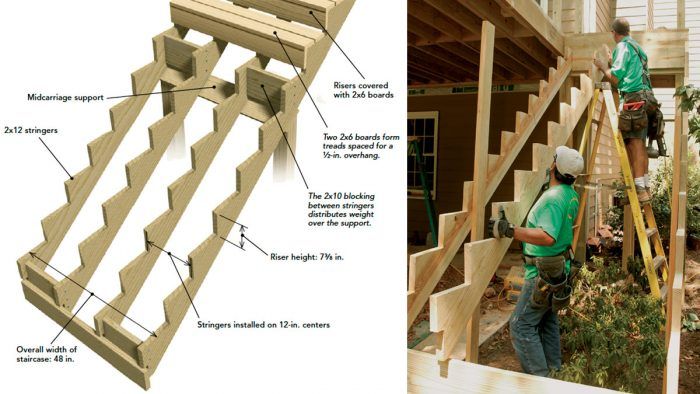
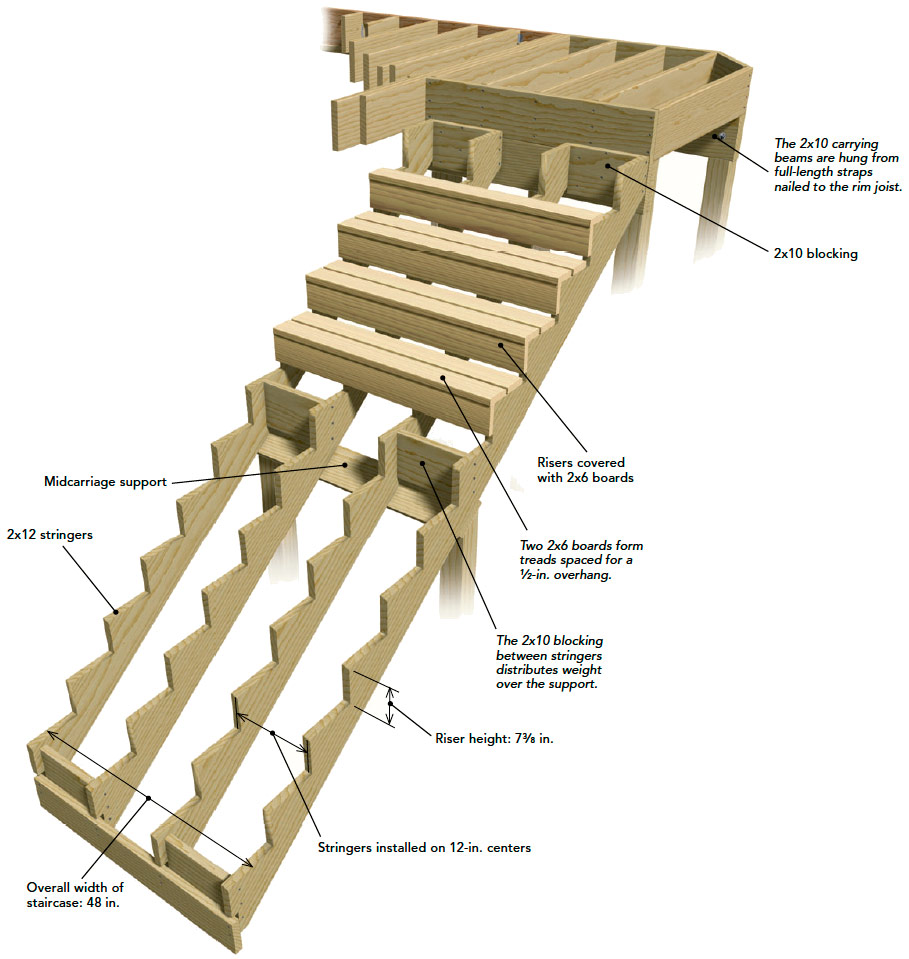
We build stairs from the top down. First, we hang the stringers from the upper landing. After building the lower landing to the correct height, we build the two-tread run that connects the landing to the concrete pad at the base of the stairs. Like framing a deck on temporary posts and then locating the footings, building stairs this way takes some getting used to, but in the long run, it creates fewer errors.
Check Code: The maximum recommended height for deck-stair risers is 7-3⁄4 in., according to the IRC, which dictates other limits as well with regard to deck-stair construction. Be sure to consult the code or your local code official before designing stairs.
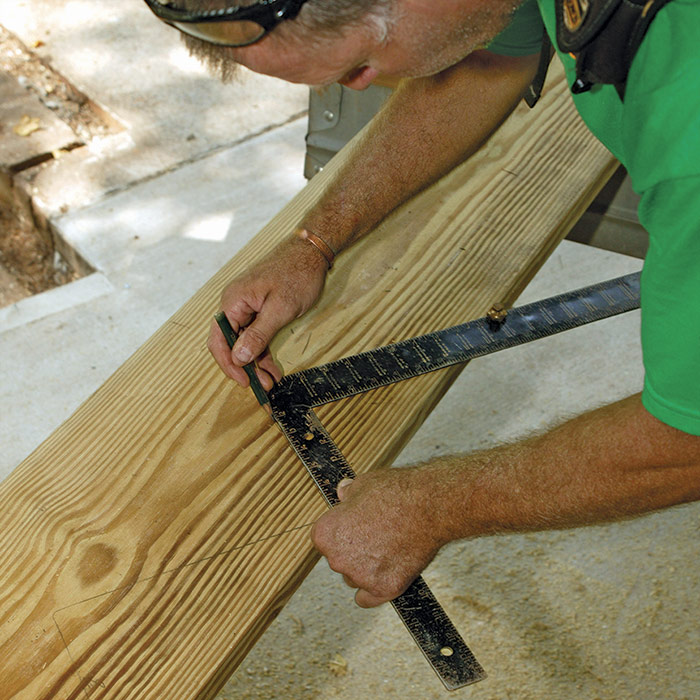
Lay out the first stringer. After calculating the rise and run of the top section of stairs, attach brass stair gauges to a framing square. Referenced from the top of the 2×12 stringer stock, the square is repeatedly traced over the length of the run.
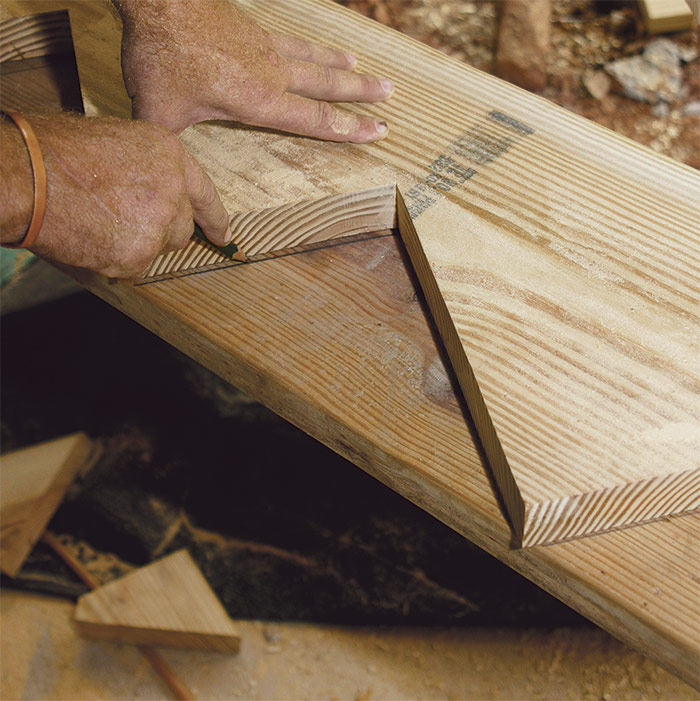
Use the first stringer as a pattern. Because the first stringer is used to lay out the remaining stringers, the cuts should be accurate. With a circular saw, cut to the intersection of the tread and riser lines, then finish the cut with a jigsaw or a reciprocating saw.
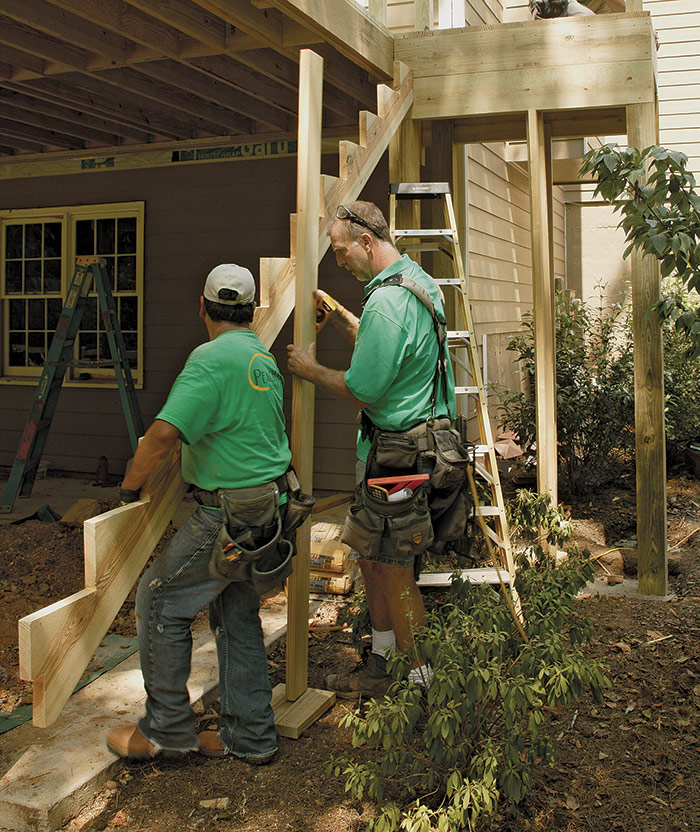
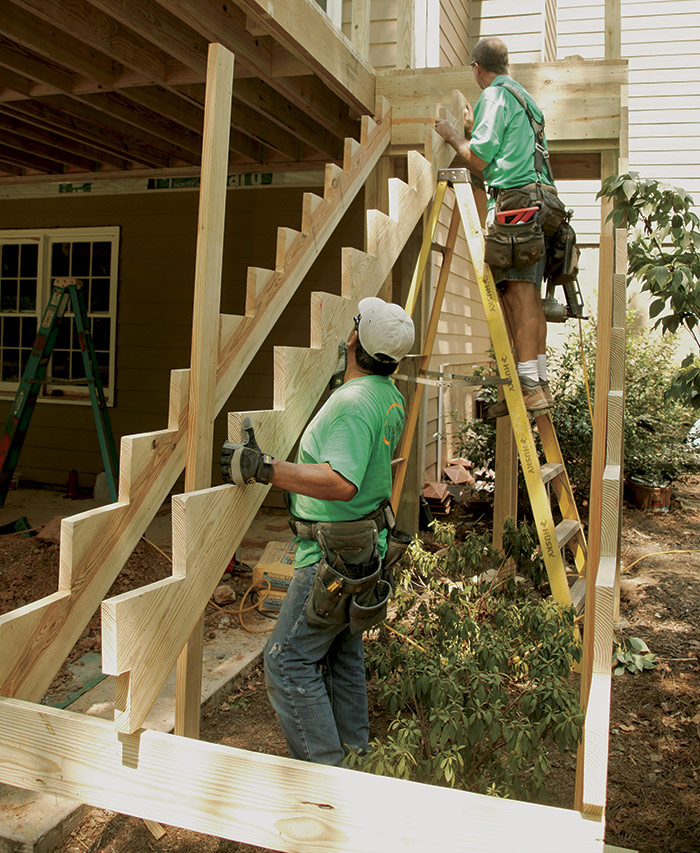
Hang the first stringer. After marking a level line on the upper header, toenail the first stringer into place, and tack it to a temporary post at midspan to keep it at the correct elevation.
Tie the lower ends. After attaching the two outside stringers, connect their lower ends with a 2×8, then add the middle stringers. The 2×8 forms one side of the lower landing.
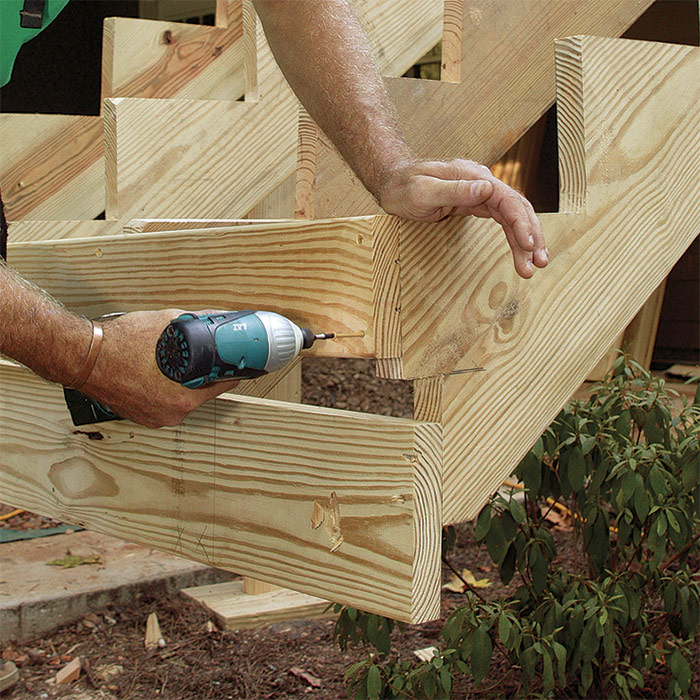
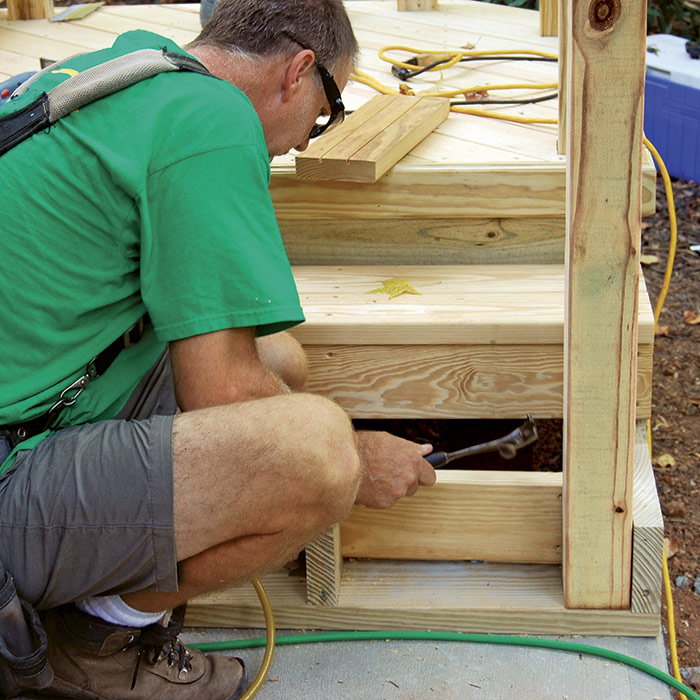
Keep things in place.Although the next step is to frame the lower landing, it’s a good idea to install a couple of treads and risers at the bottom of the run to keep the stringers from twisting. Note the space left for decking above the 2×8 cleat.
LOWER SECTION
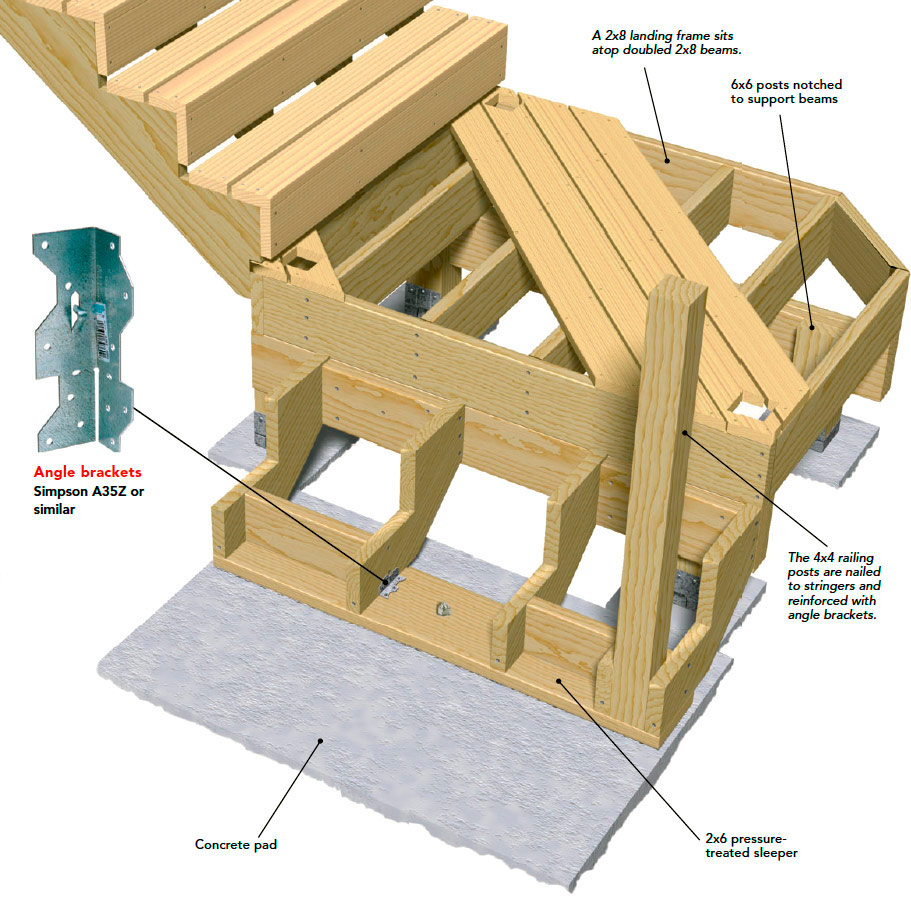
When the upper portion of the stairs has been framed and braced, we locate, dig, and pour the lower landing’s post footings. Placed on the footings, short 6×6 posts are notched to support doubled 2×8 beams that in turn support the landing’s frame. After the landing is framed, we know the exact position and height of the concrete pad that anchors the last stair carriage. Once the pad is set, we can complete the stairs.
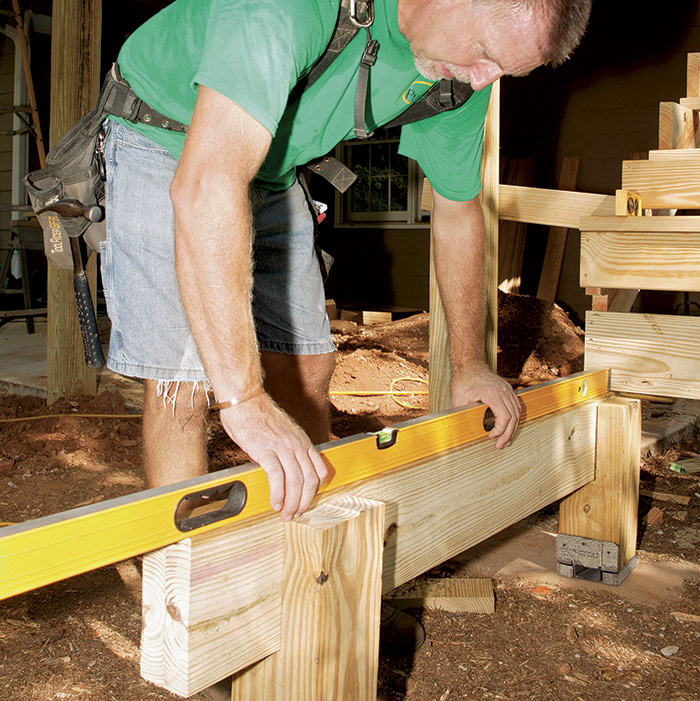
Establish the lower landing. When the upper stair run has been leveled and plumbed, locate and pour pads for four 6×6 posts. Notch each pair of posts for a doubled 2×8 carrying beam, which will support the landing frame.
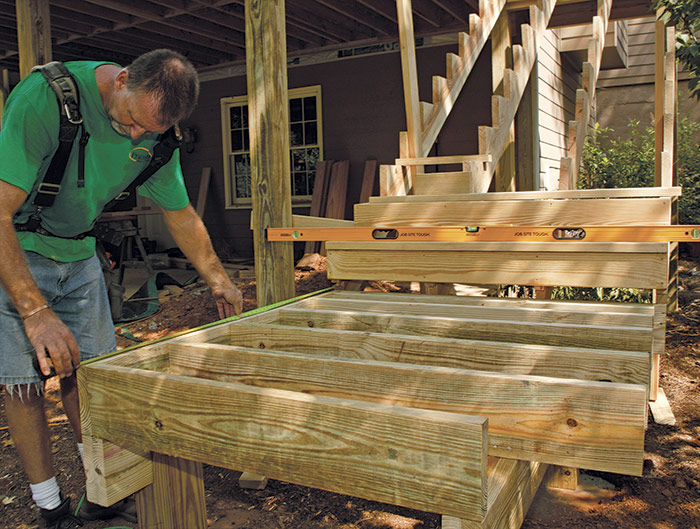
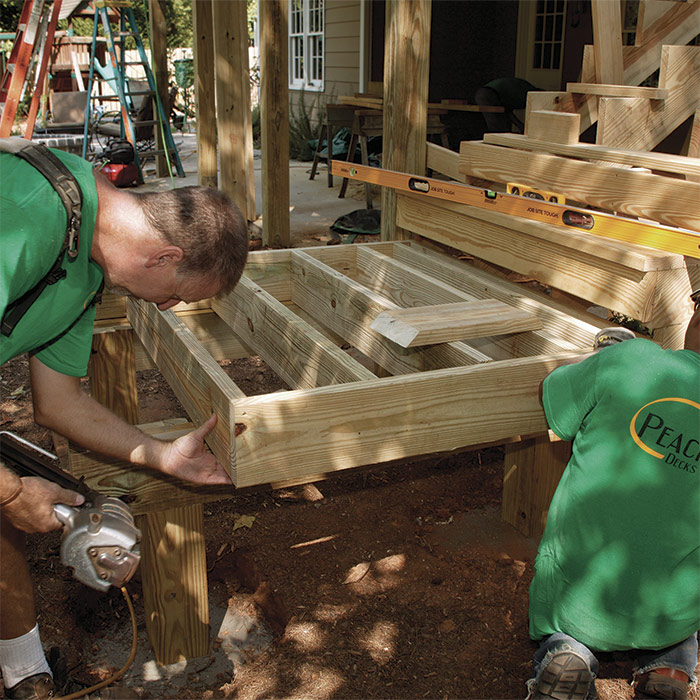
Build the landing in place. With a pair of carrying beams in place, the landing box can be framed. Note the clipped corner detail and 12-in.-on-center framing. Like the deck above, the landings are decked with a diagonal pattern.
Complete the box. After the lower stair landing’s perimeter is complete, it’s a good time to install the interior blocking that supports the railing posts at each corner.
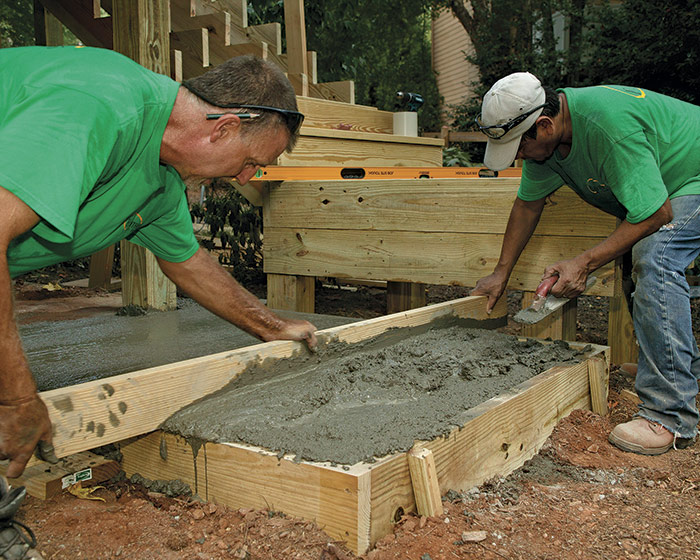
A level form is critical. A concrete pad is formed to terminate the two-tread run from the landing above. After setting and filling the form, screed the concrete flush with the top of the form, and trowel it smooth.
Frame the stairs. Once the pad has cured, the stairs from the landing can be built. Attach the short stringers to a 2x nailer bolted to the pad. Blocking between the outer stringers supports the posts. (Photo by Bobby Parks)
Photos by Charles Bickford, except where noted.
Fine Homebuilding Recommended Products
Fine Homebuilding receives a commission for items purchased through links on this site, including Amazon Associates and other affiliate advertising programs.
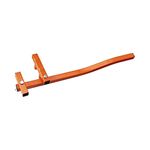
Cepco BoWrench Decking Tool
This tool makes straightening deck boards a breeze during installation.
This is a dialog window which overlays the main content of the page. The modal window is a 'site map' of the most critical areas of the site. Pressing the Escape (ESC) button will close the modal and bring you back to where you were on the page.
We use cookies, pixels, script and other tracking technologies to analyze and improve our service, to improve and personalize content, and for advertising to you.
We also share information about your use of our site with third-party social media, advertising and analytics partners.
You can view our Privacy Policy
here and our Terms of Use here.