How to Install Deck Joists
Learn a variety of techniques to install the joists that support the decking.
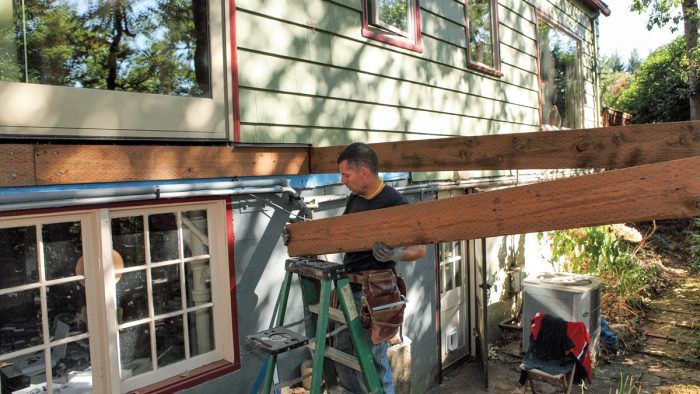
Installing joists–also called rolling joists–provides the support for the decking and is a satisfying process because it’s the stage when the shape of the deck really starts to become apparent. There are a variety of techniques you can use when installing joists, especially when it comes to how the joist hangers are installed. There is no one right way. Here, and in the sections covering installing rim joists, you’ll see several techniques applied to different situations. That said, all proper joist installations should involve careful lumber selection, accurate installation, and secure connections.
 What can go wrong

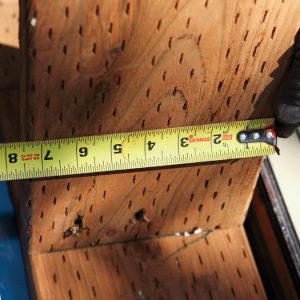
Dimensional lumber can vary in height. If you align the joists to the bottom of the ledger, the tops—where the decking rests—may vary, leading to an uneven deck surface.
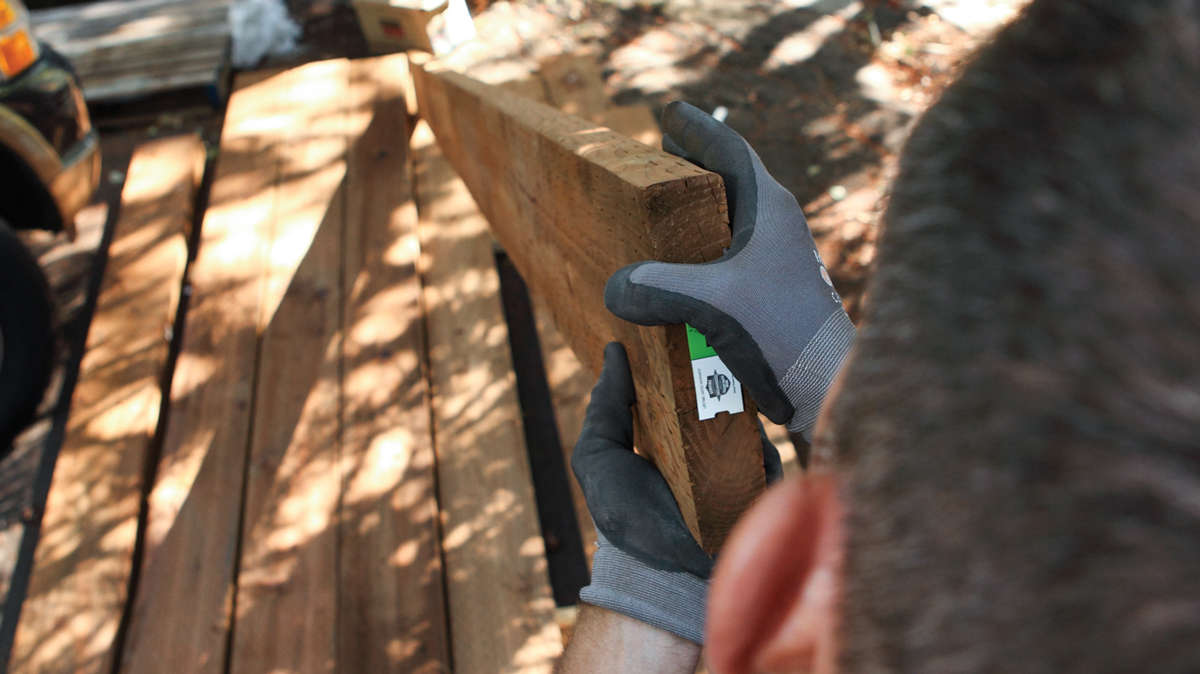
Before moving any joist from the delivery location down to the work zone, examine the lumber and discard any boards that are severely crowned or kinked. Bowed, twisted, and slightly crowned lumber can all be dealt with at installation as long as the flaws are not extreme. While culling the lumber, make a note of the crown direction on the side of the board with a crow’s foot. Carry and spread all of the material for each section and align all the crowns in the same direction. Position the ladder where you can easily reach the ledger that the joists will attach to. While holding the joist in a comfortable position, start a 3-in. screw in the face of the board near the end you want to attach. Align the top of the joist to the ledger top while holding the joist to the layout mark and drive the screw home. For now, each joist needs only two screws to hold it in place temporarily. Attach all the joists to the ledger while resting the other end on the beam. If there is a chance that someone will stand on the deck joists before the decking is installed, take the time now to install the joist hangers.
1. Sight down the joist to determine the overall quality and crown orientation. Discard any boards that are severely warped.
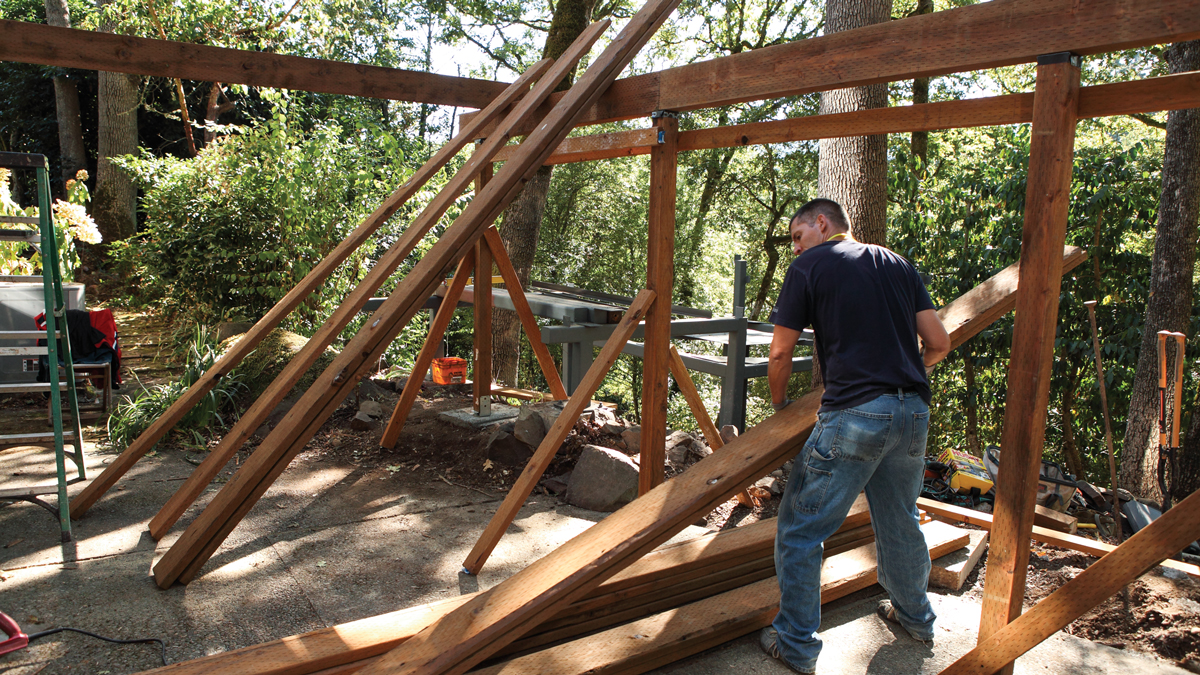
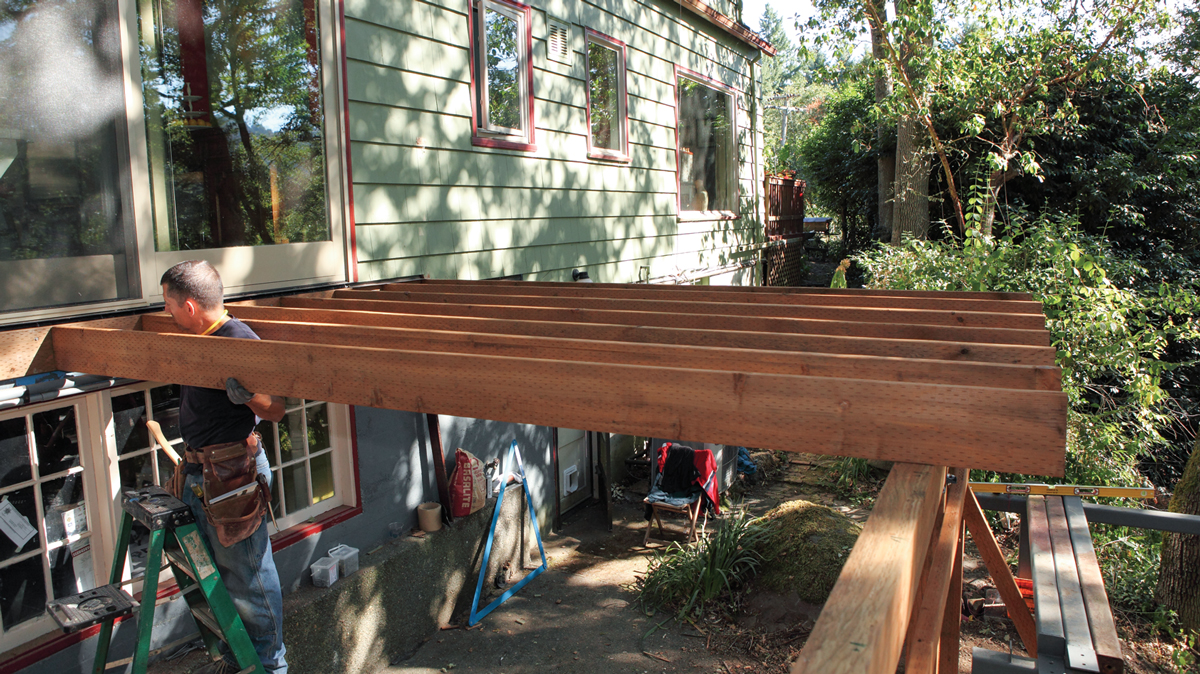
2. Stage the joists with one end on the beam and the crowns all facing the same direction.
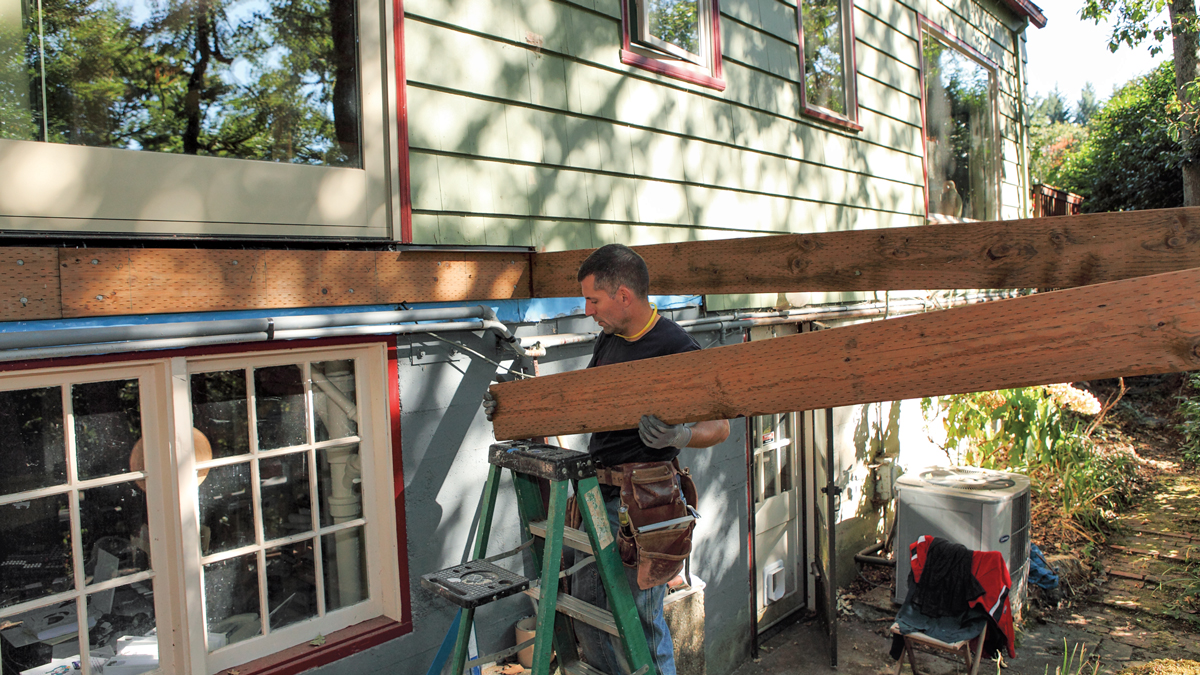
3. Walk each joist up the ladder so you are in a comfortable position to hold the board when you install it.
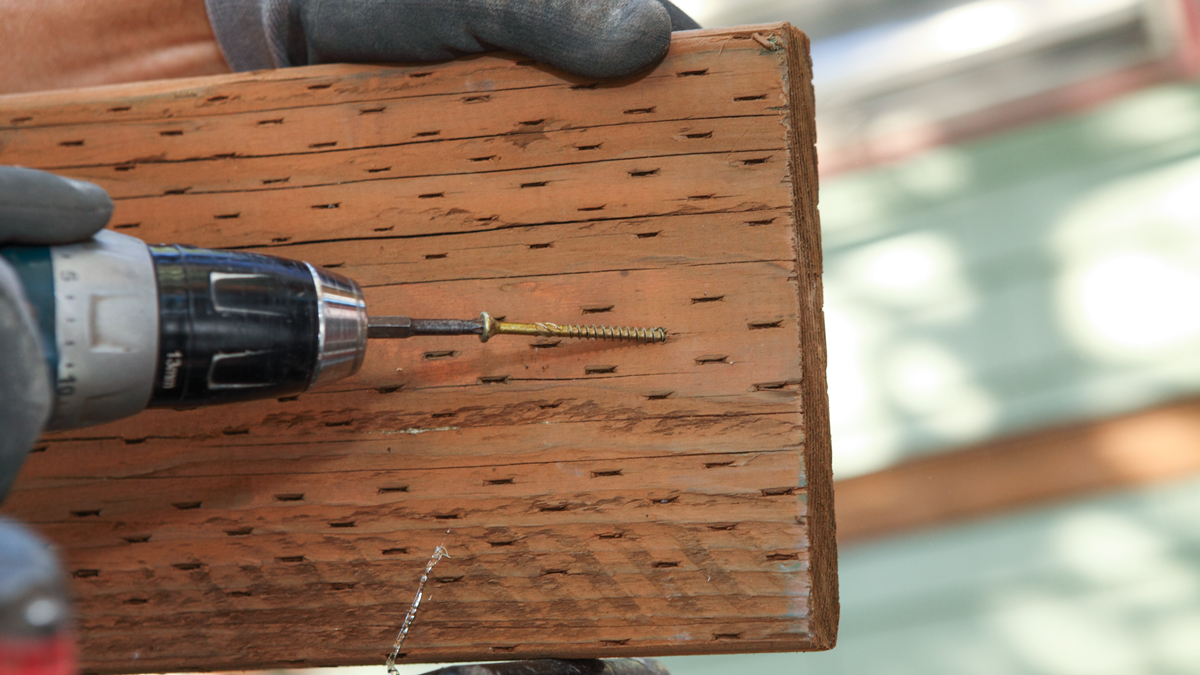
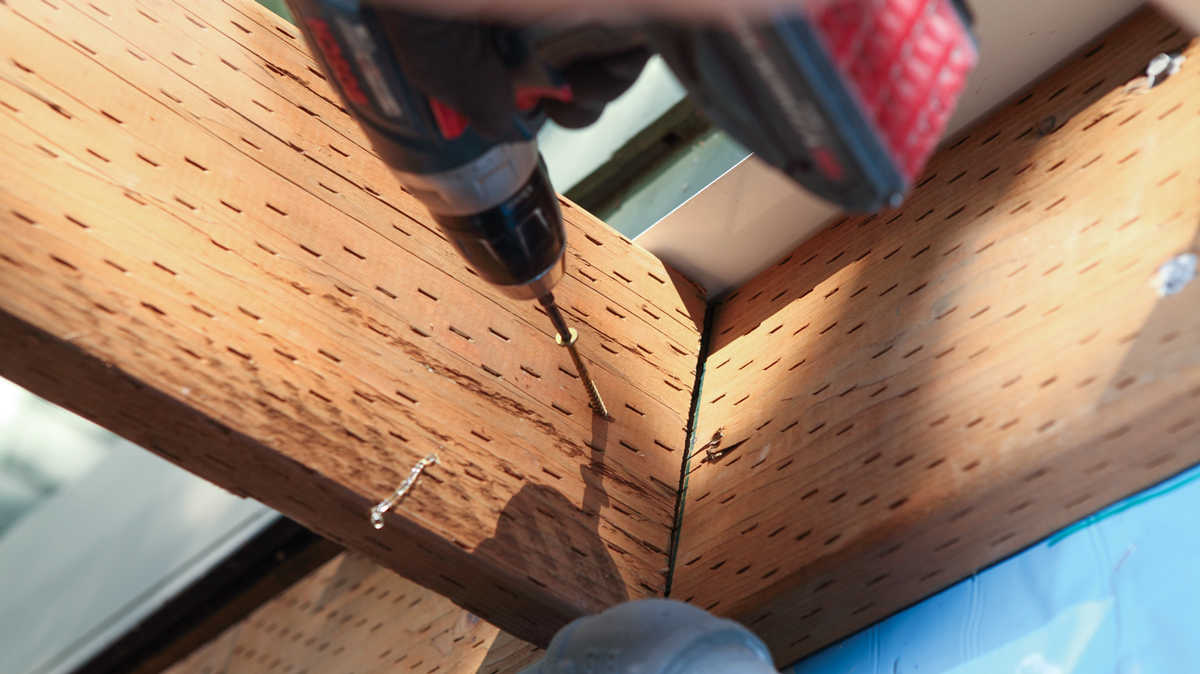
4. A 3-in. screw toed into the joist face temporarily fastens the board until the hangers can be installed to permanently secure the joist.
5. Align the edge of the joist to the layout mark and drive the screw to secure the joist to the ledger.
6. Move to a comfortable position for each joist installation. It is far less effort to move the ladder than it is to work from an awkward position.
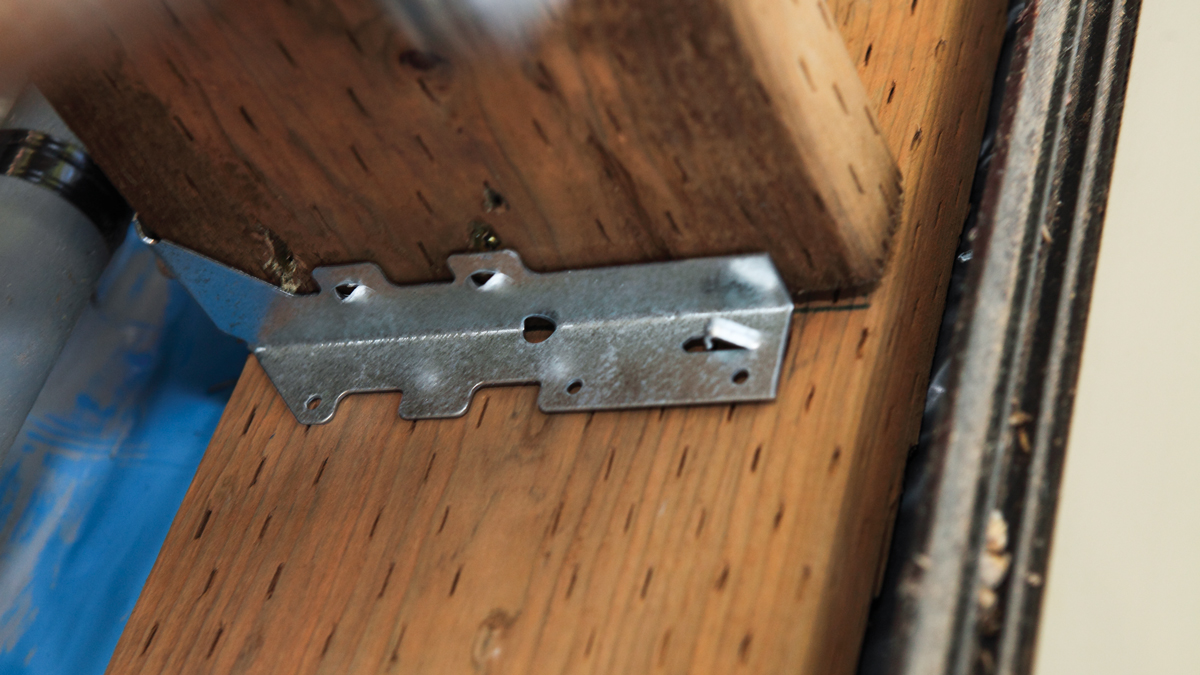
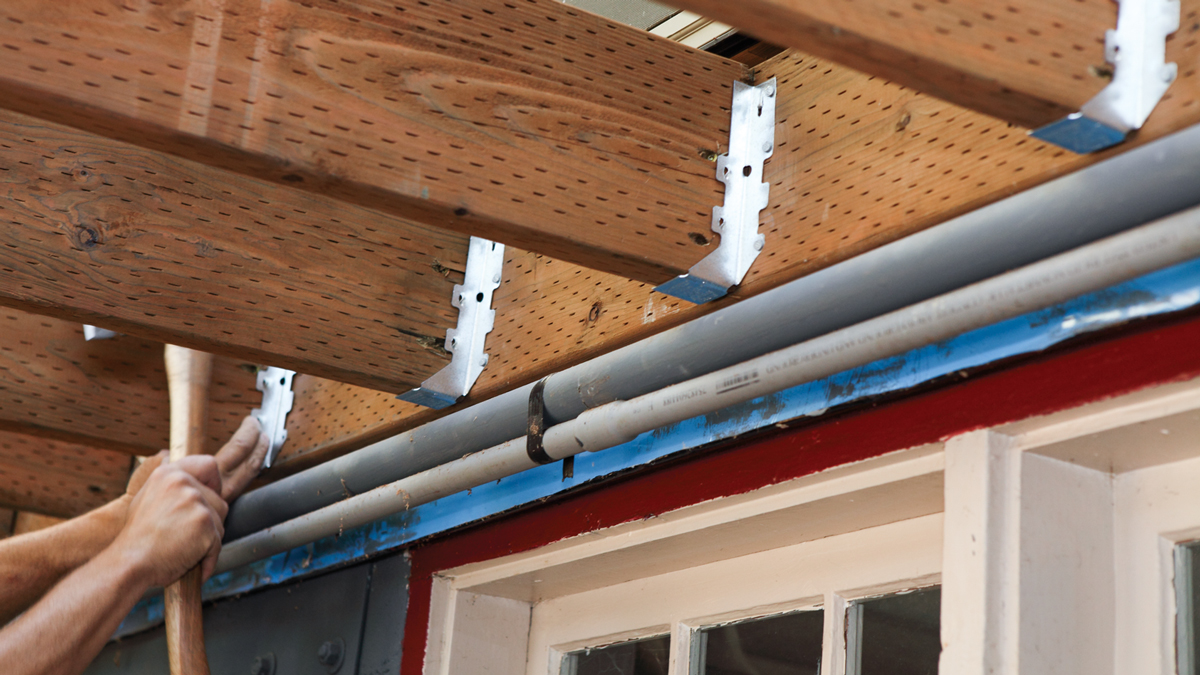
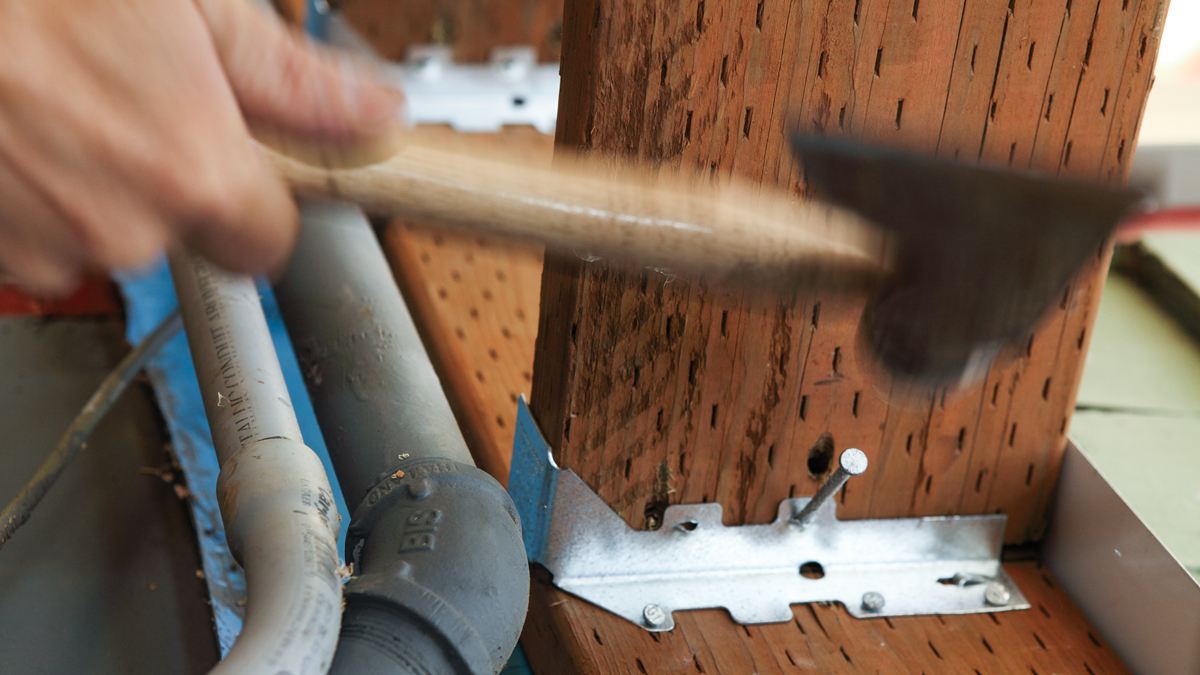
7. Install the joist hangers tight to the joist with galvanized nails per the manufacturer’s specifications.
Installing Joist Hangers
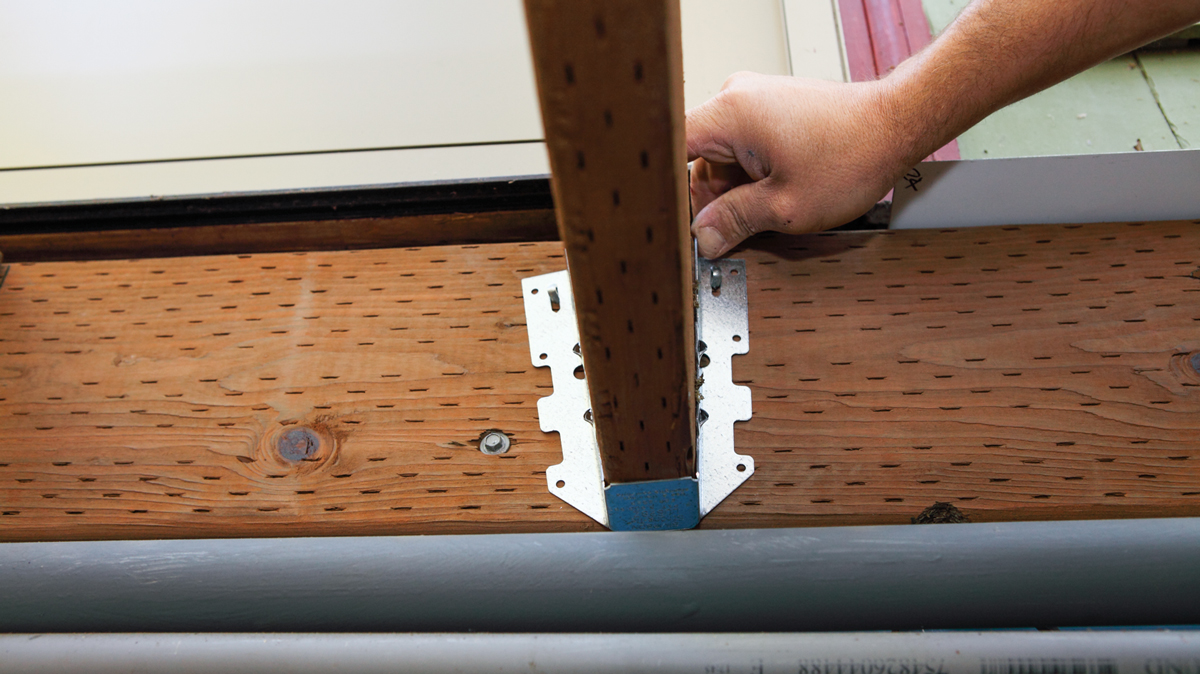
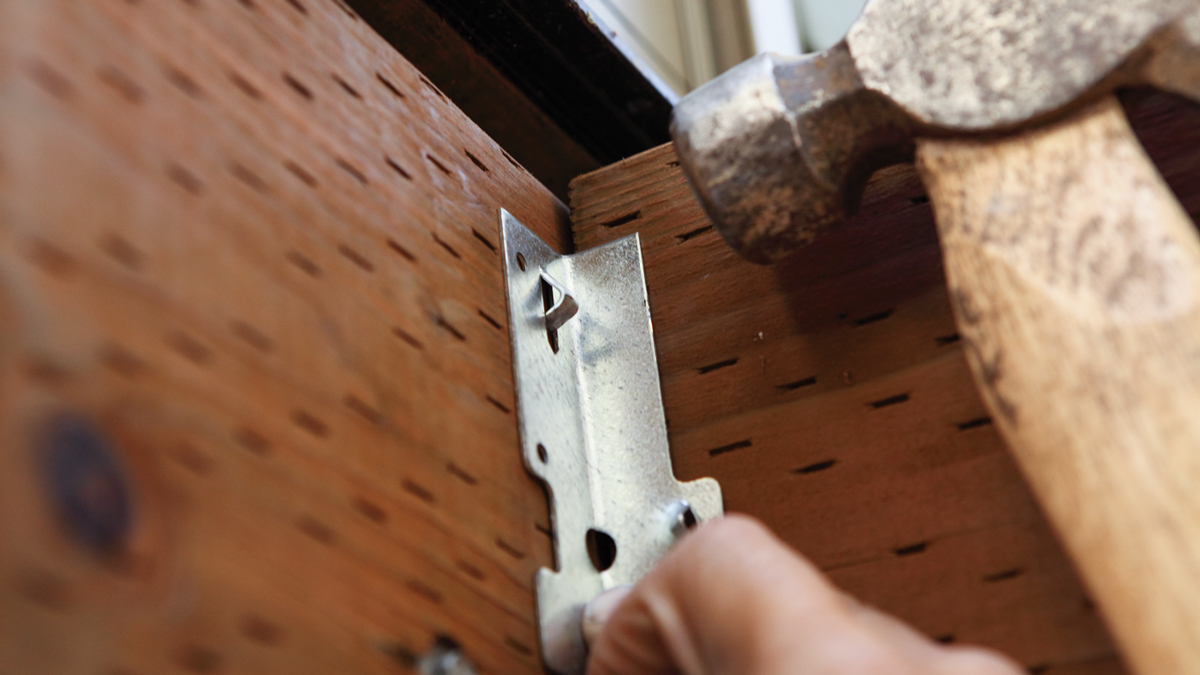
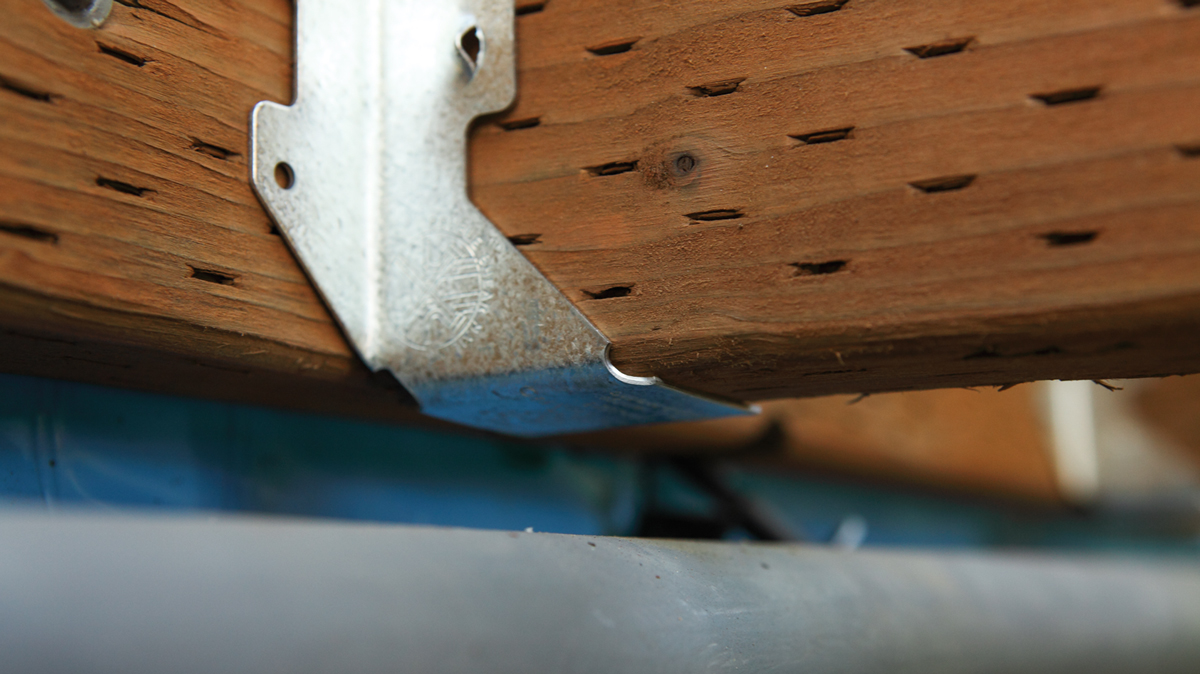
1.If the joists are in place, installing the hangers starts by setting one side of the hanger flush to the side of the joist with the bottom corner snug to the bottom edge of the joist.
2. Tap the holding tab into the ledger to temporarily hold the hanger in place.
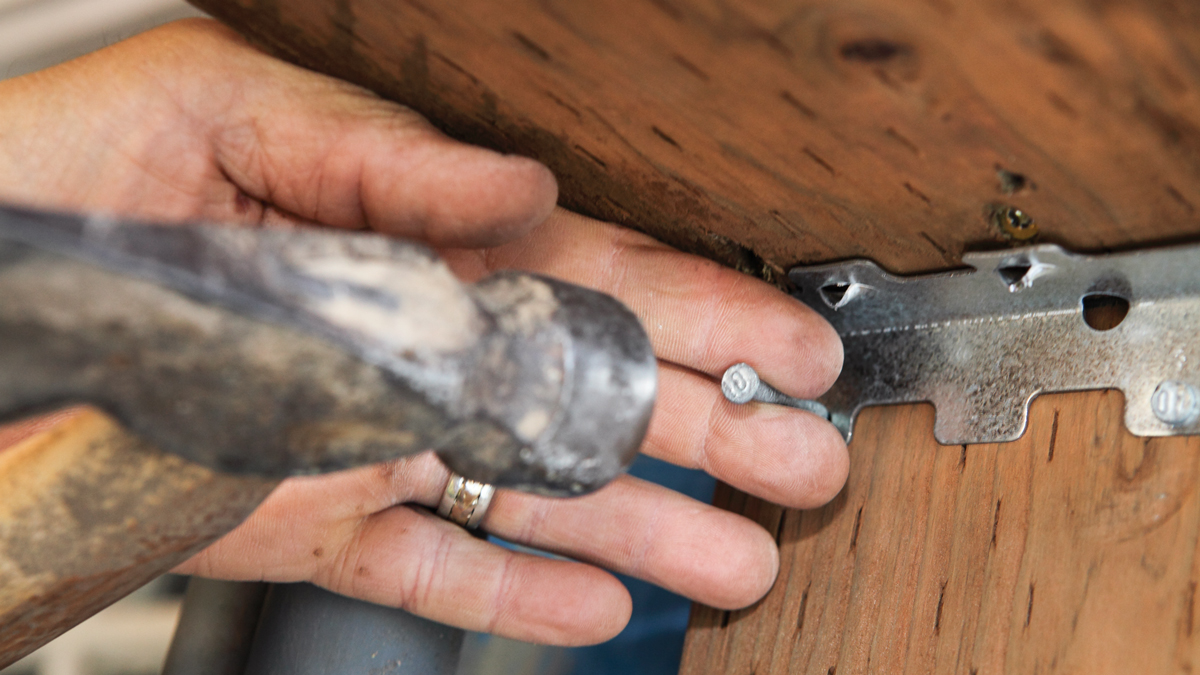
3. Hold the fastener with your fingernails facing away from the hammer’s head. If you miss with the hammer you are far less likely to injure yourself, although it will probably still hurt.
4. Adjust the opposite side of the hanger until the joist is seated flush to the hanger bottom.
5. Secure all the joist hangers to the ledger, then go back and secure the joists to the hangers. Since the nails for the latter are a different size this will save time.
Fine Homebuilding Recommended Products
Fine Homebuilding receives a commission for items purchased through links on this site, including Amazon Associates and other affiliate advertising programs.
Metal Connector Nailer
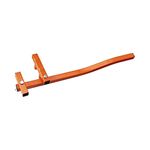
Cepco BoWrench Decking Tool

MicroFoam Nitrile Coated Work Gloves

