How to Install and Flash a Deck Ledger, Start to Finish
Follow the complete deck ledger installation process from prep to fastening to flashing.
Jump to all the videos in this series
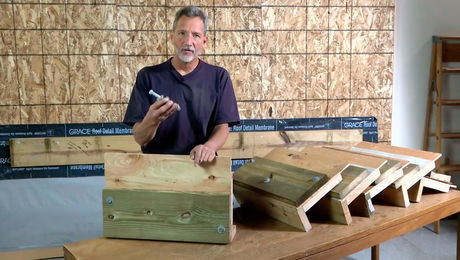
The deck ledger to the house is an unusual connection in home building. Most house framing relies on building elements (floors, walls, roofs) being stacked one atop another. A ledger relies on the fasteners and strength of the wood ledger board and rim board of the house to carry the deck live and dead loads.
Attaching a deck ledger securely is only half the work of installing a ledger. The other half is flashing the ledger to prevent water from getting behind it, which would lead to decay of the wall sheathing, rim joist, and wall plate or mudsill.
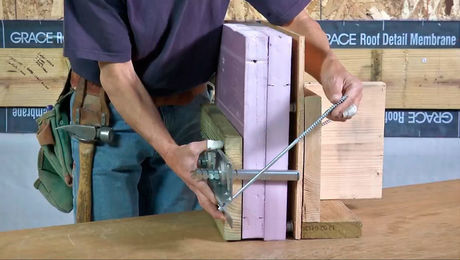
Attaching Ledgers
In order to get a deck ledger secured properly, you need to refer to published resources recognized by your local building department to guide the selection and installation of fasteners. Common resources recognized by building departments are the International Residential Code (IRC); fastener manufacturer’s installation instructions and ICC evaluation reports; DCA-6 (Prescriptive Residential Wood Deck Construction Guide); and a guide provided by the building department. For more on ledger attachment options, see “Options for Fastening a Deck Ledger”.
Flashing Ledgers
The level of water resistance you need to achieve when flashing a deck ledger will depend on the rainfall and how dry your climate generally is. A simple metal or plastic cap flashing is probably adequate to flash a deck ledger in a dry climate, while the 3-layer system described in this video is suitable for high rainfall and damp climates. The IRC doesn’t provide prescriptive measures for flashing other than the minimum thickness for metal flashing (0.019 in). The code does list performance criteria: “Ledgers shall be flashed … to prevent water from contacting the house band joist.” The code leaves it to you–and your code official–to decide how to approach the flashing suitable for your climate.
My approach is to apply a self-adhering, self-sealing membrane to the wall where the ledger will be installed that extends at least an inch above the top of the ledger, two inches below and four inches past the ends. You can cut a piece to width from a roll of ice-barrier waterproof roof underlayment or use a flashing tape membrane that’s wide enough. I prefer to use the plastic-surfaced membrane because they fold tight into the ledger to wall corner and over the edge of the ledger.
After the ledger is installed a second strip of membrane/tape is applied over the top of the ledger and about 1/2 in. down the face. The wall leg is at least 7 in. tall. This may seem excessively tall but is needed in order for the water-resistive barrier (WRB) and siding to overlap the top. The decking is usually 1 in. thick and some siding types require there be a 2 in. air space between the decking surface and bottom of the siding course. This leaves only 4 in. (of the 7 in. wall leg) covered by the WRB and siding.
Metal or plastic cap flashing covers the top of the ledger with a drop leg of 1/2 in. or more on the face of the ledger and a 6 in. or taller wall leg. Galvanized steel and aluminum flashing can experience accelerated corrosion when in contact with treated lumber. The membrane capping the top of the ledger serves as an isolation membrane to keep the metal away from the lumber.
Videos in the Series
-
How to Install and Flash a Deck Ledger, Start to Finish
-
Options for Fastening a Deck Ledger
-
Attach a Deck Ledger Over Brick, Foam, and Other Thick Claddings
-
Deck Footing Options
-
Options for Fastening Deck Posts to Footings
-
Options for Fastening Beams to Deck Posts
-
Installing Deck Joists
-
Lateral Load Deck Connector Options
-
Options for Fastening Deck Guardrails
-
Building Strong Deck Stairs





View Comments
Can a ledger be installed over 5/8” exterior gypsum sheathing? My house was constructed in 1958 and was not sheathed in plywood.