Multi-Feature Curved Deck: Decking
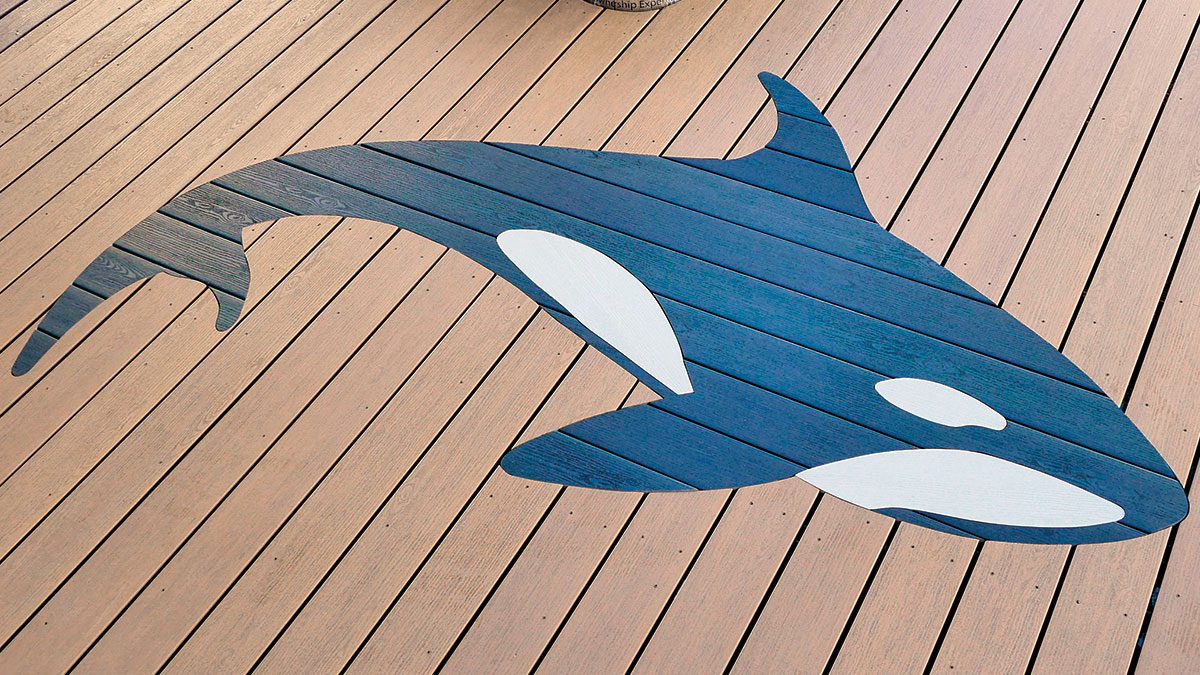
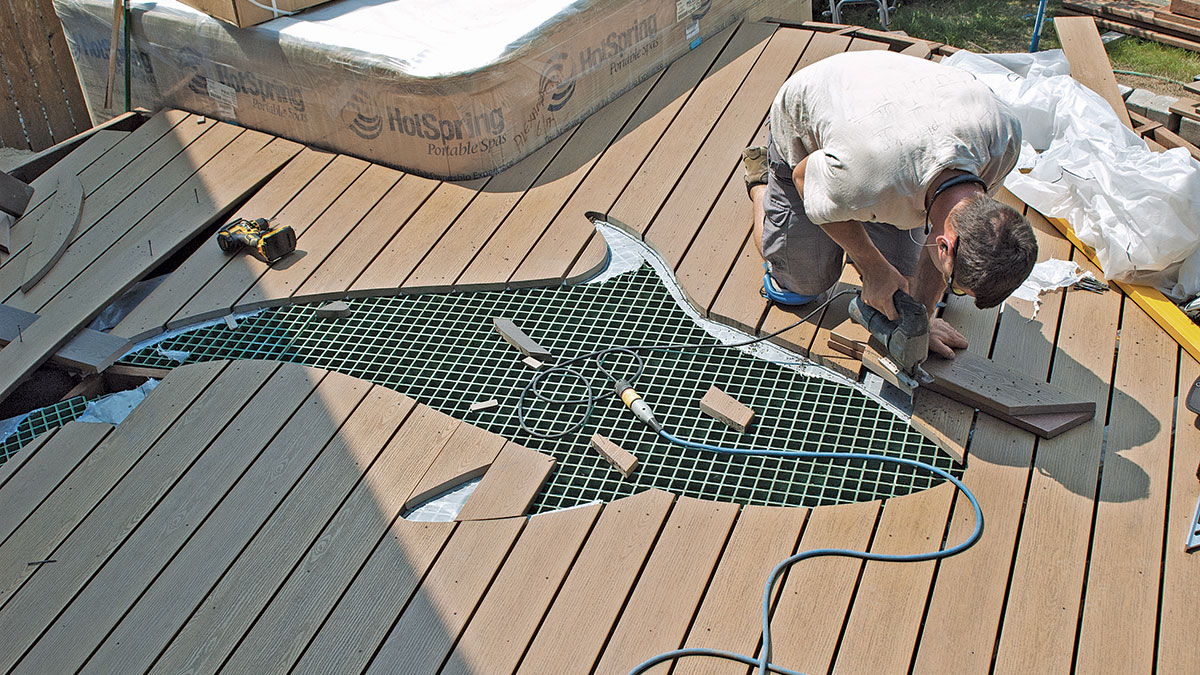
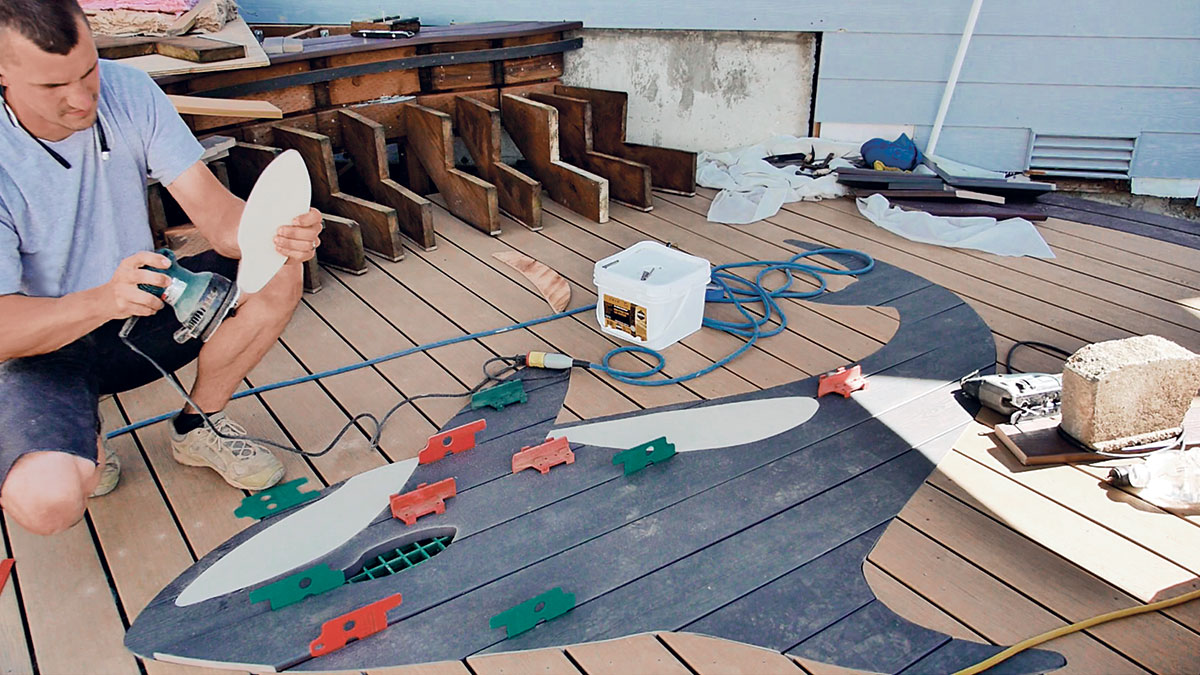
An inlaid graphic of an orca whale dresses up the deck planking.

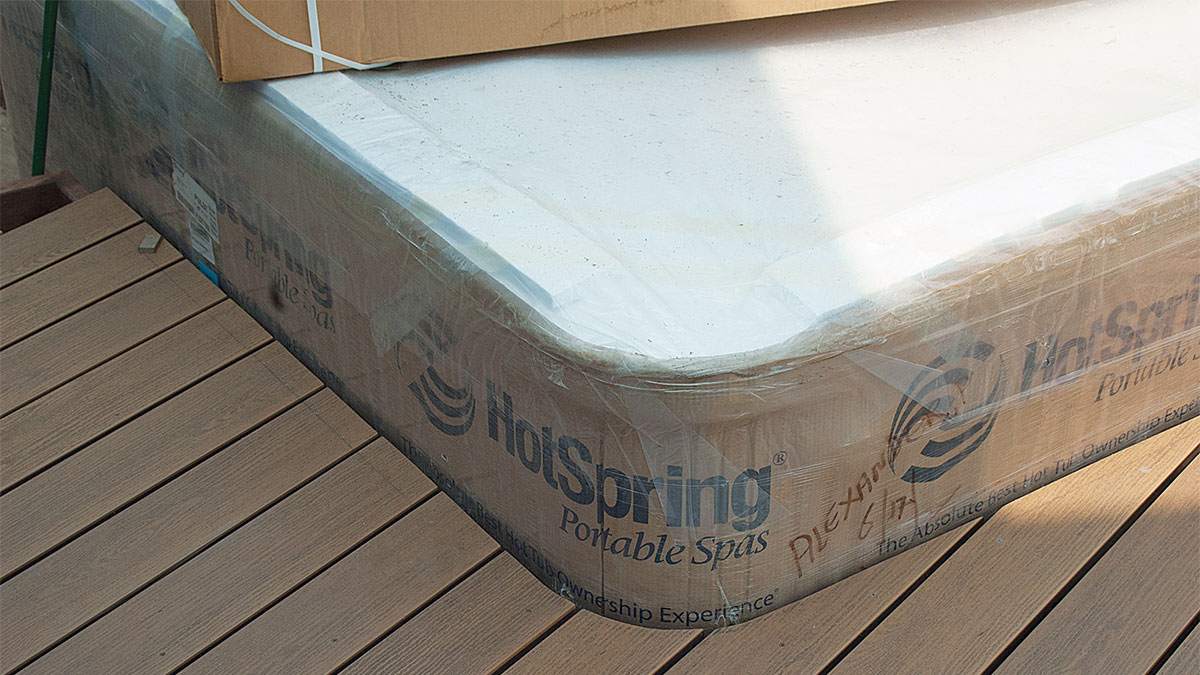
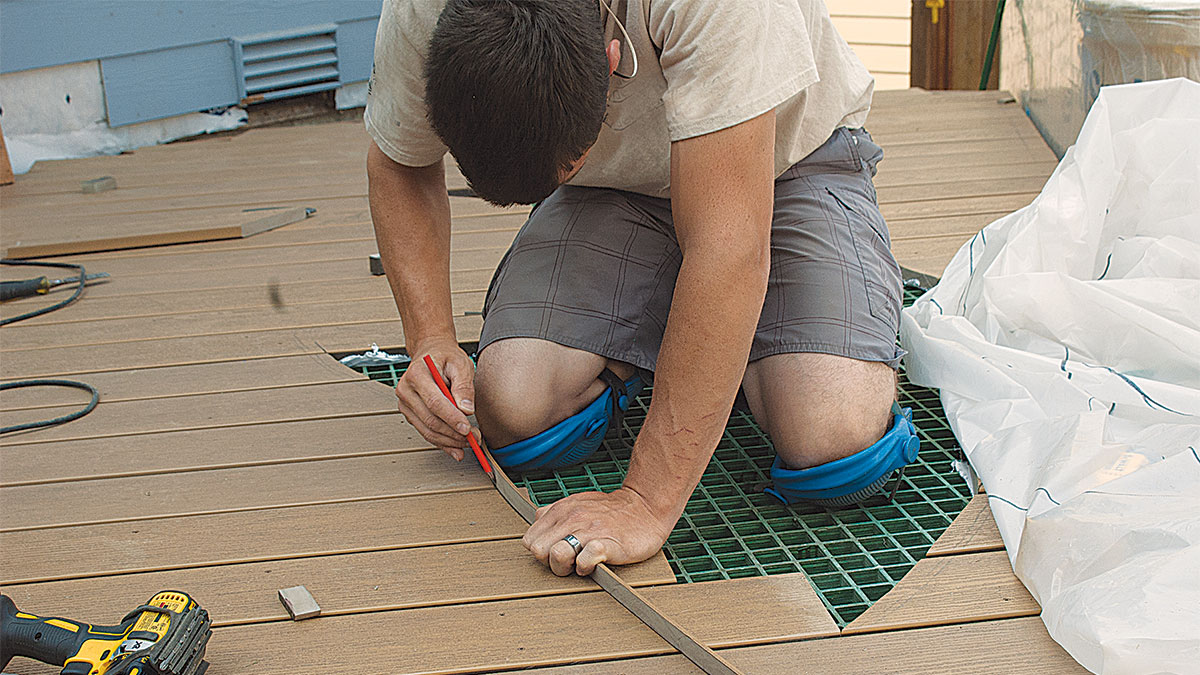
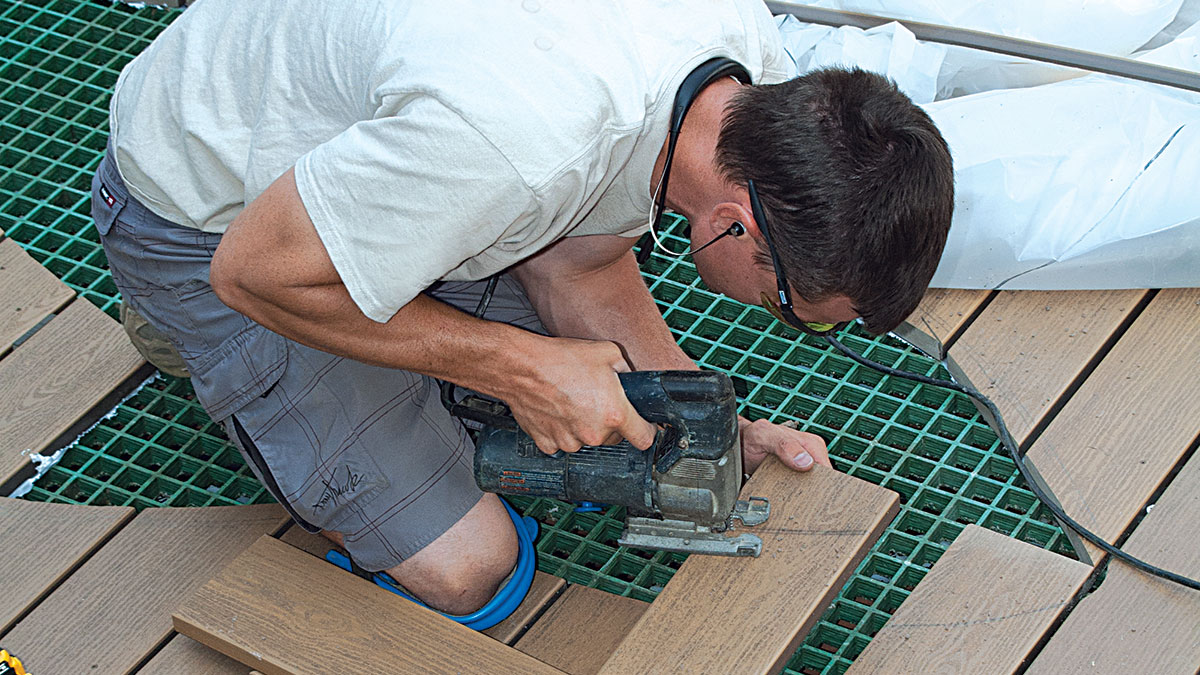
Trimming for the TubTo avoid damage, it makes sense to leave the packaging on the hot tub until most of the construction is done. For the best results, rough-cut the decking around the tub. Then pull it far enough away from the tub so you can accurately scribe a cutline. Use a circular saw and a jigsaw to make the cuts. |
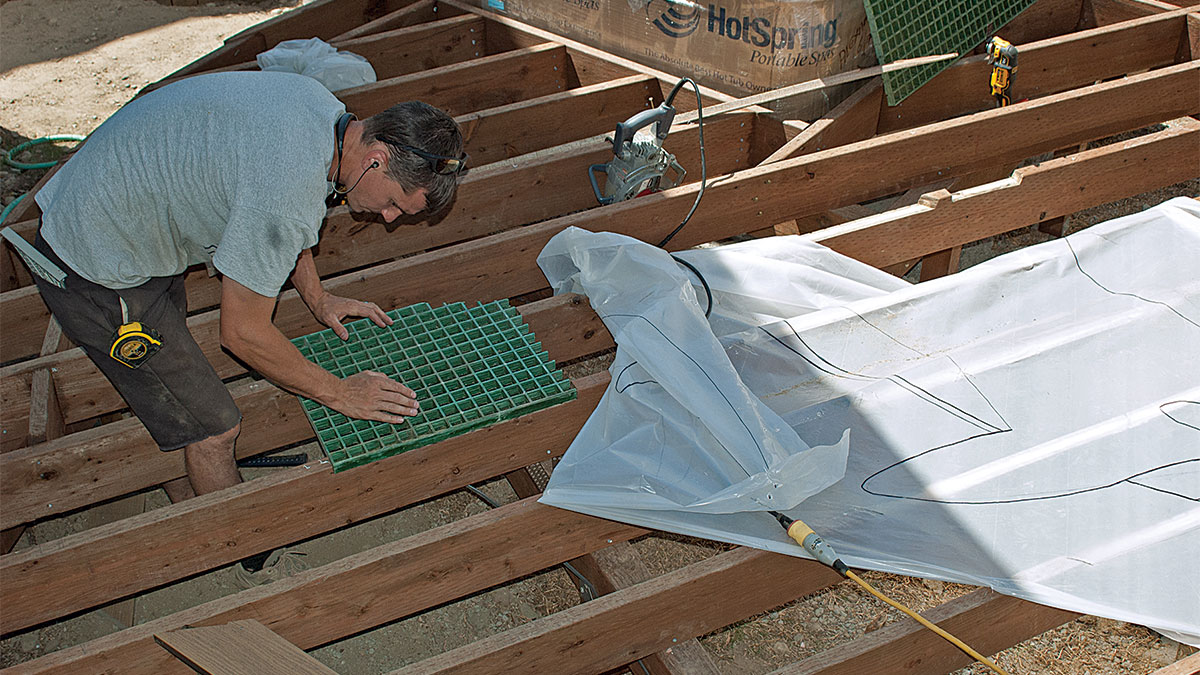
A successful inset graphic has to be as well supported as any other area of decking. Fiberglass panels used for industrial grating fit the bill for this deck. Avoid overly small pieces in your graphic, opting for no piece with an area smaller than a dinner plate.
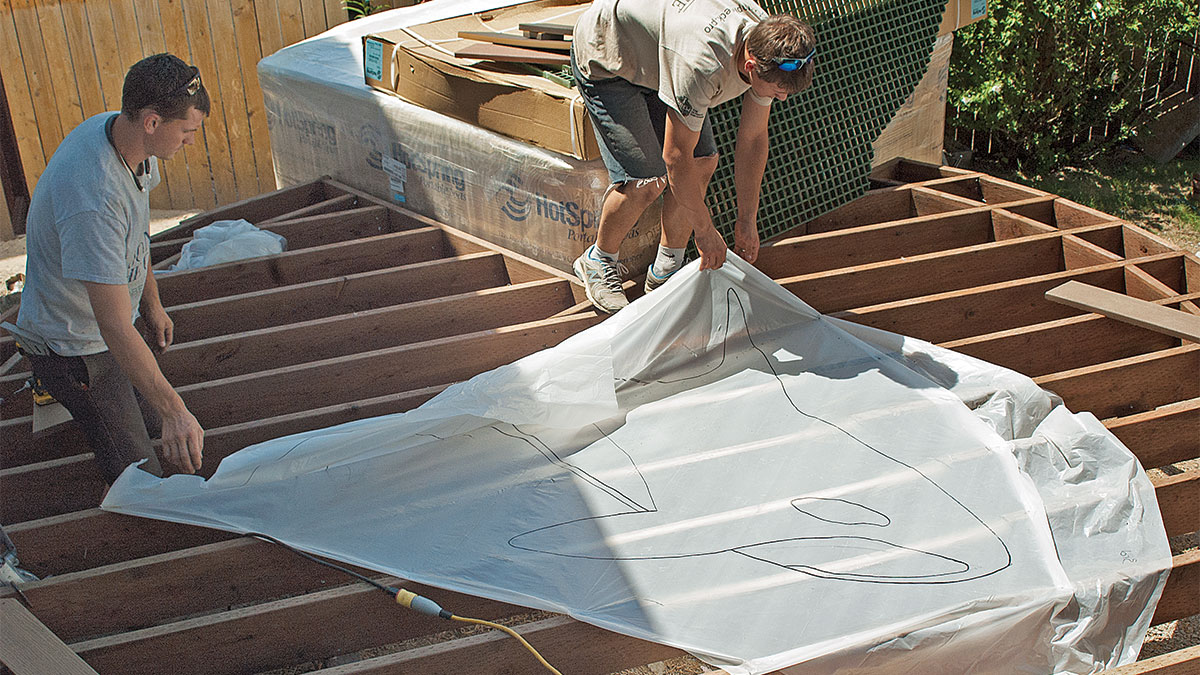
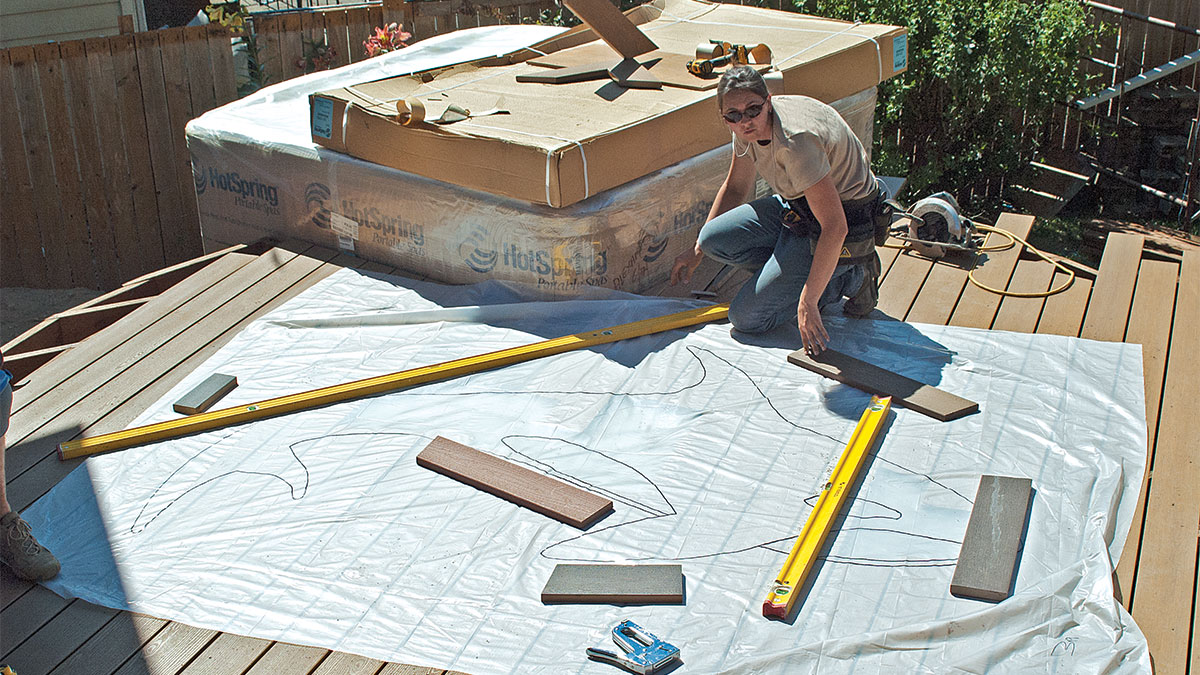
Adding an Inset GraphicWhen choosing or drawing a graphic like the orca whale used on this deck, be careful to generalize the details so they are large enough to be rendered with pieces of decking. Once you’ve found or drawn your design, borrow a computer projection device so you can transfer the image to a piece of plastic sheeting. Use a permanent marker to trace the design. You’ll need at least four copies. Then prepare for a creative adventure in transforming decking into scaled-up puzzle pieces! |
1. Position the graphic. With the joists and blocking in place, it’s time to notch the framing for the grating that will support the puzzle pieces of the graphic. Lay down one of the plastic sheets on which you’ve transferred the graphic. Move it around until you have the design where you want it. Tape or place scraps along one side to hold it in place.
2. Mark for the support grating. Because the outline of the orca design is complex, it would be difficult to install blocking to provide the necessary support. Instead, sections of fiberglass grating smoothly support the many puzzle pieces of the graphic.
TIPFor a super-smooth transition from the deck to the graphic, make sure the grating extends at least 6 in. beyond the feature. Provide an extra-generous section of grating for complex details like the tail and the fins of this design. Once the grating is notched into the joists, go underneath the deck to add extra bridging so the grating is fully supported. |
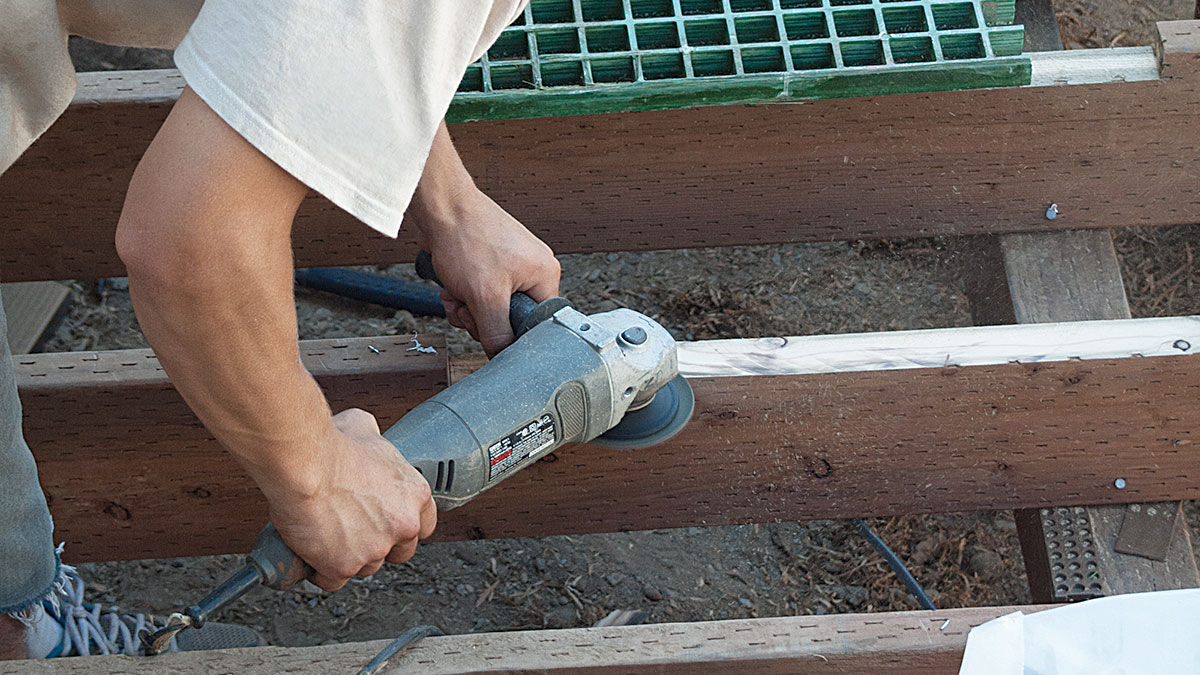
3. Notch for the support grating. Use a circular saw to cut notches to let the pieces of grating into the joists. A grinder makes fine adjustments so the top of the grating is exactly even with the top of the joists.
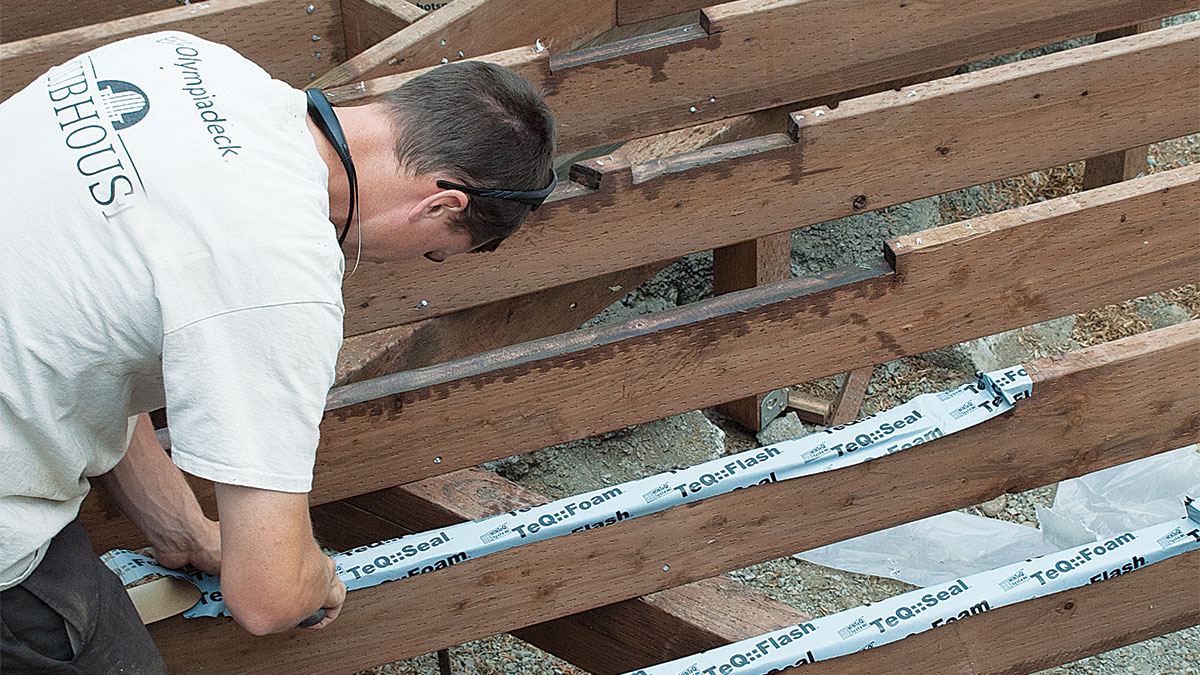
6. Add stretchable flashing. Paint the notches with preservative. Once the preservative dries, apply stretchable flashing to each notch to further protect the joists.
Using Decking to Add a Graphic Feature
Because PVC and composite decking come in a wide range of colors, either one can be used to make a graphic feature (here, we used PVC). A successful feature has enough detail to make it interesting but is not so fussy that it has small bits that are difficult to fasten in place securely. By equipping the framing with a fiberglass grate and added bridging, all the edges of the design are well supported. The simple, rounded shapes that make up the orca motif lend themselves to decking.
This stunning graphic of an orca whale especially suits its Washington State location but would be a memorable feature anywhere. Notice that the decking used in the graphic is set perpendicular to the field decking, simplifying construction and adding a touch of contrast.
The first stage is installing the background decking. Key priorities are extending the decking far enough into the design for trimming later and keeping the gap and orientation of the planks consistent across the inlay.
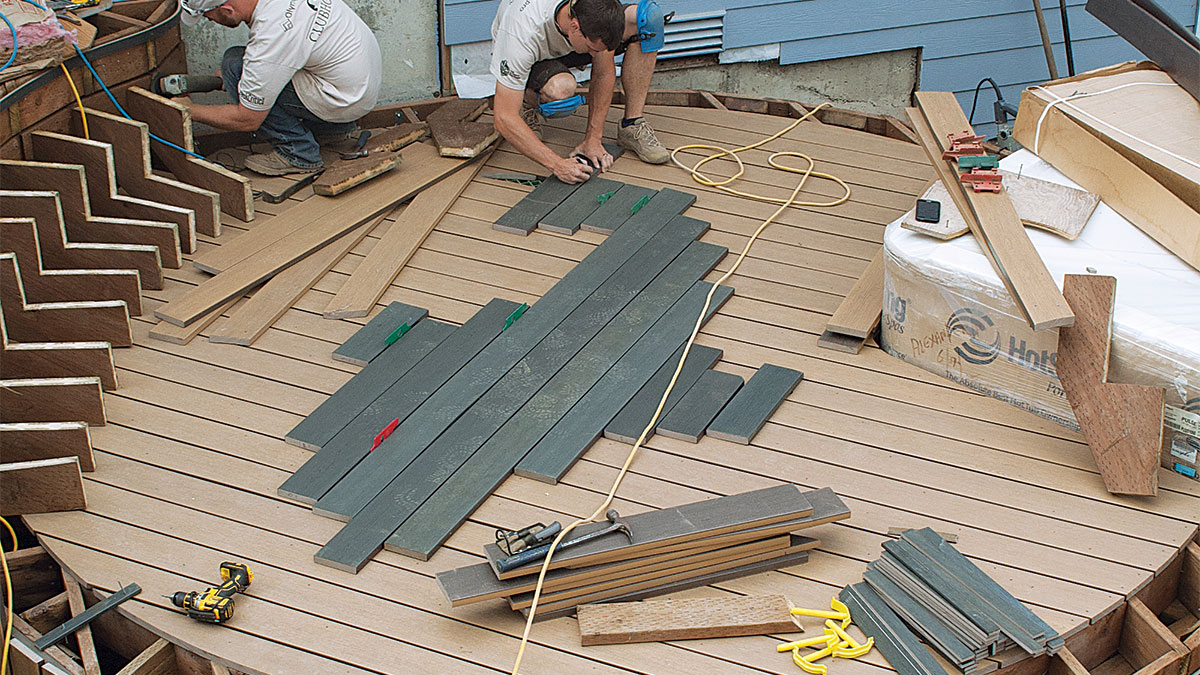
Inlaying the design requires checking and rechecking the template to make sure it hasn’t slipped while transferring the design to the deck. Take your time and step back often to get the big picture. Start with large pieces and use cutoffs and scraps for the smaller pieces.
TIPWhen using a jigsaw, cut PVC and composite decking with a slow blade action to avoid heat buildup. Check the owner’s manual for the ideal orbital cutting action for such materials—it will make a difference in the quality of the cut. |
1. Apply the decking. Reposition the plastic sheet with the outline of the graphic on top of the grating. Begin installing the decking. In this case, scraps of decking cut to 3/8 in. are used as spacers.
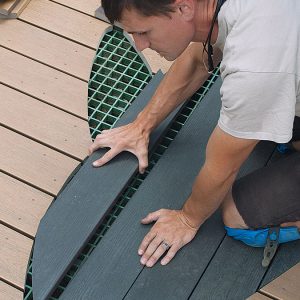
2. Continues courses over the graphic. To make sure that the decking lines up accurately on both sides of the graphic, run a couple of courses over the graphic. Use them as an alignment guide for installing the other pieces that will surround the inset design.
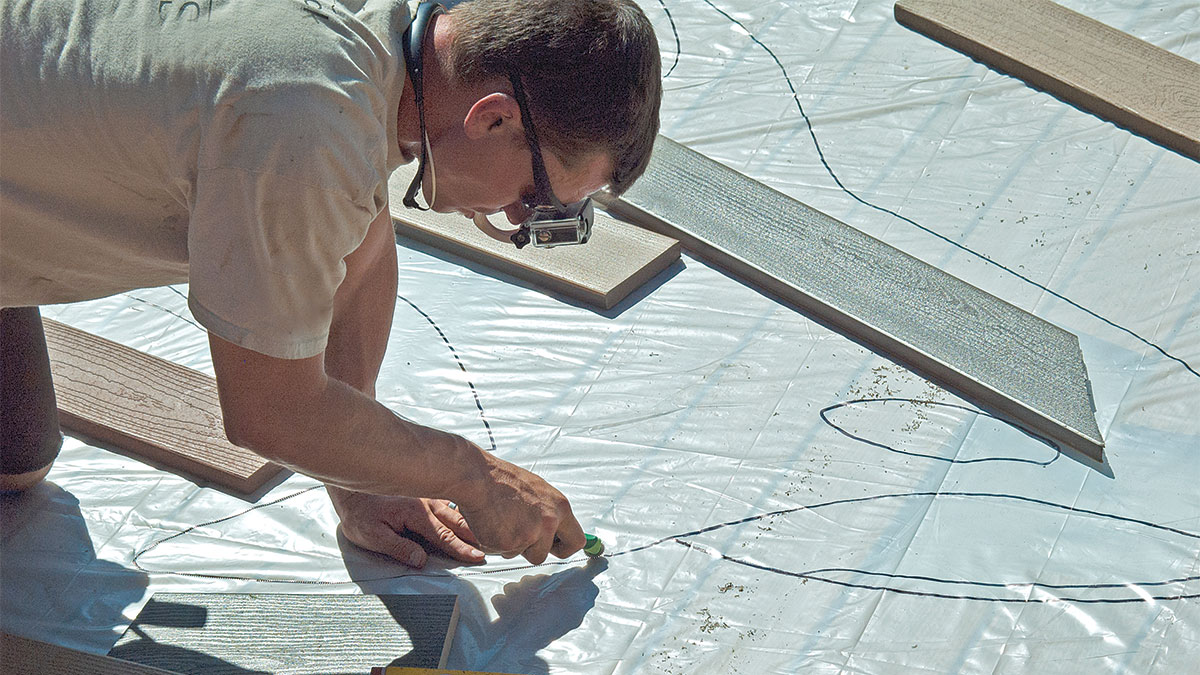
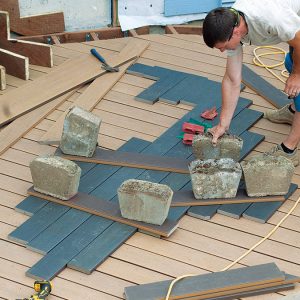
3. Reposition the tracing. Now is the time to put your second tracing to use. Carefully lay it in place, aligning it with the sheet underneath the decking. Instead of marring the decking with staples, hold the plastic in place with scraps.
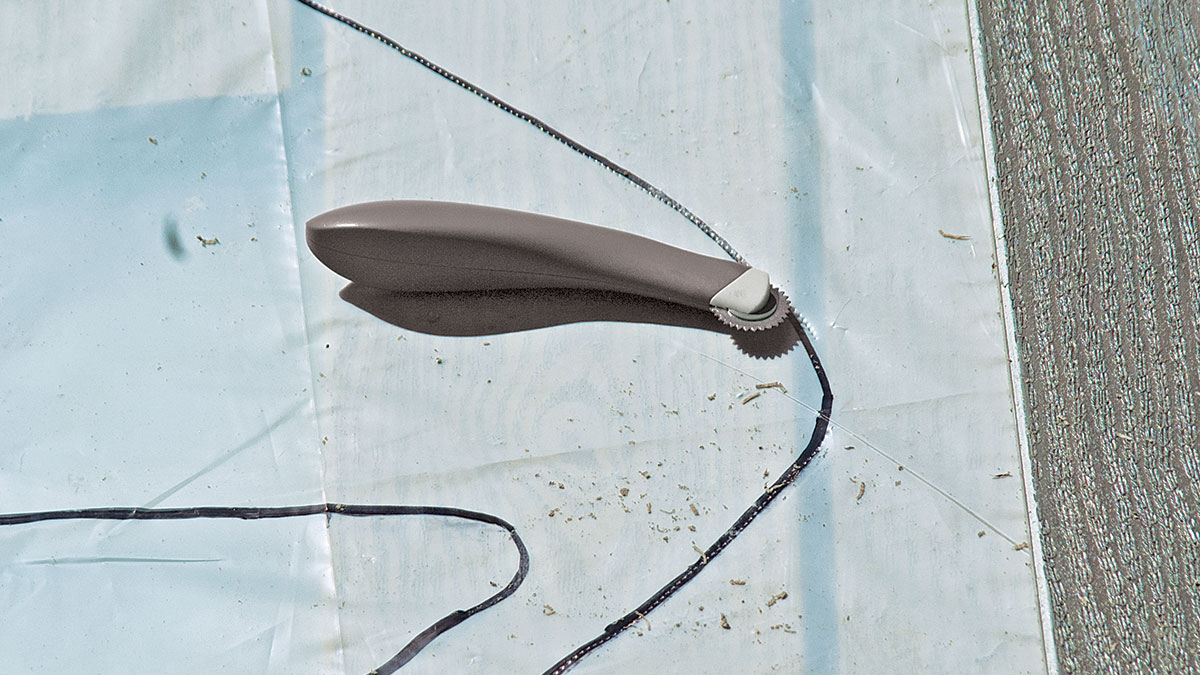
4. Transfer the graphic. Using a wheeled serration tool, work your way around the outermost portion of the design, pressing down firmly.
TIPSpecial projects call for special tools. Head to a crafts or fabric store to buy a wheeled serration tool. As you use the tool, enhance the serrations with a pencil to accent your cutline. |
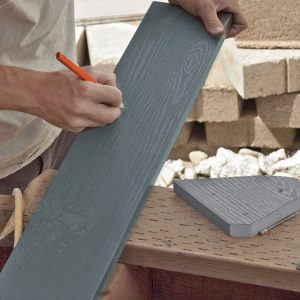
5. Enhance the line. Pull back the tracing and use a pencil to make your cutline nice and clear. A flexible strip of decking or 1x makes a handy guide for marking a smooth curve.
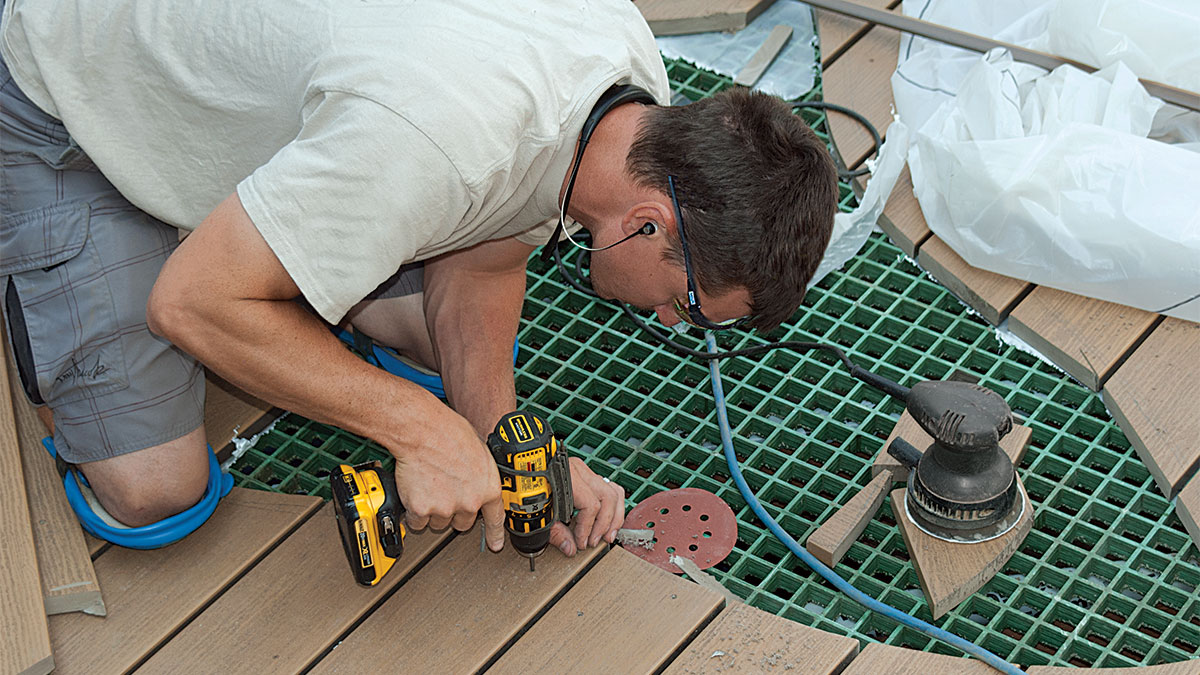
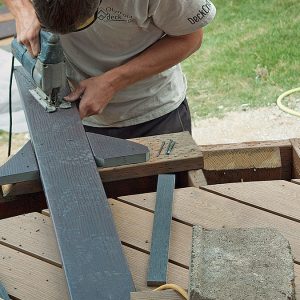
6. Make the cut. By backing out the screws nearest the end of a plank and slipping some scraps underneath it, you can cut the plank in place. This saves you the trouble of lining up the cut end later.
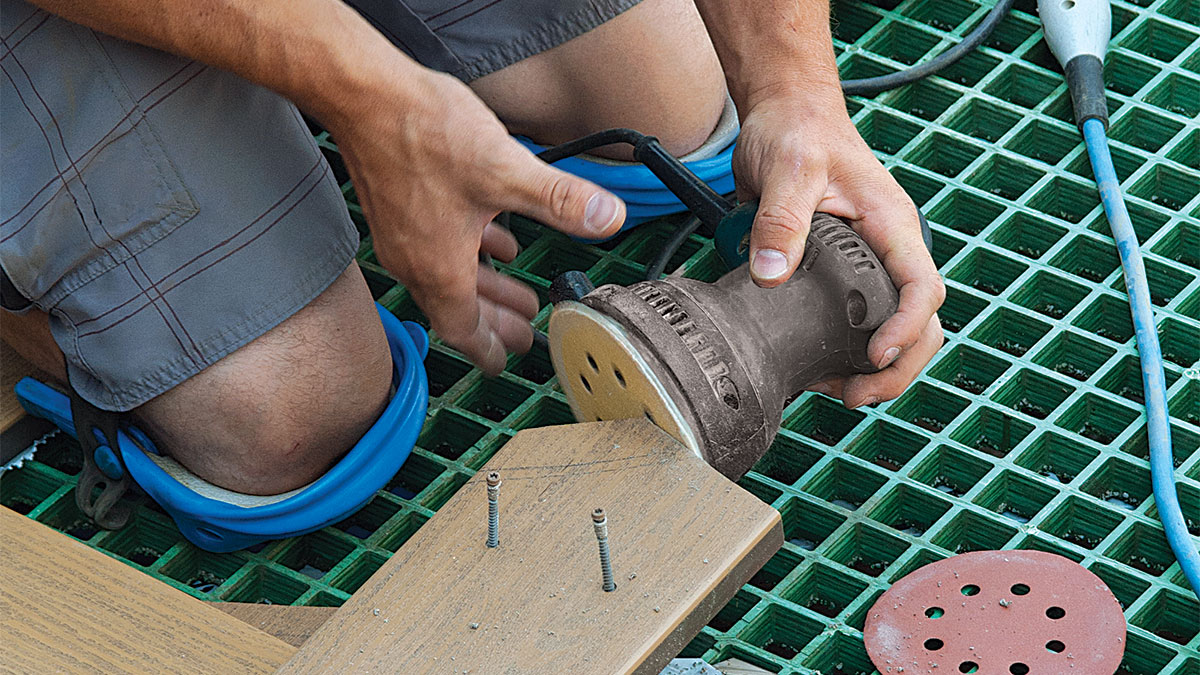
7. Sand the cut. While the plank is conveniently propped up, smooth the cut edge with a sander.
8. Fasten the decking. Replace each piece of decking and check that the cut is square and smooth before replacing the fasteners.
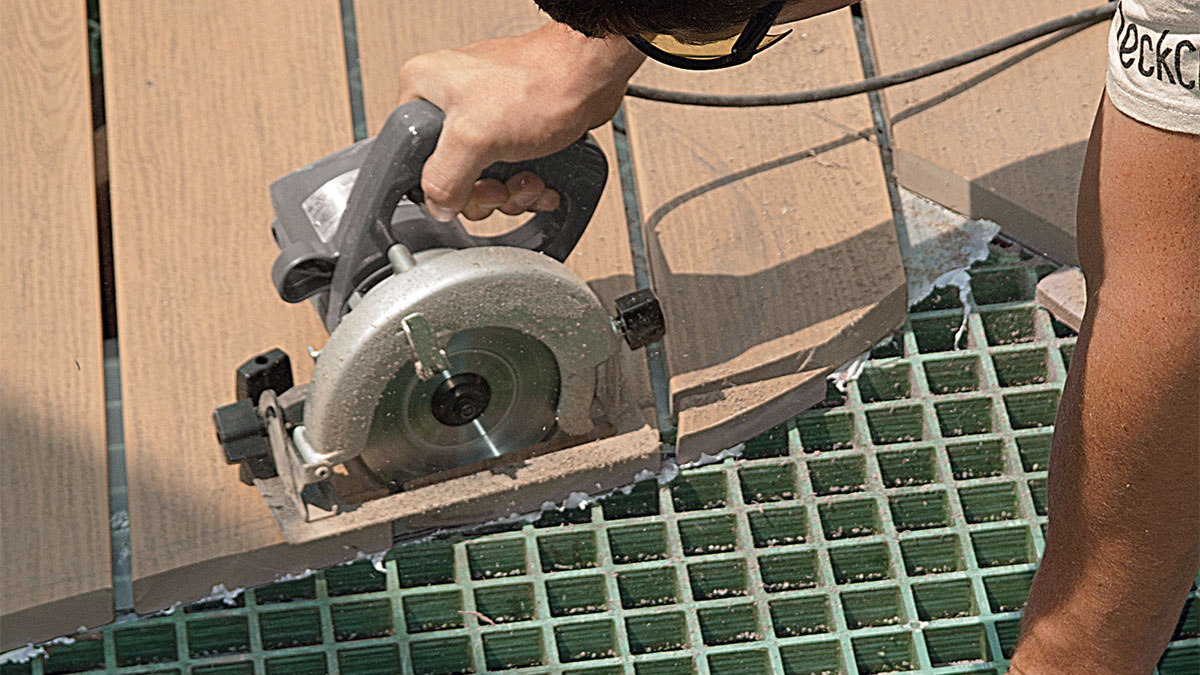
9. Cut gentle curves. Flatter curves can be cut with a compact circular saw equipped with a 4-1/2-in. blade. Set the blade just deep enough to cut the decking while cutting no more than 1/8 in. into the grating. Move the saw slowly and smoothly.
10. Complete the cutout. Continue working your way around the design. Double-check that the cut ends of the decking line up with each other, sanding to make minor adjustments. As a final step, remove the scraps of plastic before refastening the planks in place.
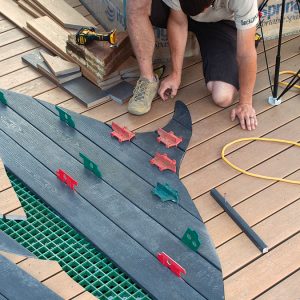
11. Rough-cut interior pieces. When the outline cutout is done, cut pieces longer than needed, arranging them so there will be as few small pieces as possible. Use spacers to confirm how the planks will fit the cutout.
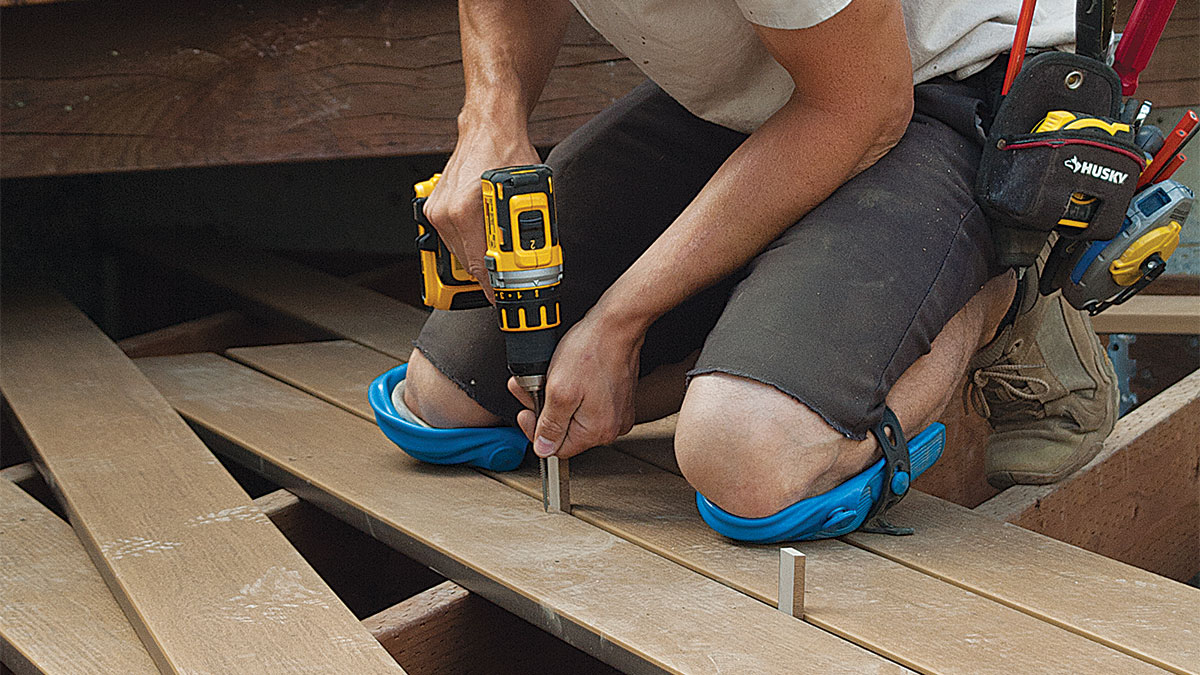
TIPUse a combination of trim-head screws and construction adhesive to fasten the puzzle pieces in place. The screws must be at least 3 1⁄2 in. long to pierce through the decking, go past the grating, and fasten at least 1 in. into the framing beneath. Where no framing is nearby, use construction adhesive to glue the pieces to the grating. |
Fine Homebuilding Recommended Products
Fine Homebuilding receives a commission for items purchased through links on this site, including Amazon Associates and other affiliate advertising programs.
FastenMaster Screw Bolt Fastening System

MicroFoam Nitrile Coated Work Gloves

Angel Guard Deck Demon

