Multi-Feature Curved Deck: Installing a Curved Railing
Once the rails are bent, use a railing kit to build the balustrade.
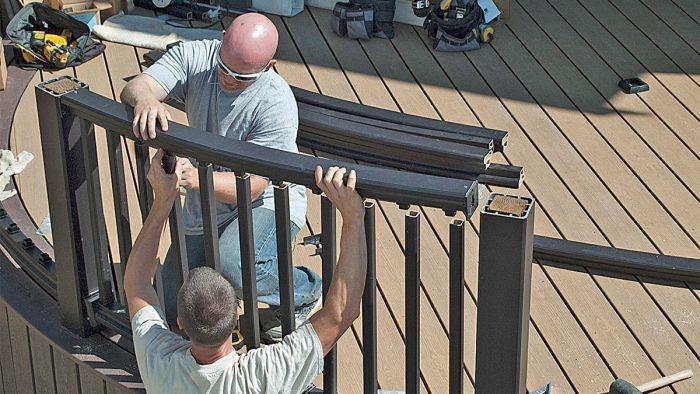
It may look complicated, but once you have rails heat-bent to the right radius, installing a curved railing is challenging but essentially the same as installing a standard railing. You’ll have to employ a specialist to do the bending—the deep profile is a challenge to heat evenly—but once bent you need only make the angled cut at each post to start your installation. Start with a railing kit of rails, post brackets, and balusters, then follow these steps.
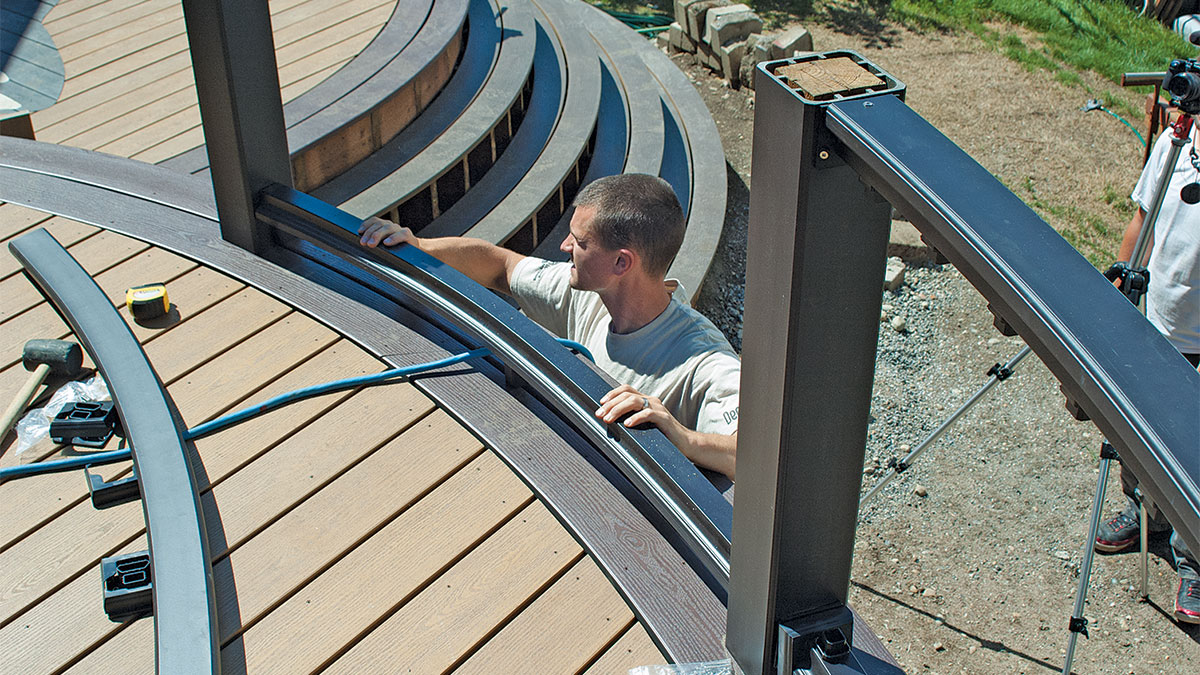
To mark the angle cut of each rail, set it atop the posts. Cut 1/8 in. in from the mark to give yourself a little wiggle room. The rail brackets will cover the gap.
 |
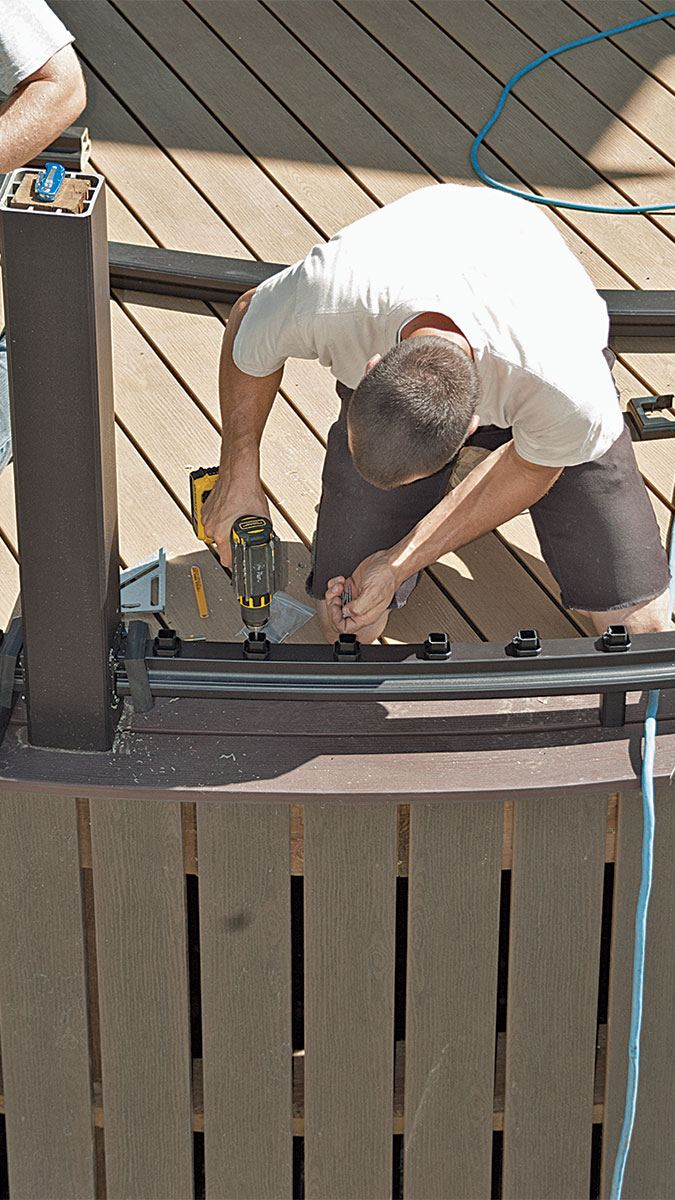 |
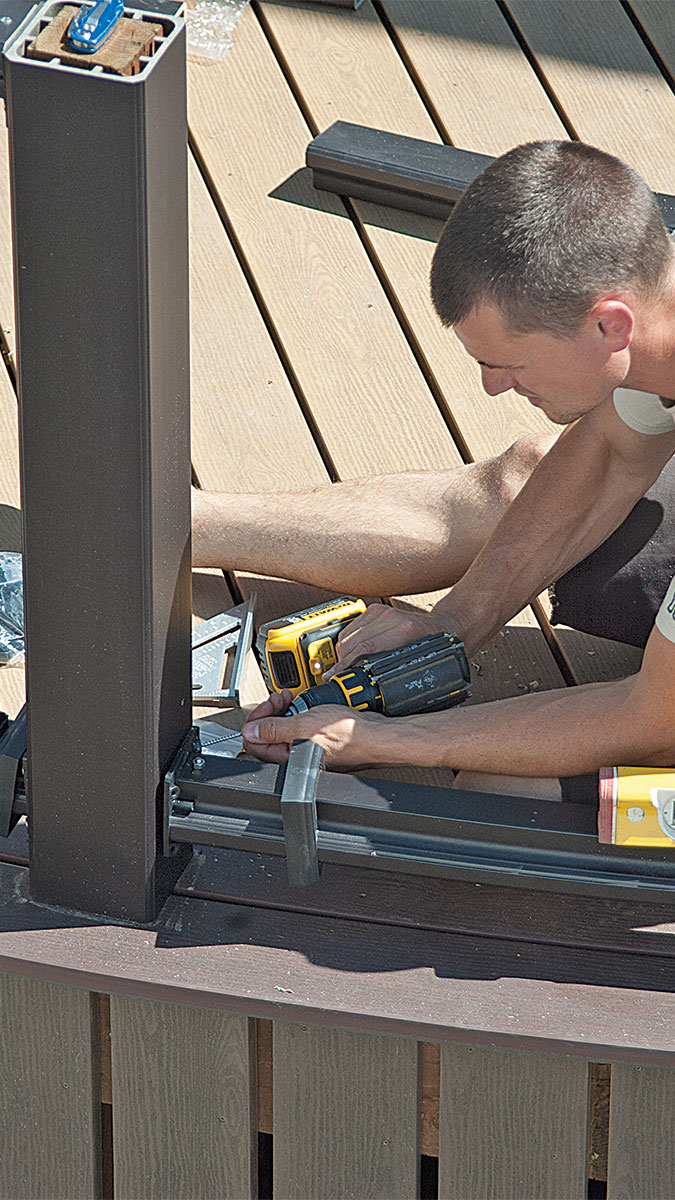
Using the bottom brackets that come with the railing kit, install the bottom rail. Slide on each bracket cover before fastening the bracket to the post. Establish even spacing between
balusters with a half space at each post. Fasten the baluster connectors in place.
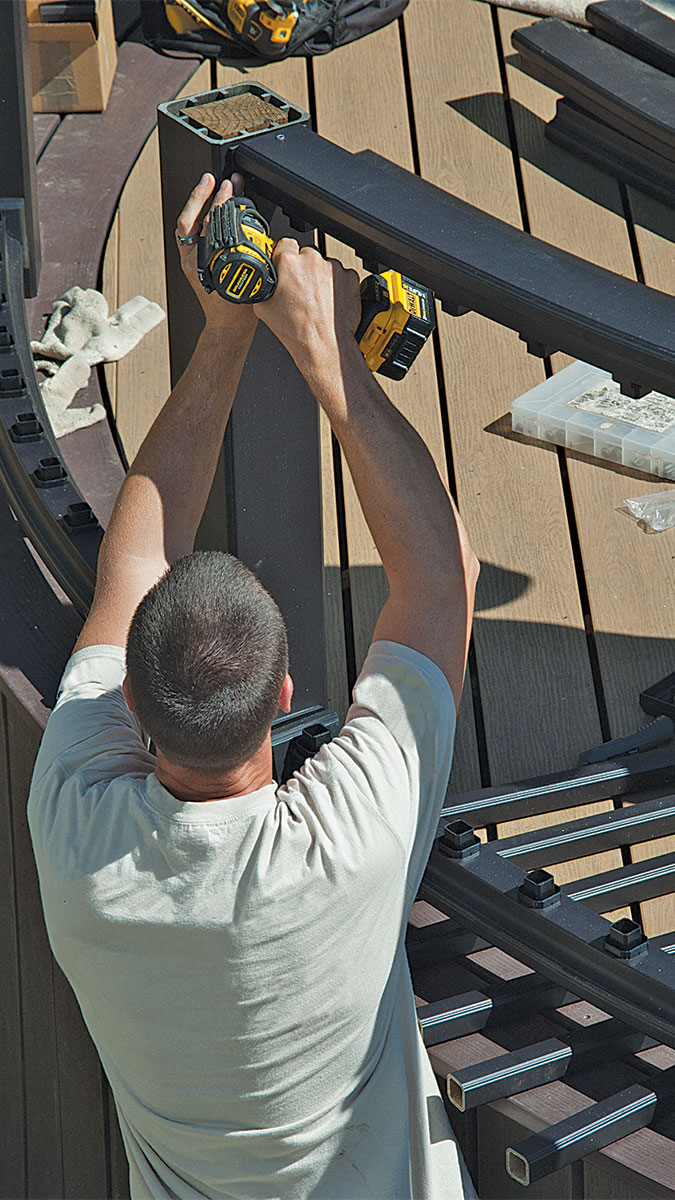 |
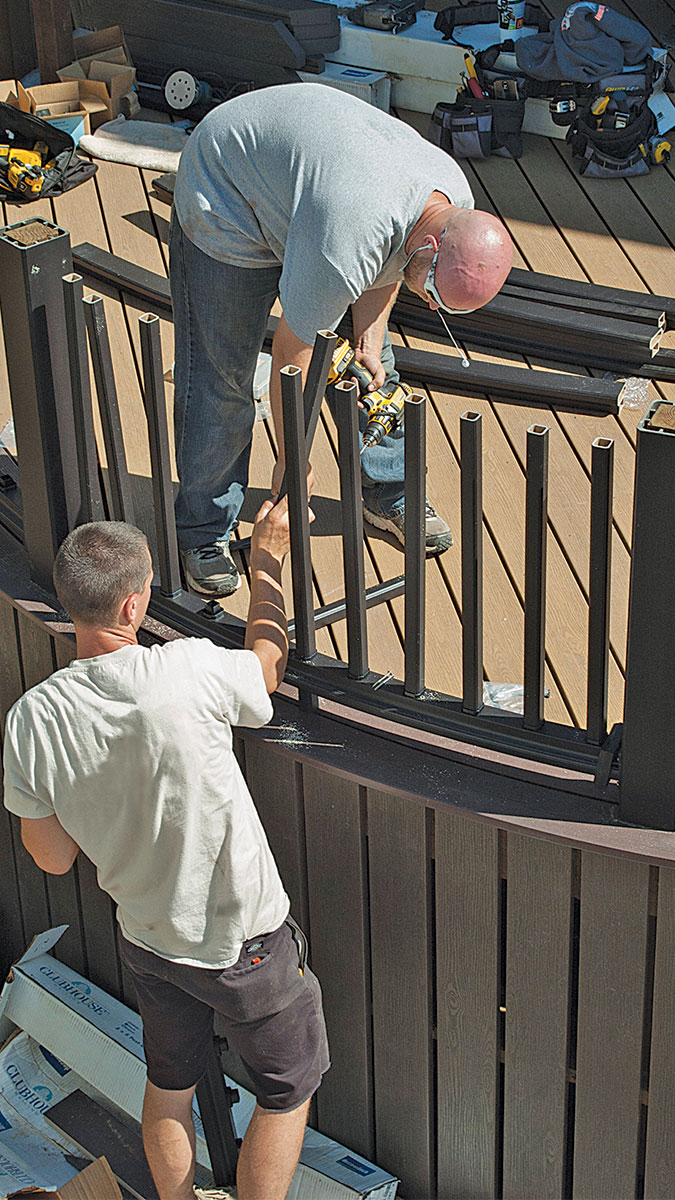 |
Cut and test-fit the top rail. When you are satisfied with the fit, mark for and install the baluster connectors. Add the top rail bracket cover and attach each top rail bracket. Remove the top rail. Push each precut baluster onto its connector. Working from one end, lower the top rail onto the balusters. Guide each baluster into its connector as you go.
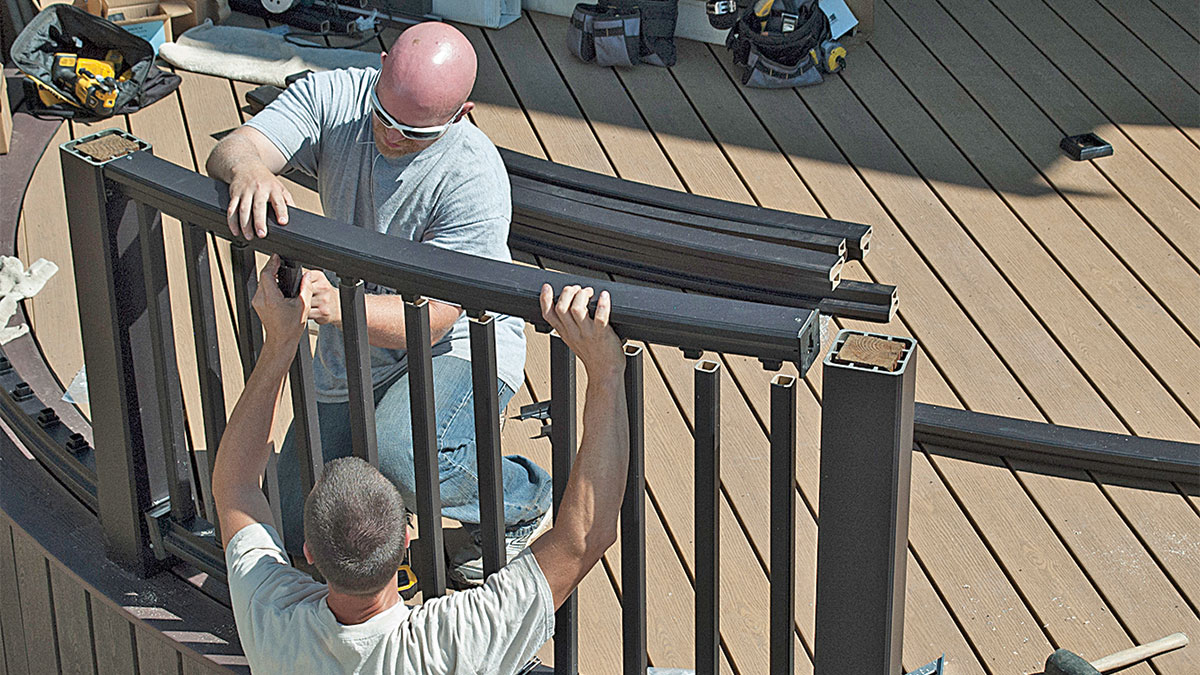
When all are positioned, settle the rail in by tapping it with a rubber mallet. Fasten each top rail bracket.
Fine Homebuilding Recommended Products
Fine Homebuilding receives a commission for items purchased through links on this site, including Amazon Associates and other affiliate advertising programs.

MicroFoam Nitrile Coated Work Gloves
Metal Connector Nailer
N95 Respirator


