
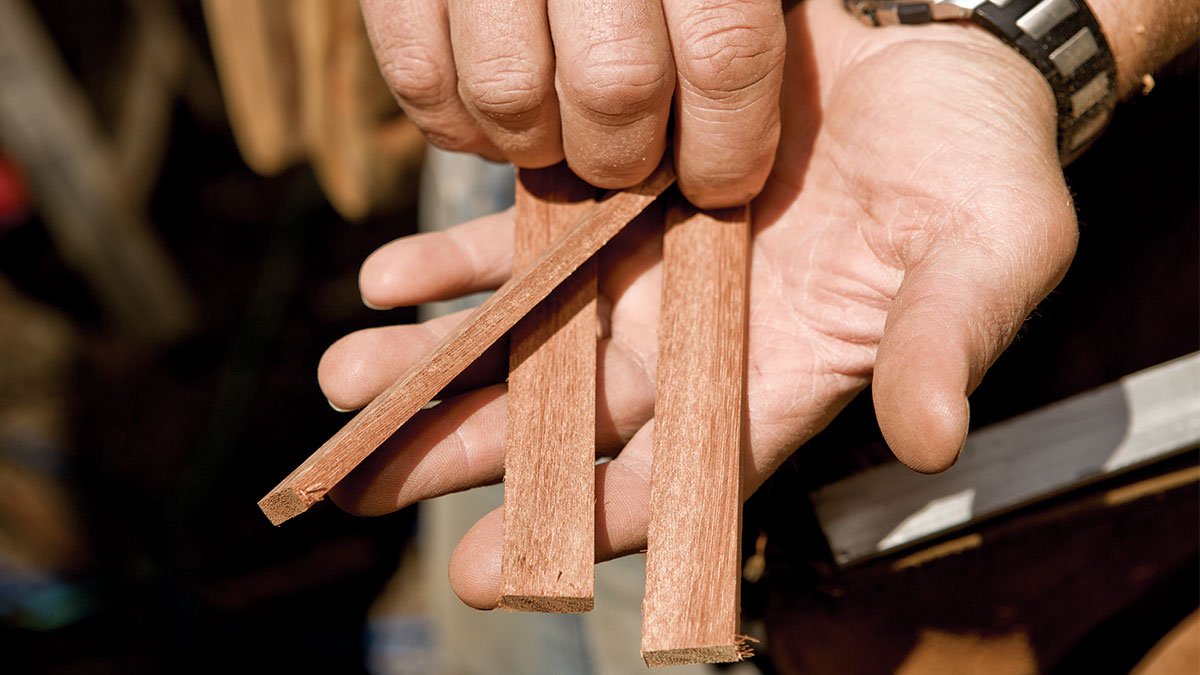
Installing treads is much like installing decking. Although with the stair treads, depending on the project details, you may have to decide on a tread pattern. Typical decking is 5-1/2 in. wide, but combining two boards is still a little narrow for a comfortable tread depth, especially when considering the overhang at the tread nosing. For wood decking, adding a 1-in. to 2-in. filler strip between the treads easily solves this issue.
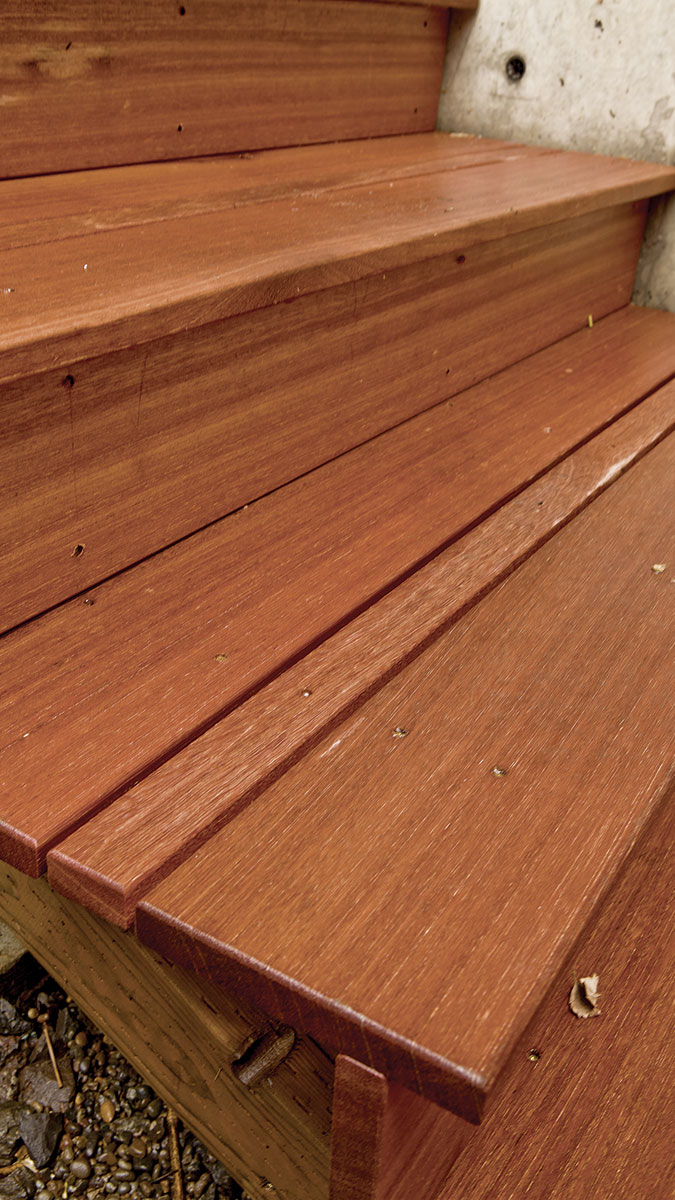
There are a variety of ways to pattern the treads to make them wide enough for comfortable deck stairs. Adding a filler strip in the middle is both decorative and functional.
For composite decking, the solution can be a little more involved. For example, capstock decking looks different on the inside, so ripping a tread will show an obvious cut line. Similar difficulties arise with textured composite decking and metal decking. Some manufacturers have tread stock that solves this issue. Alternatively, placing the filler strip at the back to hide the cut face is another way to deal with this.
Installing top-down fasteners
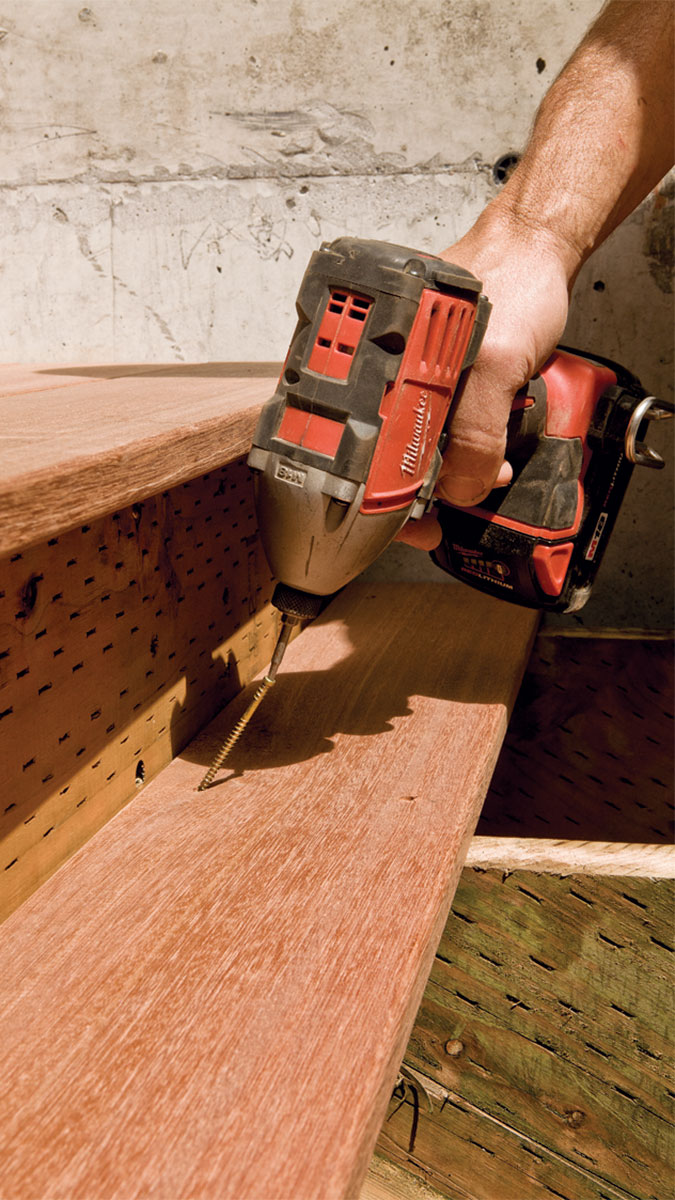
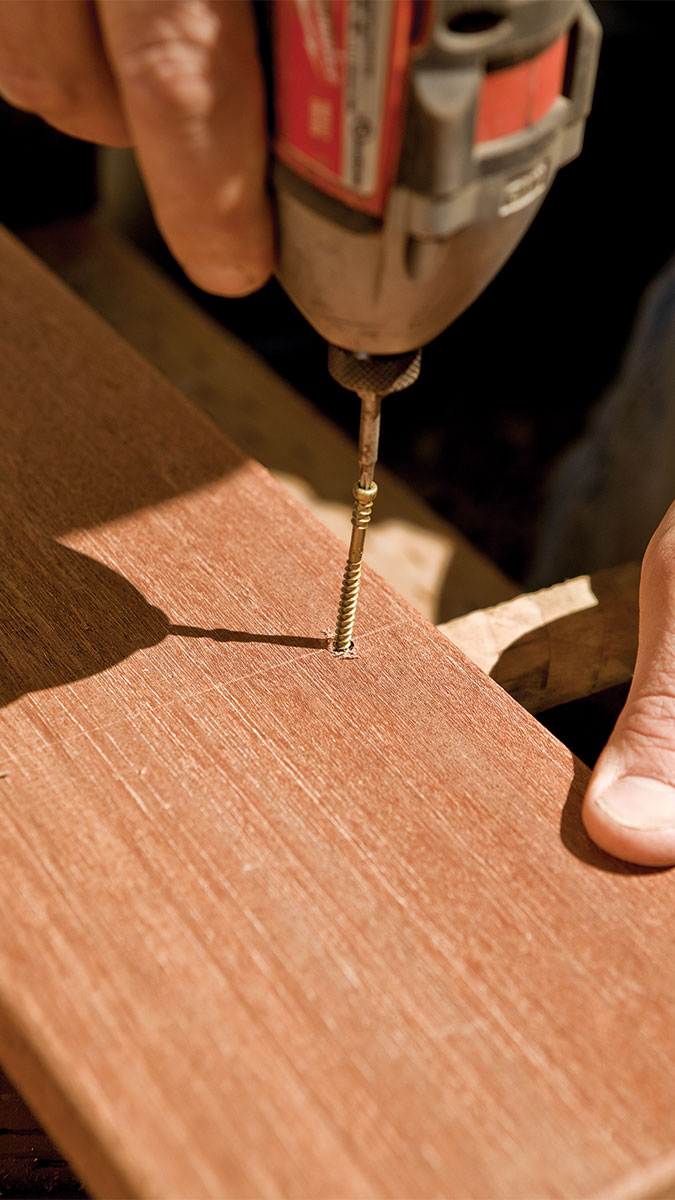
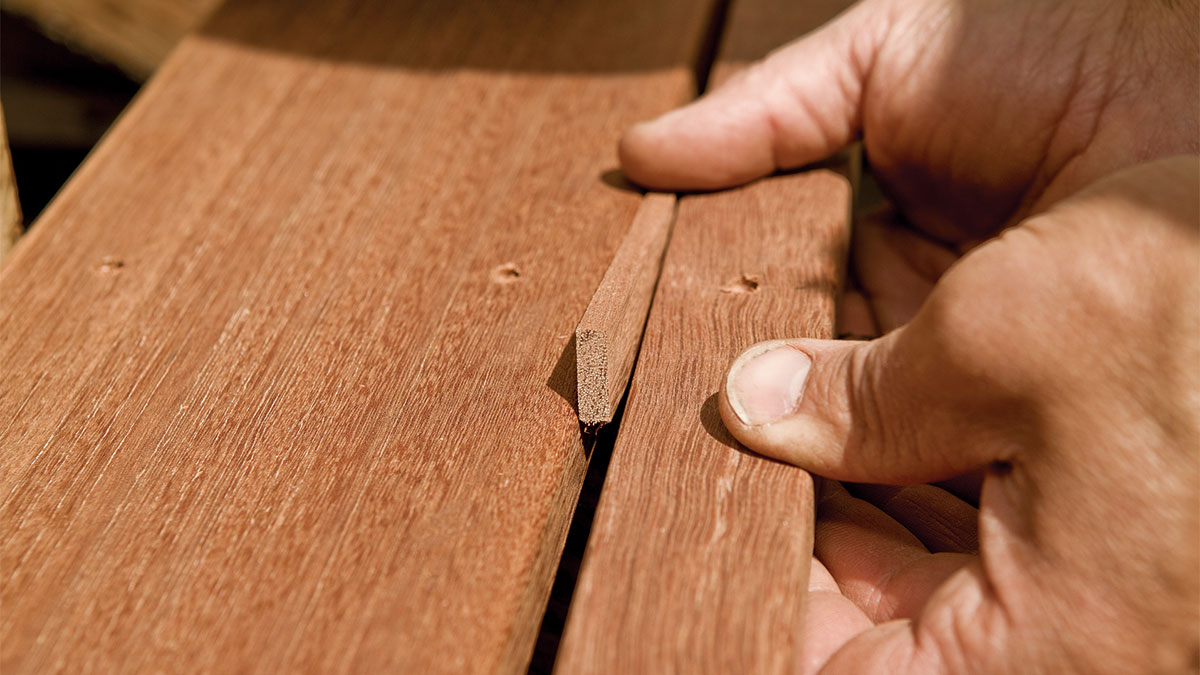
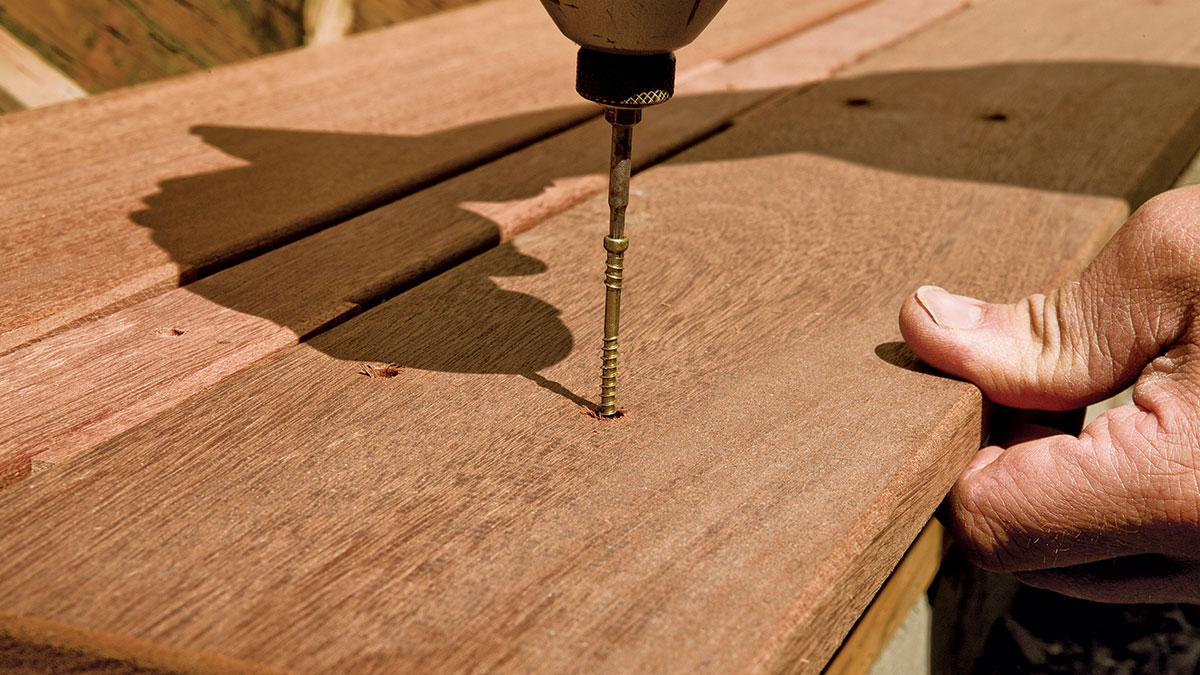
The most common way to secure decking on stairs is to face-screw the decking boards. Even if the main portion of the deck is secured with hidden fasteners, top-screwing the stair may still be a good option because hidden fasteners are sometimes difficult to use with stairs. Some composite decking types have tabs that fit over the screw holes to improve the appearance. In hardwood decking, you can hide the screw holes with plugs.
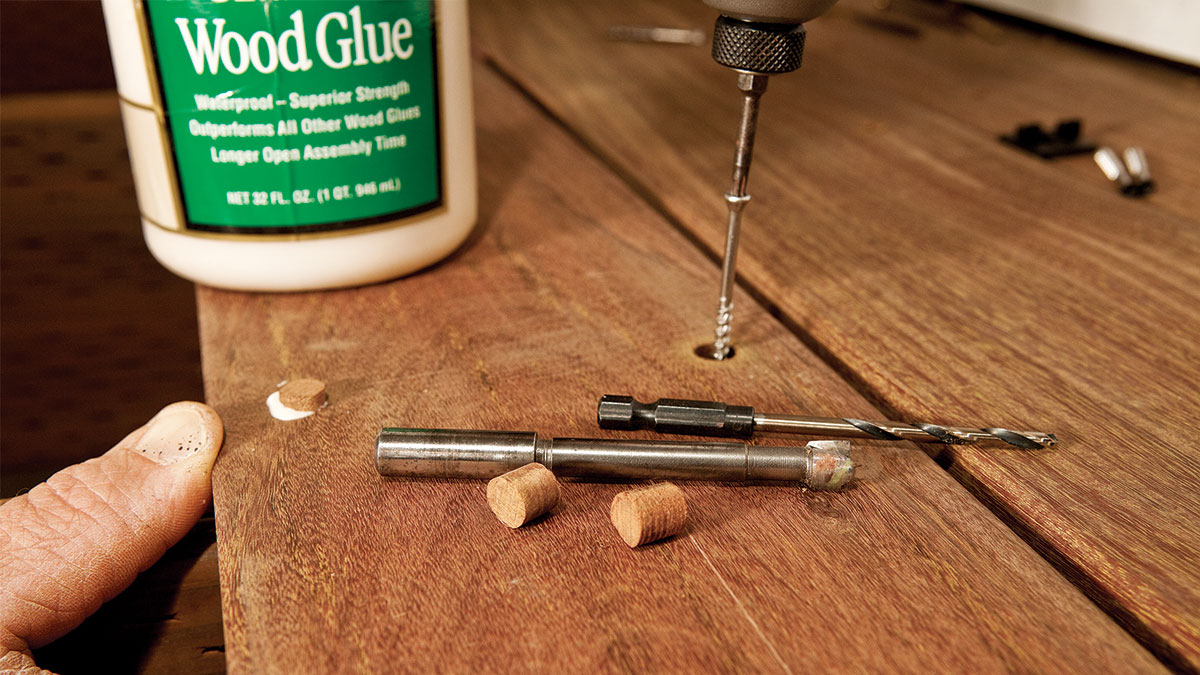
Wood plugs take a little extra work to install but effectively conceal fasteners. The key to success is ensuring you have a sharp Forstner bit to bore the countersink holes.
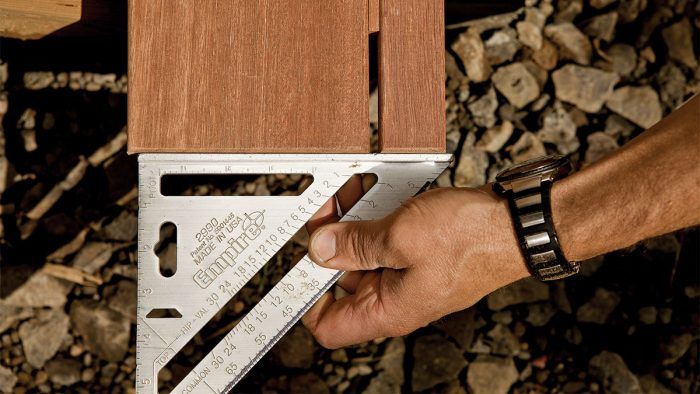
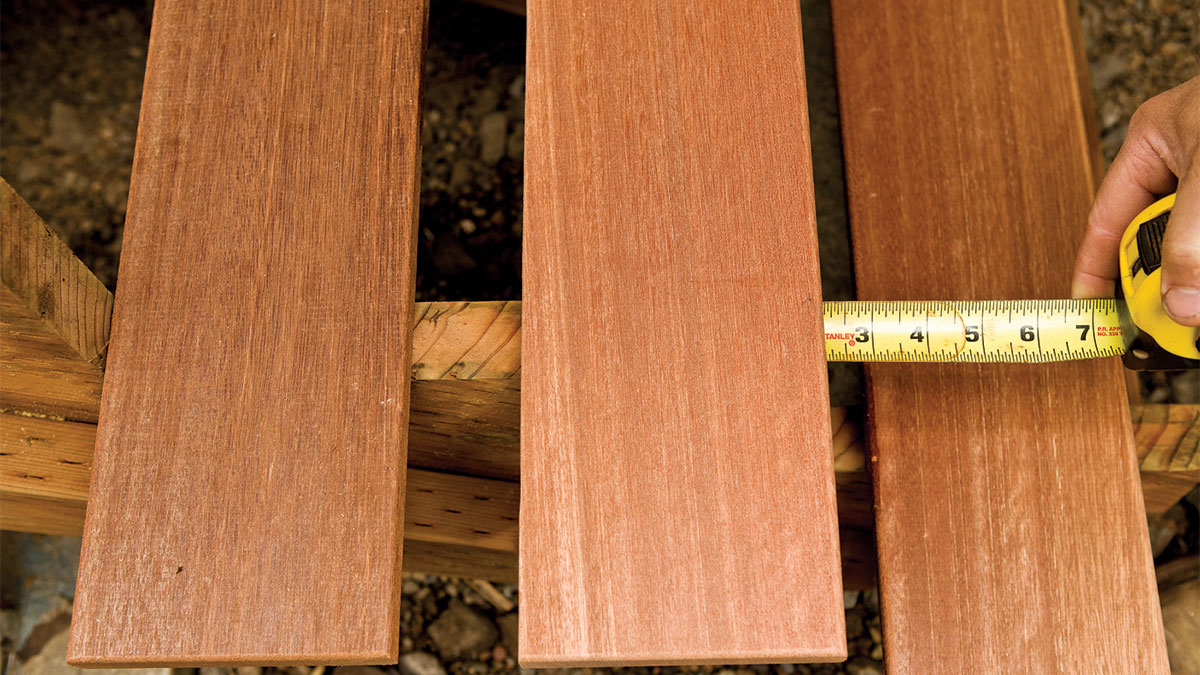
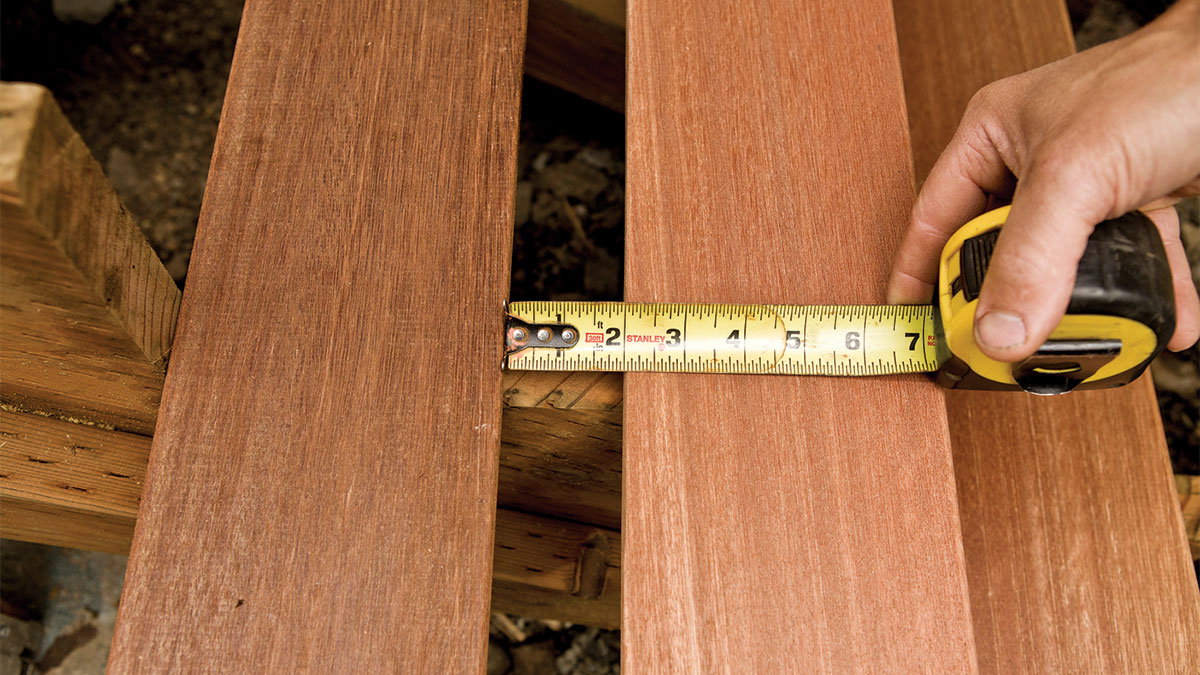
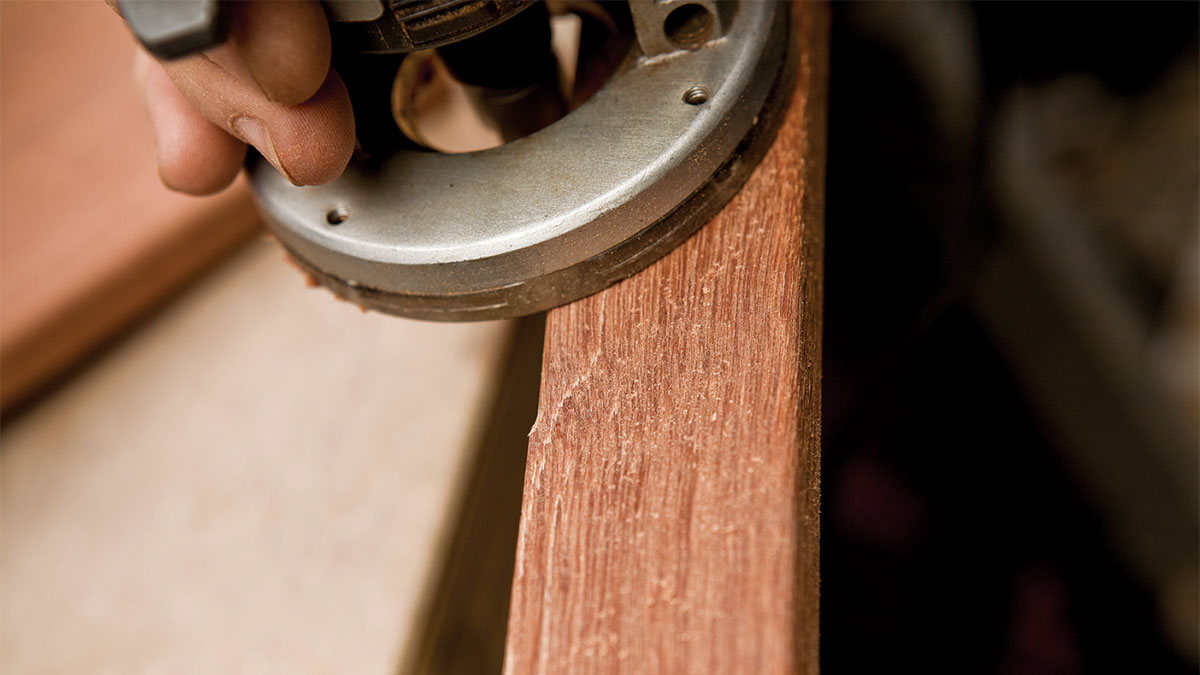
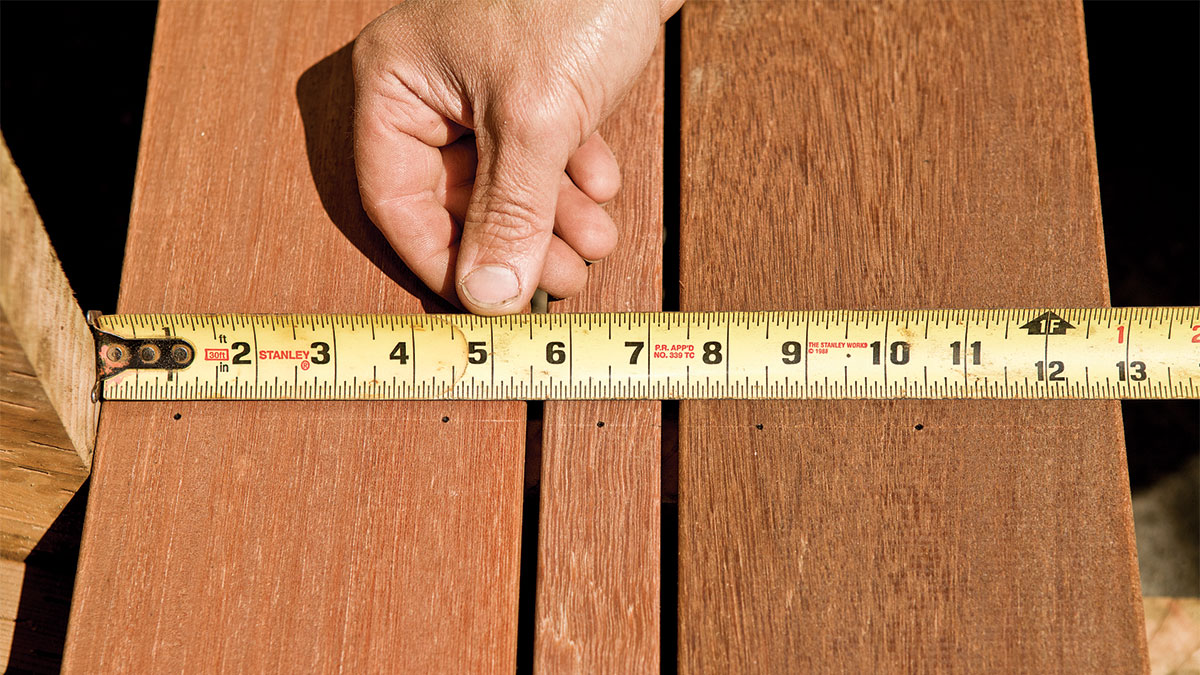
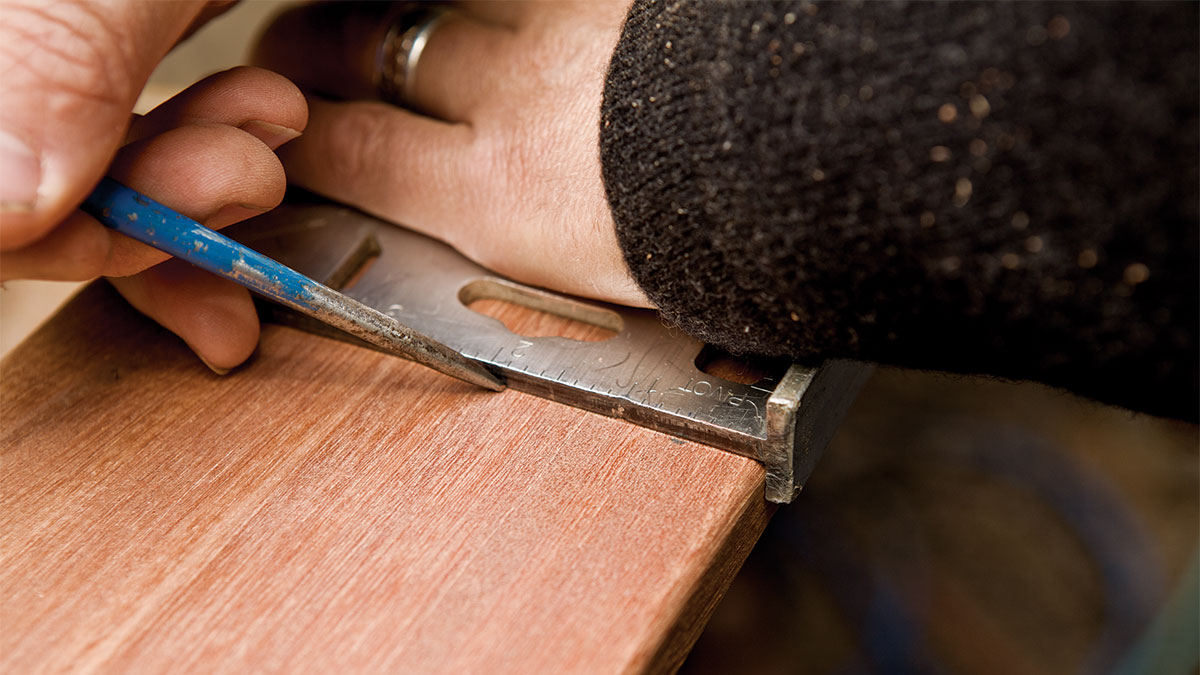
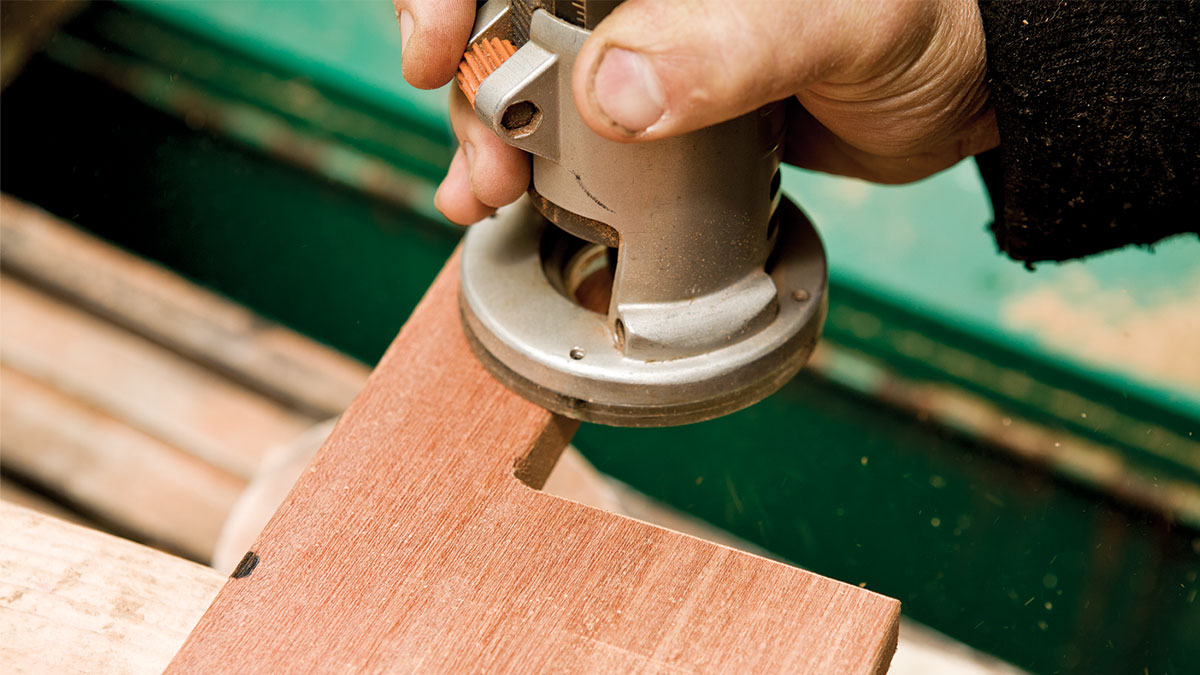
Before installing treads with top-down fasteners, first determine the amount of the overhang 1. Remember to account for the riser thickness when measuring the overhang. With the overhang set and the inside tread board in position, measure the width of the filler strip 2. Before installing the filler strip, round over the cut edge to give it a finished look 3.
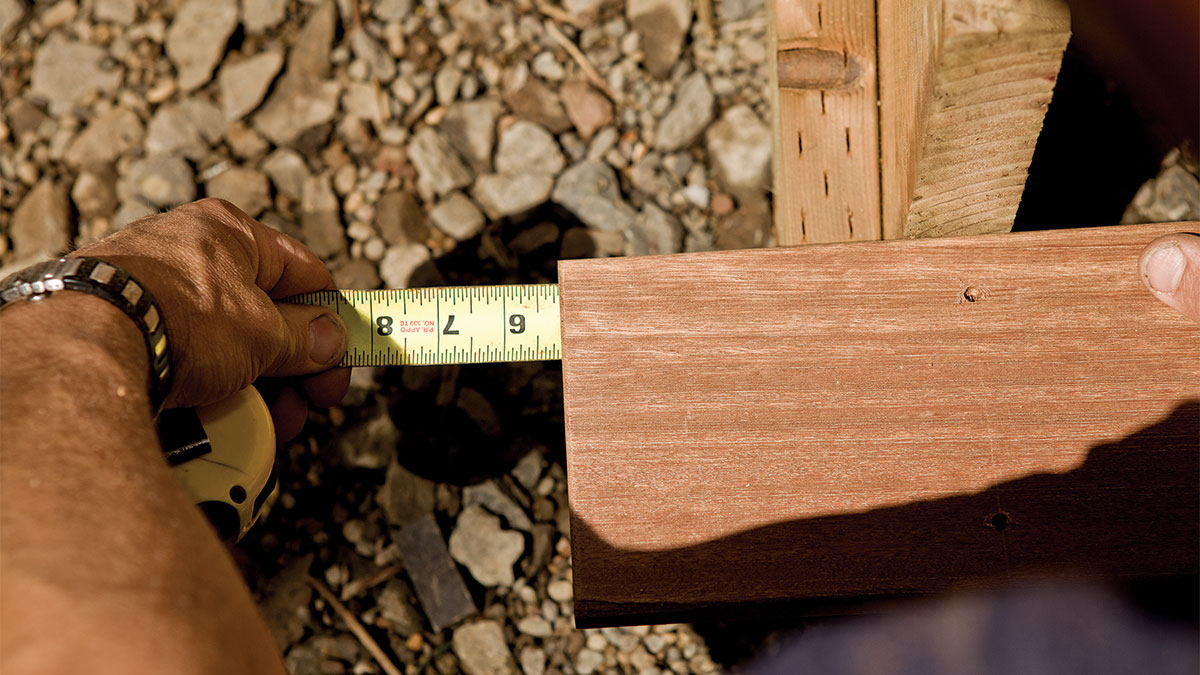
To install the treads, align the inside board with the proper overhang by measuring back under the stringer 4. This distance will vary depending on your construction details.
 |
 |
 |
 |
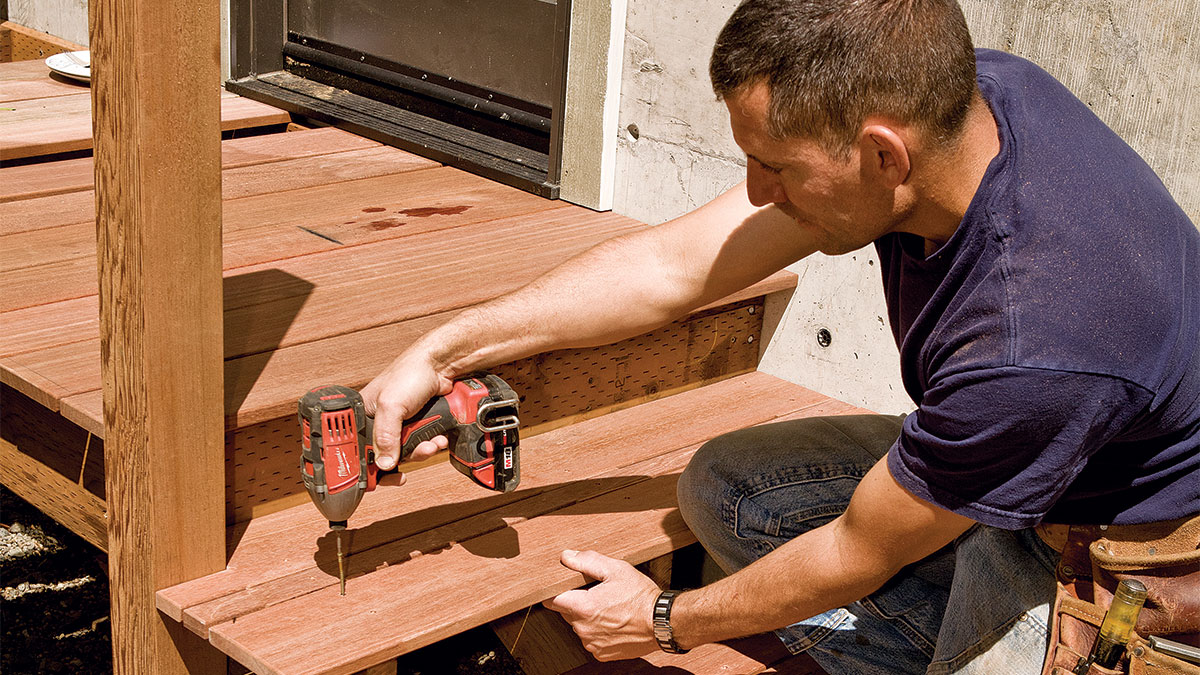
What can go wrongIf you secure the deck board at the top of the stair permanently, the nosing overhang will force you to drive the fastener at an angle. Instead, leave the deck board loose so you can move it out of the way and drive the fastener straight down.
|

Another way to refine the deck’s appearance is to carefully line up the visible fasteners. Stack the treads with the ends aligned and transfer a layout mark that represents the stringer’s centerline 5. Before drilling any holes, mark the fastener locations and set up the boards for one tread to check the spacing 6. Once the distance between tread boards is established, cutting spacers is an easy way to keep the gaps uniform for the entire run of steps 7.
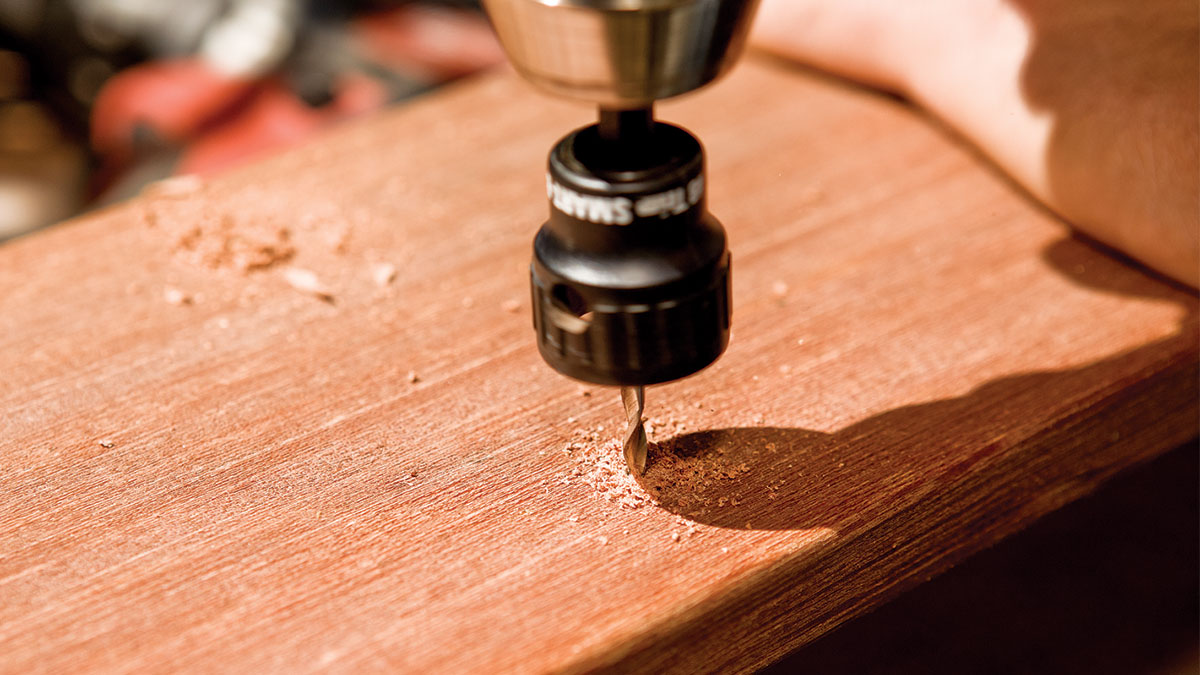
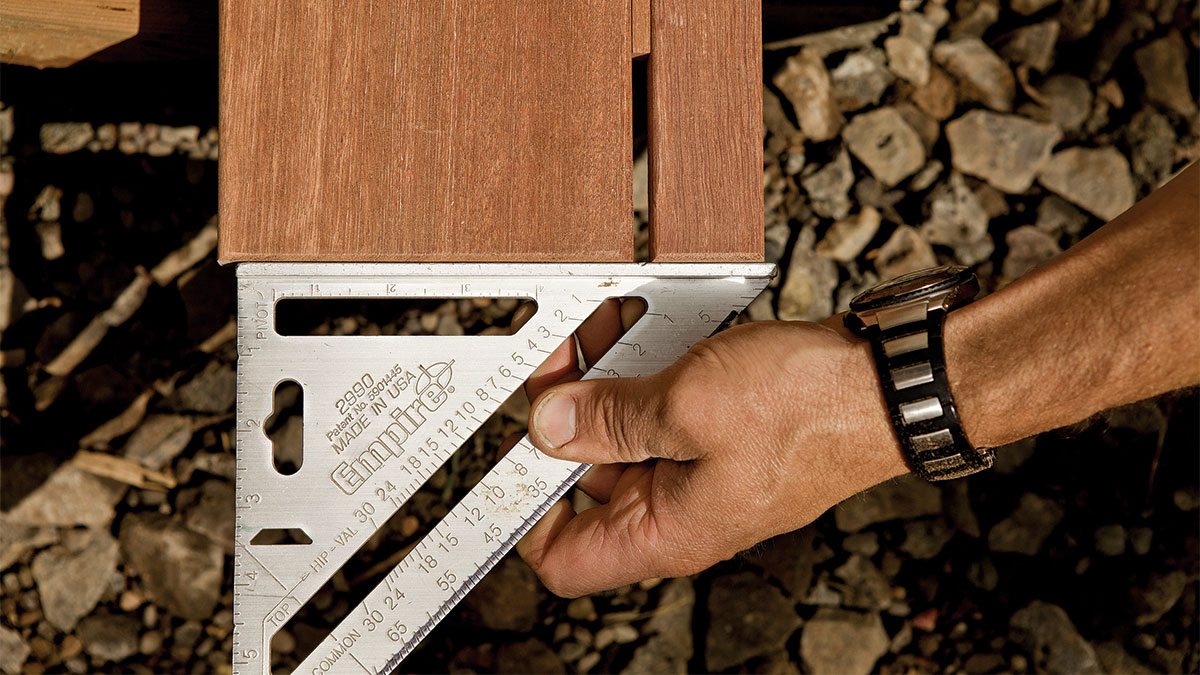
Align a gauge or Speed Square to the mark made in step 5 and make a slight indent with an awl 8. In hardwoods, the indent keeps the drill bit from wandering as you begin the hole. Drill the pilot hole using a 2-in-1 bit 9. Secure the tread boards before moving on to install the adjacent pieces 10. Align the filler strip with a spacer positioned over the stringer 11 and with a Speed Square to flush the ends 12.
 |
 |
 |
 |
 |
 |
Repeat the process to align and secure the outer tread board 13.
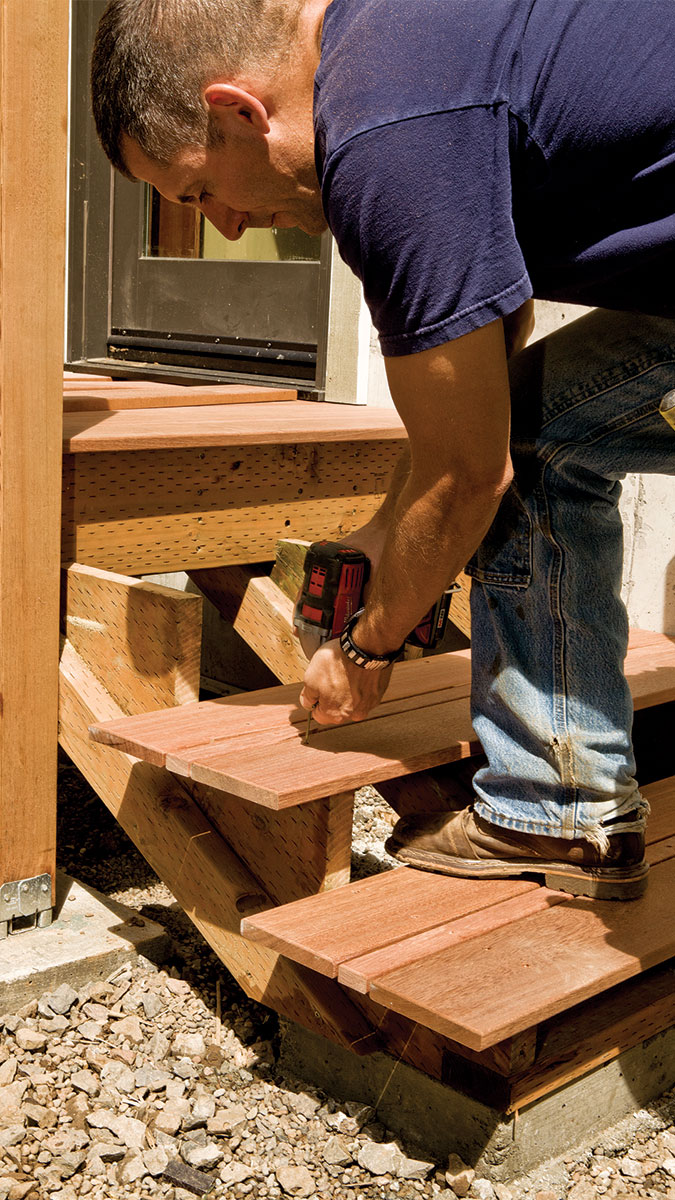
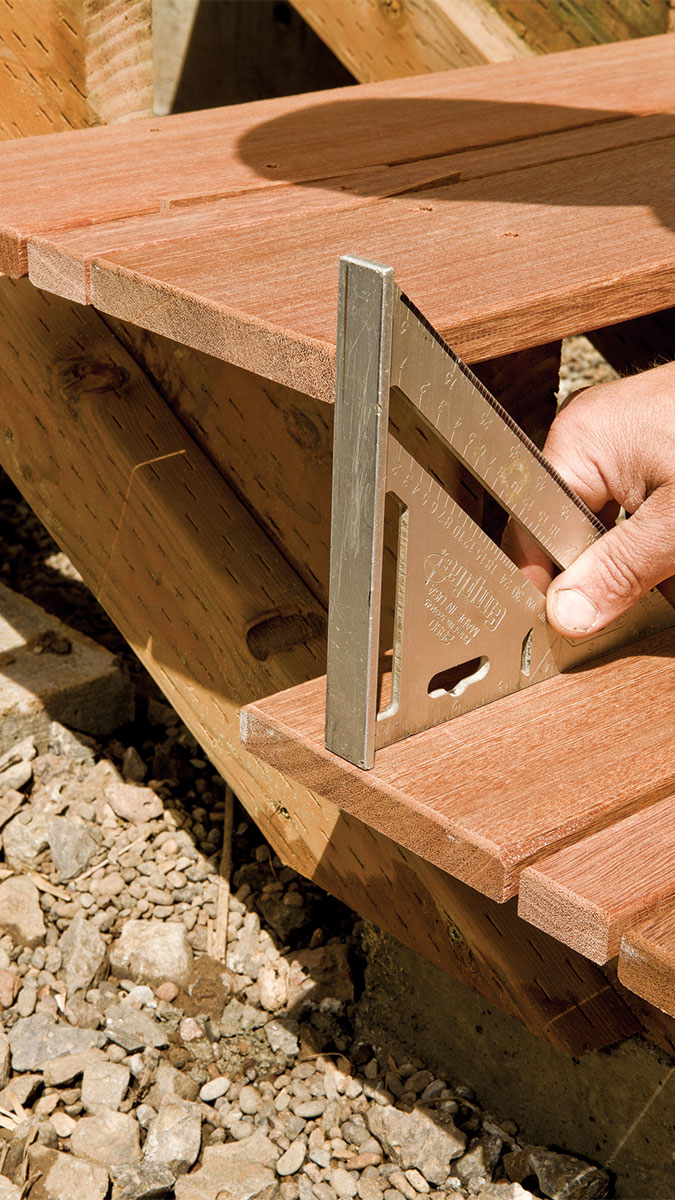
Working from the bottom tread up has the advantage that you have a finished platform to work from 14. To align the treads from one step to another place a square to reference the upper step with the lower step 15. After all the treads are installed, fit the risers, leaving any gap hidden under the overhang 16. Install the risers using the same method of aligning, drilling pilot holes, and securing as you did with the treads 17.
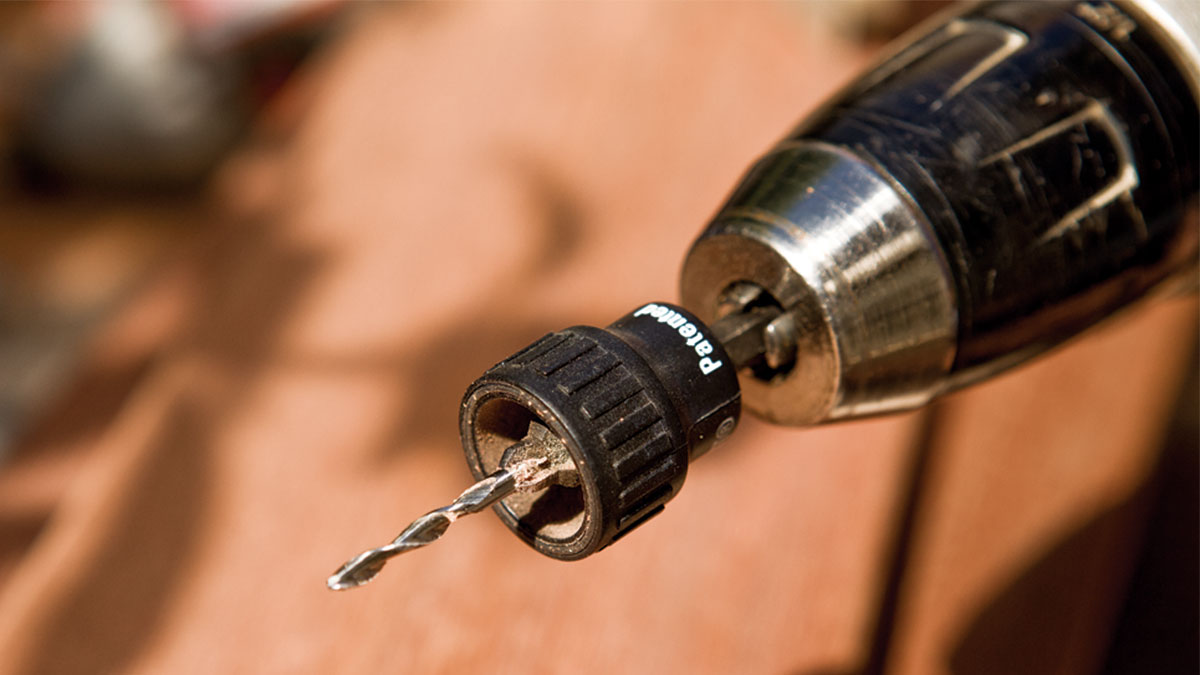
Trade secretA 2-in-1 pilot bit will drill a pilot hole and countersink for the head. It also has an adjustable collar to stop the countersink depth where you want it.
|
 |
 |
 |
 |

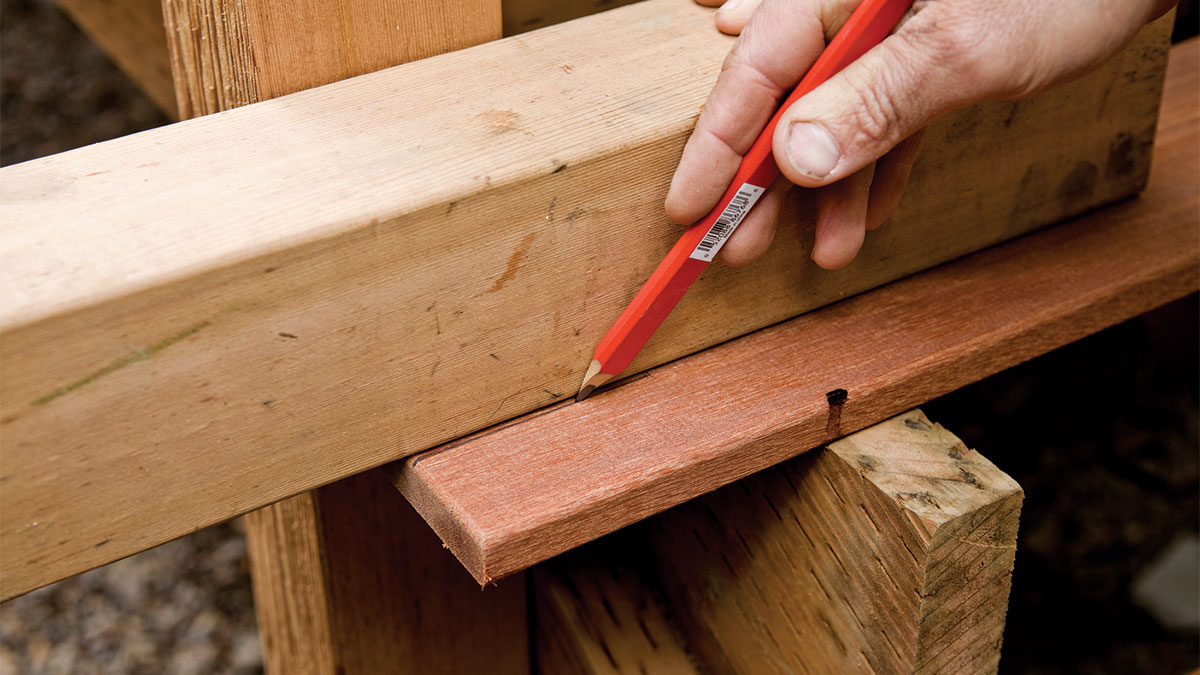
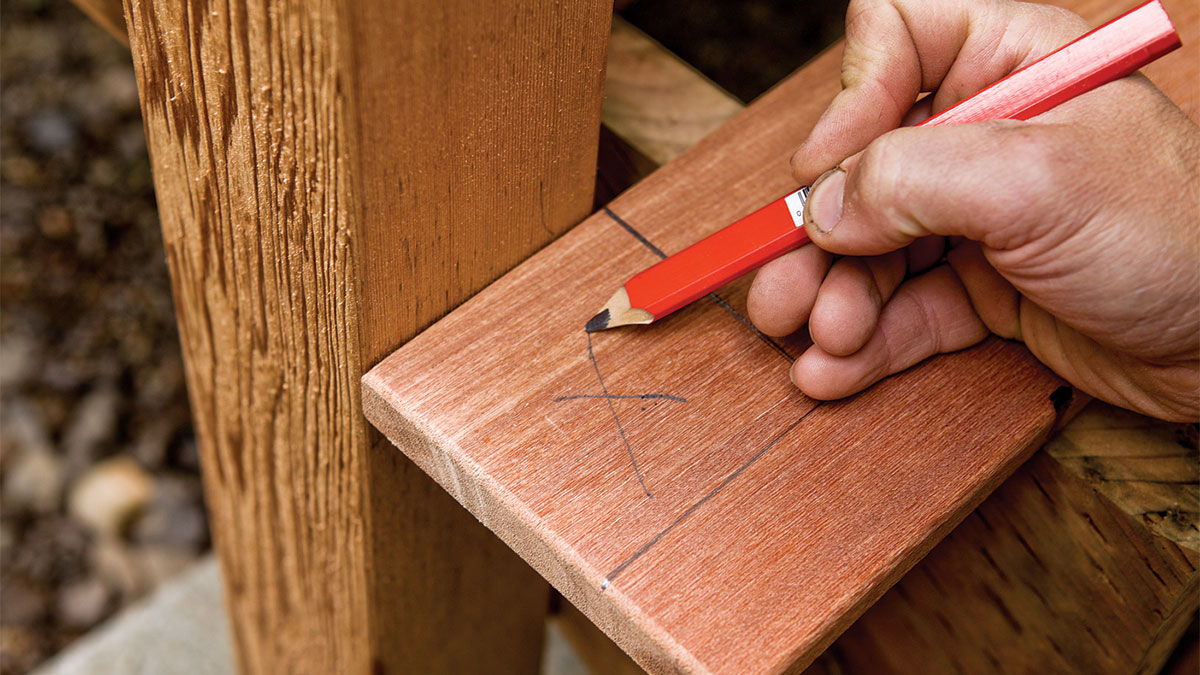
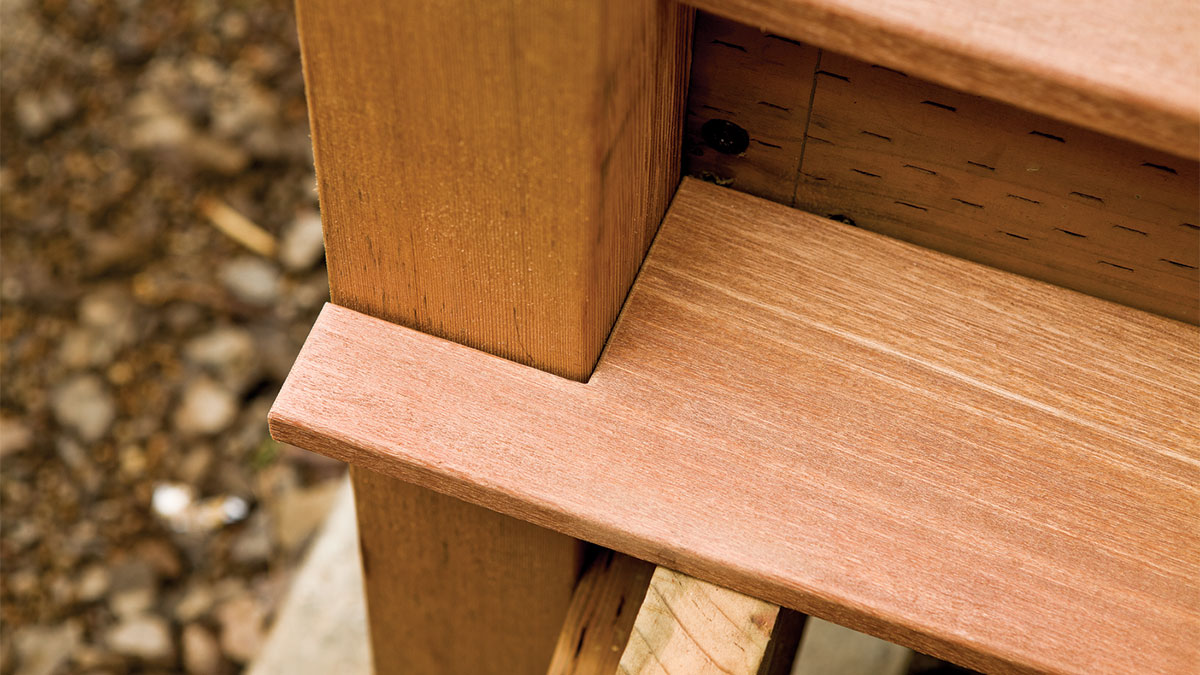
Notch decking around postsCarefully fitting deck boards around posts and other objects will give the deck a professional look. You can do this without using a tape measure; instead, mark the tread in place referencing the side of the post or other obstruction.
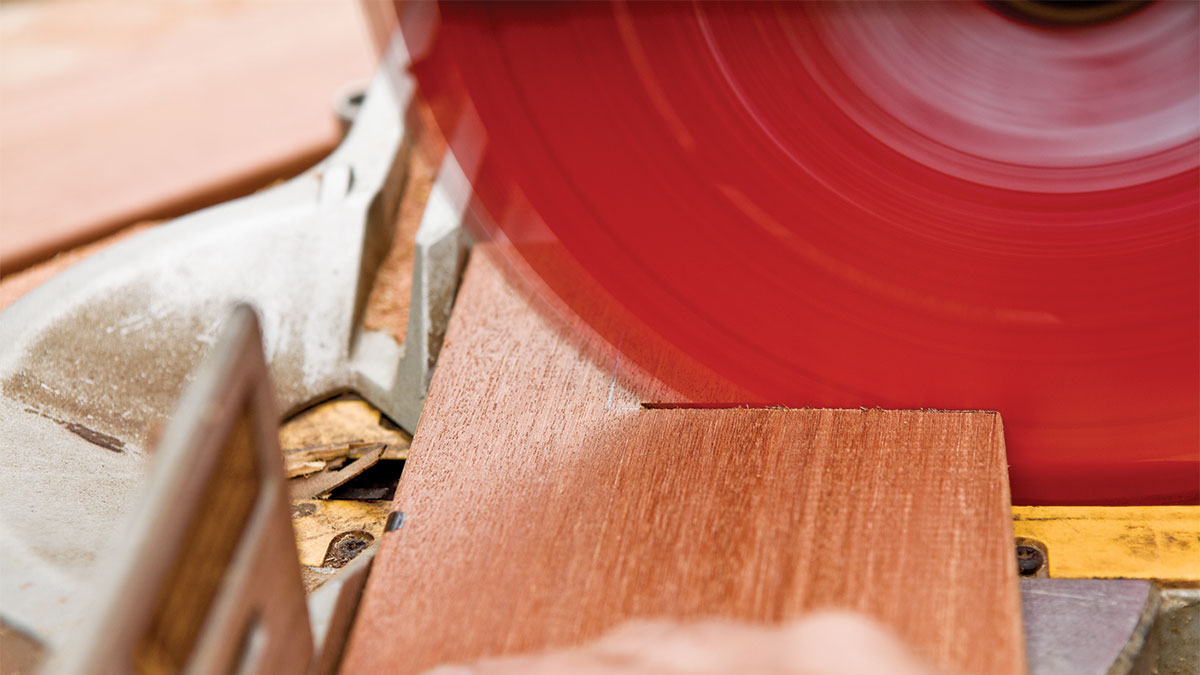
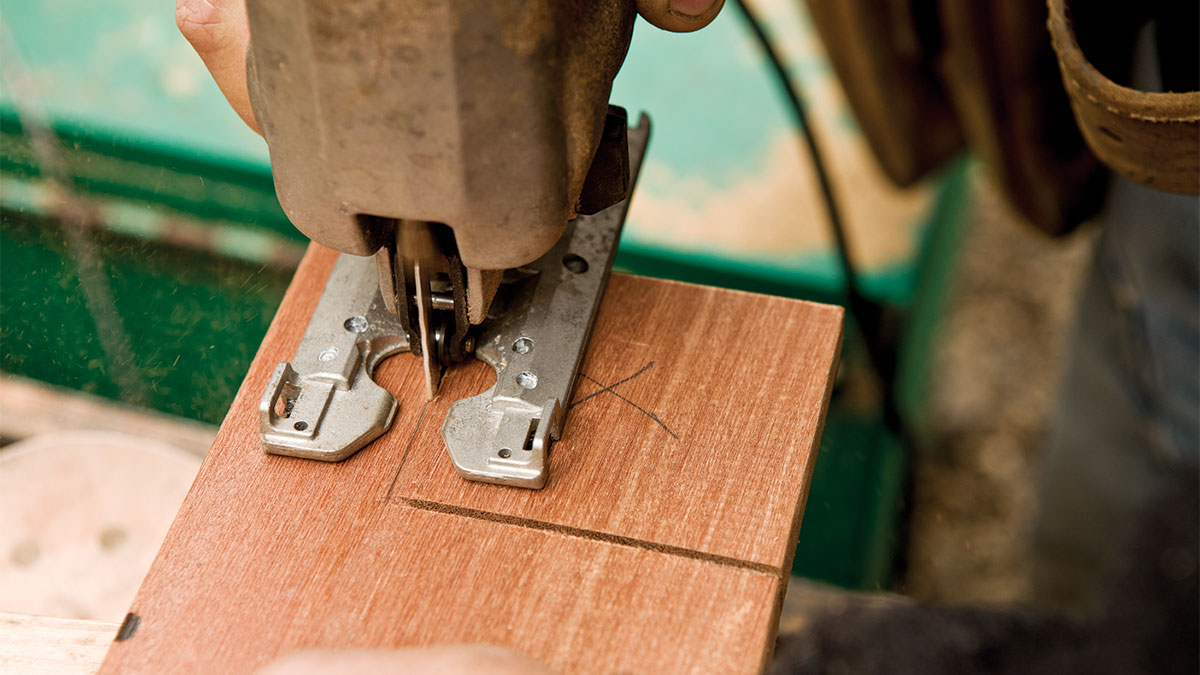
Test-fit the board and make any adjustments necessary. |

Fine Homebuilding Recommended Products
Fine Homebuilding receives a commission for items purchased through links on this site, including Amazon Associates and other affiliate advertising programs.
Drill Driver/Impact Driver
4-Gallon Piston Backpack Sprayer
Standard Marking Chalk
