This is the second article in a three-part series on building hardwood deck stairs. The next article will focus on crafting and installing the railing.
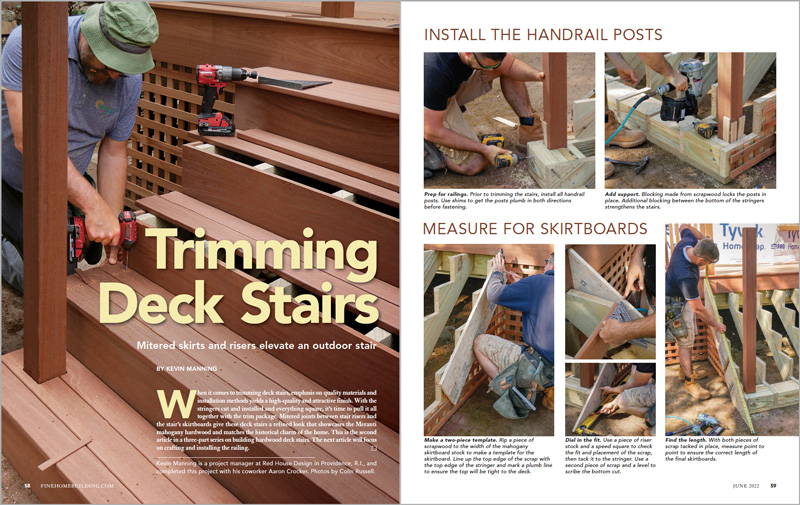
When it comes to trimming deck stairs, emphasis on quality materials and installation methods yields a high-quality and attractive finish. With the stringers cut and installed and everything square, it’s time to pull it all together with the trim package. Mitered joints between stair risers and the stair’s skirtboards give these deck stairs a refined look that showcases the Meranti mahogany hardwood and matches the historical charm of the home.
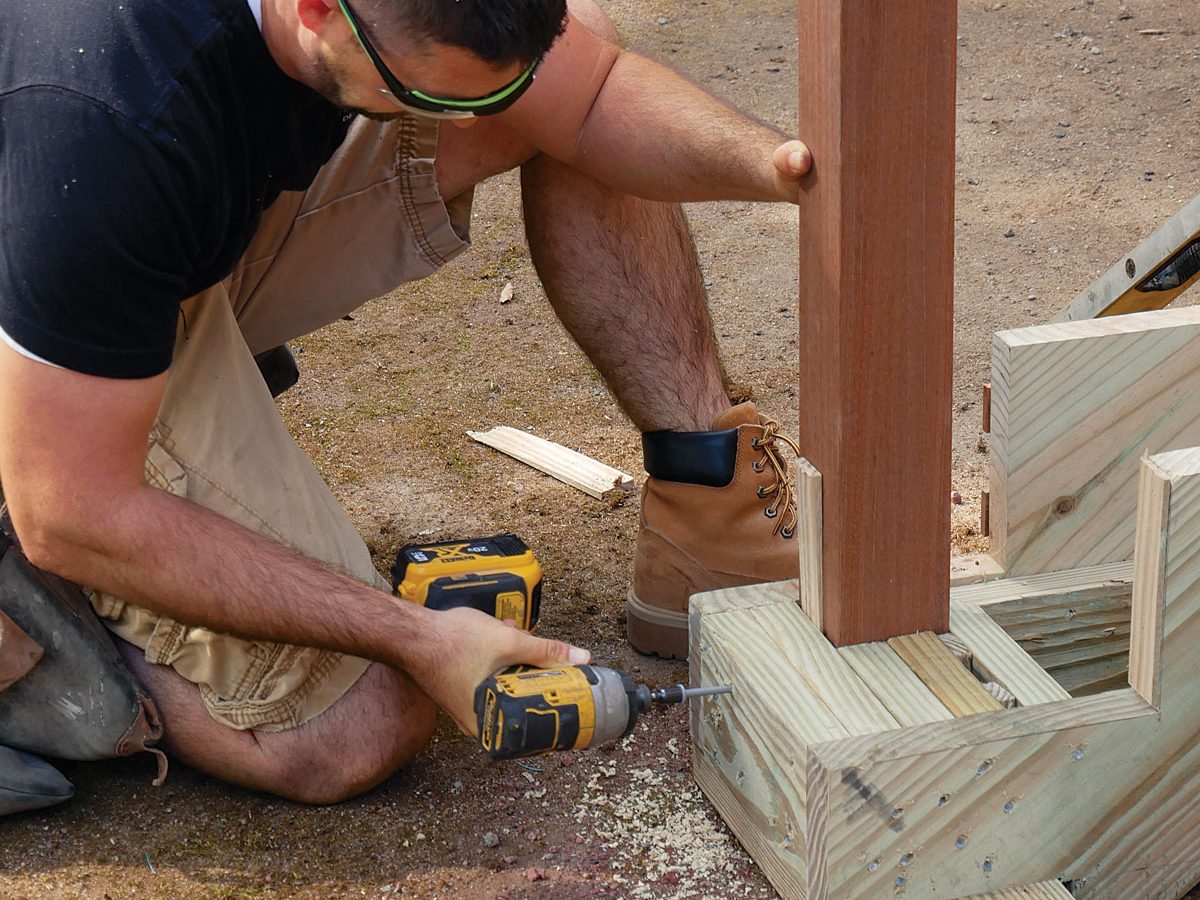
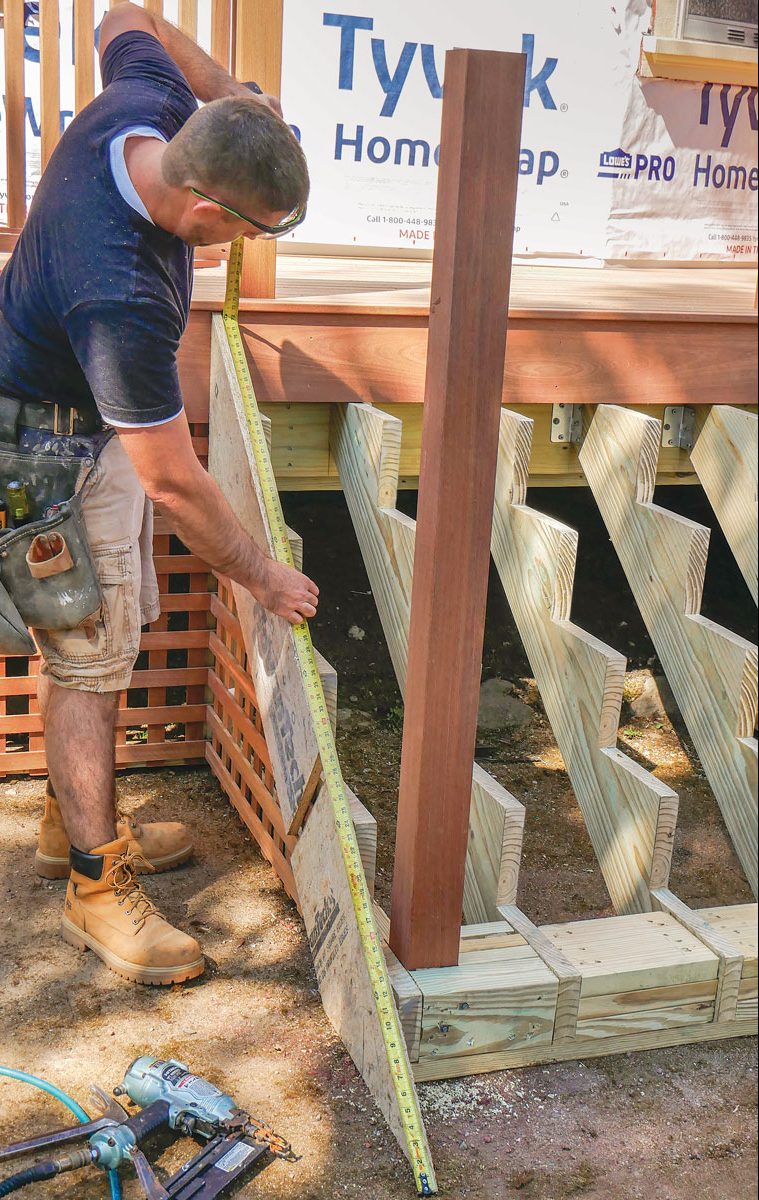
Install the handrail posts
Prep for railings. Prior to trimming the stairs, install all handrail posts. Use shims to get the posts plumb in both directions before fastening.
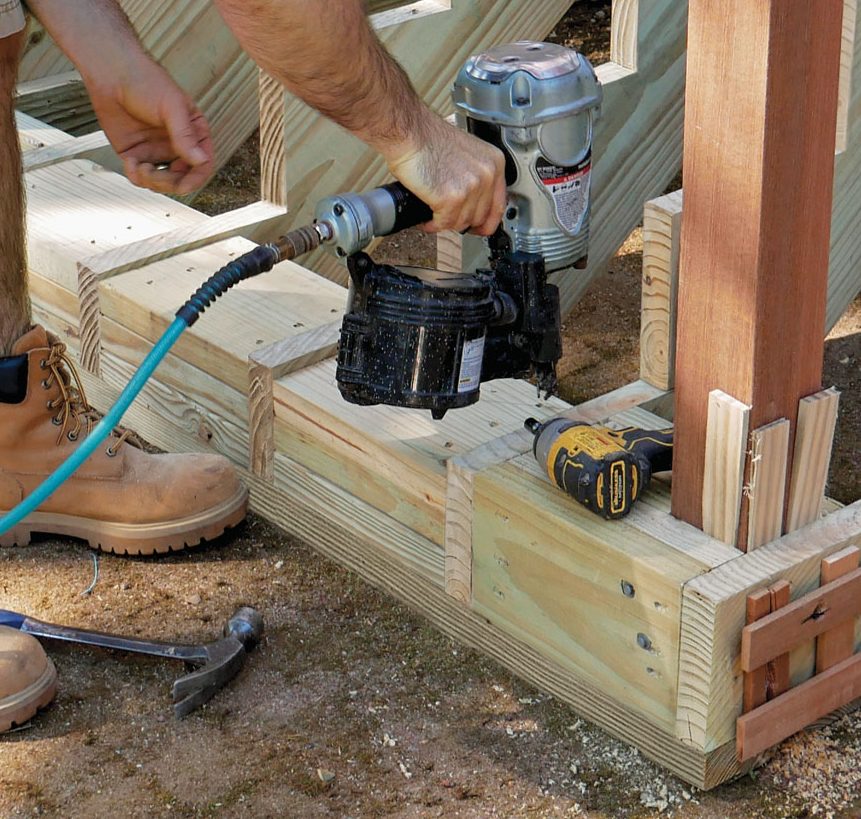
Add support. Blocking made from scrapwood locks the posts in place. Additional blocking between the bottom of the stringers strengthens the stairs.
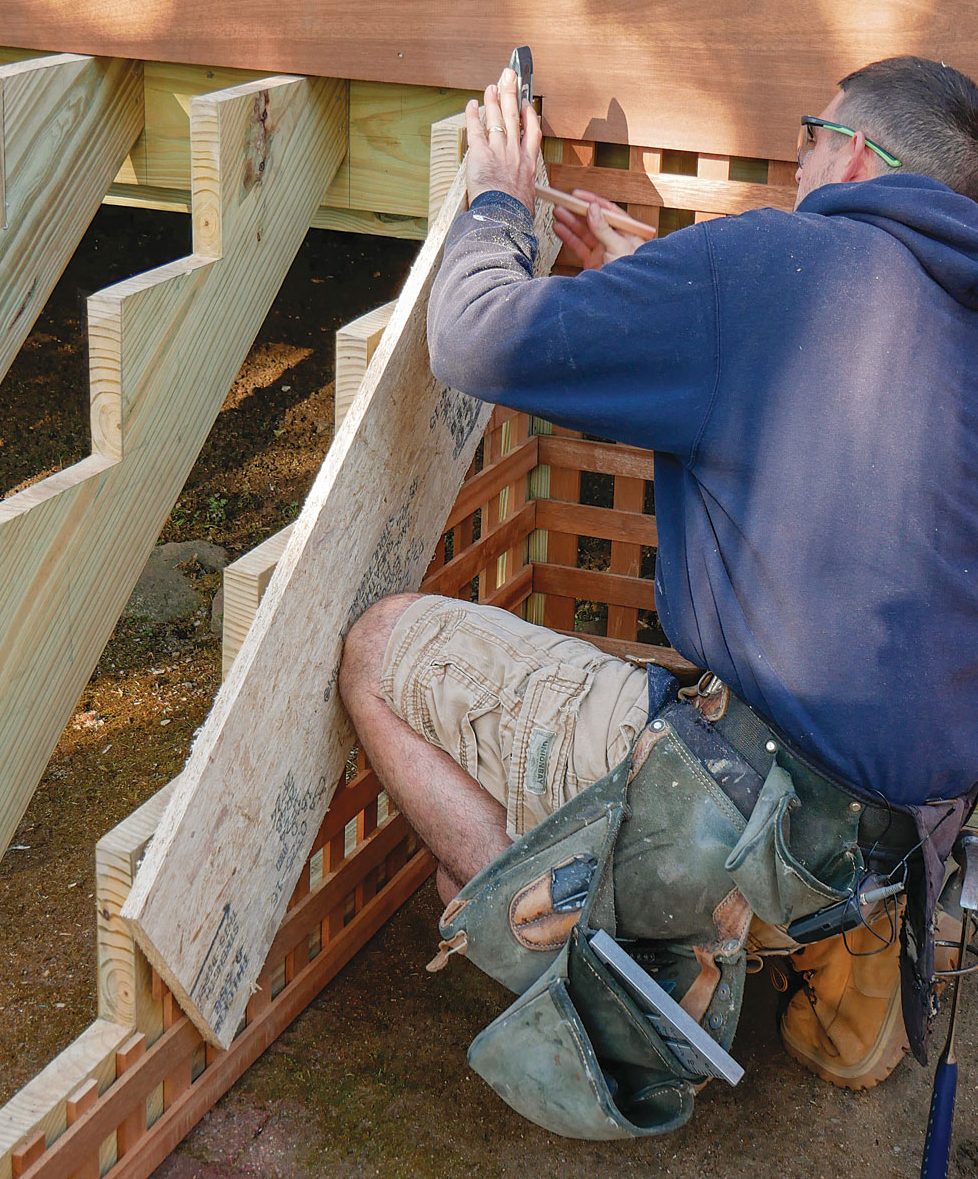
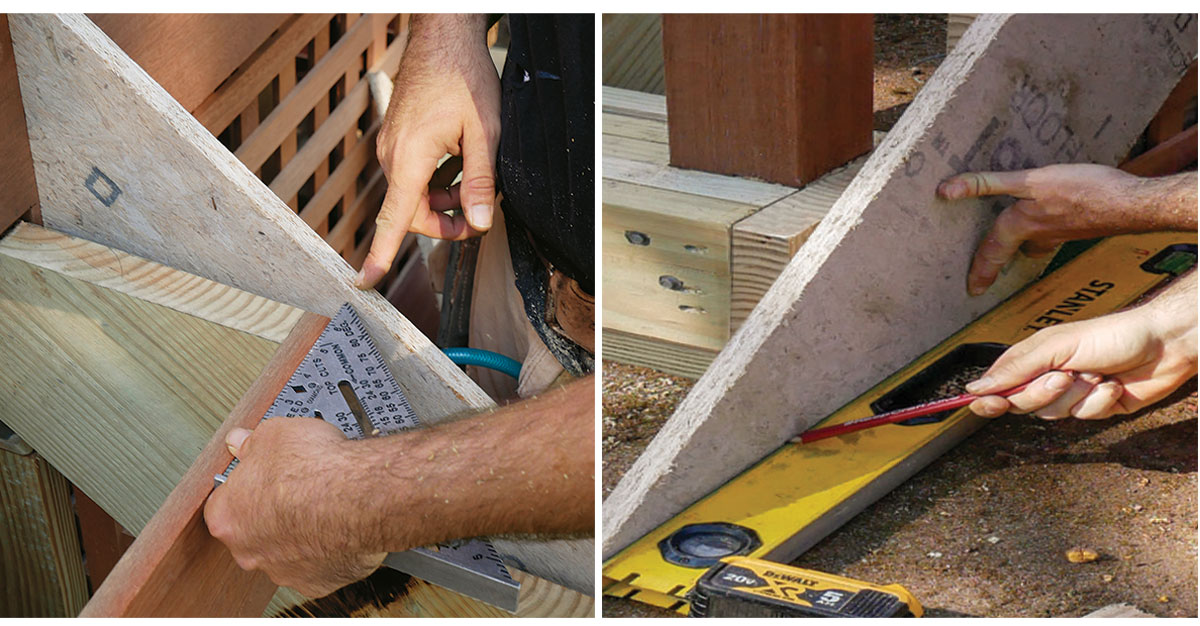
Measure for skirtboards
Make a two-piece template. Rip a piece of scrapwood to the width of the mahogany skirtboard stock to make a template for the skirtboard. Line up the top edge of the scrap with the top edge of the stringer and mark a plumb line to ensure the top will be tight to the deck.
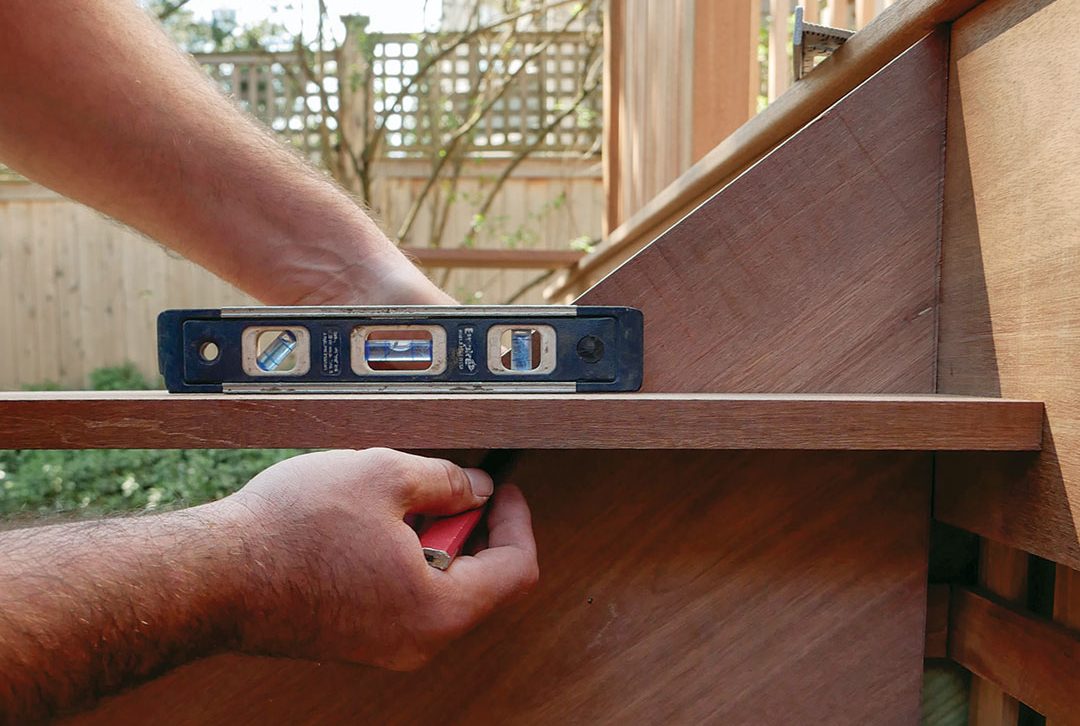
Dial in the fit. Use a piece of riser stock and a speed square to check the fit and placement of the scrap, then tack it to the stringer. Use a second piece of scrap and a level to scribe the bottom cut.
Find the length. With both pieces of scrap tacked in place, measure point to point to ensure the correct length of the final skirtboards.
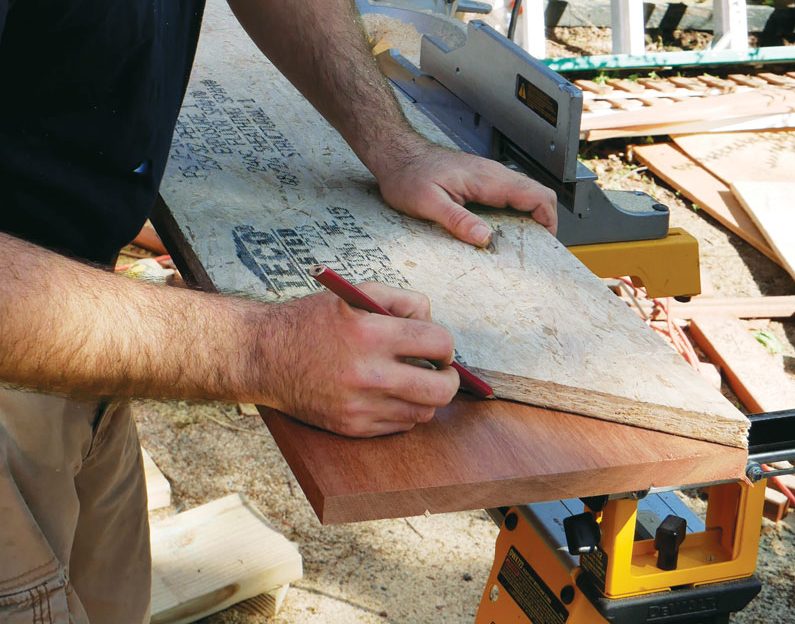
Lay out and miter the skirtboards
Transfer the angles. Use the two-piece template to transfer the angles to the skirtboard stock, and confirm the overall length before cutting.
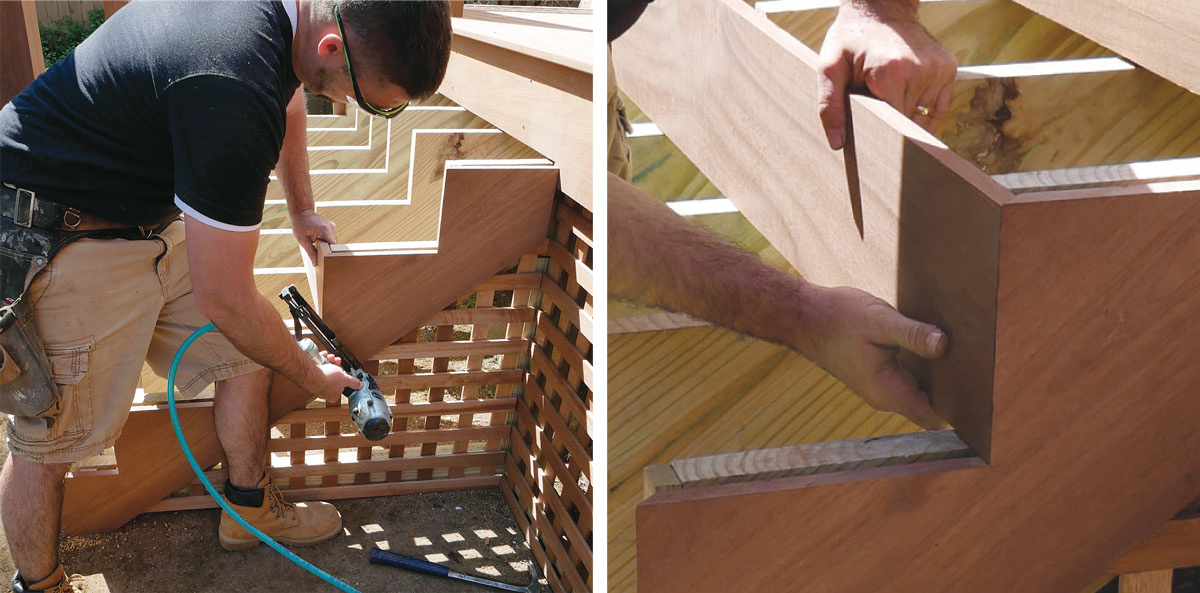
Notch a piece of stock for a jig. Cut a slot as wide as the skirtboard’s thickness into a piece of scrap stock. Be sure that the slot is long enough to capture the full width of the skirtboard. The slot should fit snugly, but not be so tight that it mars the skirtboard surface.
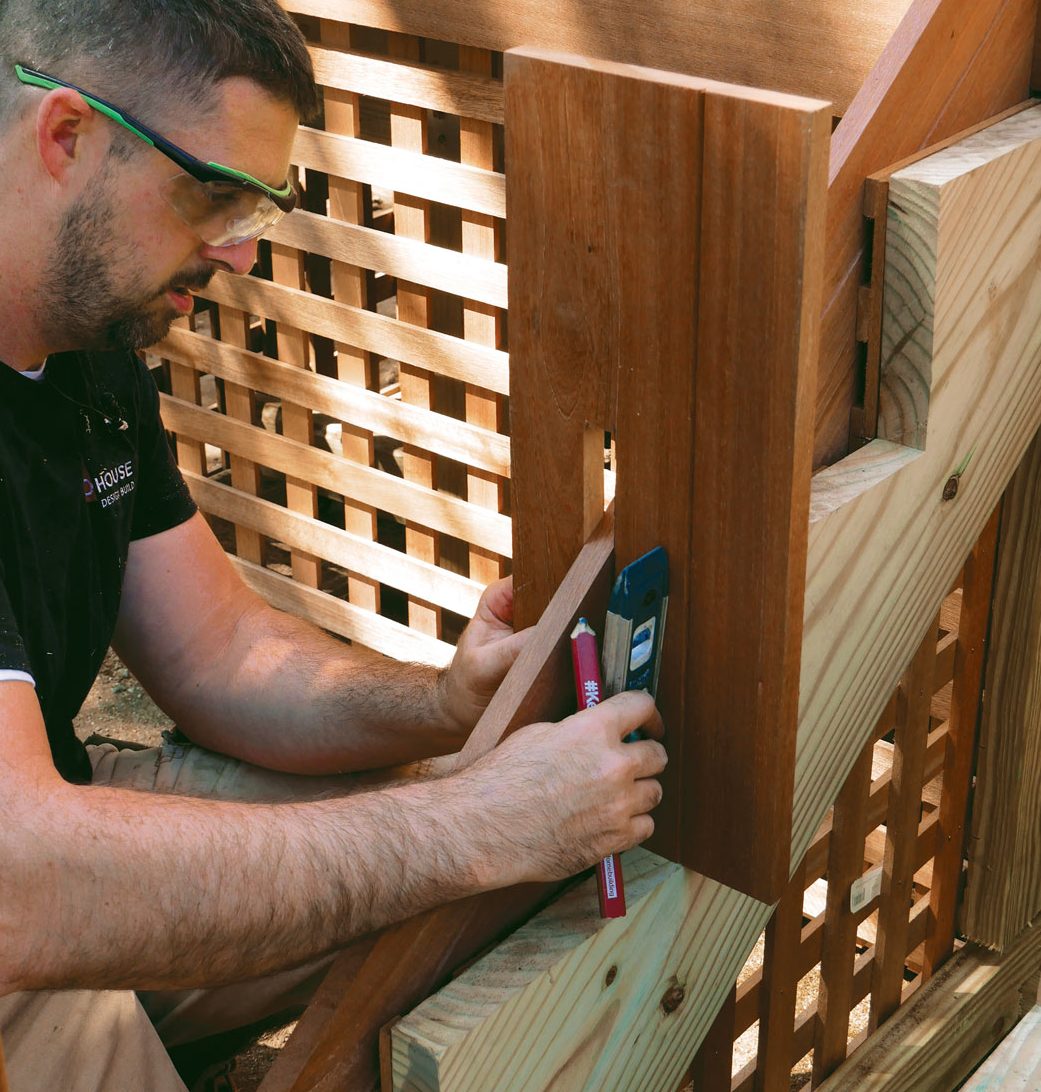
Mark the tread. Slip the jig over the skirtboard and on top of the stringer’s treads. Ensure the jig is level, then scribe the bottom side to mark the tread location on the skirtboard.
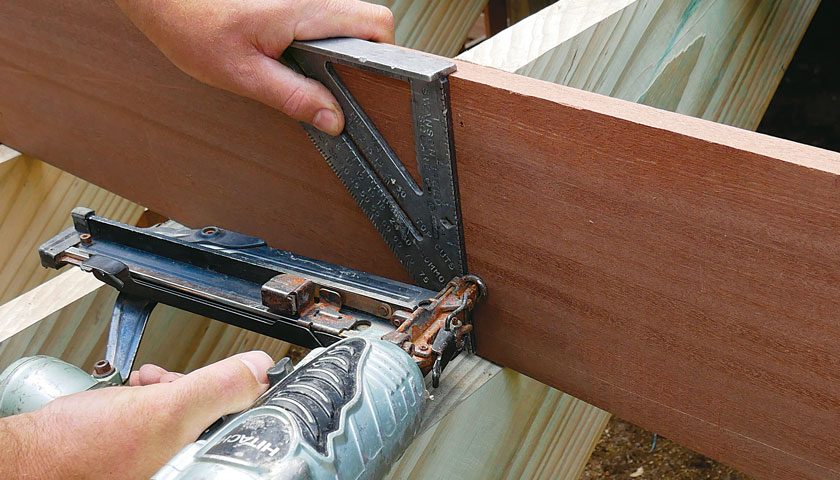
Mark the riser. Place the jig vertically against the risers of the stringer. Ensure plumb and use the outside of the jig furthest from the stringer to mark the outside edge of the miter cut. Repeat the process on the other side of the stair.
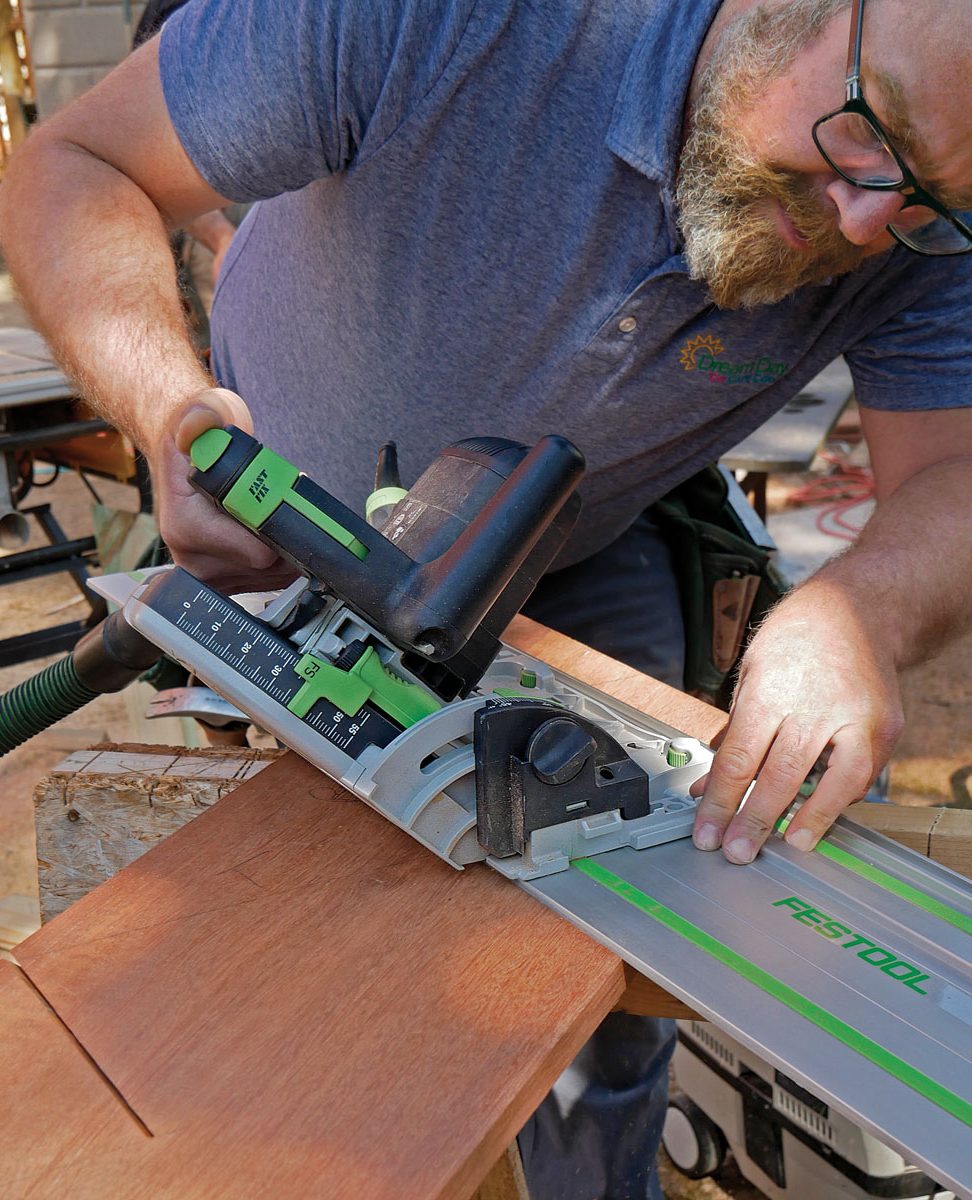
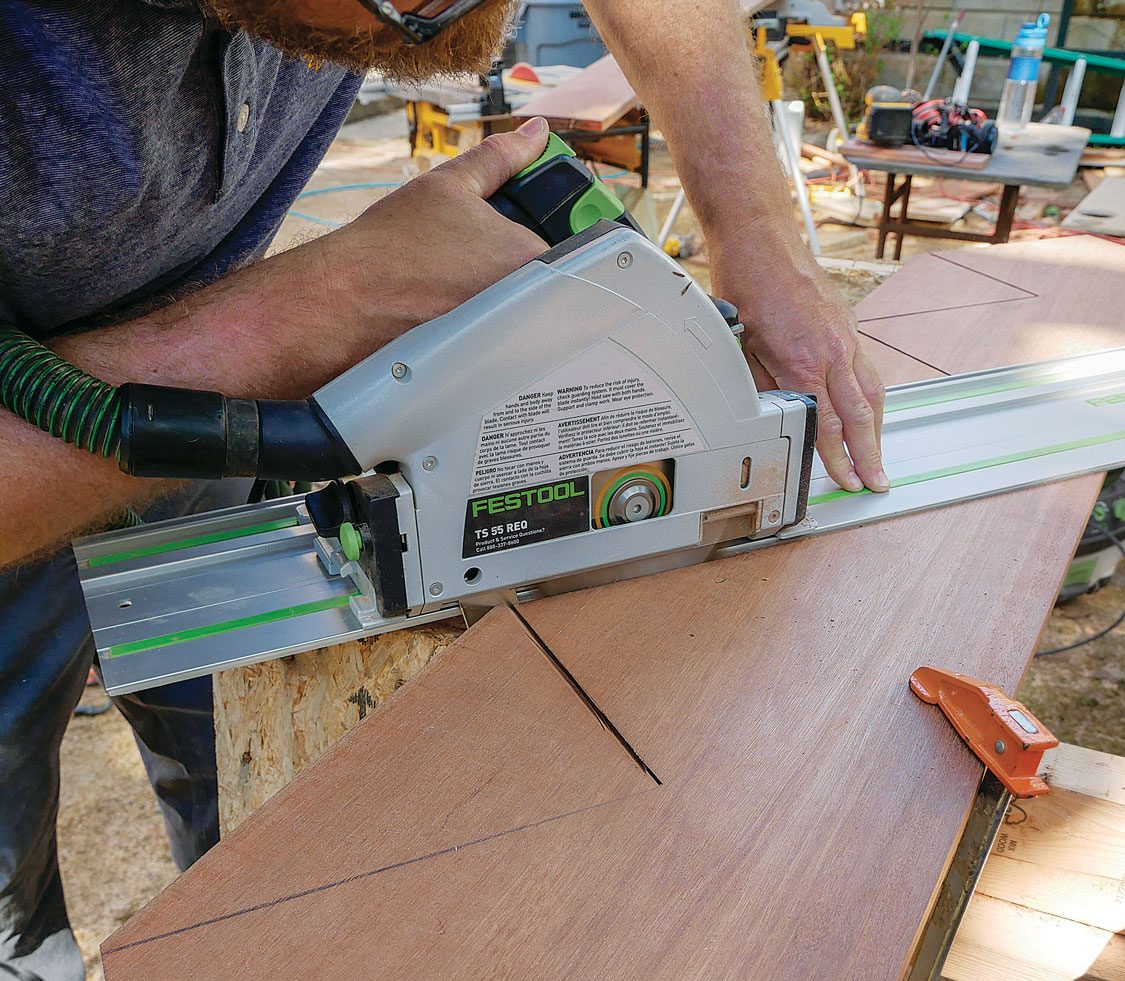
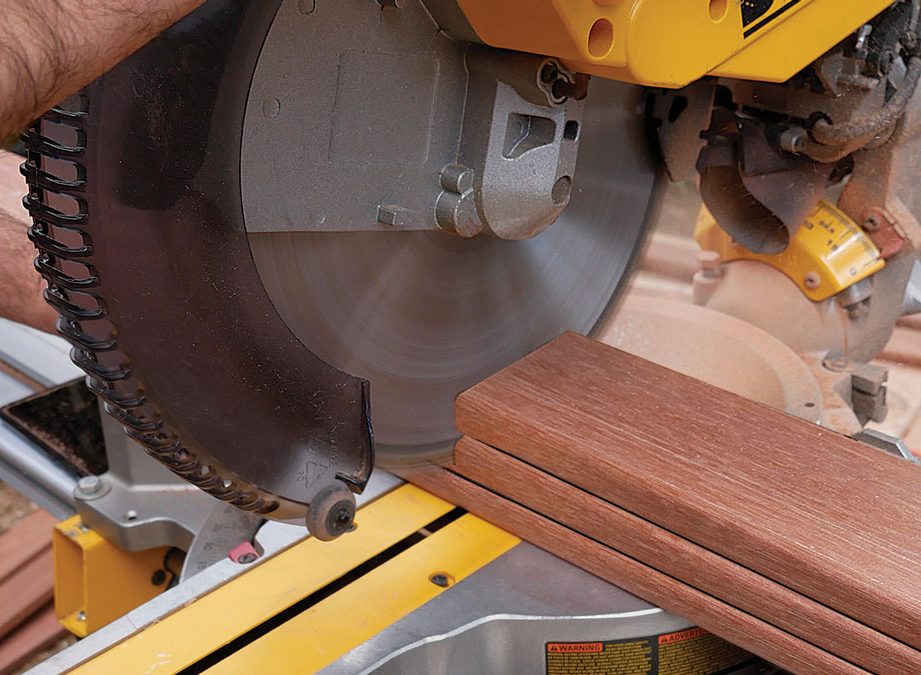
Miter the skirt, first right… Use a saw that bevels right—we use our track saw—to cut the 45° riser bevels on the right-hand skirtboard when facing the stairs. Cut to the intersecting line without overcutting.
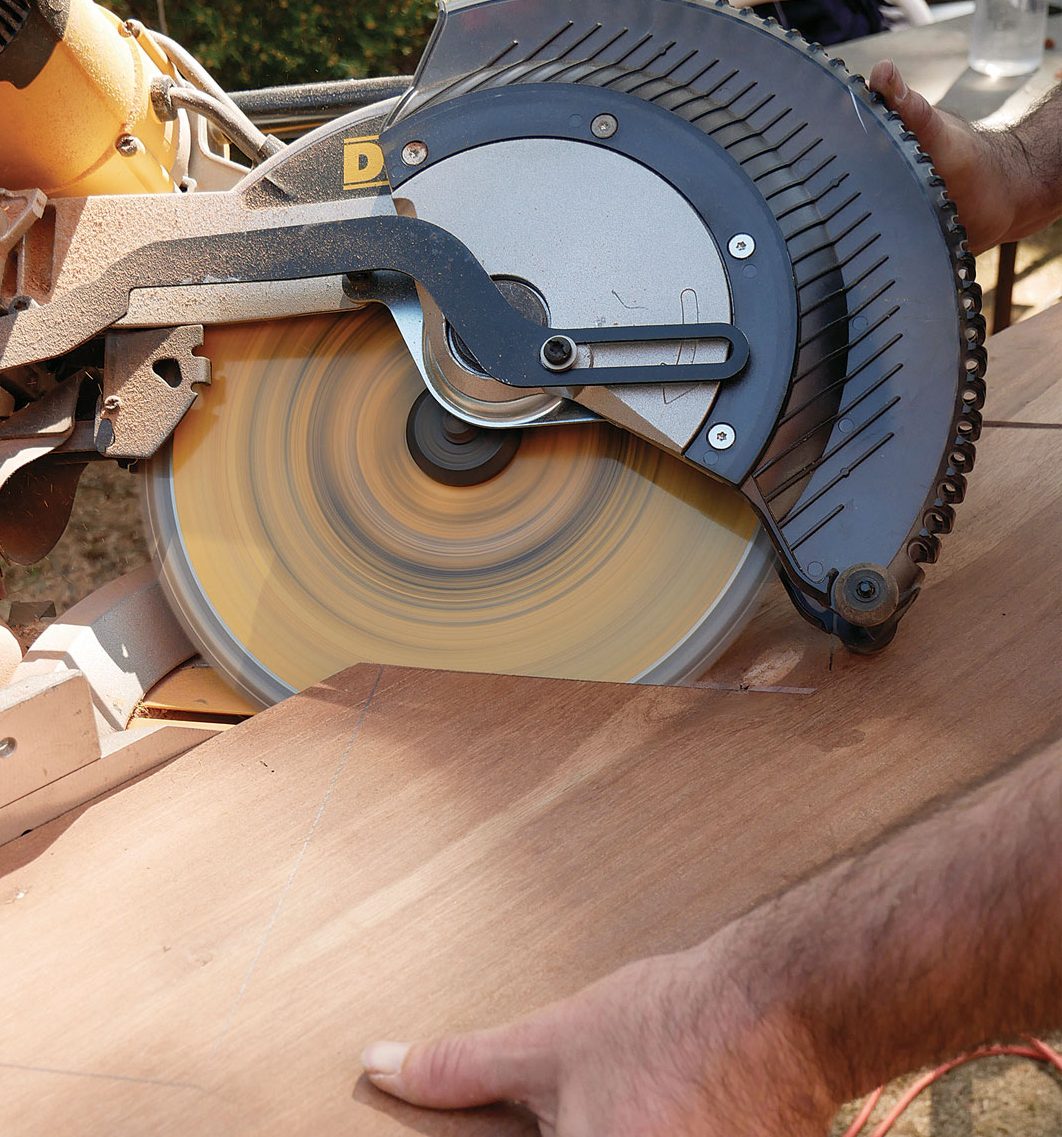
… then left. The other skirtboard’s miter cuts require a saw that bevels to the left, which meant swapping the track saw for our miter saw.
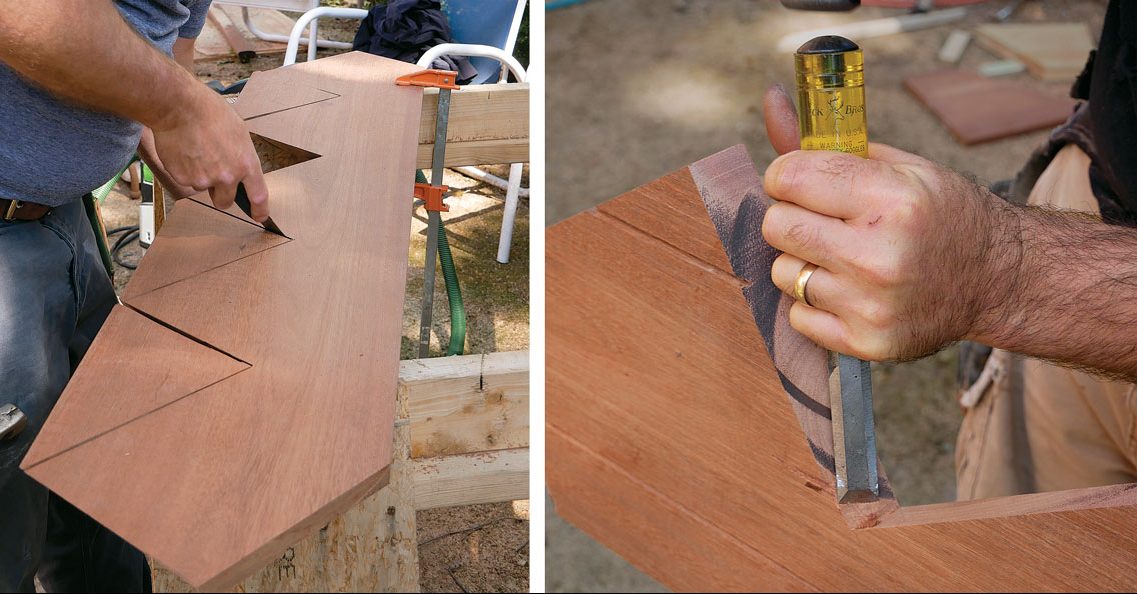
Add the straight cuts. Follow up the riser bevels by cutting the straight run lines (where the treads will land), and avoid overcutting.
Finish and fine-tune the cuts. Use a pull saw to complete the cuts and a chisel to clean the corners.
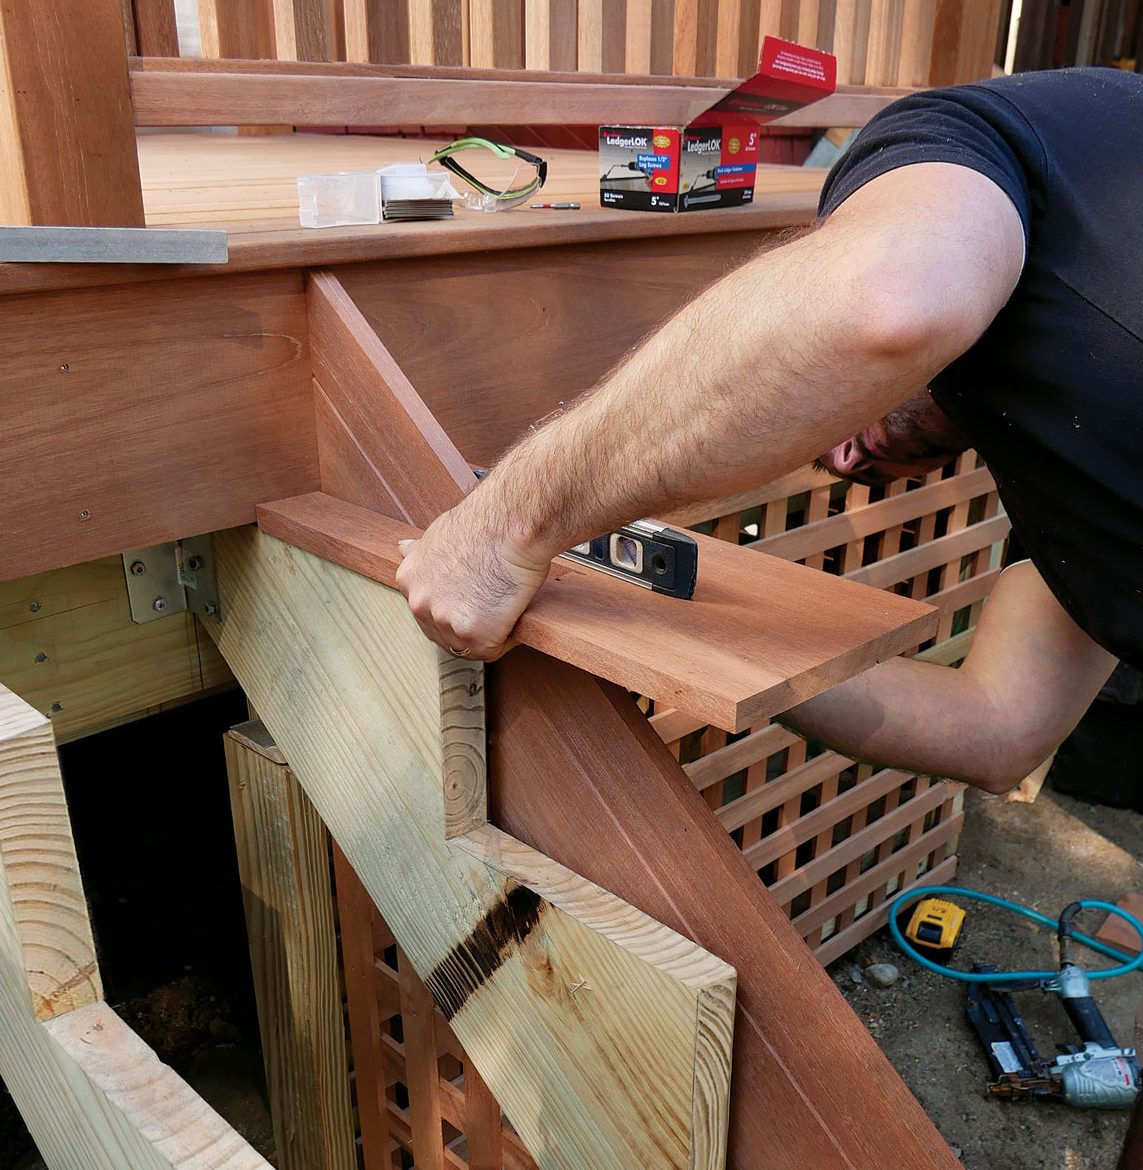
Attach the skirtboards and risers
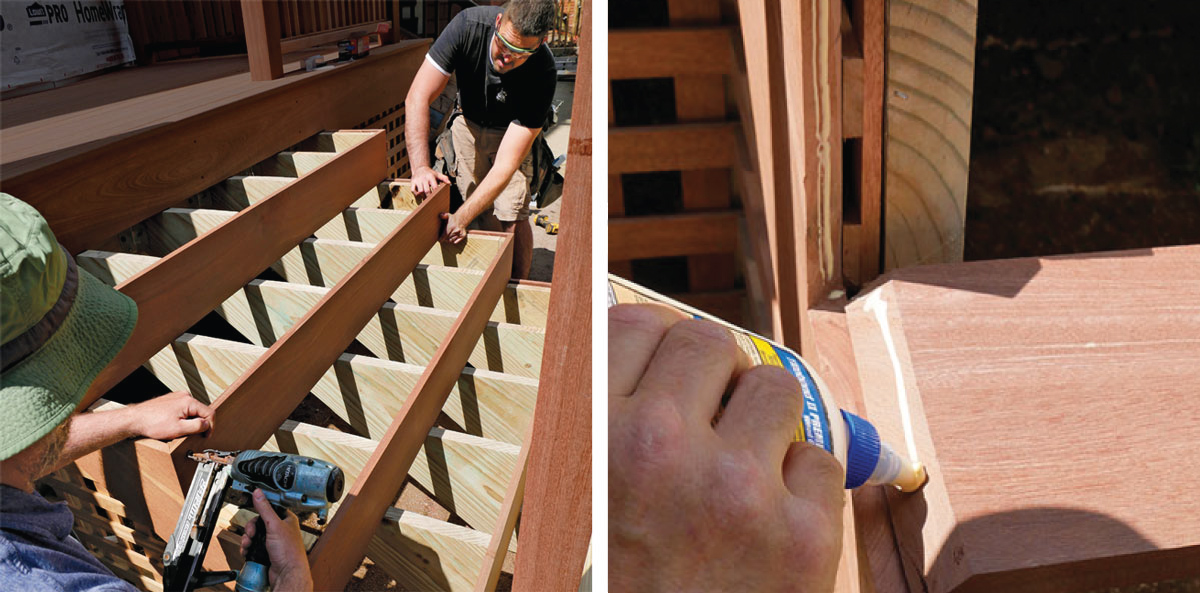
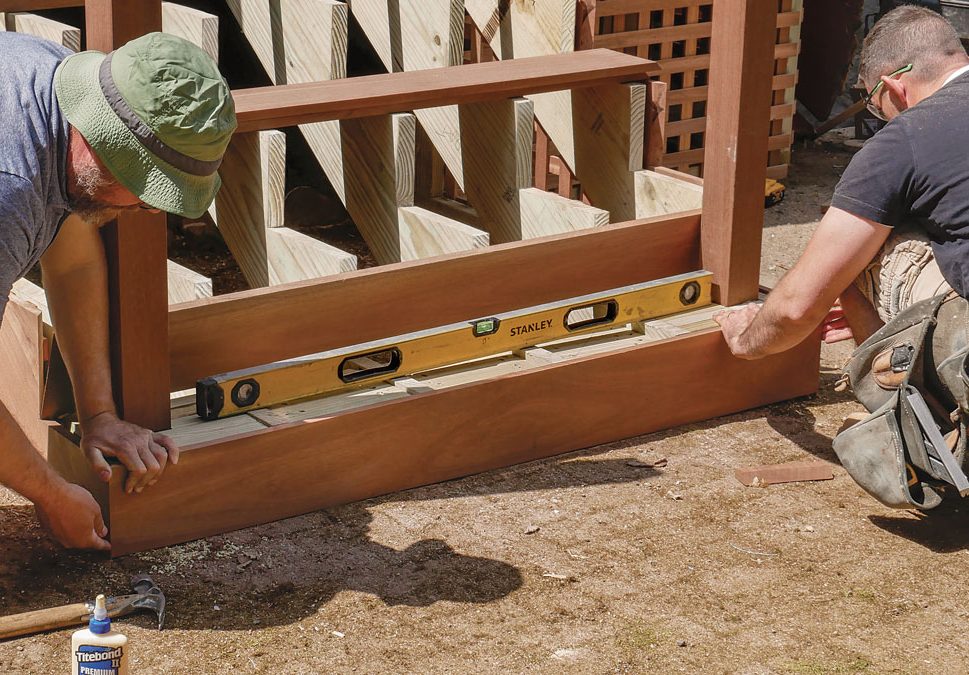
Test the fit. To ensure proper placement before nailing, use a mitered piece of riser stock to fine-tune the placement. Once it’s in the right spot, fasten the skirtboards using 2-1/2-in. stainless-steel finish nails.
Reinforce miters. Apply exterior wood glue to each miter joint before nailing.
Nail neatly. Use a speed square to keep your nail holes properly spaced and vertically aligned.
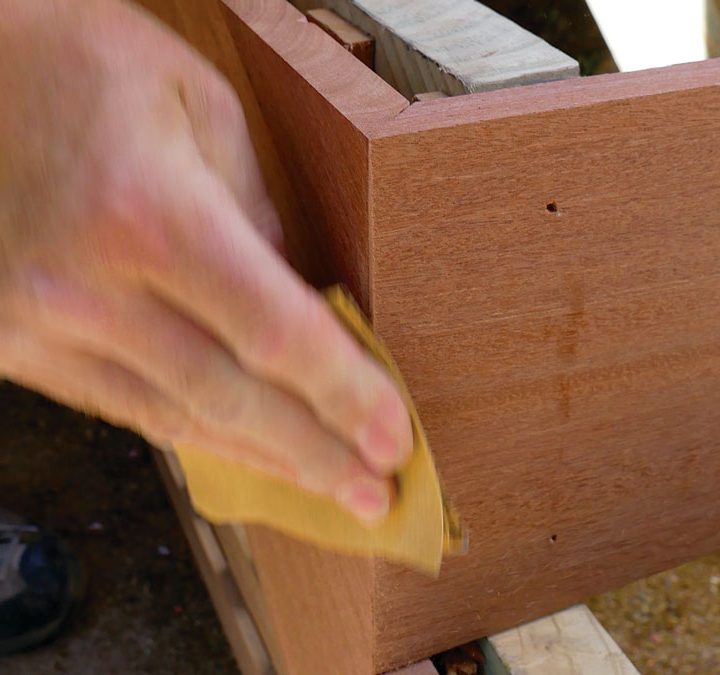
Break the edges. A light sanding softens the sharp corners and hides small imperfections in the joint.
Account for out-of-level. For the bottom riser, a tapered cut was necessary to adjust for the uneven patio. A measurement taken on both sides of the riser determines the taper.
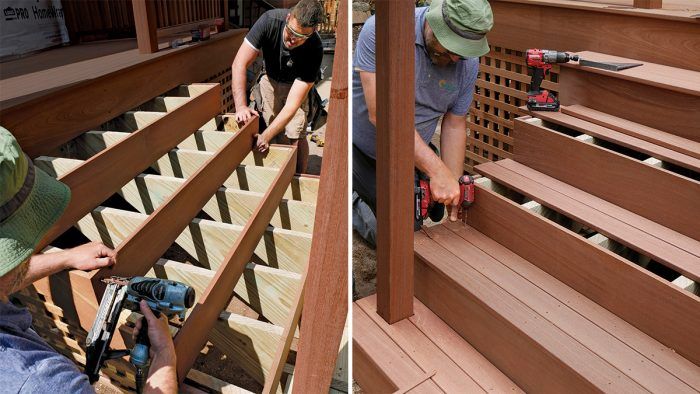
Fit and fasten the treads
Gang cut. Measure the width of each stair and add 2 in. for a 1-in. overhang at both ends. Cut all pieces for one tread at once for accuracy.
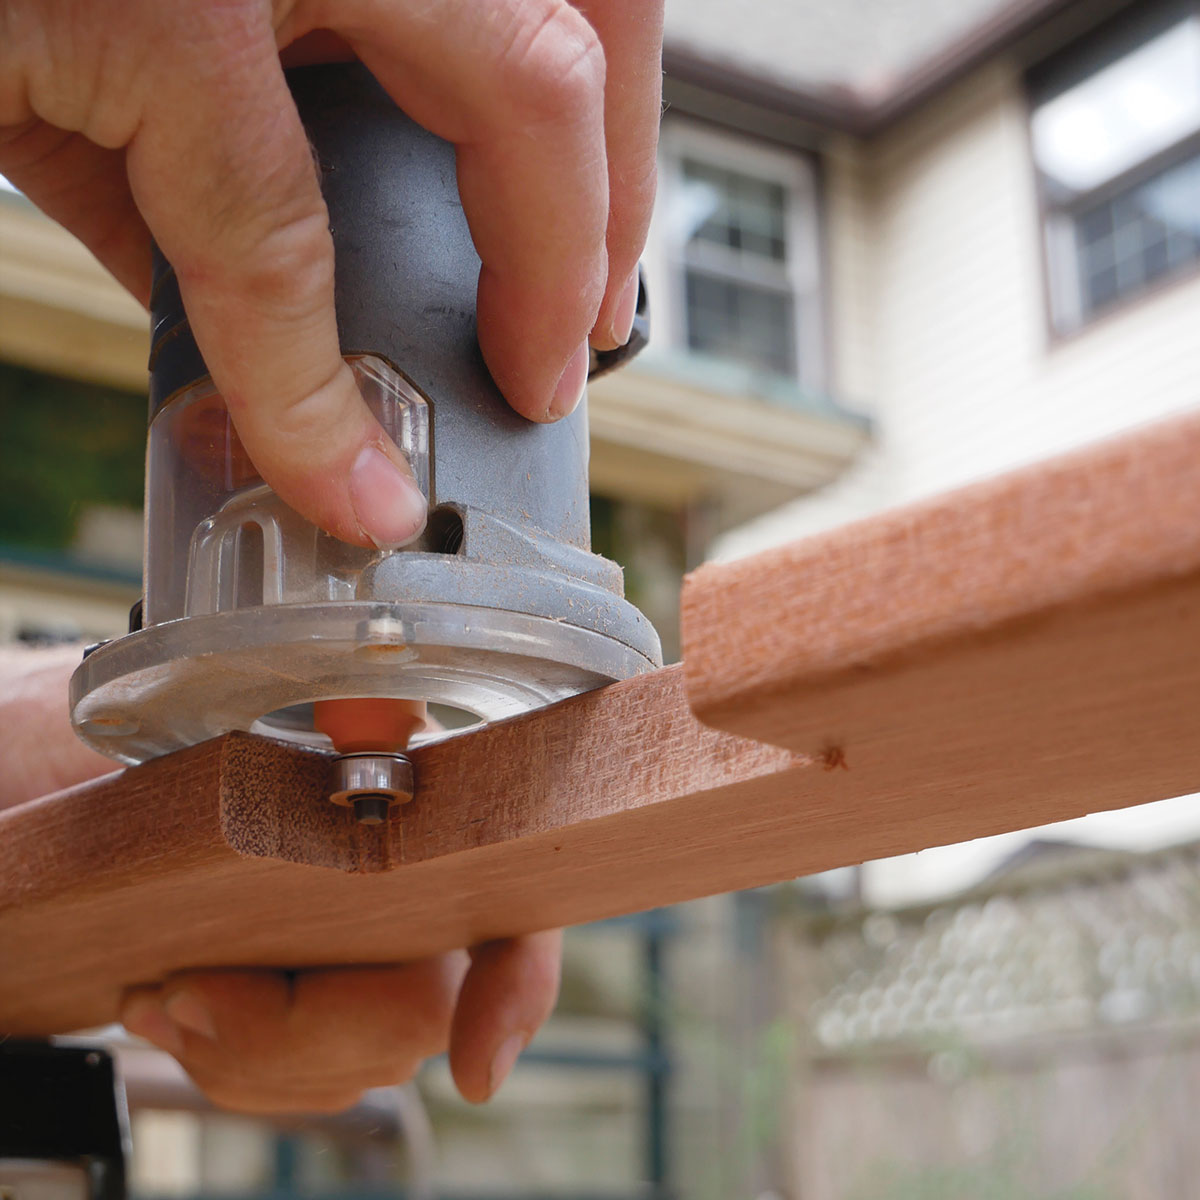
Round over the edges. All cut edges are trimmed with a 1⁄8-in. roundover bit for an eased profile that matches the one from the sawmill.
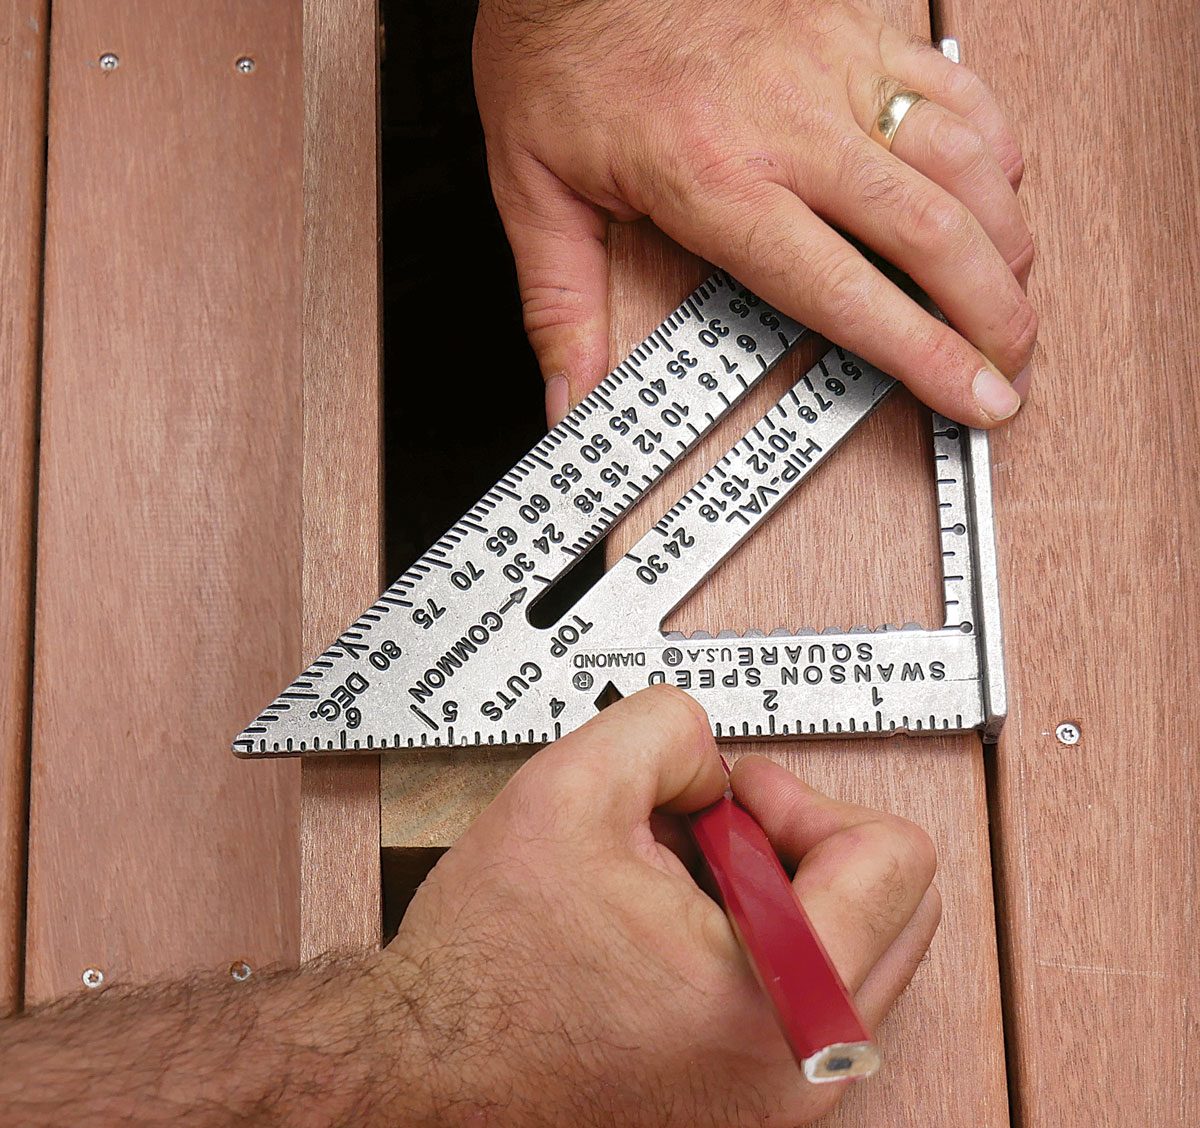
Create even gaps. When installing the cut and routered tread boards, a speed square is used for gapping and marking screw placement.
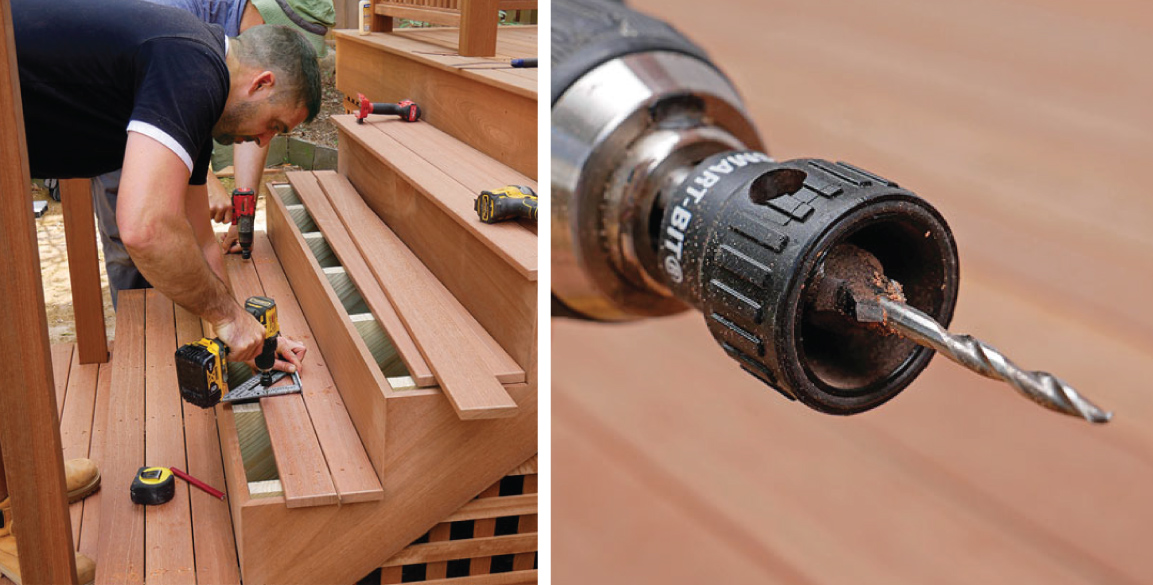
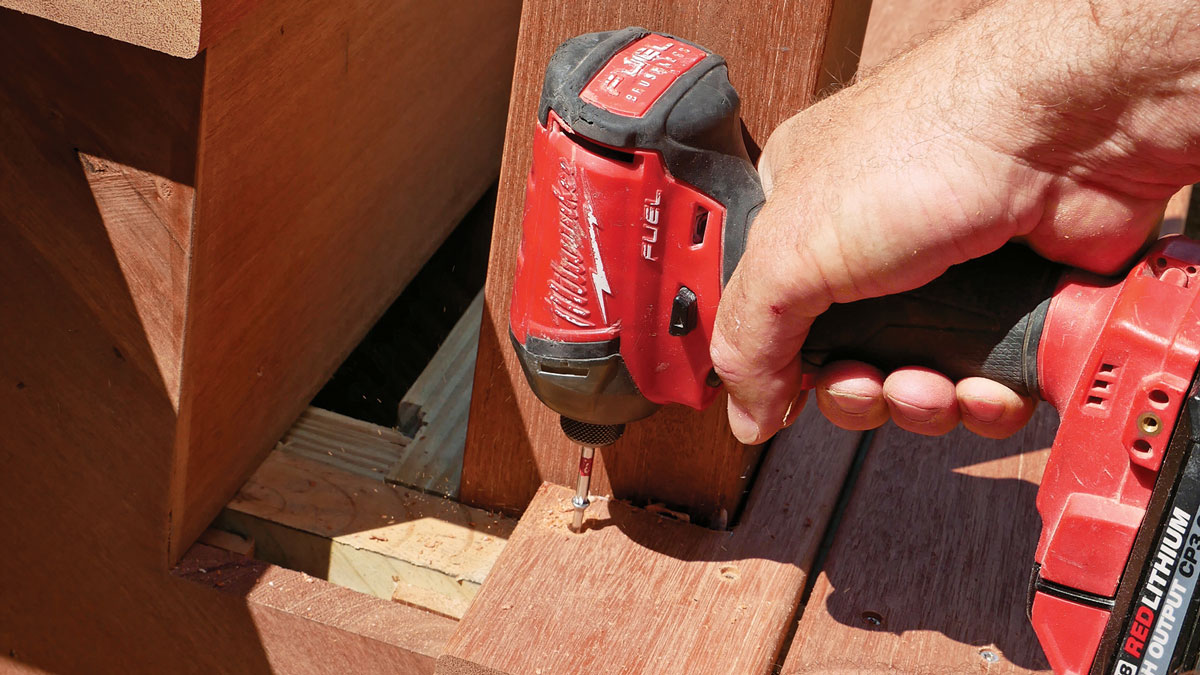
Consistent countersinking. A Starborn Smart-Bit with countersink is used to predrill holes for 2-1⁄4-in. DWP Wood SS screws and ensure a flush finish.
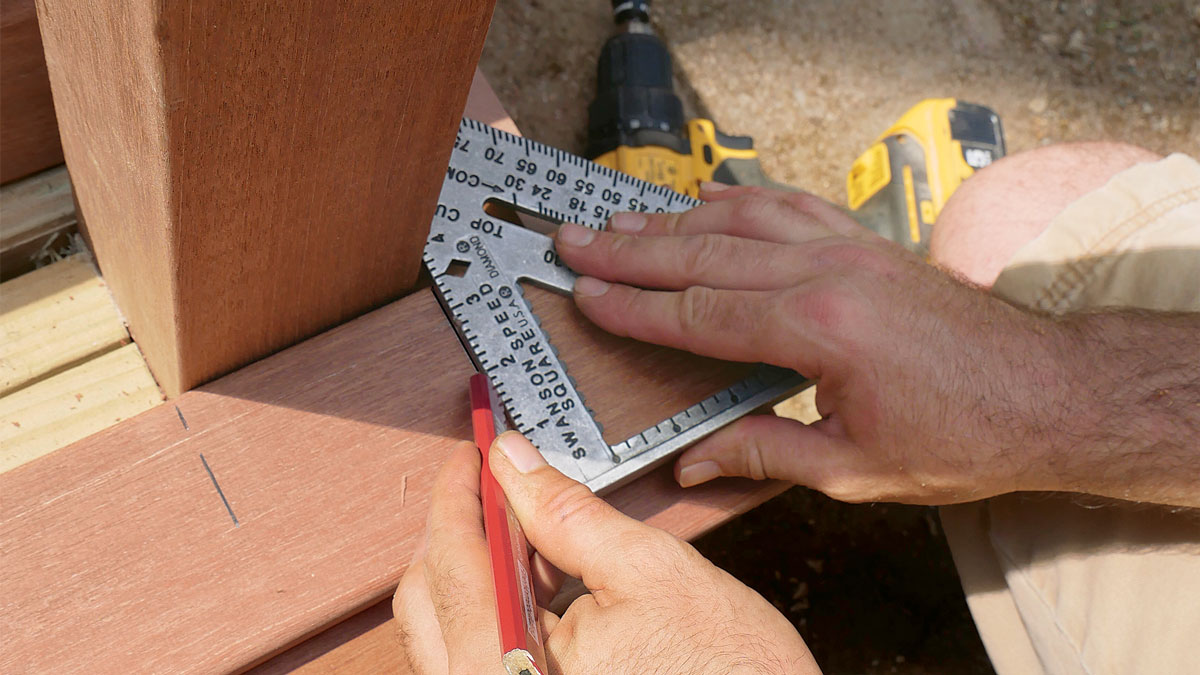
Notch for posts. Use a speed square to transfer post locations to the tread boards of the bottom step. Cut the notch with a jigsaw and round over the cuts.
Seal end grain. Apply sealant (we used DeckWise Ipe Seal end-grain sealer) to the end grain of the post notches and the ends of the treads to minimize water absorption.
Avoid split ends. When screws are placed near the ends of the treads and the post notches, make sure to predrill pilot holes so that the boards won’t split when fastened.
Kevin Manning is a project manager at Red House Design in Providence, R.I., and completed this project with his coworker Aaron Crocker. Photos by Colin Russell.
Fine Homebuilding receives a commission for items purchased through links on this site, including Amazon Associates and other affiliate advertising programs.
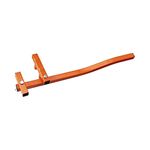
Cepco BoWrench Decking Tool
This tool makes straightening deck boards a breeze during installation.
This is a dialog window which overlays the main content of the page. The modal window is a 'site map' of the most critical areas of the site. Pressing the Escape (ESC) button will close the modal and bring you back to where you were on the page.
We use cookies, pixels, script and other tracking technologies to analyze and improve our service, to improve and personalize content, and for advertising to you.
We also share information about your use of our site with third-party social media, advertising and analytics partners.
You can view our Privacy Policy
here and our Terms of Use here.