Common Remodeling Drywall Repairs
Whether you're eliminating an electrical box, a door, or a window, you'll have some drywall patching to do.
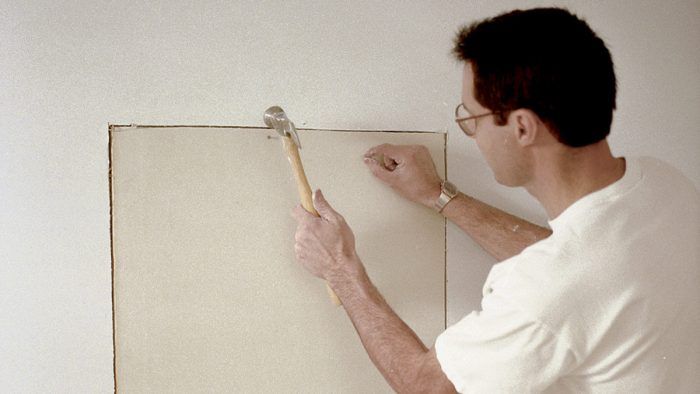
During remodeling work, electrical outlet boxes, heating ducts, and other fixtures are often moved or eliminated, which means that the original hole must be covered and patched. You can install furring strips to support the patch, as described in “Repairing Holes in Drywall“, or you can bevel the edges of the opening and the patch. When doors or windows are eliminated during remodeling, you’ll need to add framing to the opening before patching it with drywall.
Eliminating an electrical box
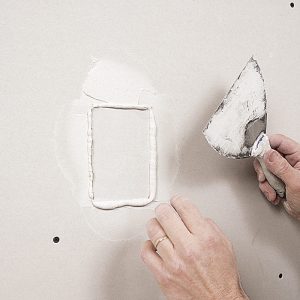
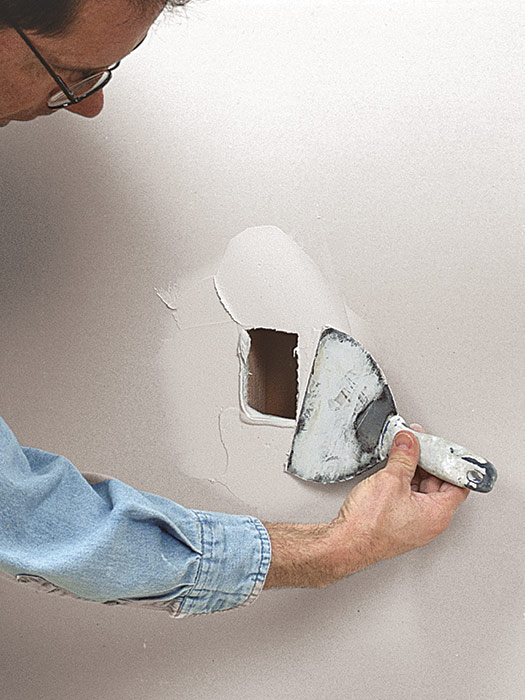
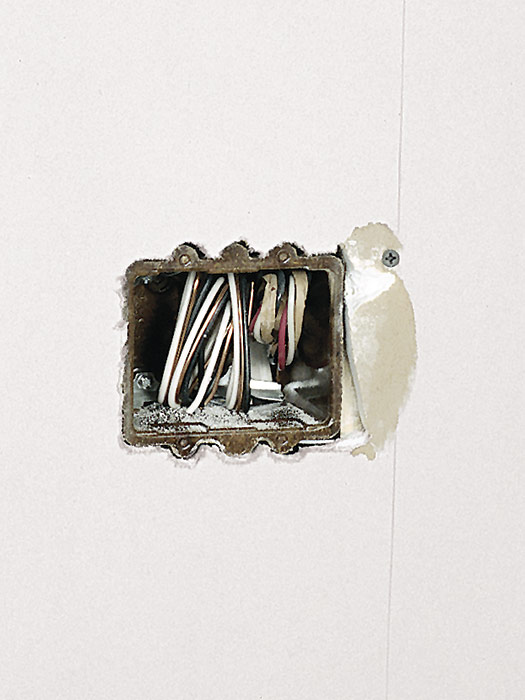
When an electrical outlet is eliminated, the box may be removed or left in the wall. If the box is left in place, make sure there are no electrical wires inside (live electrical wires should be covered with a blank cover plate, not with drywall). To patch the area, start by trimming away any loose paper or drywall around the opening, and then bevel the outside edges with a utility knife. Next, cut a piece of drywall the same size as the opening (see “Patching Unused Outlets: Method One”) and bevel the back edges. Adjust the fit of the patch with a utility knife until the patch fits snugly into place without sticking out past the face of the drywall panel.
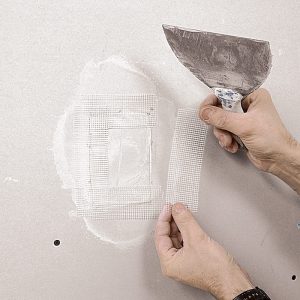
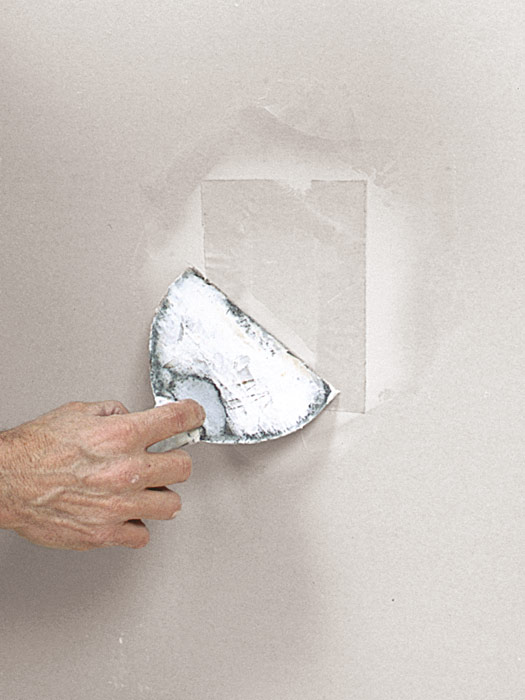
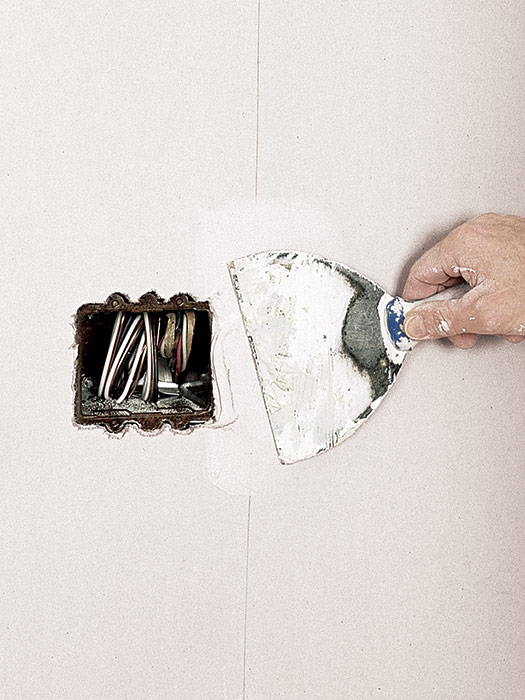
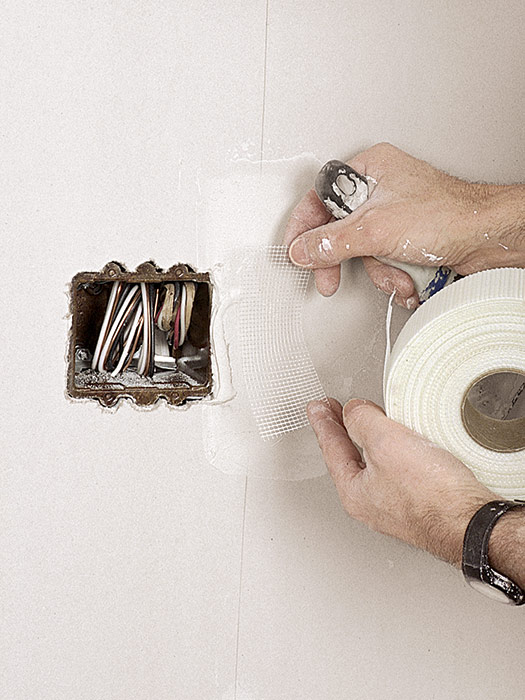
Apply a generous layer of joint compound to all edges of the patch (or hole), and then press the patch into place, making sure it is flush with the panel surface. To prevent the patch from cracking along the edges, apply fiberglass-mesh or paper tape to the seams and embed the tape in joint compound. Once the compound is dry, cover the tape with a second coat and feather the edges into the drywall face. After the second coat is dry, lightly sand the area and apply a third coat, if necessary.
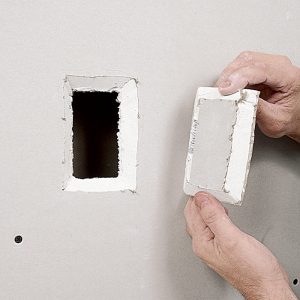
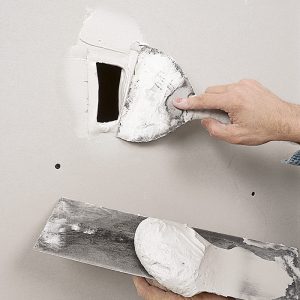
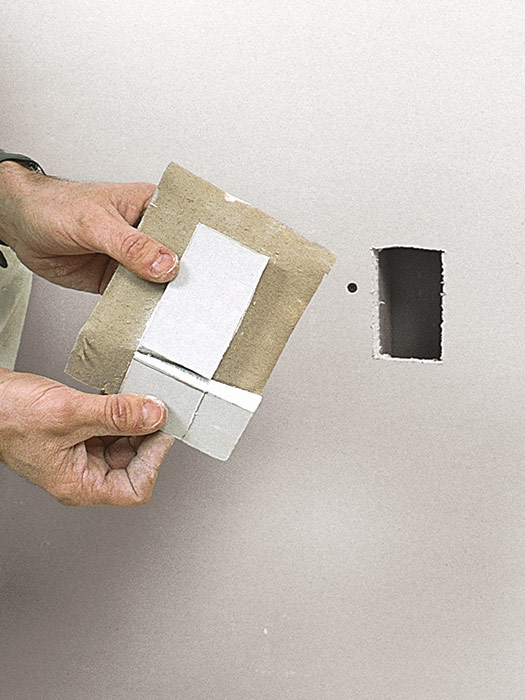
One of my favorite ways to cover an electrical outlet opening is to create a paper flange around the edges of a drywall patch (see “Patches with Flanges: Method Two” below). Start by squaring up the hole and cut a drywall patch about 2 in. larger than the hole on all sides. Mark the dimensions on the back of the patch, subtracting about 2 in. on all sides. Make sure the marks are in the center of the patch. Score along the marks and carefully snap one edge at a time, making sure not to break the face paper. Peel the drywall off of the paper, leaving only the actual patch in place. Apply a thin layer of joint compound around the edges of the hole and press the patch into place. Use a taping knife to embed the paper flanges. Apply two more coats of joint compound to conceal the repair.
Patches with Flanges: Method TwoAn easier way to patch an unused electrical box outlet is to create a patch with a built-in paper flange. The patch is easily made from a scrap of drywall.
|
Repairing an Overcut Electrical BoxElectrical outlet box and switch covers usually don’t cover an area much larger than the box itself, so even a minor overcut may require some patching. Before starting the repair, turn off the power to the box. Then apply hand pressure against the drywall panel next to the box. If the panel seems loose, place a screw in the framing member closest to the box. (The patch will be stronger if the drywall is solidly screwed in place around the electrical box.) Fill large gaps with joint compound first, then cover the hole with mesh or paper tape and embed the tape in the joint compound. When the joint compound is dry, apply a thin second coat that just covers the tape and blend it into the surrounding area. If you’re in a rush, use a setting compound to fill the gap—it sets up quickly, allowing you to finish the repair faster. For a small patch, you usually need only two coats before sanding. If, after sanding, you think it still needs another coat, apply a thin layer and re-sand it when dry.
|
Making a patch invisible
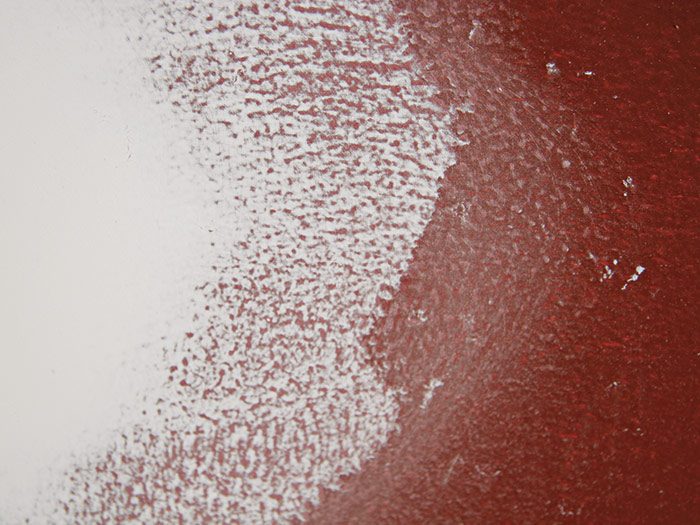
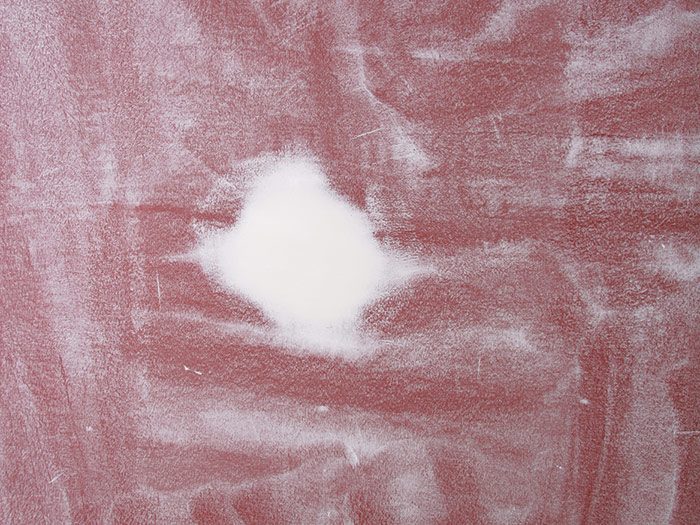
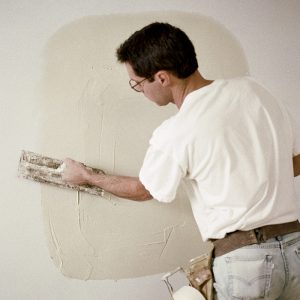
The trouble with any repair is that we know where it is, so if there is even a slight difference in the texture of the surfaces we are likely to see the patched area. This is especially true if paint with a shine is used and if the painted surface is a little rougher than usual. This is the same principle addressed when I discuss a level 5 finish in Chapter 4. To remedy the situation, you can apply a skim coat of joint compound to the entire wall. Leave on just enough compound to smooth the surface.
Skim Coat for TextureWhen patching old outlets or repairing dents and holes, you’re often left with two different textures on the wall—one from the existing paint and another from the repair job. To create a uniform sheen on the surface, apply a skim coat of compound on the entire wall.
|
Eliminating large openings
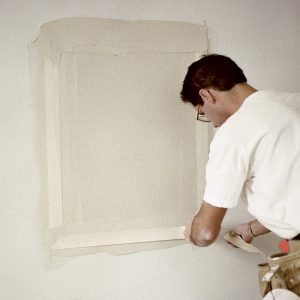
For the best results when eliminating a door or window opening, you should cover the entire wall with a new layer of drywall. This tactic, however, is often impractical, and the more common approach is to patch only the opening. This type of large patch, though, has butted seams on all edges and is very difficult to hide unless you take great care to do the job properly.
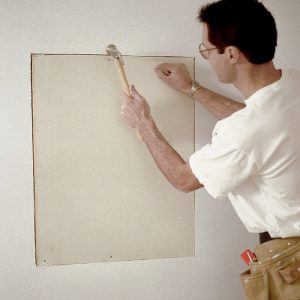
The first step is to frame in the opening. Make sure that the framing lumber is straight, and install it about 1/8 in. behind the back of the drywall that is already in place. Cut a single piece of drywall to cover the opening. To avoid damaging the edges as you screw the patch in place, make sure the drywall doesn’t fit too tightly (leave about 1/8 in. all around). Fasten the drywall in place, and then cut away any high or loose edges with a utility knife or a rasp.
Because all the seams are butted, I recommend using paper tape and a setting-type compound for the first coat to provide additional strength. Apply a broad second coat, feathering the edges. Once the compound is dry, use a straightedge to check for ridges and concave areas. Do this again after the third coat. Four coats of joint compound are usually needed.
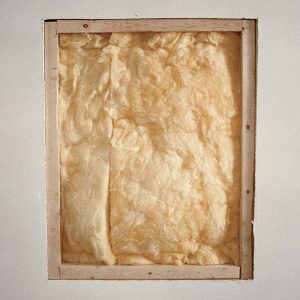
Covering Large OpeningsWhen a window or door is moved or eliminated, the opening must be framed in, patched with a section of drywall, and then finished with tape and compound.
|
Make emergency repairs faster
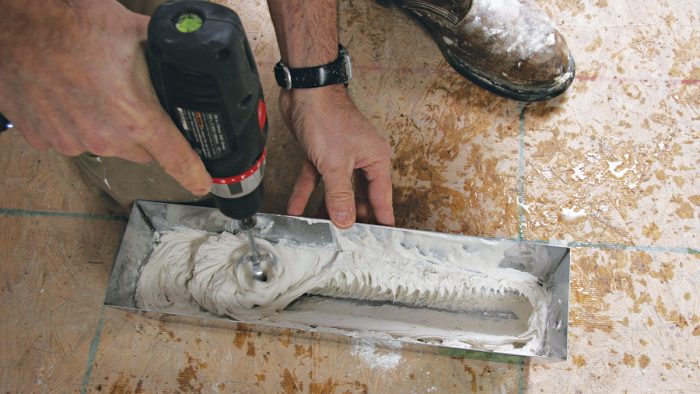
As you know, taping is a three- or four-stage process that sometimes requires waiting as long as 24 hours between steps. However, if you are making repairs, you usually don’t want to wait any longer than necessary to complete the repair and move on to the next job.
One day, I was sanding an addition by myself. It was late in the day and I guess I was in a hurry to get home. I obviously wasn’t thinking clearly, because as I disconnected the last cross brace on my pipe scaffold, the two side sections fell over. Both hit the walls. It took me a minute to get over the shock of seeing holes in my just-finished walls. Once I composed myself, I headed to my truck for setting compound, accelerant, and tape.
I cut out the damaged areas and fit in the patches, but instead of using an all-purpose compound, I used the setting compound and added an accelerant (see “One-Day Taping”). Less than half an hour later, I applied a skim coat of drying compound over the repaired area. The quality of the job was intact, and I didn’t have to make extra trips back to the job to finish the repair.



View Comments
Myron,
A couple of questions. I've never heard of accelerant- the Big Orange box lists it, but says "Unavailable." Does it actually make the mud hard enough to sand? 5 minute hot mud doesn't get hard for quite a while, in my experience. Maybe if I used a heat gun?
Second, doing a small repair, say a doorknob hole, do you know a good way to texture it? The spray cans are pretty good (especially if you can put them in hot water until the whole can warms up), but they're kinda spendy and they leak down once you've used them, even for a very small area.
The guys seem to be using original FibaFuse- https://www.youtube.com/watch?v=ZB7lH0XC2Ck. First time I've seen that.