
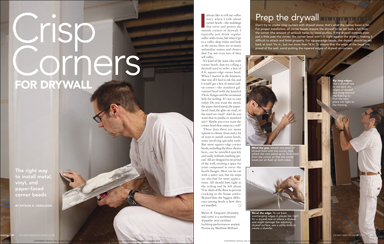
Crisp Corners for Drywall
Learn how to install metal, vinyl, and paper-faced corner beads so that wall edges are straight, corners are tight, and bubbles are nonexistent.
Synopsis: Nowadays, there are many different options for and ways to install corner beads. Professional drywaller Myron R. Ferguson describes the different types, focusing on metal, glue-on vinyl, and paper-faced metal. He shows how to prep the drywall and then install these three types of corner beads in a series of step by step photographs. The article includes sidebars on installing corner beads at three-way corners, how to handle bubbles, and how to reinforce intersecting corner beads.
I always like to tell my coffee story when I talk about corner beads—the moldings that cover and protect the outside corners of drywall. I typically just drink regular coffee with cream, but when I go to a coffee shop today and look at the menu, there are so many unfamiliar names and choices that I’m not even sure if they sell coffee.
It’s kind of the same idea with corner beads. Just try calling a drywall yard to order a box of 8-ft. square-edge corner bead. When I started in the business, that was all I had to ask for, and I would get a box of metal nail-on corner—the standard galvanized bead with the knurled 1-1/8-in. flanges and the occasional hole for nailing. It’s not so easy today. Do you want the metal, the paper-faced metal, the paper-faced vinyl, the glue-on vinyl, or the mud-set vinyl? And do you want that in jumbo or standard size? Maybe you even want the corner bead that comes in a roll?
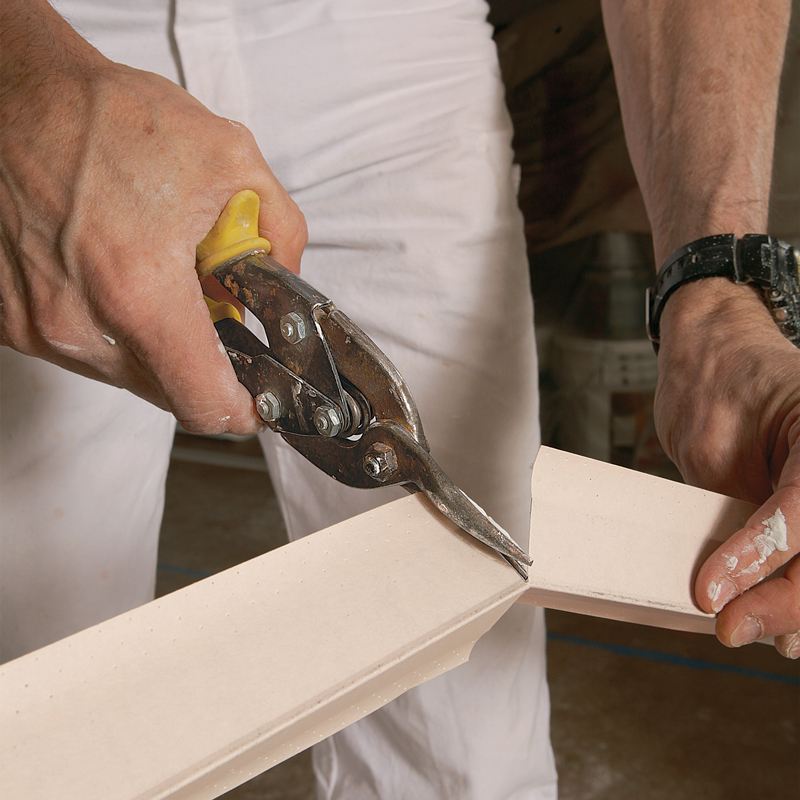
These days there are many options to choose from and a lot of ways to install corner beads, some involving specialty tools. But most square-edge corner beads, including the three shown here, can be installed quickly and easily without anything special. All are designed to sit proud of the wall, creating a space for joint compound to cover the bead’s flanges. Most can be cut with a miter saw, but tin snips are also fine for most applications. All should butt tight to the ceiling and be left about 1/2 in. short of the floor to prevent cracking as the house settles. Beyond that, the biggest difference among beads is how they are installed.
Prep the drywall
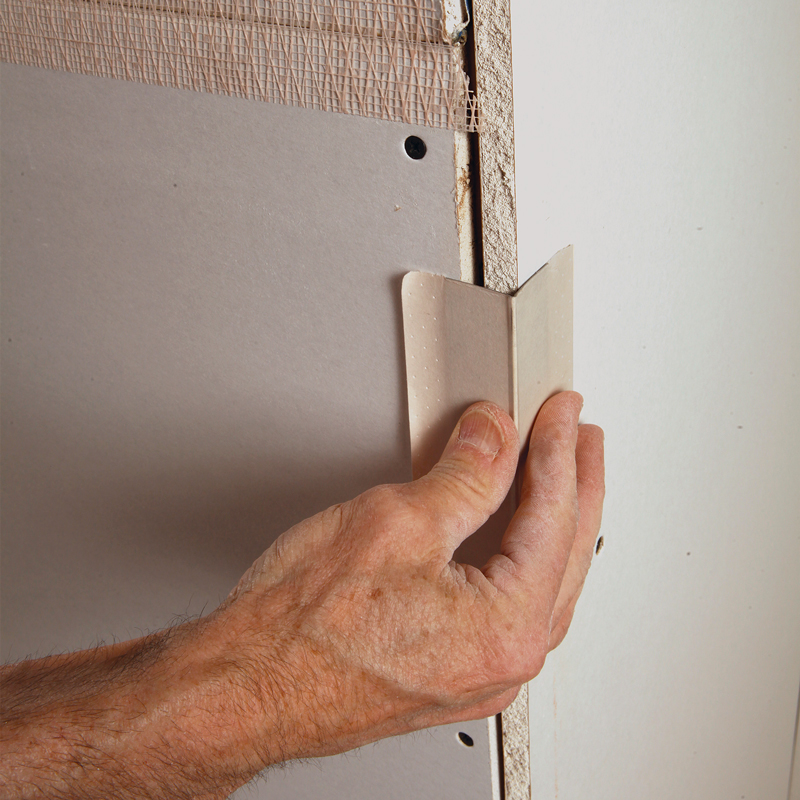
Don’t try to create crisp corners with drywall alone; that’s what the corner bead is for. For proper installation, all corner beads require the drywall to be set back a bit from the corner (the amount of setback varies by bead profile). If the drywall extends even just a little past the corner, the corner bead won’t fit tight against the drywall, making it difficult to attach and finish properly. For square-edge beads, the drywall should be set back at least 1/16 in., but not more than 1/8 in. To ensure that the edge of the bead sits proud of the wall, avoid putting the tapered edges of drywall on corners.
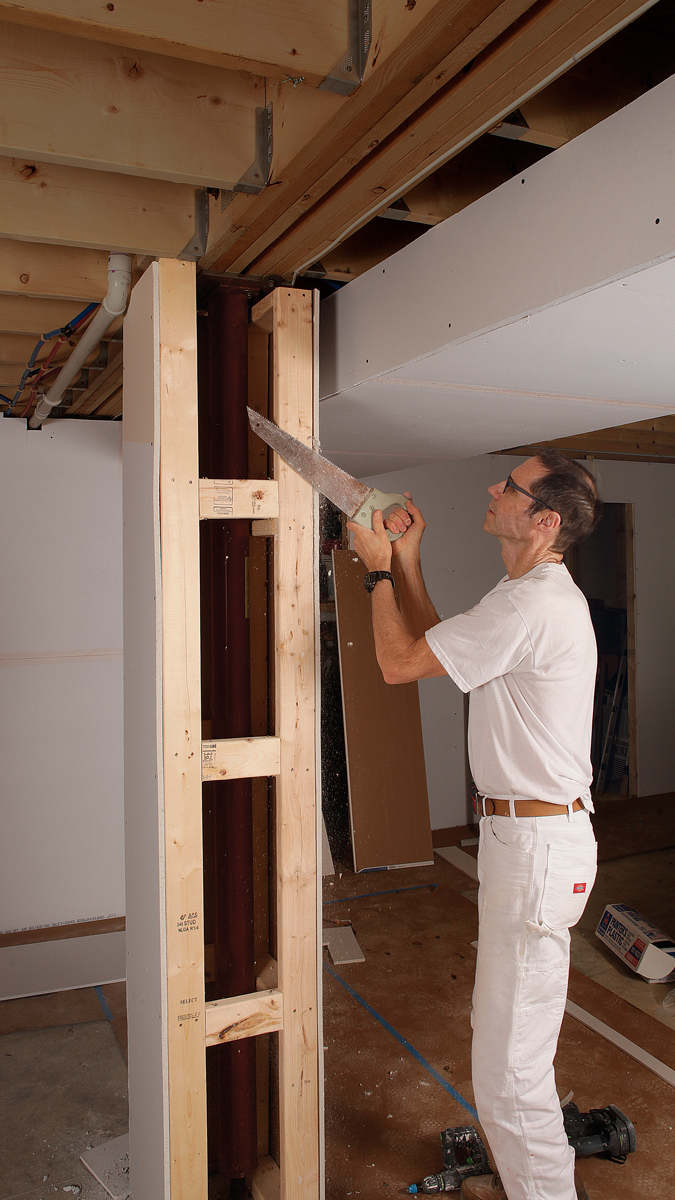 Rip long edges. Use a drywall saw to cut back any edges of drywall that hang beyond the framing so that the next piece sits tight to the framing. Rip long edges. Use a drywall saw to cut back any edges of drywall that hang beyond the framing so that the next piece sits tight to the framing. |
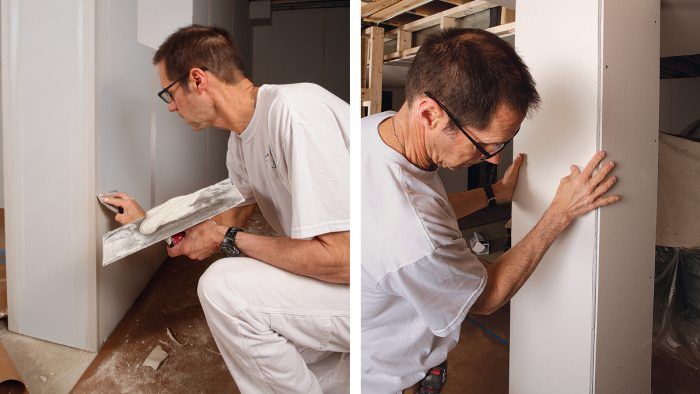
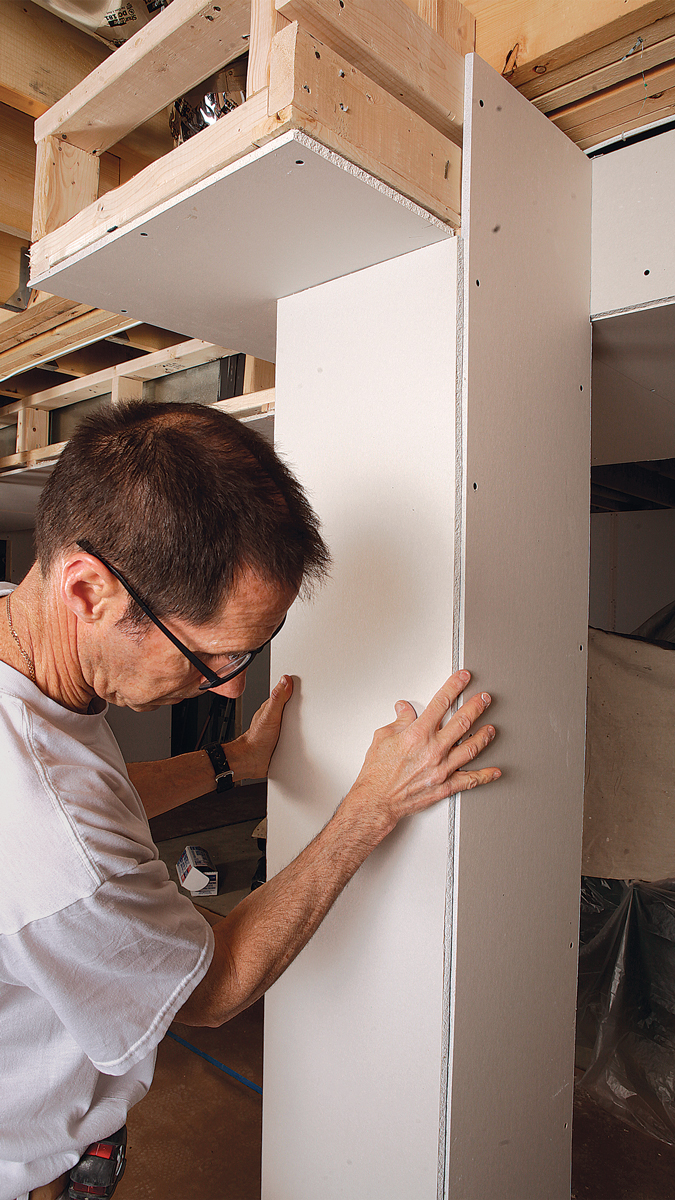 Mind the gap. Attach one piece of drywall flush with the corner, then attach the next piece up to 1/8 in. back from the corner so that the corner bead can sit flush on both sides. Mind the gap. Attach one piece of drywall flush with the corner, then attach the next piece up to 1/8 in. back from the corner so that the corner bead can sit flush on both sides. |
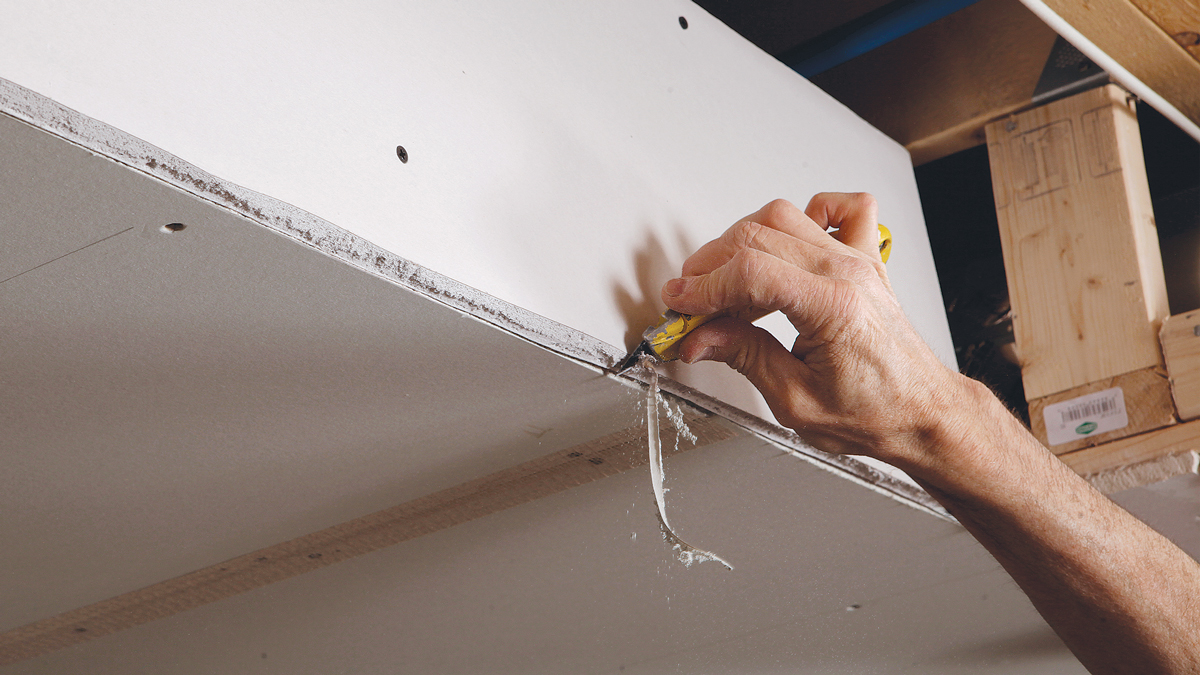
Bevel the edge. To cut back overhanging edges in places too tight for a drywall saw or where a drywall saw might damage the adjoining drywall surface, use a utility knife to create a chamfer.
Metal

Metal is the only type of bead that attaches directly to the framing, and its hold is tenacious. But because the bead is only attached every 8 in., it’s somewhat prone to cracking along the flange edges. Also, despite being galvanized, some corner bead will rust, so it needs to be stored in a dry location before installation and isn’t the best option for rooms where high humidity or moisture are expected, such as bathrooms.
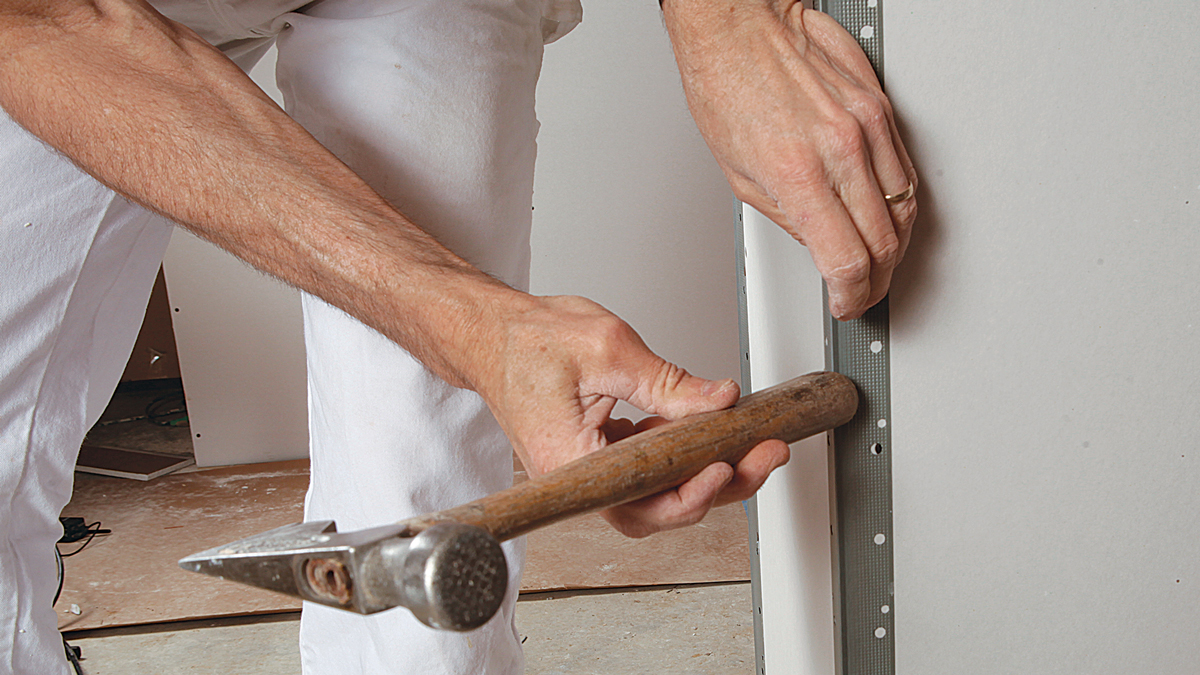
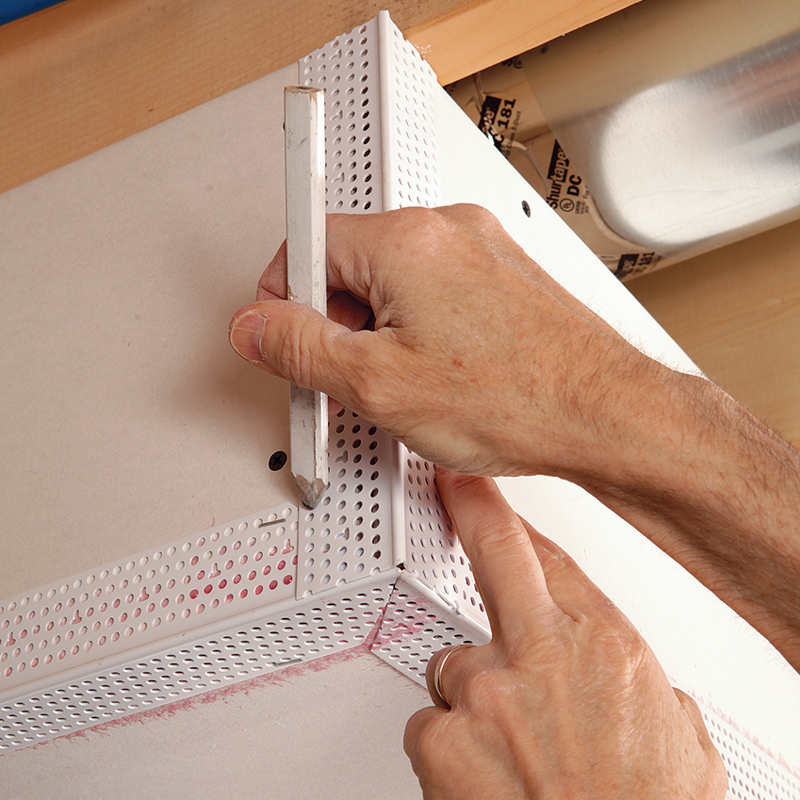
Tap it flush. Set the bead on the corner tight to the ceiling, and use the butt end of your hammer to gently tap it into place so that it sits flat on both sides. There’s no adjusting once it’s nailed on.
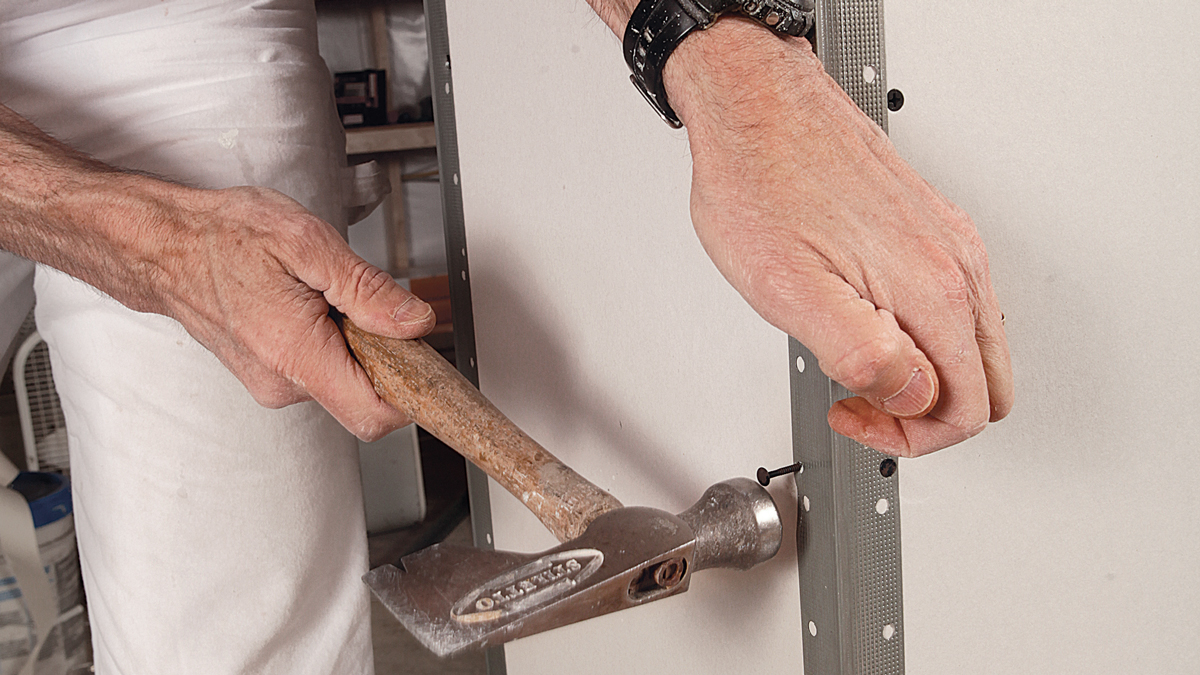
Don’t stagger. Fasten every 8 in. along the flanges through the small holes—I prefer drywall nails over screws for this—and always put the fasteners in opposition, not staggered. Staggering can cause the edge on the other side to pucker out.
|
|
|
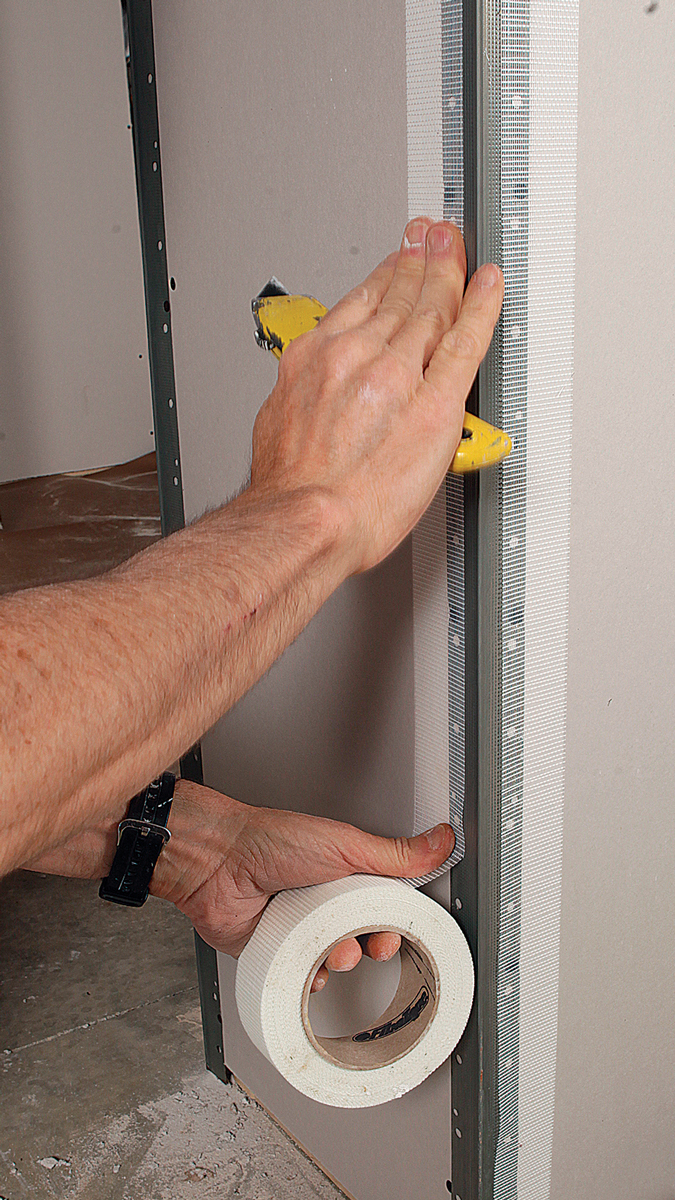
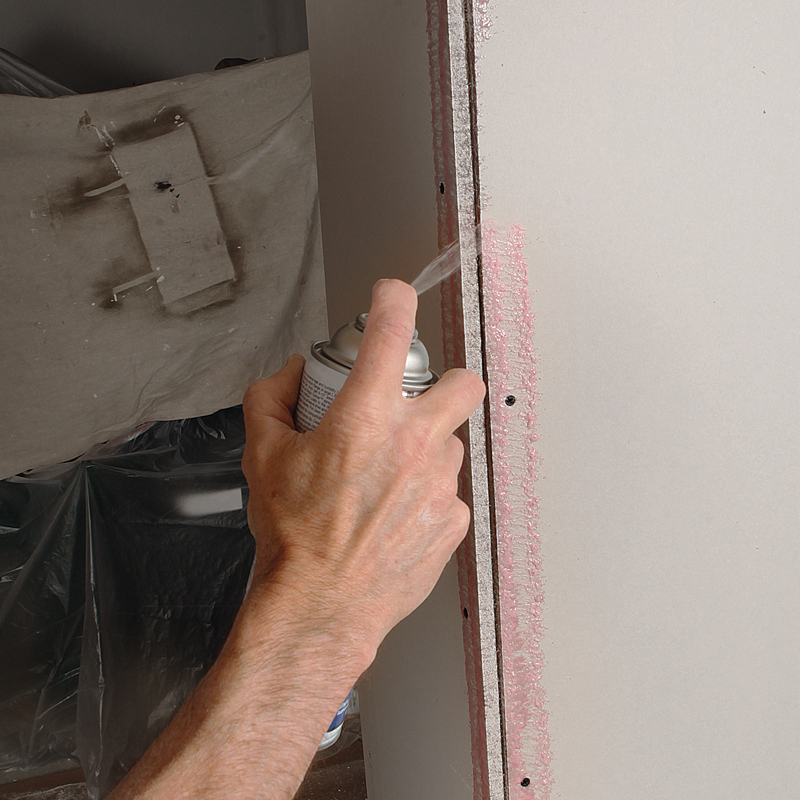
Glue-on vinyl
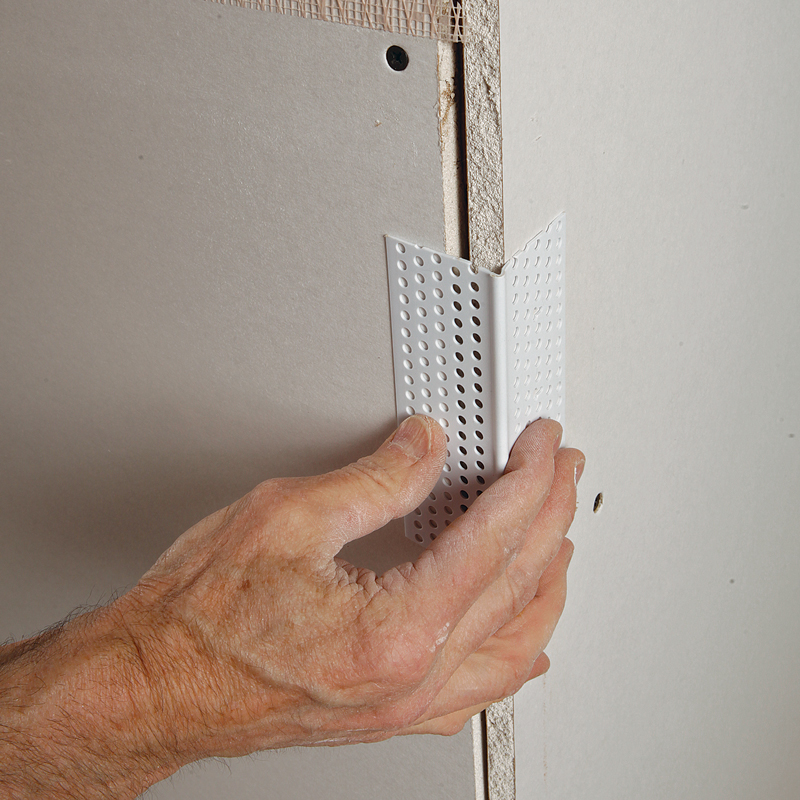
Some manufacturers recommend spraying adhesive onto both the drywall and the bead itself for a better hold, but it really depends on the brand. Manufacturers differ on how long to wait to install the bead after applying the adhesive. Some recommend letting the adhesive tack up first, and others—including Trim-Tex, whose product is used here—recommend installing the bead immediately after spraying the adhesive. If I’m installing the bead when the glue is wet, I find that a medium-heavy coat of adhesive on the drywall alone is sufficient when backed up with staples. If the manufacturer recommends allowing it to tack up first, I spray both the bead and the drywall. In either case, I’ve found that these beads offer excellent crack resistance.
|
|
|
|
|
|
Three-way corners
|

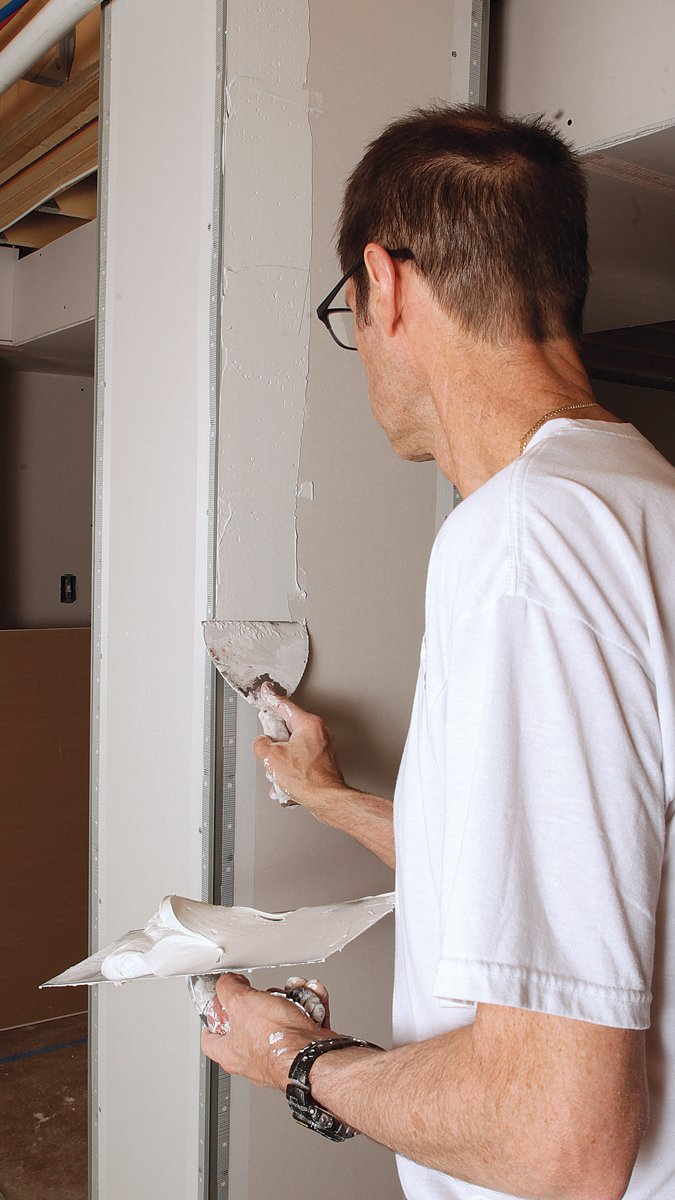
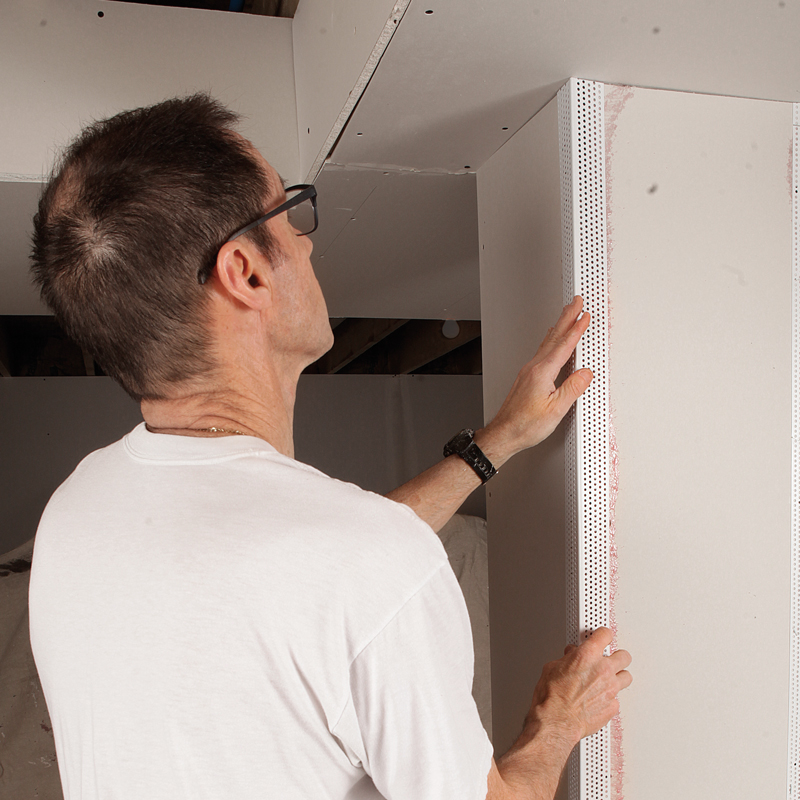
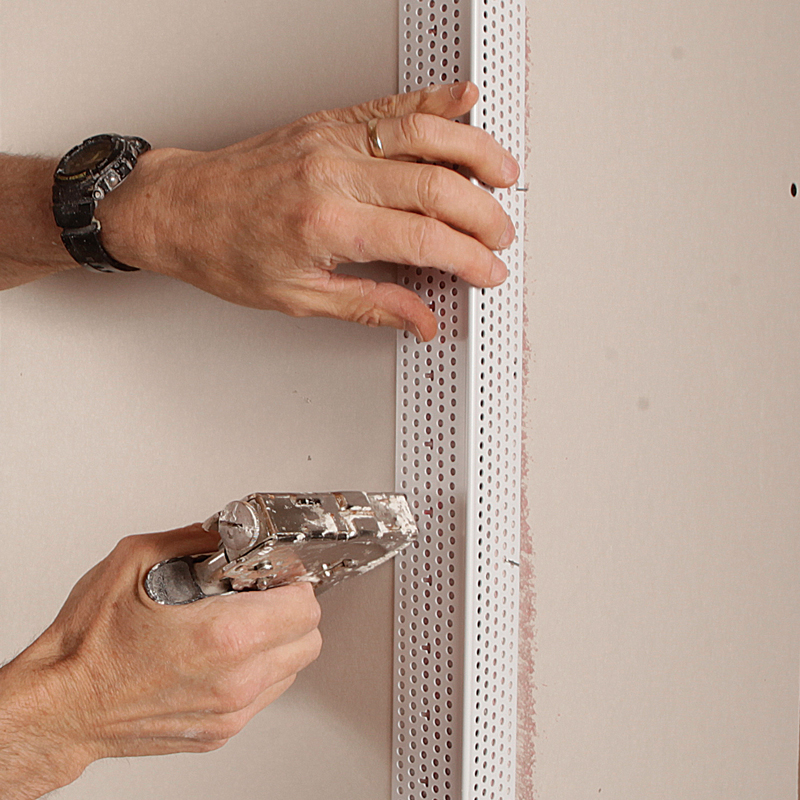
Paper-faced metal
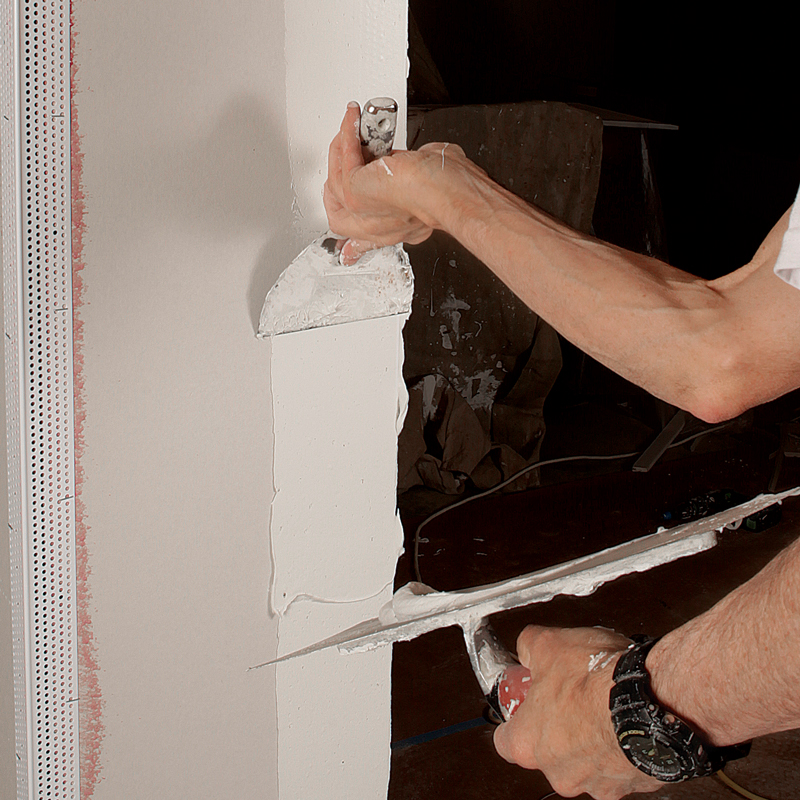
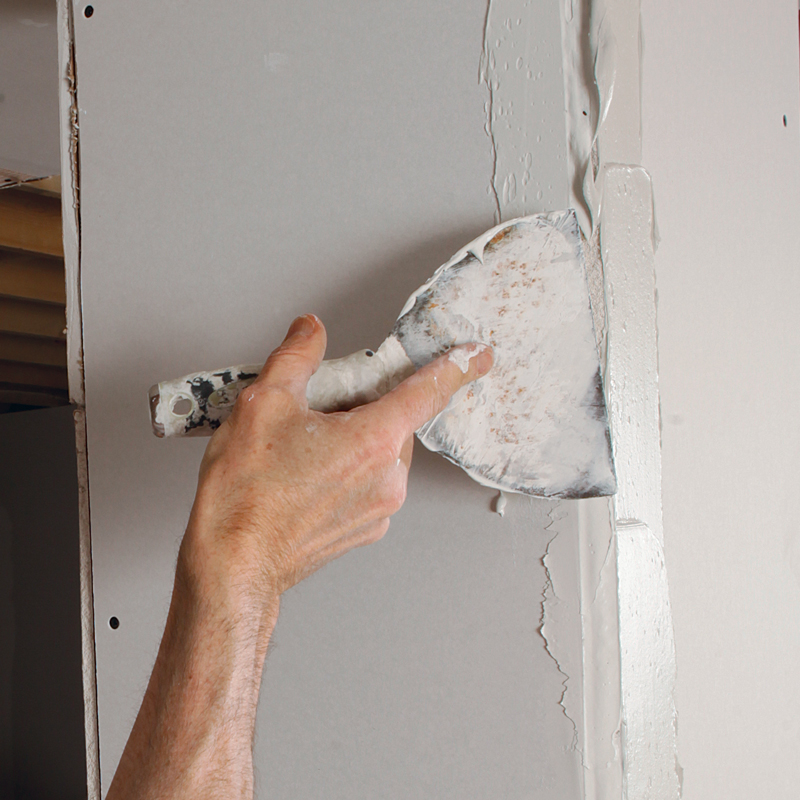
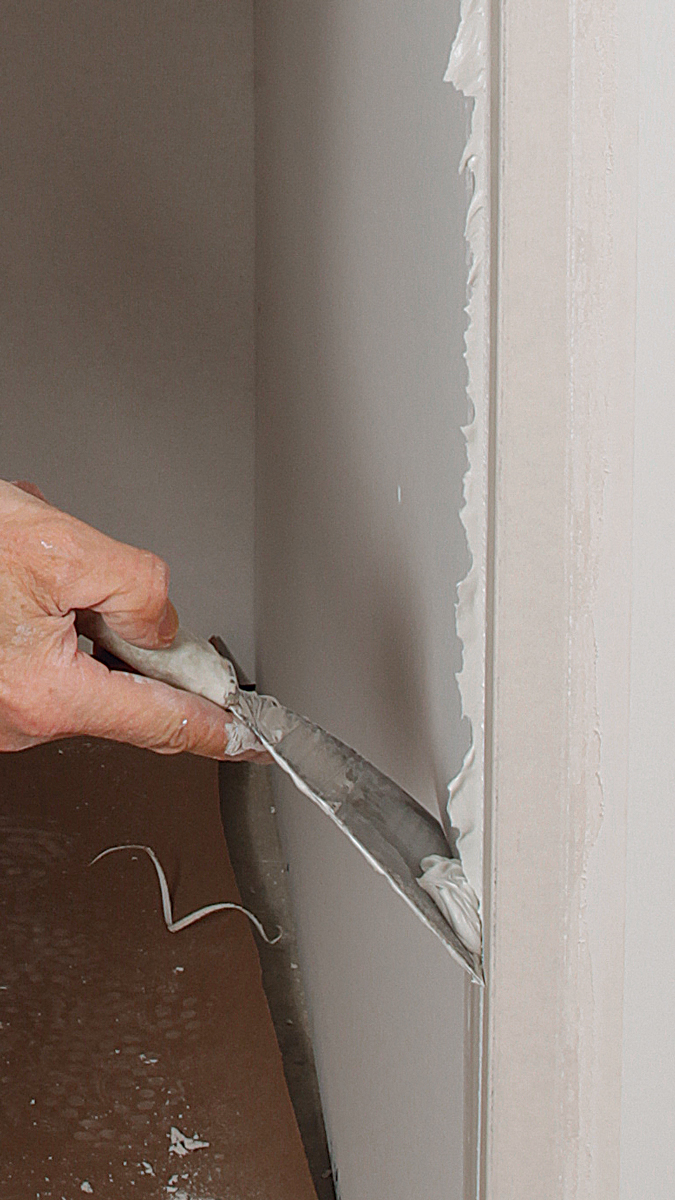
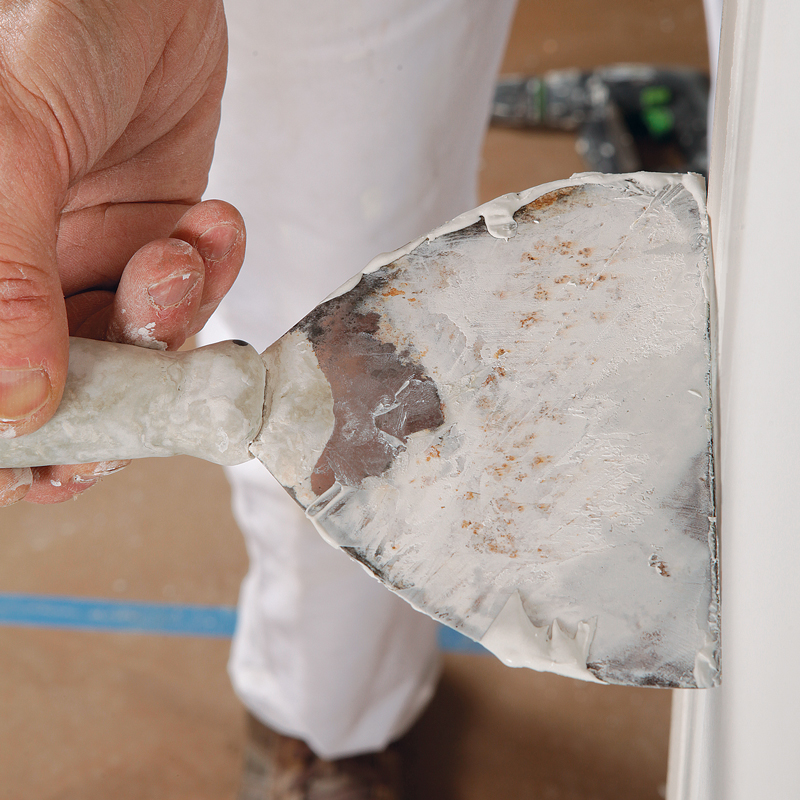
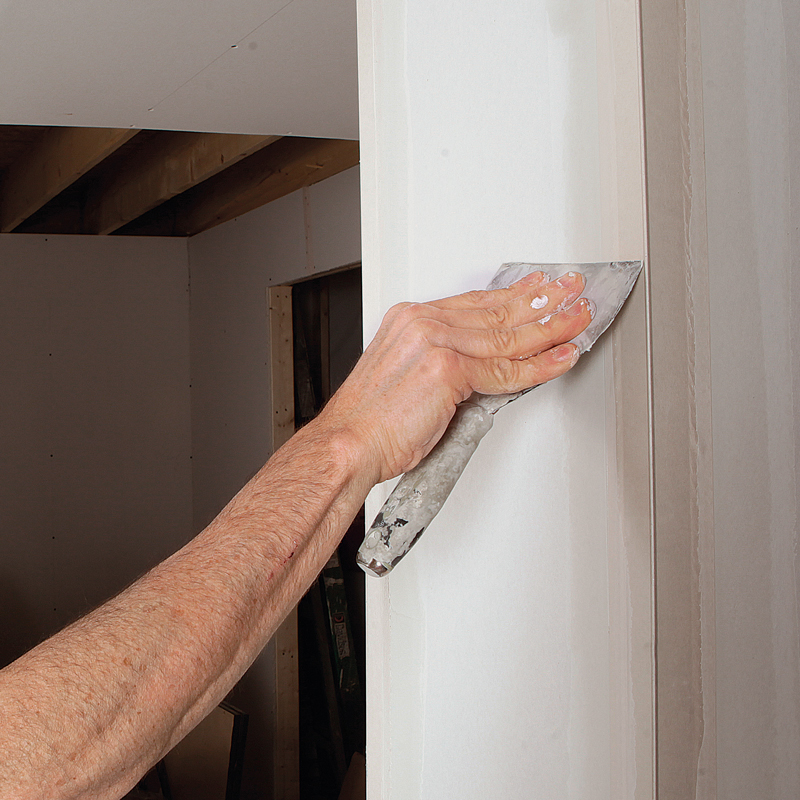
Because joint compound is the glue that holds paper-faced metal and other “tape-on” beads to the corner, these beads are usually installed by the drywall-taping crew—and after the inside corners and flat seams are taped. Tape-on beads, also called mud-set beads, come in various forms, but those without paper facing usually install in similar fashion.
Set tape-on beads with heavier-weight joint compounds such as all-purpose or taping compound, which bond and resist cracking better than other types of drywall mud, and don’t skimp on the compound. Use a heavier compound as well for the fill coat, but use lighter-weight compounds for the finish coats.
|
|
|
|
|
|

|
|
|
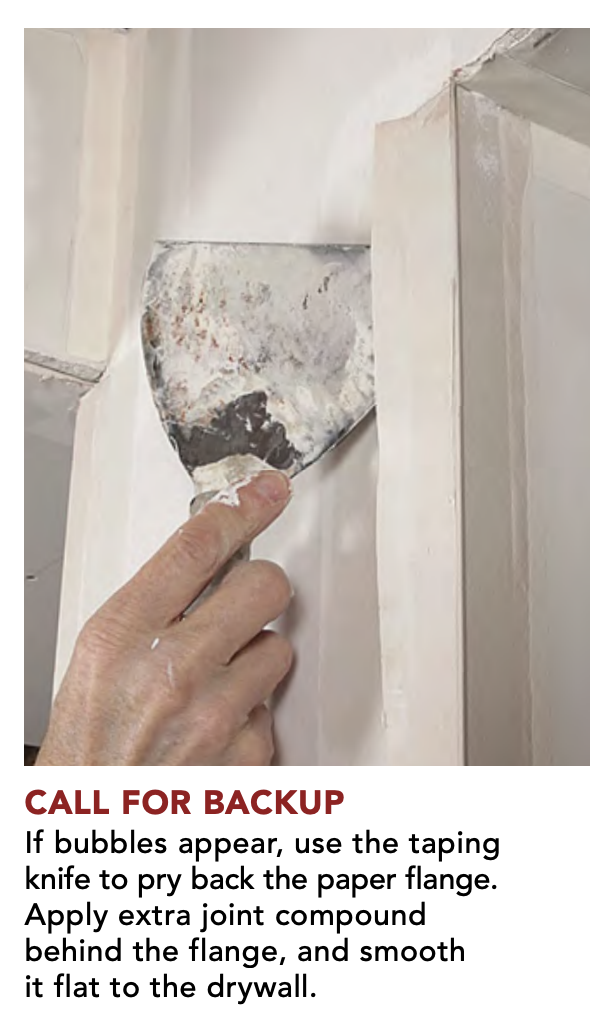
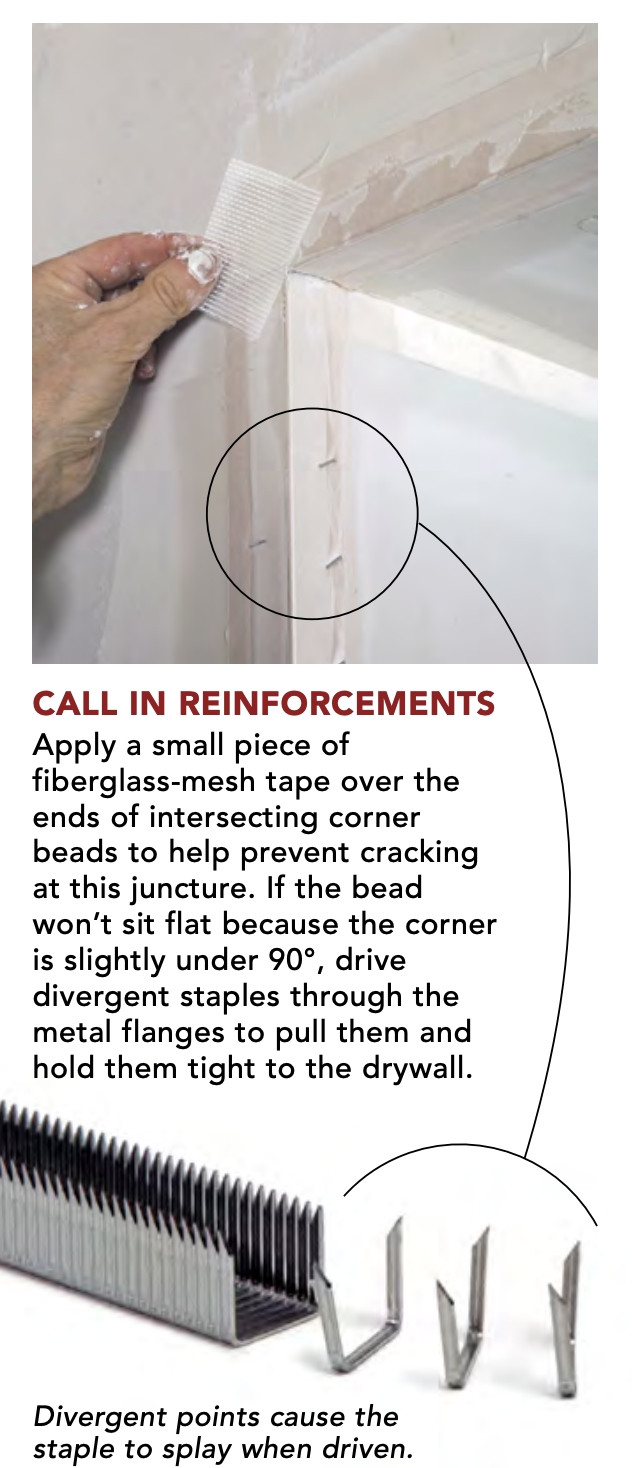
Troubleshooting
|
From Fine Homebuilding #281
Read more about installing drywall:
- Video: Drywall Delivery Dos and Don’ts
- Modern Drywall Hanging Tools, Methods and More
- Secrets to Smoother Drywall
Fine Homebuilding Recommended Products
Fine Homebuilding receives a commission for items purchased through links on this site, including Amazon Associates and other affiliate advertising programs.
DEWALT Impact Driver (DCF885)

Large-Capacity Lightweight Miter Saw

Bosch Wall Scanner (GMS 120)
