Decorative Plaster Finishes
Applied by trowel, clay plaster and Venetian plaster are popular alternatives to smooth or textured drywall finishes.
Let’s face it; if you do a lot of drywall work, you are probably pretty good with trowels and taping knives. So if you are looking for an upgrade from textures created with spray hoppers, brushes, and rollers, you might want to try out some of the decorative plasters that are popular today. Most companies that manufacture decorative plasters offer classes on how to apply them. I suggest taking at least a short class.
Venetian plaster
Venetian plaster is a wall and ceiling finish created by applying thin layers of tinted plaster with a spatula or trowel and then burnishing them to create an illusion of depth and texture on a smooth surface. The plaster dries relatively quickly because of its very thin application.
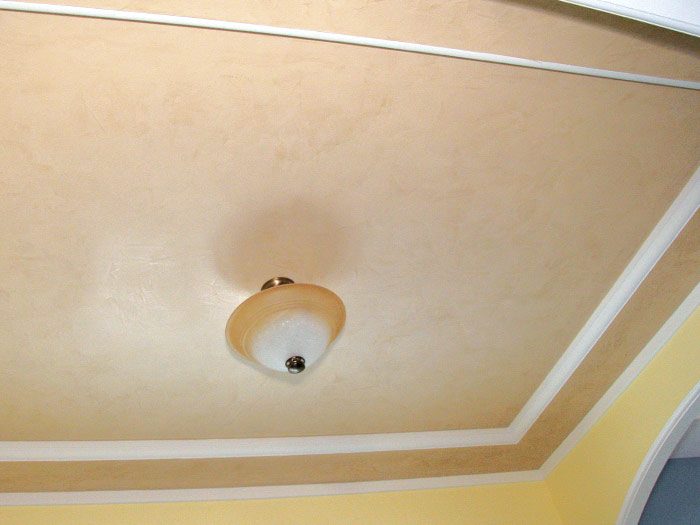
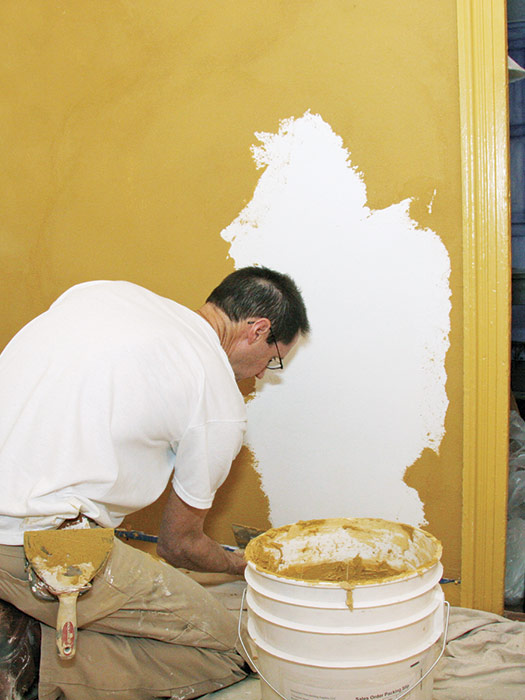
Apply the plaster using a short trowel motion, and then remove it with the opposite trowel motion. A thin film will remain on the surface. Repeat this method with slightly overlapping trowel strokes. Once the first coat is dry, apply a second layer of plaster, and, if desired, a third layer. As the final layer is drying, polish it until shiny with a thin, flexible stainless-steel trowel. The thin layering, followed by the burnishing, creates slightly different hues on the wall that give the surface a look of depth and texture. To complete the look, Venetian plaster can be finished with a clear or colored wax.
Clay plaster
Clay plaster, or earth plaster, is a natural, eco-friendly, and nontoxic alternative to cement or acrylic or lime plasters used for finishing interior walls and ceilings. It is spread on thicker than most Venetian plaster and is a little easier to apply, especially for the beginner.
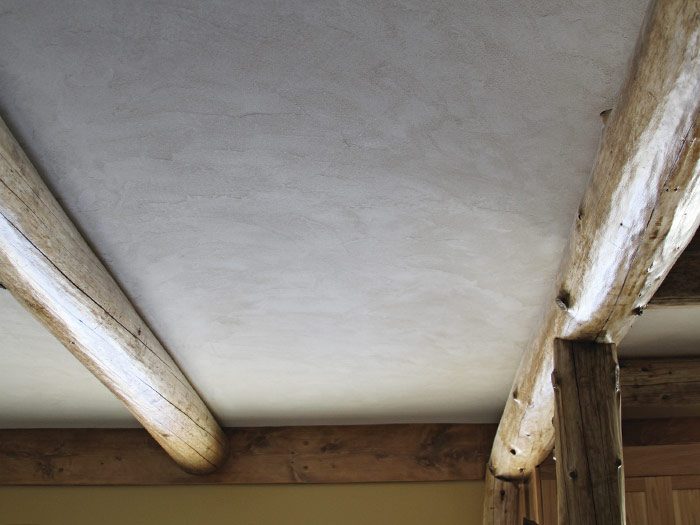
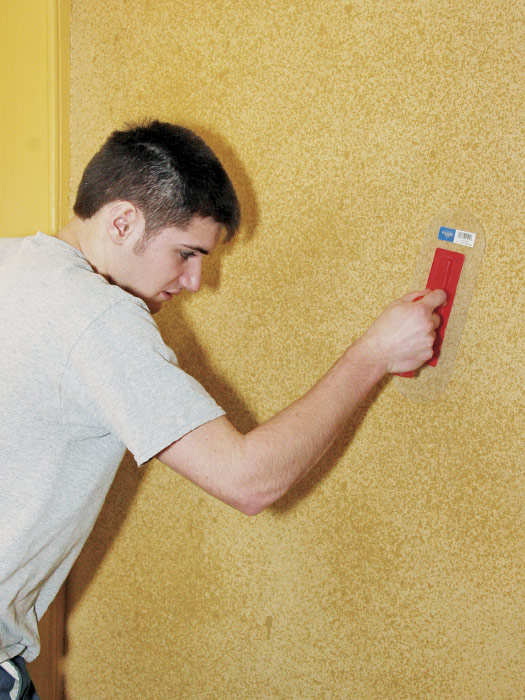
Apply clay plaster to about the thickness of a credit card for each layer. First, roll on a coat of textured primer (sand primer). Then apply the first layer of plaster with a trowel, using a similar motion to that for the application of Venetian plaster. Let the first coat dry, and apply the second coat the same way (this is when the texture and slight color variation are created). The material will start to dry, so quickly go back over these areas with the trowel as you are working the surface. This helps to compress the plaster and flatten tool marks.
When the second coat is dry, moisten the surface with a light spray of water and compress with a trowel to make the surface harder. A damp sponge can be used to remove any dust that is on the finished surface. There are a variety of finishes available; and different textures can be created by using different trowel techniques.
