Drywall: Finishing an Outside Corner
A pro demonstrates how he creates a smooth finish by applying the right amount of compound and pressure to the corner bead.
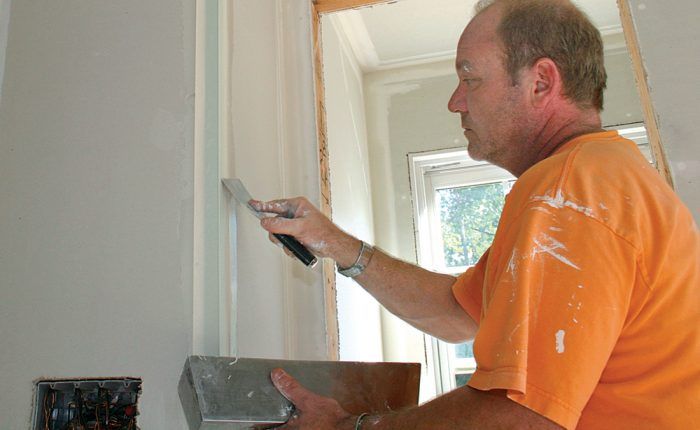
Finishing drywall with joint compound can be a tricky art to master. If you’ve never done it, the best place to practice is inside a closet where mistakes won’t be obvious. An outside corner is almost as good; if the corner bead has been installed properly, it functions as a guide as you apply the compound and will help you develop the techniques you need to apply compound smoothly and evenly elsewhere.
Corner bead is available in several materials, including vinyl, paper-faced, and metal, but the simplest to work with is the “tape-on” variety such as Beadex. This paper-faced metal bead installs without nails. You bed the paper in all-purpose joint compound. Many professionals say tape-on corner beads are less prone to stress cracks than traditional nail-on corner bead.
Adjoining seams should be taped and allowed to dry before corner bead is applied.
Outside corners are, of course, only one part of getting a high-quality drywall job. Mudding inside corners has its own challenges and calls for slightly different techniques. And professionals know that early planning helps: estimating, ordering materials and hanging drywall all play a part in the final result.
Paper-faced bead goes on easily, stays put
Step 1: Start with a corner that’s straight and secure
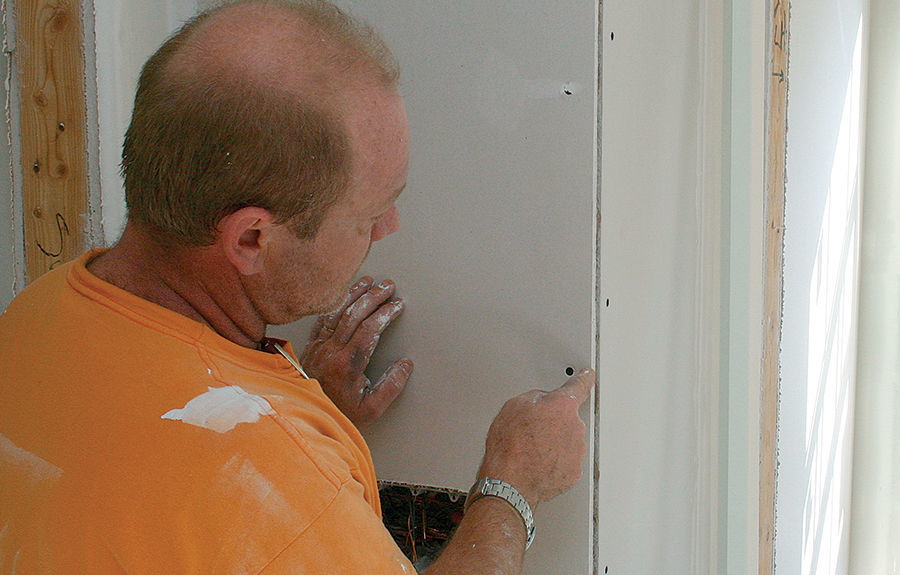
Check the framing for straightness before hanging the drywall, then assemble the corner so there are no overhanging edges. Rule of thumb: Cut the first board flush with the edge of the corner stud; cut the second board to overlap halfway onto the first board. Secure the edges with screws placed no more than 12 in. apart.
Step 2: The adhesive coat must be thin
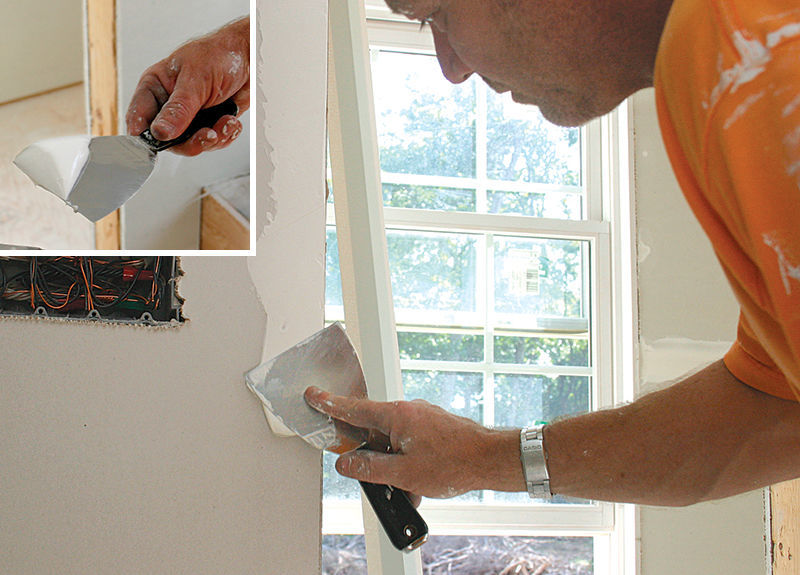
To enable the bead to seat tightly to the wall, add enough water to thin the compound to the consistency of thick pancake batter. Then spread a generous helping of compound in a 2-in.-wide swath on each side of the corner. Hold the knife almost flat, and apply slight pressure to ensure a uniform layer of compound.
Step 3: Use finger pressure
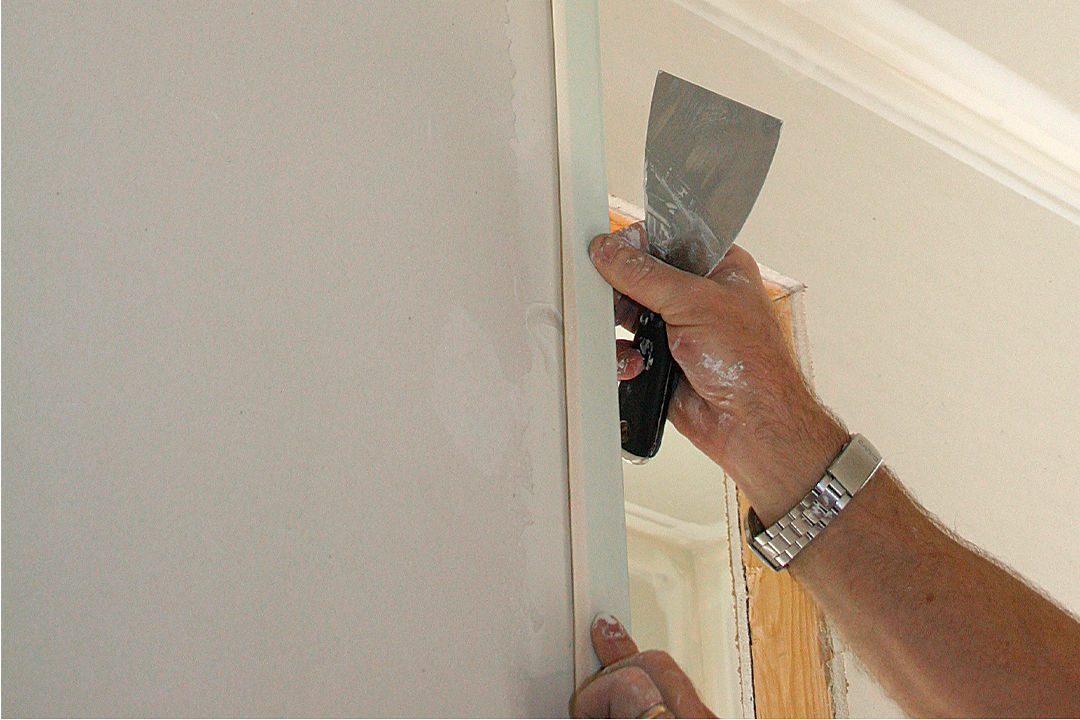
Bed the bead in the joint compound, and push it tight to the ceiling. Then run your thumb and finger along the paper edges, applying light pressure.
Step 4: Wipe the edges gently
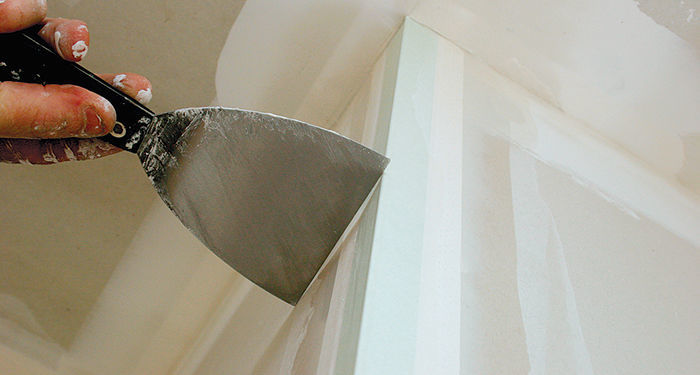
Using your taping knife as a straightedge, check a few spots on both sides of the bead to make sure that the nose stands proud of the wallboard. If it doesn’t, use your fingertips to coax the bead to one side or the other. Once the bead is positioned correctly, hold the knife at a 45° angle and gently wipe both edges, using an index finger to flex the blade gently.
Mix the mud every time
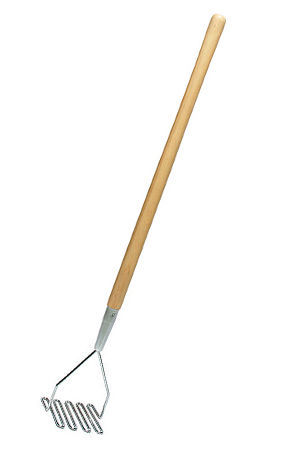
Even if it doesn’t need added water, a bucket of joint compound always should be stirred thoroughly before you use it, just like a can of paint. Mixing ensures that the consistency will be uniform throughout the bucket, but mixing also makes the compound much easier to spread—especially if you get a bucket that’s been sitting in a warehouse for months.
Professionals usually mix joint compound with a speed mixer chucked into a heavy-duty, slow-speed drill. But a hand-operated “mud masher” can be just as effective, and it’s less expensive than a drill and paddle. Variations of each type are manufactured by Marshalltown (www.marshalltown.com) as well as Stanley (www.stanleytools.com).
Two coats cover the corner
Step 1: Smooth the first coat in three steps
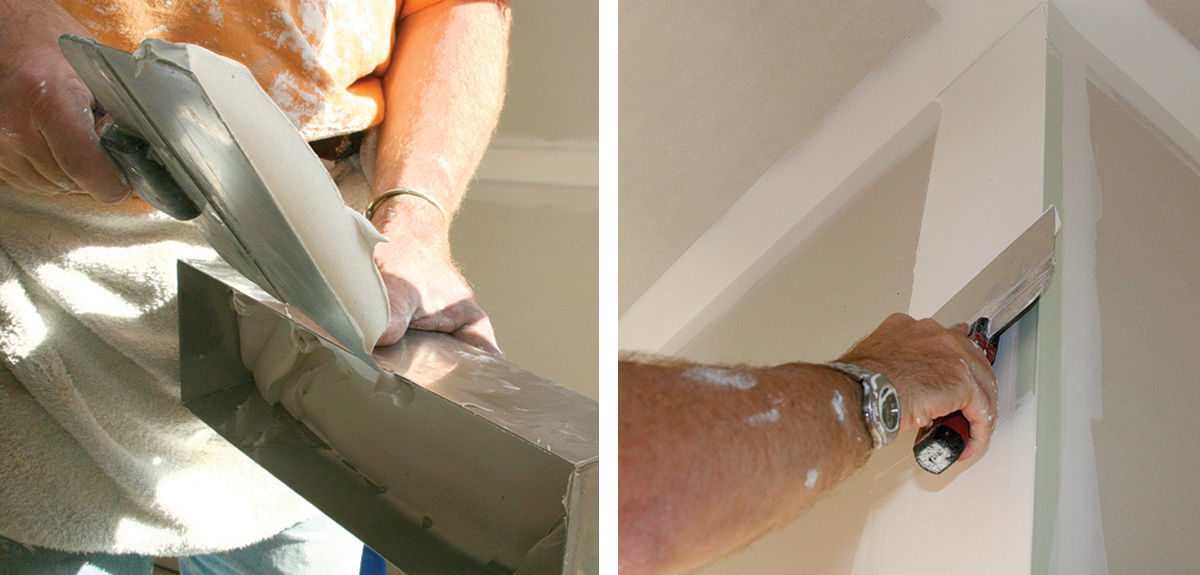
Heavily load an 8-in. taping knife with compound mixed with little or no water to minimize shrinkage. Wipe the corners on the edge of the pan to prevent drips, then spread compound over one side of the corner, making sure that the nose of the bead is covered. The smoothing process requires three steps: Hold the knife at a shallow angle, and screed the compound between the bead and the inner wall surface. Make one long, smooth pass from the top, and one from the bottom; don’t worry about lap marks.
Step 2: The smoothing process
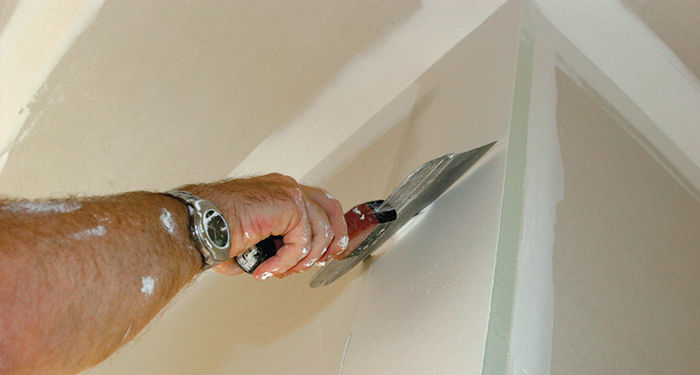
Feather the inside edge of the compound by holding the knife at a 45° angle and applying pressure to the inner edge; the outer edge of the knife should not touch the mud.
Step 3: Getting smoother
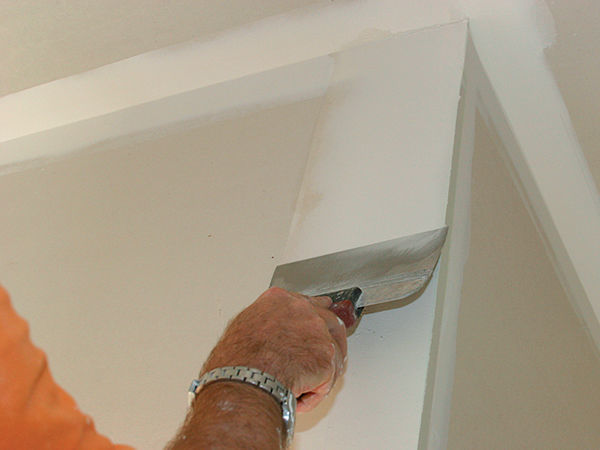
Repeat step 1, but use your forefinger to apply slight inward pressure. After the final pass, the nose of bead should be as visible as the edge of a concrete form.
Step 4: Fill gaps with the final coat
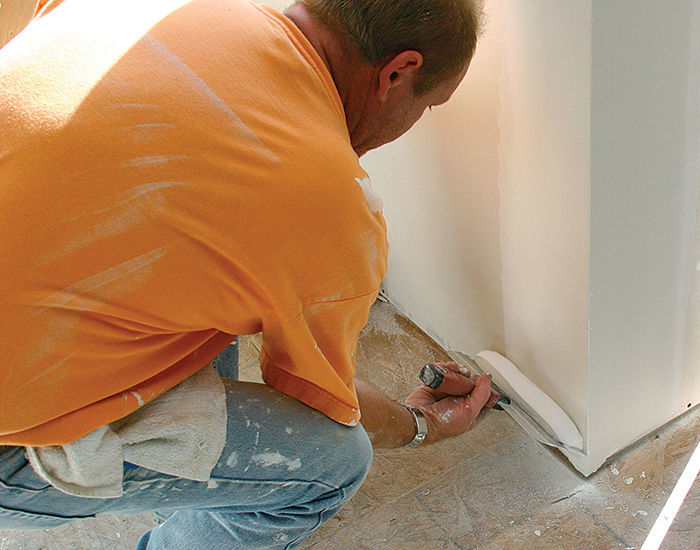
Allow the first coat to dry, then sand lightly (100- to 150-grit paper) to knock off lap marks and other high spots. The final coat of joint compound should be slightly thinner than the previous one, yet thicker than the adhesive coat. Apply the compound using a 10-in. knife.
Step 5: Skim, then sand
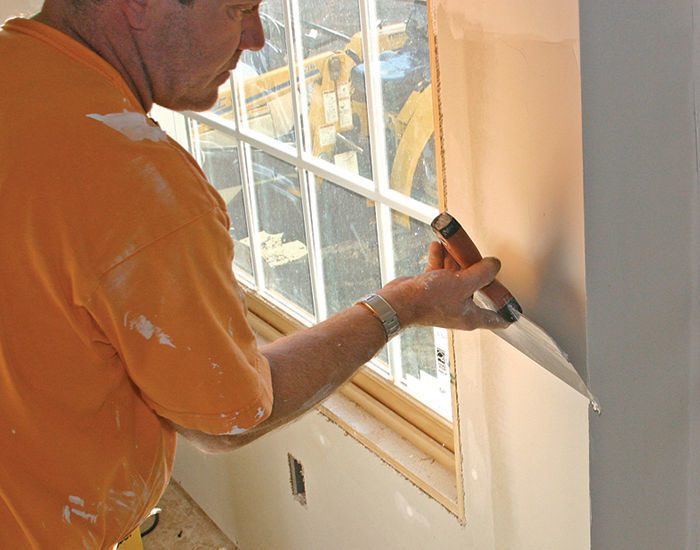
Hold the knife at a 45° angle, and apply slight, evenly distributed pressure. After this coat is dry, sand lightly using extrafine (150 grit to 220 grit) sandpaper, and you’re done.
Photos by: Tom O’Brien. Technical assistance by Darrell Lind of Woodbury Wall Systems in Woodbury, Connecticut.
More on finishing drywall:
Secrets to Smoother Drywall – Dead-flat walls take more than good taping techniques. They start with careful planning and solid installation strategies.
Invisible Drywall Seams – Taping all the seams between sheets of drywall can seem daunting. It doesn’t have to be. Drywall pro Myron Ferguson explains how to do it.
Modern Drywall Hanging Tools, Methods and More – The Old Guard may not agree, but adopting up-to-date methods and materials gives these drywall pros consistently good results.


