Drywall Measuring and Marking Tools
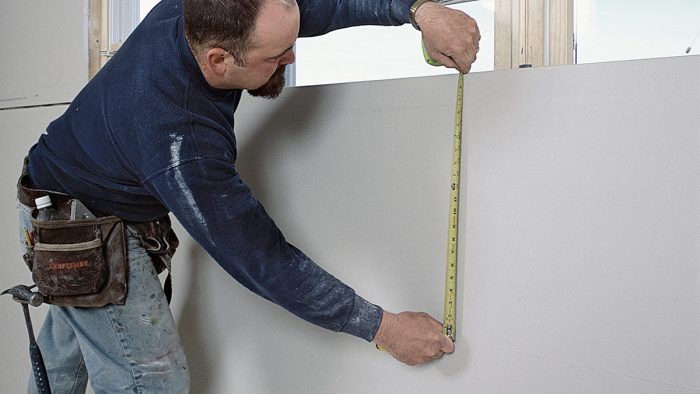
Tape measures, a couple of squares, and a scriber are the basic tools you'll need to lay out your cuts.

Taking accurate measurements is a very important part of drywalling. If you measure a panel too short, you’ll have to do some extra patching at the taping stage. If you measure a panel too long and force it into place, the ends will break apart, again requiring additional patching. For accurate measurements, I rely on a 25-ft. tape measure. For calculating materials for large rooms, you’ll need a tape at least that long. A 25-ft. tape is a little wider and stiffer than shorter-length tapes, so it extends farther before it bends or sags, making it easier to measure long lengths without a helper. Regardless of length, tape measures are also useful for scribing short, straight measurements.
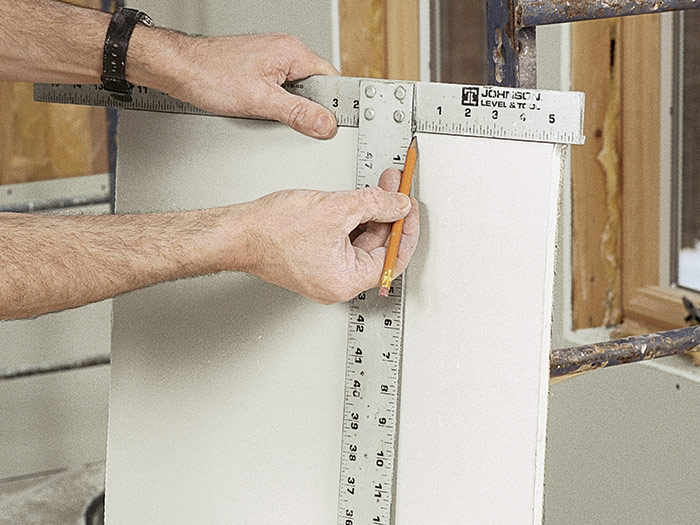
A 4-ft. aluminum T-square, which is used for both marking and cutting drywall, is one tool that you really can’t do without. The top edge of the square is butted against the long tapered edge of the drywall panel and the 4-ft. piece hangs down along the face of the panel at 90 degrees (the square can also be used as a straightedge for angled cuts). The edges of the square are calibrated in inches. When marking straight, narrow pieces of drywall, locate the measurement you want on the top edge of the T-square and line it up with the panel edge. Then mark the panel with a pencil or score it with a utility knife. (“Scoring” means cutting through the paper surface of the panel.)

A 24-in. framing square also comes in handy for marking and cutting drywall. I use this square mostly for transferring measurements when cutting out small openings (for electrical boxes, heat-duct openings, and so forth) after a panel has been attached.
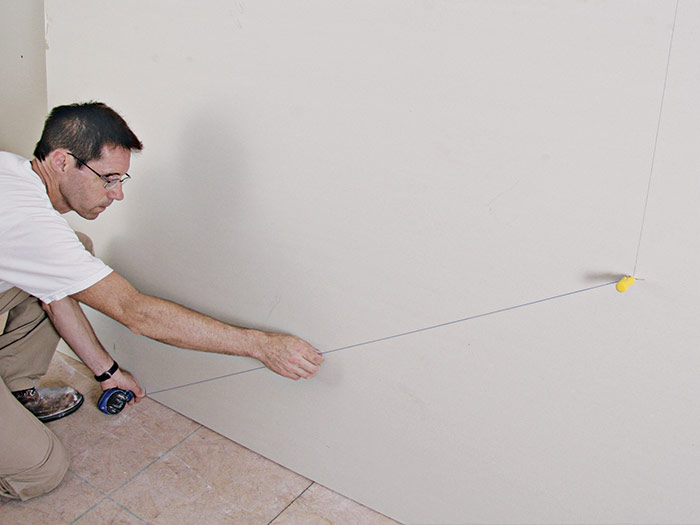
A chalkline is used for marking straight lines, primarily ones that are difficult to scribe with a tape measure and a knife or ones that are too long to mark with a 4-ft. square. To mark a line between two points, hook the end of the chalkline over the mark on one end of the panel and stretch the line to the other mark. Pull the line tight, then with your other hand lift the string straight up from the surface a few inches and release it. The colored chalk from the string will leave a mark on the surface.

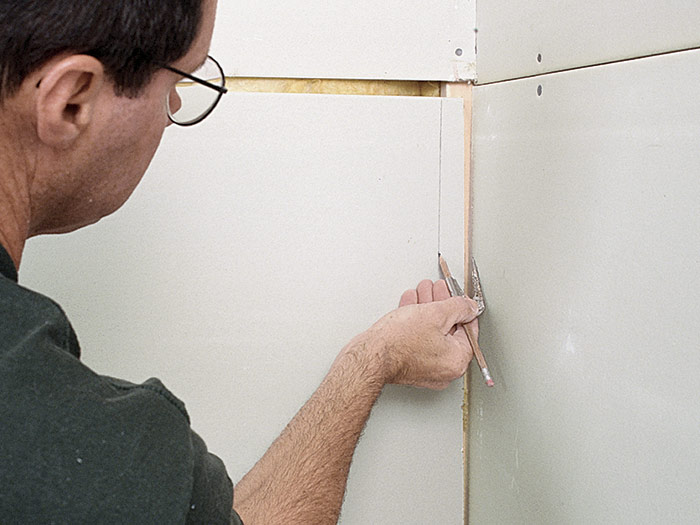
Similar to a drafting compass, a scriber is used to fit out-of-plumb walls or to mark round openings, and to fit irregular surfaces. When fitting an uneven surface, such as a very wavy ceiling, hold the drywall panel as tightly as possible against the surface, place the metal point of the scriber against the surface at a right angle, and then follow along the contour. As you slide the scriber along the ceiling, the pencil end will leave a mark on the panel. Cut along the pencil line with a utility knife or a saw.


