Install and Finish Drywall: 7 Tips for an Accurate Takeoff
Ordering the proper materials is really important because your main goal is to reduce the lineal footage of seams that you're going to have to tape later.
Jump to all the videos in this series
Follow these steps to get your takeoff list right:
1. Measure every wall during the walkthrough
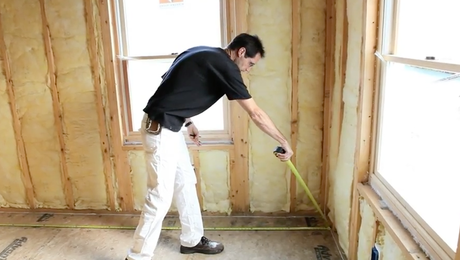
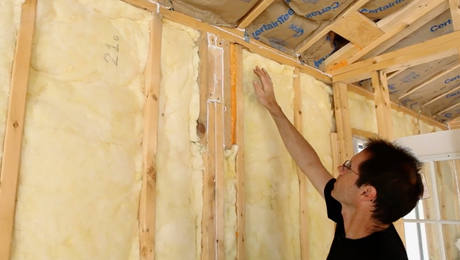
I like to just walk into a house and physically do the measurements before I order my material. This gives me an accurate tally. The first thing I’m going to do is walk into the room and just look up at the ceiling and determine which direction I’m going to hang the drywall. I generally like to go perpendicular to my ceiling joists. Then, I just take a couple of measurements to get the length and width of that room.
2. Order the right size sheets to eliminate seams
It’s less than sixteen feet “it’s fifteen feet, one inch” so for this particular wall I’m going to order two sixteen-foot pieces of drywall. And this wall over here is fourteen feet. I’m going to order two fourteen footers; I’m rounding up to the next two-foot interval. that’s how drywall is; it’s eights, tens, twelves, fourteens, sixteens.
3. Use the wall measurements to estimate the ceiling material
The fourteen-foot wall goes in the same direction I’ve decided to hang my ceiling. Since the room is sixteen feet wide, I’m going to order four fourteen-foot sheets of drywall.
4. Apply ceiling sheets perpendicular to ceiling framing
I like to hang the ceiling pieces perpendicular to the joists. That way the drywall kind of floats over any waviness in the framing. Plus, then you’re not trying to splice sheets together on the thin edge on the bottom of the joist.
5. Split sheets around the doors but not above them
When you come to an area where there are doorways, like this wall, it’s also pretty simple. we’ve got a ten-foot wall here with one doorway in it. I’m going to order a ten-foot sheet for the top, and an eight-foot sheet for the bottom. This way you have no seams above the doorway, and you can split the eight-footer to go around the doorway.
6. Install drywall vertically on narrow walls
When I go into the closet, I have a few walls that are less than four feet wide. I would order one eight-foot sheet for each of these narrow walls, and just stand the sheets vertically.
On one side of the closet we have a wall that’s just less than five feet long. In that case, we can just order a ten-foot sheet of drywall, cut it in half, use one piece for the bottom of the wall, and one piece for the top.
7. Use the right material types in bathrooms, kitchens and garages
When you’re measuring a job, you should identify areas that you will want a different type of drywall. For instance, in a bathroom or other wet area, you will probably want a mold-resistant drywall. In a garage or mechanical closet you will want a fire-resistant material. Make a note as you go through the rooms so you remember to order these special types of drywall.
Videos in the Series
-
Series Introduction: Install and Finish Drywall
-
Install and Finish Drywall: 7 Tips for an Accurate Takeoff
-
Install and Finish Drywall: 7 Fixes Before Delivery
-
Install and Finish Drywall: 9 Secrets to an Effortless Install
-
Install and Finish Drywall: 9 Rules for Hanging a Vaulted Ceiling
-
Install and Finish Drywall Series: 7 Tips for the Best Basic Finish
-
Install and Finish Drywall Series: 6 Steps to a Level-5 Finish

