Install and Finish Drywall: 9 Rules for Hanging a Vaulted Ceiling
Cover cathedral ceilings faster and easier by following a few basic rules.
Jump to all the videos in this series
The main thing when hanging a big room – particularly the ceiling – is to think ahead. There are a lot of little things you can pay attention that will make this visible ceiling better.
1. Take the time to get the first course straight
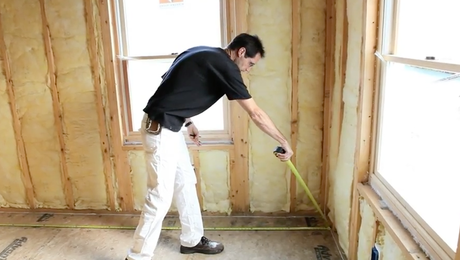
Put a string line out to check the center ridge to make sure it’s straight. If it is straight, careful hang the first sheet; that way the other sheets will fit together nicely.
It’s important to get the line straight. Little tweaks take a little time, but in the long run speed up the hanging.
2. Use adhesive to avoid nail pops
Adhesive helps eliminate fastener pops. It also has a sheer strength to it. In a big ceiling like this, it’s a good idea to use drywall adhesive; it eliminates fastener pops and seam cracking. These are very visible areas; any defect will be more visible to the customer.
3. Locate butt seams between framing
Float butted seams. Try to get the measurements so the end of the panel falls between the framing. Then backblock it with a special device that helps create a recessed butted seam. You can make your own butt-joint backer or use one of the available proprietary backers.
By backblocking the butted seam there are fewer problems with popped screws, and there is no possibility of the joint ridging. A recess is much easier to hide.
4. Don’t stagger butted seams
Because the seams are floating, there’s no need to worry about putting too many in one plane. By floating the butted seam in-between the ceiling joist, the seam can be in the same place all the way through. This makes it easier to hide when its time to tape.
5. Limit scaffolding-height changes
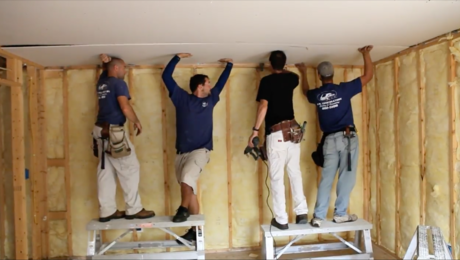
We’re going to do the opposite side of the ceiling at the same height, rather than working our way down one slope at a time. Our scaffolding is already set at this height, so working both slopes before moving down cuts the number of times we need to climb down and make adjustments in half.
6. Sight the joists for screw placement
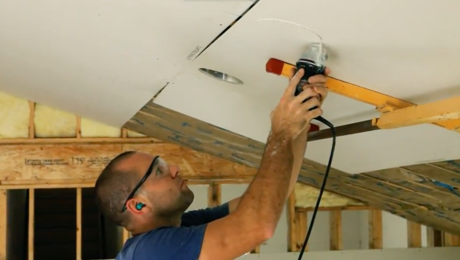
Instead of using a T square and chalk line to find the center of each ceiling joists, eye down the joists as you’re driving fasteners. There are occasional misses, but pulling a few stray screws will be faster than marking each individual ceiling joist.
7. Carry a Phillips-head screwdriver
This is a must-have tool for all drywall installers. The best time to fix a fastener that isn’t in all the way is now. It would be tougher to find them all if you wait until later. Plus, the taper doesn’t want to fix fasteners and it’s not his job.
8. Carefully mark recessed-light penetrations
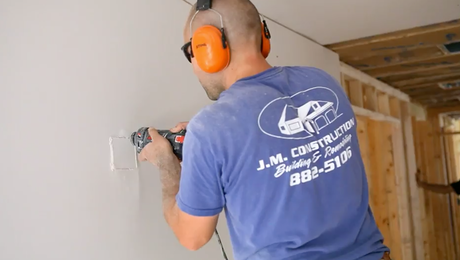
If you’re worried about cutting accurately so put reference marks where each edge of this recessed light is. Also measure the top and bottom and write that above it. When it’s time to cut later there are marks for references.
9. Use a T-square to measure angled wall sections
This is an easy way to lay out cuts for sheets on gable walls that meet the sloped ceiling: Rest the short lip of the T-square along the sheet that’s already attached to the wall below the sloped ceiling. Then, slide it along until the top of the T square hits the ceiling. Don’t make it tight. Make a mark at the bottom and at the top of the T square. This is where you should measure from so that the corner of a full 48-inch wide sheet meets the ceiling.
Videos in the Series
-
Series Introduction: Install and Finish Drywall
-
Install and Finish Drywall: 7 Tips for an Accurate Takeoff
-
Install and Finish Drywall: 7 Fixes Before Delivery
-
Install and Finish Drywall: 9 Secrets to an Effortless Install
-
Install and Finish Drywall: 9 Rules for Hanging a Vaulted Ceiling
-
Install and Finish Drywall Series: 7 Tips for the Best Basic Finish
-
Install and Finish Drywall Series: 6 Steps to a Level-5 Finish

