Install and Finish Drywall Series: 7 Tips for the Best Basic Finish
Pro drywall installer Myron Ferguson shares techniques that will help you get smoother seams with almost no sanding.
Jump to all the videos in this series
I start finishing drywall by laying down one coat of joint compound and embedding a layer of tape into the compound. Then, I add another layer of compound over the tape to conceal it. So, at this point the wall should have embedded tape with a fill coat on top of it. Adding a third coat of compound will bring the walls to a normal level of finish for a drywall job.
Follow these 7 tips to make the job go smoothly:
1. Use your trowel to check the wall for smoothness
First check to see how smooth the seam is. Use a trowel; hold it over the seam to see how flat it is. The compounds don’t have to be built up; this layer of compound’s only purpose is to smooth out any imperfections. This final coat is the most critical coat. The finish needs to be as smooth as possible.
2. Don’t over sand
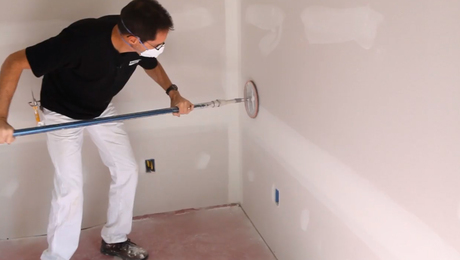
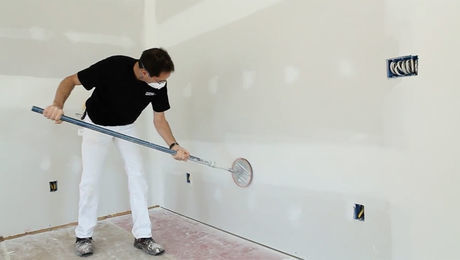
Before beginning to apply the final coat over the seams lightly sand the wall. It’s better described as brushing. The average room takes me about six minutes to sand. This is one job where you don’t want to work too hard.
3. Add small amounts of water for the perfect consistency
The consistency of the compound is difficult to describe. Every bucket is a little different; scoop into the compound and put it on your trowel and see how it stays on the trowel. This scoop is beginning to slide down a little, but not running off. This is probably the consistency I want. Once you start applying, if you find you’re working a little harder, thin it a little with water.
4. Apply top coat wider than previous coats
When taping seams, apply the compound with a wide taping knife; I’m using a 12-in.-wide knife. Apply the compound just a little bit wider than what is already there. Then remove the compound. Begin removing along the bottom edge. To keep the bottom edge feathered out, apply a little more pressure on the leading edge of the knife. Then do the same thing for the top, applying more pressure towards the outside. To remove compound from the center, use very light pressure.
5. Use a steep angle to remove compound
The way the knife is held affects how it moves the material. To remove compound, hold the knife so it’s standing pretty much on edge.
6. Use a shallow angle to apply the compound
Holding the knife at a lower angle to the wall will push the compound along in front of the knife instead of scraping it off. To smooth compound keep the knife flatter.
7. Apply three coats to all fasteners
I cover all the fasteners in strips rather than individually. It’s easier and faster. For each coat, put the compound on and remove it. Don’t build the compound up and keep the edges feathered out.
You need to apply and let the compound dry three times to get good coverage on all your fasteners.
Videos in the Series
-
Series Introduction: Install and Finish Drywall
-
Install and Finish Drywall: 7 Tips for an Accurate Takeoff
-
Install and Finish Drywall: 7 Fixes Before Delivery
-
Install and Finish Drywall: 9 Secrets to an Effortless Install
-
Install and Finish Drywall: 9 Rules for Hanging a Vaulted Ceiling
-
Install and Finish Drywall Series: 7 Tips for the Best Basic Finish
-
Install and Finish Drywall Series: 6 Steps to a Level-5 Finish

