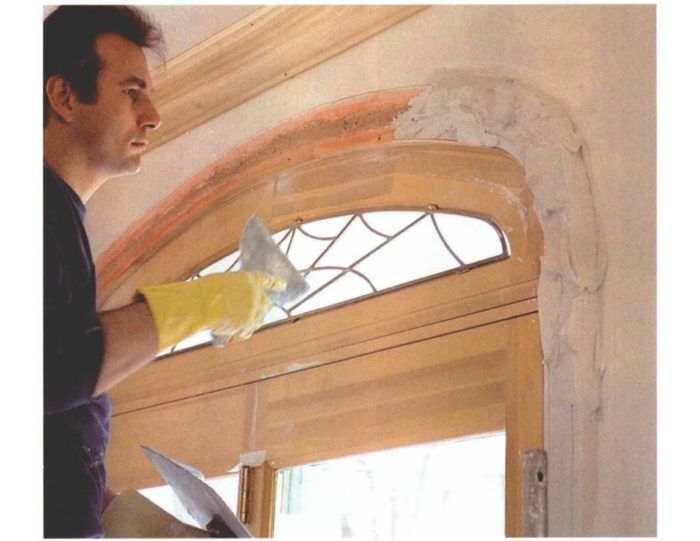
Making Plaster Molding
Sometimes complex shapes and profiles are easier to make in plaster than in wood.

Synopsis: Elliptical doorways can be difficult to trim with wood, making plaster an attractive option. The author explains how to do it, from making a molding template to shaping the plaster once it has been applied to a wood base. Read about the process below, but you can also see an alternative method for making plaster moldings in the video “Modern Approach to a Plaster Cornice“.
When my wife and I added on to our modest-size Cape, we installed three exterior doors, each of which had an elliptical transom. We both love the look of these transoms, but trimming out these exotic shapes can be difficult, even to an experienced contractor such as myself.
We needed more than 50 ft. of door trim, including the straight sections and ellipses. My first choice was to have the trim custom-fabricated, but the prices I was quoted were astronomical. Next, I considered making the trim myself. I’ve had some experience laminating wood for odd shaped applications. But between the cost, the set up and the lengthy time involved, I decided against this alternative.
Looking for another solution, I realized that much of the interior-trim work I’ve seen over the years was done in plaster. But most of my plastering experience, beyond asking questions and reading, has been limited to patching. Nevertheless, armed with reference books, limited experience and lots of motivation from wife and wallet, I decided to trim my transoms in plaster.
Making the molding template
The basic process of making plaster molding involves building up layers of plaster where trim is going and dragging a molding template across each layer until the shape of the trim is created. My first step was to fashion a molding template out of steel stiff enough not to need the wood backing that normally would give the metal the necessary rigidity. I used 14-ga. steel I had on hand, but I recommend thinner steel, perhaps an old taping knife, because heavier-gauge steel is more likely to transmit file marks to the plaster.
The key to using the molding template successfully is the leg that rides on the jamb. This leg ensures proper positioning of the plaster molding and determines the size of the reveal. I started with a piece of steel a couple of inches larger in each direction than the molding I was matching. I positioned a scrap of this molding on the steel and scribed the shape so that a 1-in. by 5/8-in. leg was left with a 3/16-in. reveal. I cut the rough shape in the steel with a jigsaw, staying back a little from my scribed line. I used fine files and the grinding stone on a Dremel tool to shape the mold. When I was satisfied, I added a wood handle to make the tool easier to use and to protect the jamb from damage from the metal leg.
Prepping the walls
I cut back the drywall at the edge of the door jamb to provide a keyway for the plaster and to give the molding more body. I then primed the drywall and the jamb with two coats of primer to protect the paper face of the drywall from tearout due to the plaster’s wetness. Next, I ran my molding template along the jamb and penciled in the outer edge of the new trim. The area inside my line was covered with a bonding agent that allows plaster to adhere chemically to a sub-surface. The bonding agent also kept the plaster from drying too rapidly.
For more photos and details, click the View PDF button below:


