Skim Coating
Take your walls to the next level with a thin coat of compound over the entire surface.
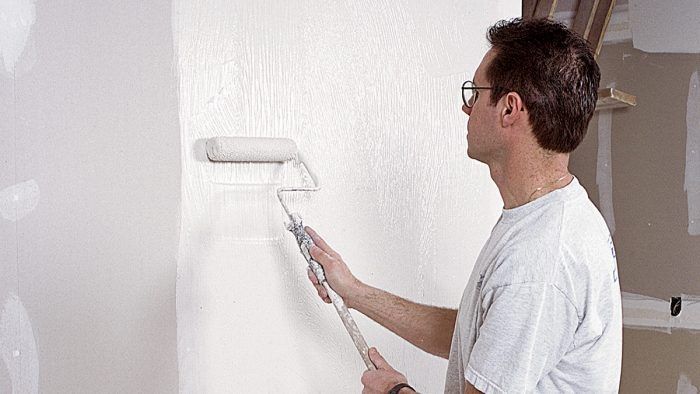
If you follow the detailed instructions in my previous articles about applying the first, second, and third coats, you’ll achieve what the industry calls a level 4 finish. To take the job to a level 5 finish, you need to apply a skim coat of compound over the entire drywall surface.
A skim coat is essentially a “film” of joint compound and is not a readily measurable thickness. Skim coating is recommended if the surface will be highlighted by bright lights or if you plan to decorate the walls with paint that has a glossy (or even eggshell) finish or a thin wallcovering. If you tape only the joints and fasteners, the porosity of the untaped paper surfaces will differ from that of the taped surfaces. In addition, the texture will be different; the taped surfaces will be smooth and fine, the paper surface will be a little rougher. In areas that have been sanded lightly, the paper fibers will be raised. These differences are magnified by certain paint and lighting.
Remodeling is another instance where you might consider skim-coating drywall; for example, if you’re trying to blend new drywall panels with an existing painted surface. A skim coat helps minimize the textural differences between the surfaces as well as variances in absorption.
Applying a skim coat
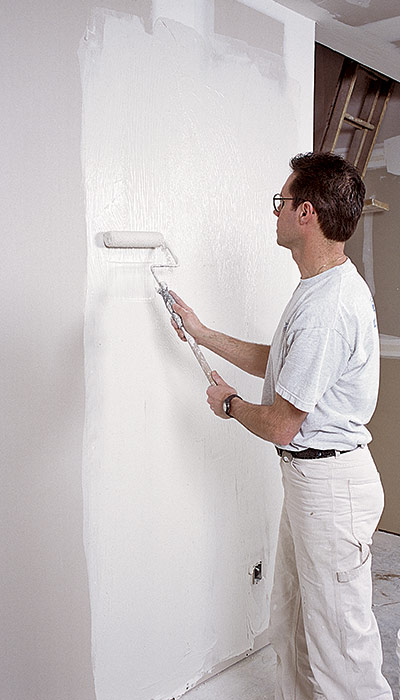
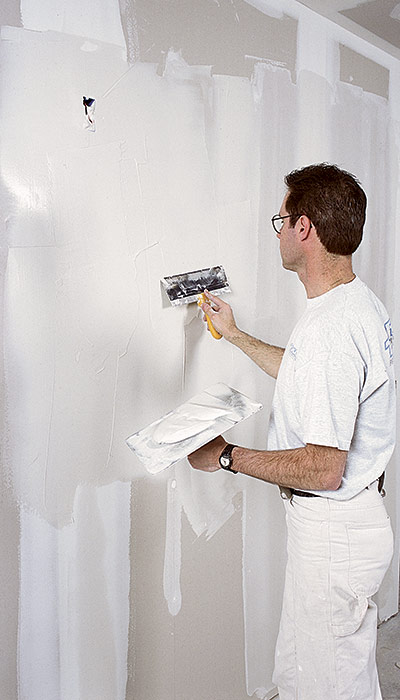
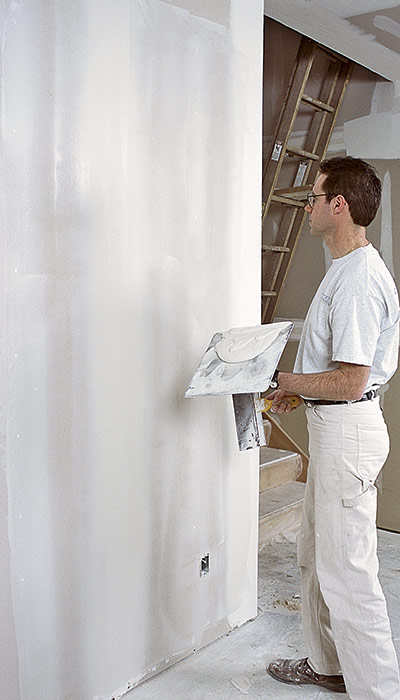
To apply a skim coat, thin down a topping compound. The compound should not be runny, but it should be thin enough to trowel or roll on easily. For larger areas, I like to use a paint roller. Work a 30-sq.-ft to 40-sq.-ft. area at a time, so that the compound doesn’t dry out in places before you smooth it. Once you have the area covered with a thin coat, use a 12-in. taping knife to remove most of the compound. The end result should be a smooth surface that is free of tool marks and ridges.
As you can imagine, skim coating to create a level 5 finish is time-consuming work. To do a good job, you need good lighting and a finisher who really understands the process. Otherwise, it can create an uneven surface covered with tool marks and even air bubbles. Because of the time and skill required, level 5 finishes are not frequently applied.
| WORK SMART: When applying a skim coat, remember that the inside corners have already been coated, so there is no need to cover those areas again. |
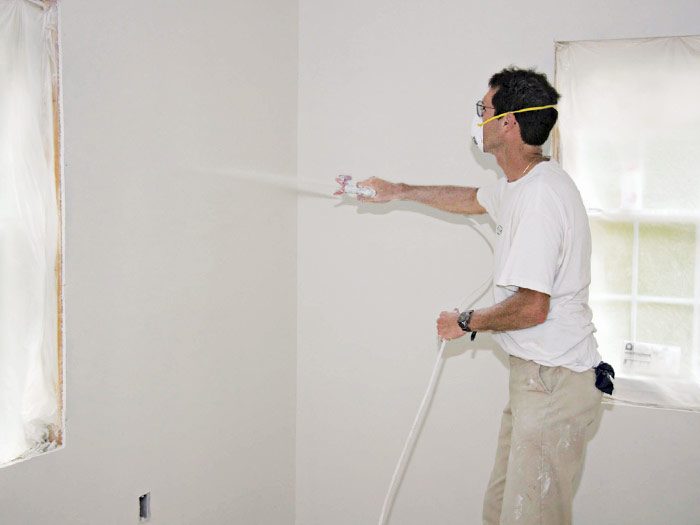
Thank goodness a number of drywall and related companies have come up with an alternative to skim coating. Spray-on finishes can be applied over a sanded level 4 finish to achieve a level 5. Now, a high-quality finish can be achieved by simply spraying on one of these products. Most of the spray-on coatings that I have seen or used are applied quite heavy (between 15 and 20 mils wet). For that reason, it can’t be backrolled (sprayed and then rolled out while still wet). But all of these products equalize the differences in porosity and texture just like a skim coat of joint compound. Another advantage is that most also prime the surface for painting at the same time.



View Comments
I have an old house that was re-plastered after a move ~ 1930. They stopped at the blue coat and wallpapered, again and again..
Would the process be the same to apply the Skim coat to the plaster, or should it be plaster rather than compound?
Thanks,
Rick in Ontario Canada.