Taping Drywall: An Overview
Follow these general guidelines to produce a super-smooth surface ready for minimal sanding.

Drywall is typically finished, or “taped,” with three coats of joint compound, and then lightly sanded to produce a smooth surface suitable for decorating with most types of paints, textures, and wall coverings.
Three coats of joint compound are necessary to conceal the joints, corners, and fasteners. In some cases (when applying a setting-type compound and some lightweight compounds, for example), you can get acceptable results with just two coats, but three coats helps ensure a more professional-looking job.
- The first coat, which is commonly called the tape-embedding coat or the rough coat, does not have to be perfect. It just has to be neat and of consistent width and thickness.
- The second coat is the filler coat; this is the time when you hide the joint tape and feather the edges of the joint compound.
- The third coat, often referred to as the finish coat, is a thin layer of compound applied lightly over the second coat to smooth out any remaining rough areas.
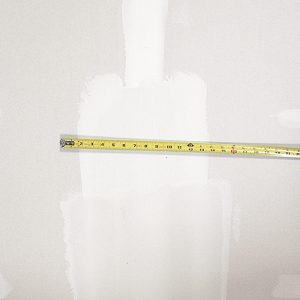
Each coat is applied a little wider than the previous coat, and the edges are feathered to leave a smooth surface. Sometimes a thin skim coat is applied to the entire surface after the third coat is dry. This results in the highest-quality finish.
What should be taped
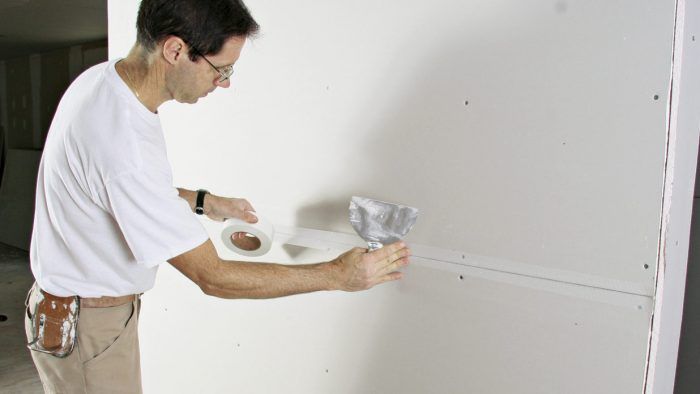
Joint compound alone has little strength: If a joint between panels were filled only with compound, the joint would inevitably crack. To strengthen the joint, paper or fiberglass-mesh tape must be used with the compound. The compound acts like an adhesive, but it’s the tape that actually joins the two panels together. With the tape centered on the joint and embedded in the joint compound, the face paper of the two panels essentially becomes one solid surface. The layers of compound that cover the tape are used to conceal the joint.
The same principle applies to cracks, holes, and hammer marks that tear the surface of the drywall: They all need to be covered with paper or mesh tape to strengthen the surface.
Inside corners on walls and ceilings are also joints that need to be strengthened as well as concealed. Paper tape is embedded in the corner and, after it dries, covered with two or more coats of joint compound. Fasteners, dents, and slight imperfections can be concealed with joint compound alone. Because the surface is unbroken, the area is still strong, so tape is unnecessary.
What to expect when taping
Taping requires patience as well as skill. If I’m using drying-type compounds and apply the first coat of tape and compound on Monday, I wait until Tuesday, when the first coat is fully dry, to go over everything again with the second coat. On Wednesday, I apply the third coat. As each coat of joint compound is applied, I must become more particular, smoothing out the compound to blend in with the surface of the drywall.
The time it takes to finish taping a certain square footage of drywall is affected by many different circumstances, including the height of the ceiling, the number of joints and corners, the quality of the hanging job, and the temperature and humidity at the job site. I usually plan to take the same amount of time for each coat: If it takes 8 hours to apply the first coat, it will take about 8 hours for the second coat and another 8 hours for the third.
Taping can be a messy job, and it is very difficult to avoid getting joint compound on your hands, your clothes, and the floor. I keep an old taping knife and an empty pail handy so I can scoop up dropped joint compound before it gets walked on.
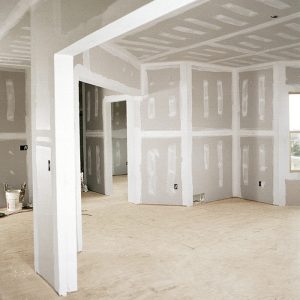
Taping SequenceIf you’re just learning to tape, it’s probably easiest to go from room to room and apply the first coat to all the fastener heads. Then go back and do all the flat seams between panels. When those are dry, apply the first coat to the inside and outside corners. Working this way means that you won’t worry about messing up a flat seam when you’re working on a corner, which can be a problem when the seam is still wet. Once you have the hang of taping, work in this sequence to speed the job along:
To save time as you’re taping, make sure you have all the taping tools you may need handy—in your hands, in your back pocket, or near a pail of joint compound. And keep the pail of joint compound close by, moving it with you as you tape. |


