Taping Fastener Heads and Seams: Second Coat
This coat is the one when the largest amount of joint compound is applied and the seams are filled and widened.
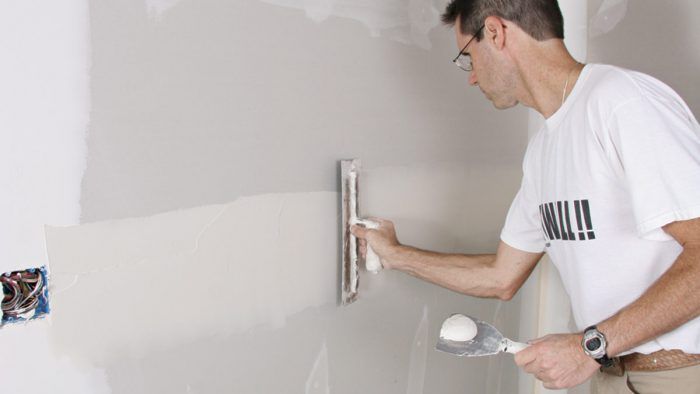
Before you begin your second coat, check the surface and knock off any noticeable ridges or chunks of hardened compound with the edge of the taping knife. Smooth areas and blend them together as necessary, but keep in mind that there’s still one more coat of compound to apply, so everything doesn’t have to be perfect. In order for this next coat to be more durable and dry quickly, an all-purpose, topping, or setting-type compound can be used.
Tapered-edge seams
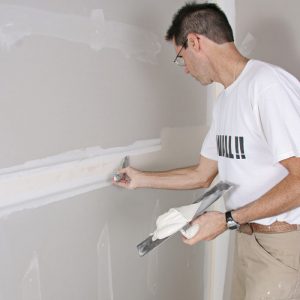
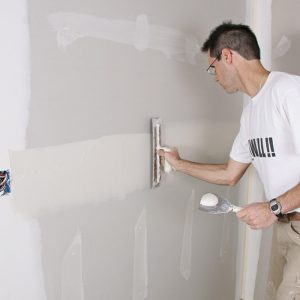
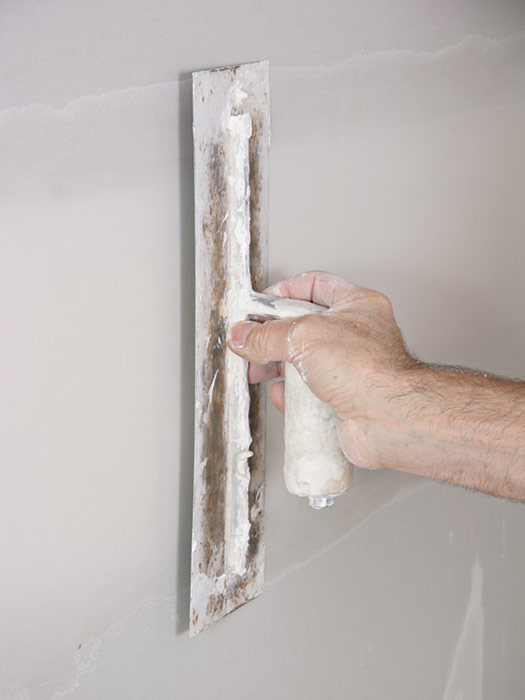
The second coat of joint compound is usually applied to seams after the inside corners are second-coated. Use a 6-in. or wider taping knife to apply the compound about 8 in. wide, with the seam in the center. The coat should be about 3/16 in. thick and fairly even. Whenever possible, apply the compound to the entire length of the seam before you start smoothing it with a 4-1/2-in. by 14-in. beveled trowel. Keep the trowel turned almost flat to the drywall and apply pressure to one edge, feathering the edges of the compound as you pull the trowel. Some compound will be removed as the edge is feathered. Then do the same for the other edge of the compound.
| WORK SMART: Try to tape the entire length of a joint with one continuous length of tape—it is faster and won’t leave you with loose ends of tape exposed. For longer runs, say over 16 ft. long, use two pieces of tape to avoid wrinkles and the possibility of leaving too much compound behind the tape. |
Next, center the trowel and glide it along the joint, applying constant, even pressure to both edges of the seam. Hold the trowel almost flat against the seam with the back edge doing the work. If all goes well, the edges of the seam will remain feathered and the center will be smoothed to an inconspicuous crown. Repeat this method until most of the air bubbles in the joint compound have been removed. The second-coated seam should be about 10 in. to 12 in. wide, and the tape should not be visible. Try not to remove too much joint compound. If you find that you’re pulling off too much, you’re probably holding the trowel at too steep of an angle. Apply more compound to the seam and try again, this time holding the trowel flatter to the surface.
Butted-end seams
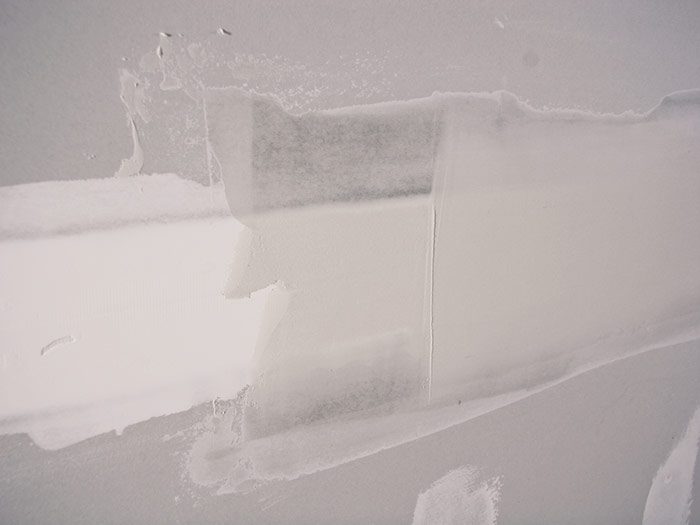
Because the butted ends of drywall panels that are attached to studs and ceiling joists are not recessed, as tapered edges are, you create a slight bump at the joint when you apply tape and the first coat of compound. To conceal the bump, you need to apply a wider band of compound than you do with tapered-edge seams (you may also need to apply four coats of compound to blend the bump into the drywall surface).
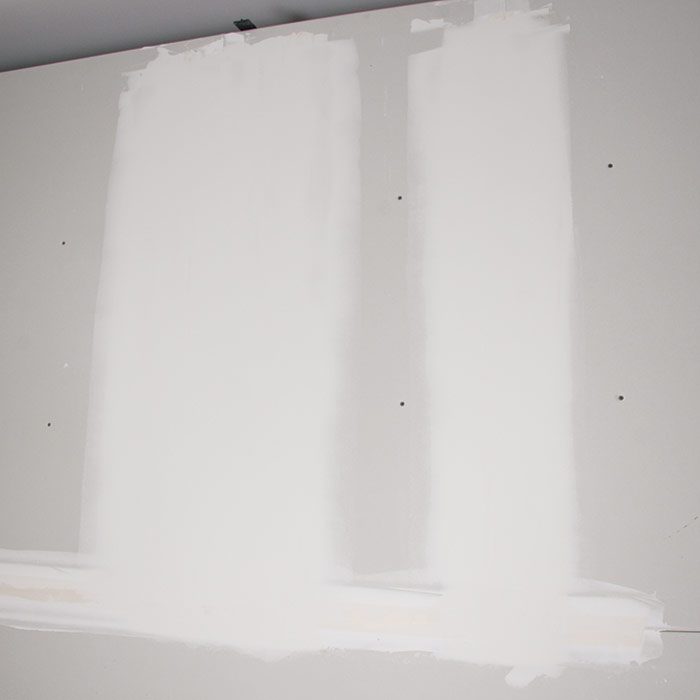
Before applying the second coat to butted seams, I usually run my hand across the joint or hold a straightedge against it to it to determine how wide I need to spread the compound to blend in the seam. The center is the high area, so you need to cover the tape lightly and build up the joint compound along the sides of the tape. Feather the edges and then smooth the center. Don’t apply too much compound at one time. I usually widen it with a beveled trowel or a 12-in. taping knife to about 10 in. on each side of the tape.

