Taping Inside Corners
This two-coat approach is the best way to tape these potentially tricky areas.
Inside corners are a little more difficult to tape than flat seams, because it can be tricky to get one side of the corner smooth without roughing up the other side. I prefer to use paper tape on inside corners. Mesh tape is a little more difficult to work with but it can be used in corners as well. Just remember that mesh tape doesn’t hold a crease well and it’s easy to cut or sand through.
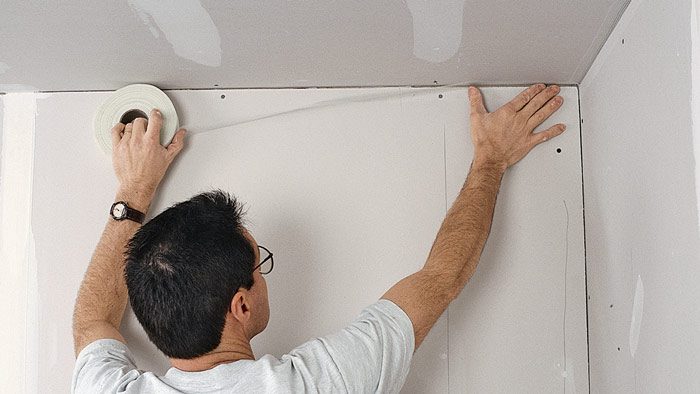
Generally, the paper tape is embedded in a layer of joint compound and then covered with one or two thin coats. One coat is usually enough, but sometimes two are necessary (industry recommendations call for only one coat over inside corners).
First coat
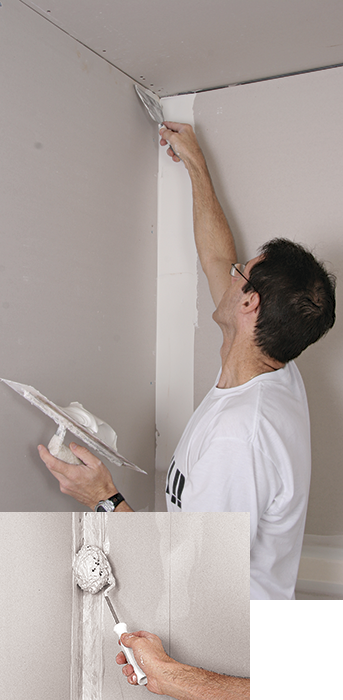
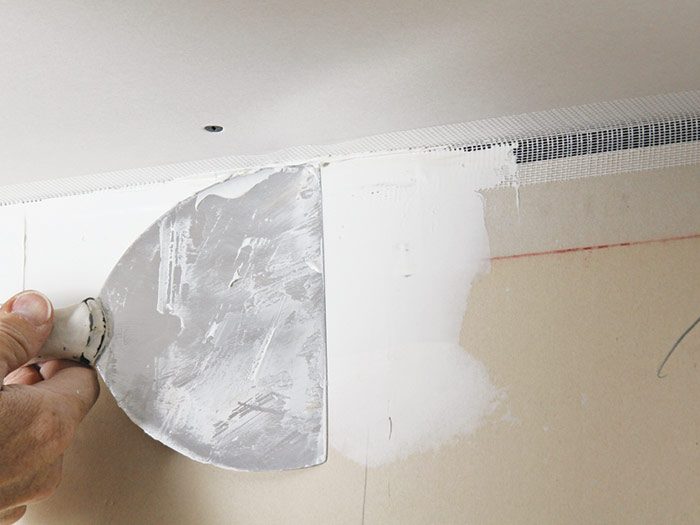
The method I’ve used for years is to apply the undiluted compound (all-purpose or taping) right from the bucket with a 4-in. or 5-in. taping knife. Spread a layer about 4 in. wide and 1/8 in. thick or less into each edge of the corners. Make sure the entire inside corner is covered with compound, with no dry areas or unfilled gaps between the panels.
An alternative is to apply the compound with a 4-in. corner roller. You’ll need to thin the compound with a little water, but in one swipe the roller gives you an even layer of compound on both sides of the corner. This method is quite a bit faster than using a taping knife and works well with a mechanical corner roller and finishers.
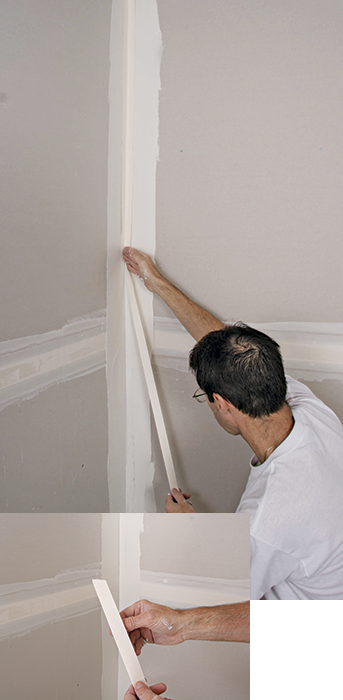
Fold the tape along its crease and lightly press it into the corner every 12 in. or so, keeping the tape pulled tight as you go. Now embed the tape into the compound with a 4-in. or 5-in. taping knife, working on one side of the corner at a time.
It takes some practice to embed the tape on each side of the corner without accidentally pulling it loose, wrinkling it, or leaving too much joint compound underneath. Start with light trowel pressure to embed the tape, and then go over it a few more times with increased pressure to force out the excess joint compound. When you’re finished, the first coat on the inside corners should be free of wrinkles and the edges of the compound should be feathered.
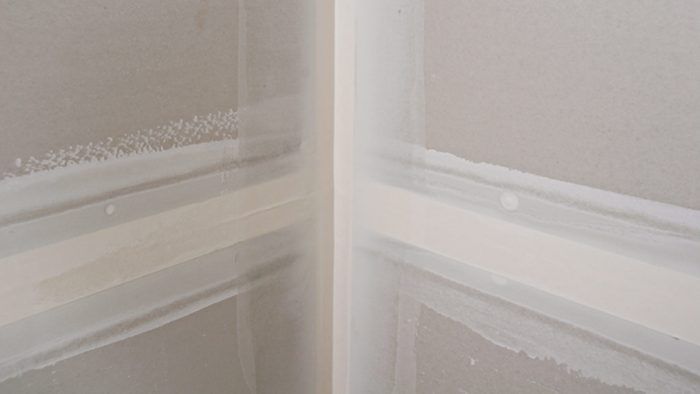
Filling Large GapsDrywall isn’t always hung perfectly. A problem you sometimes run into when taping inside corners, especially in older homes, is large gaps in the corners between panels. Gaps are typically caused by out-of-square or off-level walls or ceilings or by errors made during measuring. Sometimes a gap can simply be filled with compound, but if it’s wider than 1/2 in. or so, the compound will fall out. The best remedy for this problem is to first put a layer or two of self-adhesive mesh tape into the corner. When you apply the joint compound, the mesh holds it in place. The paper tape can then be positioned in the corner in the normal way. Allow a little extra time for the corner to dry before applying the next coat of compound, because the extra thick layer of joint compound can crack if it is second-coated too soon.
|
Second coat
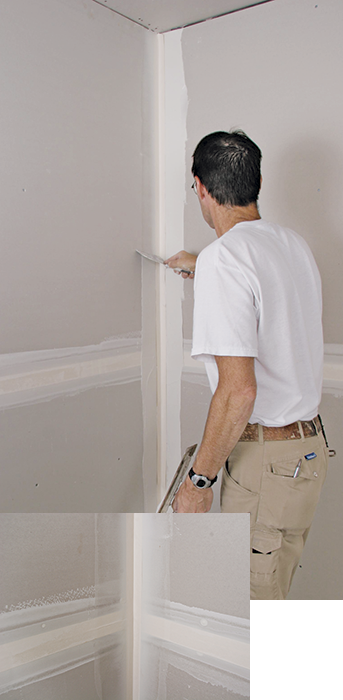
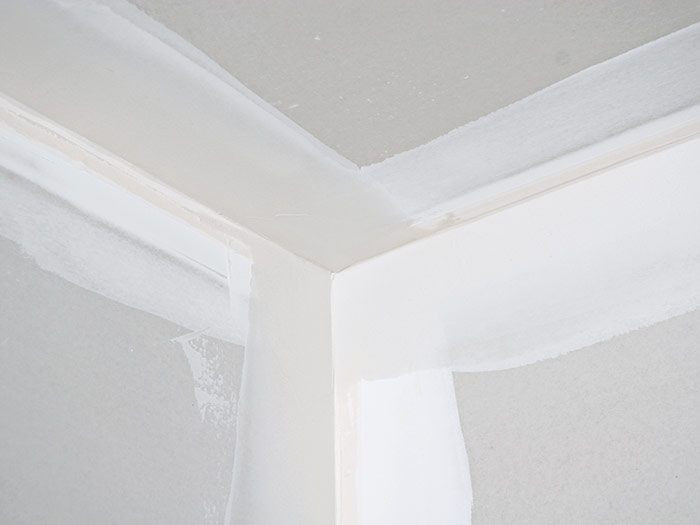
The best method for hand taping inside corners is to tape one side at a time, allowing the first side to dry before taping the other. Each side must be carefully smoothed and feathered. With this method, one side is taped as the job is second-coated and the other side is taped during the third coat. In other words, the completed corner ends up with only one coat of compound over the tape on each side, which means you need to apply the compound a little thicker than you do on flat seams. Because it’s difficult to get one coat as smooth as two, a little extra sanding and light touch-up work may be necessary later. This method is faster than double-coating each side, and it provides excellent results.
| WORK SMART: For best results on inside corners, use a flexible 6-in. taping knife for the second coat. |
Inside Corners: The Second CoatDon’t try to apply compound to both sides of an inside corner at the same time. Cover one side of the corner when you second-coat flat seams on the walls. Then allow that coat to dry and work the adjacent corner when you apply the third coat to the walls.
|
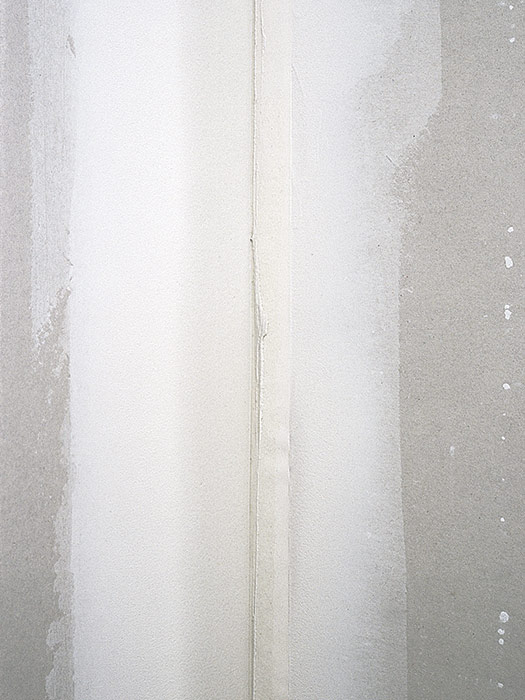
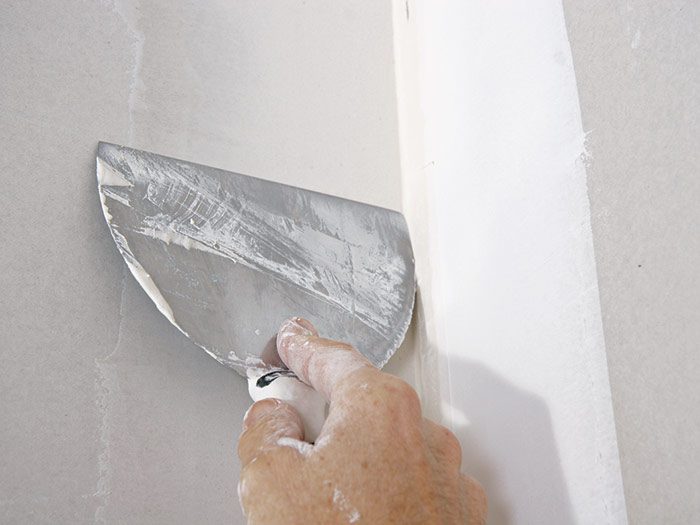
Before applying compound to the second edge, let the first edge dry and scrape or sand off any chunks of dried compound. Be careful when sanding over exposed tape because it may peel off or you may sand right through it. When applying compound to the second side of an inside corner, use the same techniques used for taping the first edge.
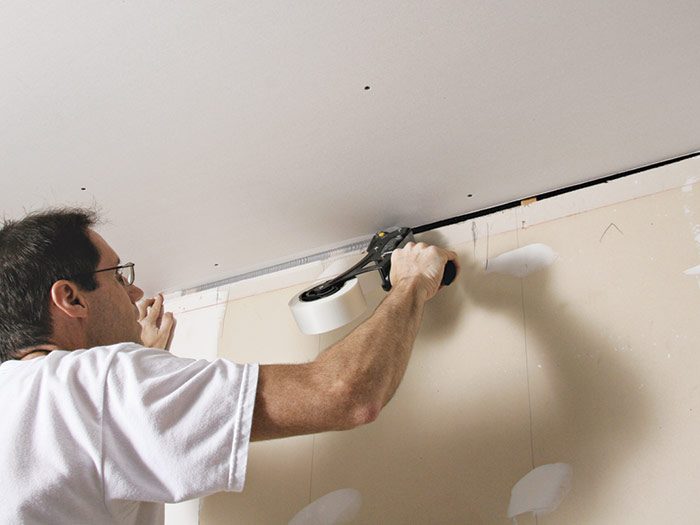
| WORK SMART: When taping an inside corner on a wall, work from top to bottom. When taping a long inside corner where the wall meets the ceiling, work from the center toward the ends. |
Fine Homebuilding Recommended Products
Fine Homebuilding receives a commission for items purchased through links on this site, including Amazon Associates and other affiliate advertising programs.

8067 All-Weather Flashing Tape

Affordable IR Camera

Reliable Crimp Connectors

