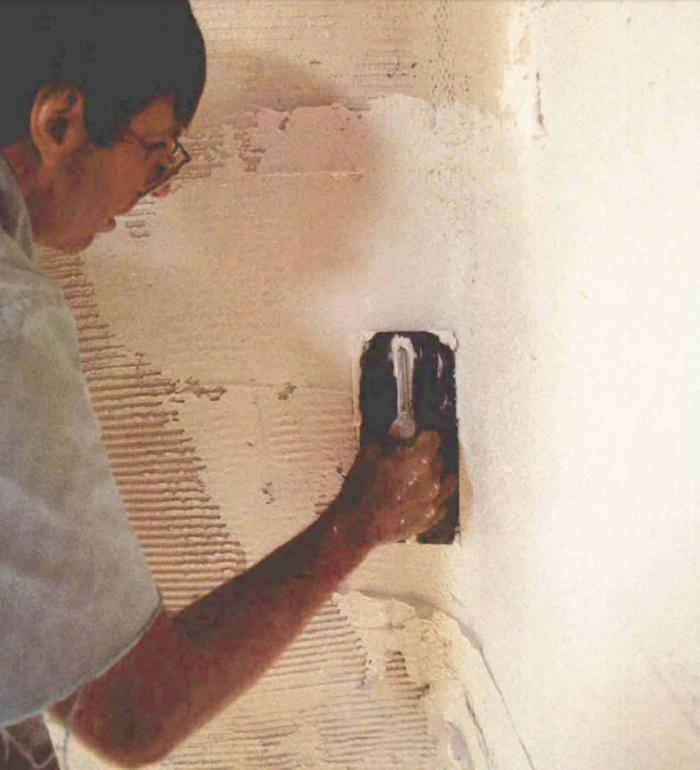
Synopsis: The author of this article is a contractor who made the conversion from gypsum drywall to two-coat plaster. Although it’s more expensive, the plaster finish he applies has an appealing surface — textured and slightly roughened — and makes curves and contours much easier to create. He explains how he does it.
I’ve spent much of my career as a contractor perfecting the flawless drywall finish. But a few years ago I was given the chance to try a rough style of plastering. Since then I’ve rarely applied the slick, smooth drywall. Now I prefer plaster. Its sensuous contours and the ease with which one can achieve curved and textured surfaces simply made the idea of angular drywalled rooms unappealing to me.
I use a two-coat method — one undercoat and a finish coat. I use neither screeds (lengths of angle iron pulled across wet plaster to level it) nor finish putty coats. The resulting walls are slightly irregular, wavy and textured, and as a consequence they take far less time and skill to apply than traditional plaster. This plastering works well with heavy timber framing and exposed wood ceilings, like those in Tudor or Spanish Colonial Revival homes. Obviously the rougher look won’t work with every architectural style, but in the right context it adds a degree of authenticity that is hard to achieve any other way, and its rock-solid feel contributes to a building’s sense of mass and permanence.
The substrate
About the only wood lath that you’re likely to see these days is poking out of debris bins in front of older homes undergoing renovation. Contemporary plaster substrates are either expanded metal lath or rock lath. I use rock lath for my two-coat work. It is similar to gypboard — compressed gypsum that’s covered on both sides by paper — but the sheets are smaller. They are 3/8 in. thick, 16 in. wide and 48 in. long, and they come in bundles that are easy to handle. Plaster sticks to this substrate because the multi-ply paper that covers the rock lath is very porous on the outside, causing a capillary action that makes the plaster adhere while it dries. The inner plies are water resistant, which keeps the plaster from drying out too fast.
Rock lath cuts like drywall and goes up fast. It’s easy to deal with cutouts for switches, receptacles, light fixtures and beam notches because the pieces are small and maneuverable. Rock lath can be attached with drywall nails; drywall screws or (my favorite) stapled with a pneumatic staple gun loaded with 1-in. wide by 1 1/2-in. long staples. Each 16-in. width of rock lath should have at least three equally spaced fasteners into the framing — I prefer four. Unlike drywall, there’s no advantage to neat work — just make it quick and firm.
For more photos, drawings, and details, click the View PDF button below:


