Beadboard Wainscot Made Easy
Carpenter Rick Arnold outlines his techniques for a solid, efficient, and good-looking paneling job.
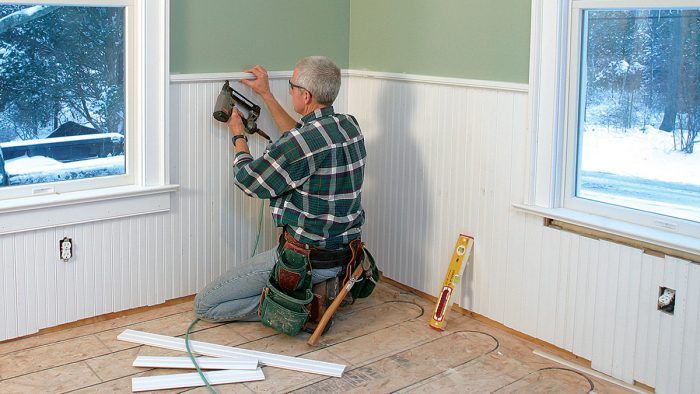
Synopsis: Beadboard wainscot is one of those decorative details that can add a lot of charm to any room. But few people know how quickly and easily it installs. Fine Homebuilding contributing editor Rick Arnold shows us some trade secrets, such as how the trim covers up all the rough edges of the installation. Arnold uses a scribe guide to fit the beadboard around obstacles such as windows. You also get a peek at some of the myriad forms and materials that beadboard is available in.
I love to transform a room with wainscot. My favorite type and the easiest to install is beadboard. Whether in a Victorian house with stained-beadboard panels or in a cottage with painted beadboard, a room can morph from blah to beautiful quickly. By matching trim details such as the cap (chair rail) and baseboard with the rest of the millwork (casing, crown), wainscot can enhance the whole style.
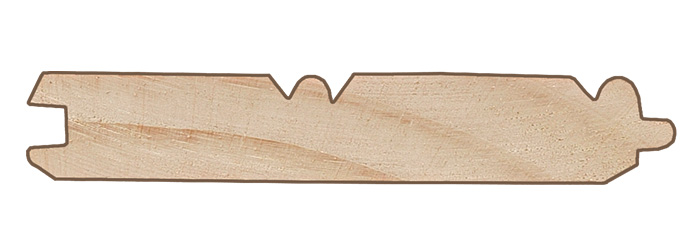
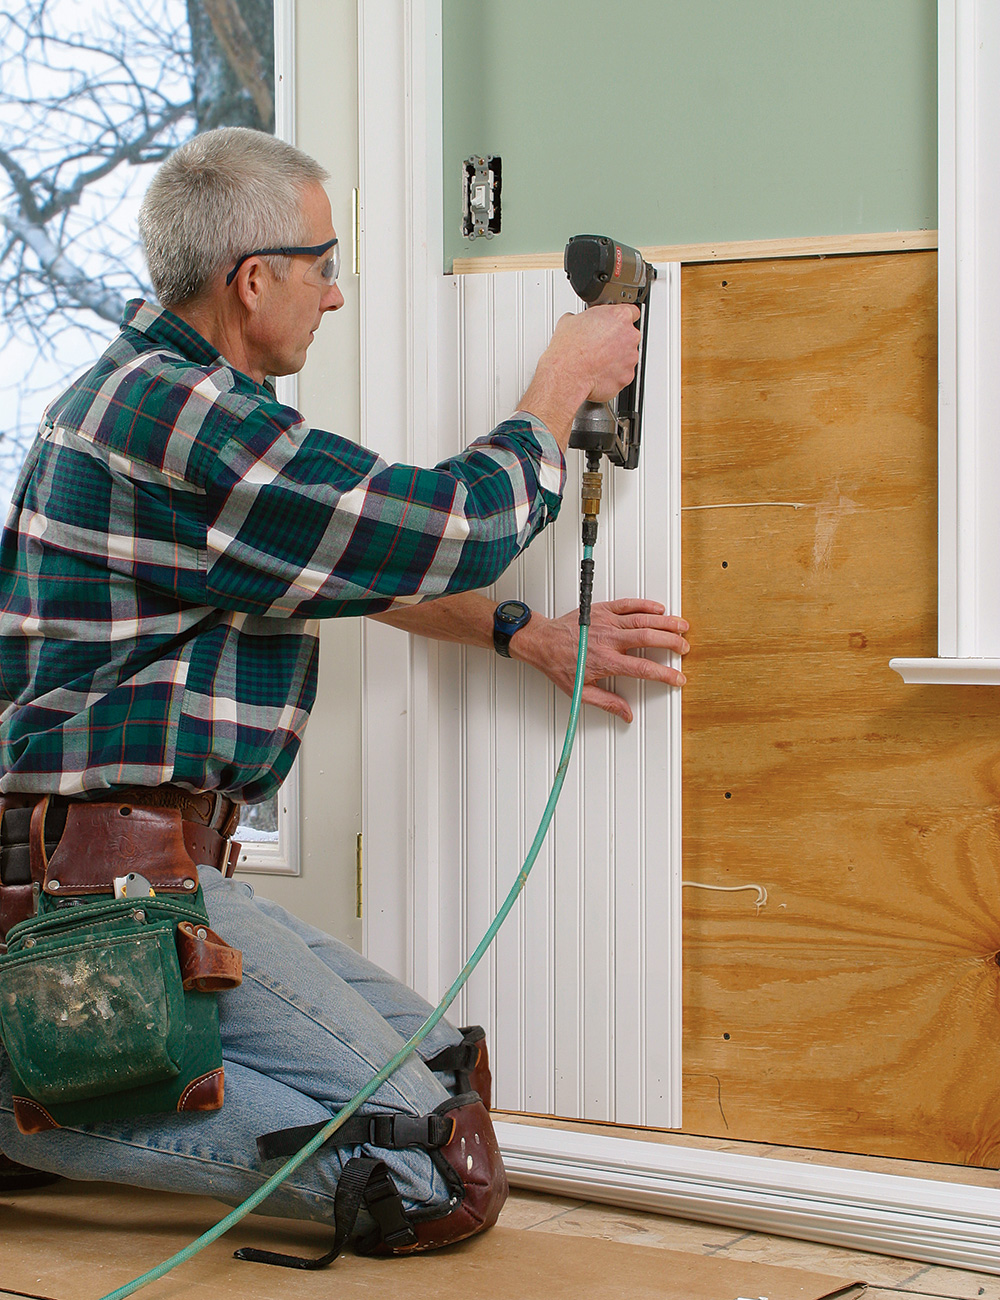
For this project, I installed paint-grade tongue-and-groove beadboard planks, which are the best type I’ve worked with. These 1/2-in.-thick preprimed boards, made from engineered lumber, have a finished width of about 3 in. After the first board is secured, the rest are mostly self-supporting, so whole walls can be dry-fit. And because baseboard hides the bottom ends of the boards in most cases, installation goes quickly, and I have to pay attention only to critical areas.
Forgiving installation
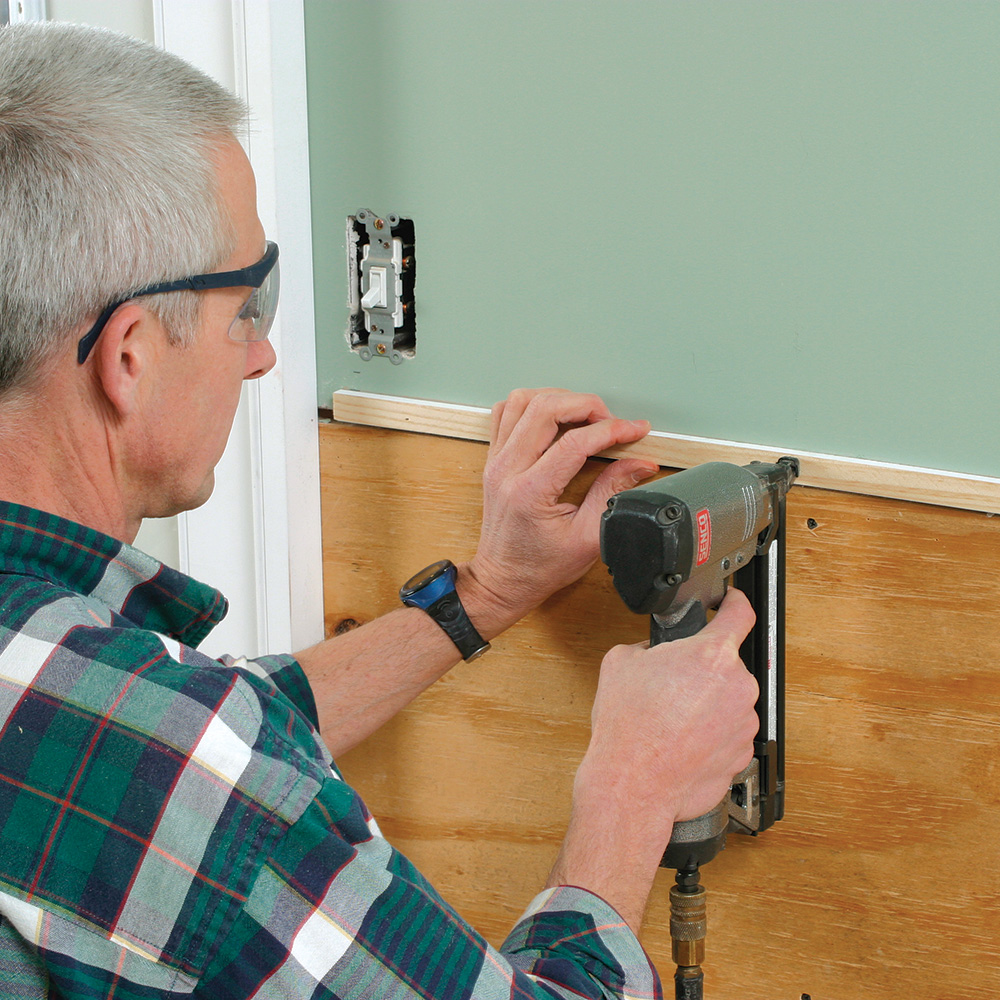
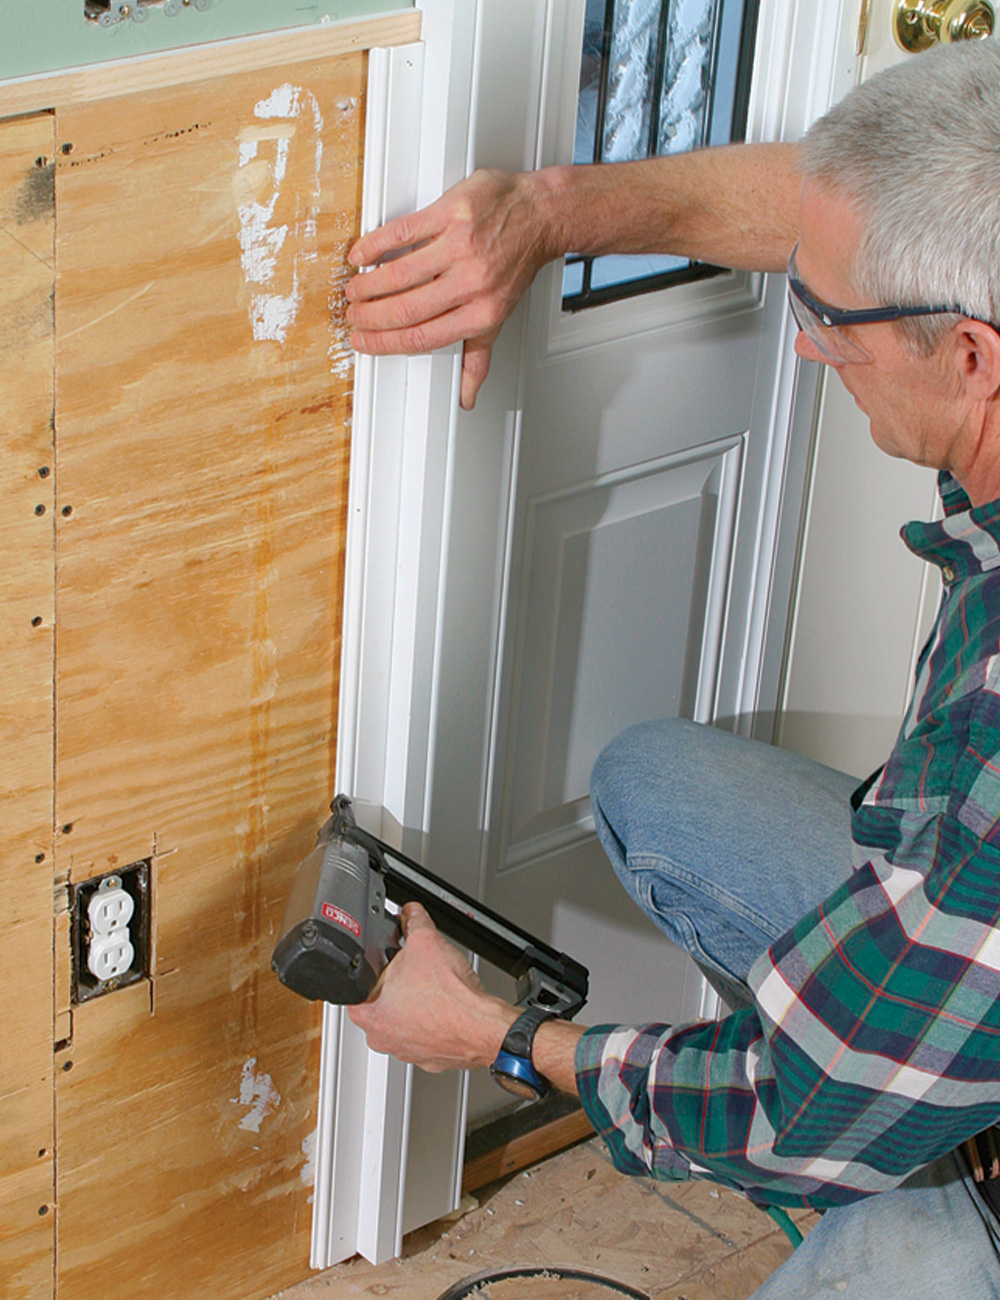
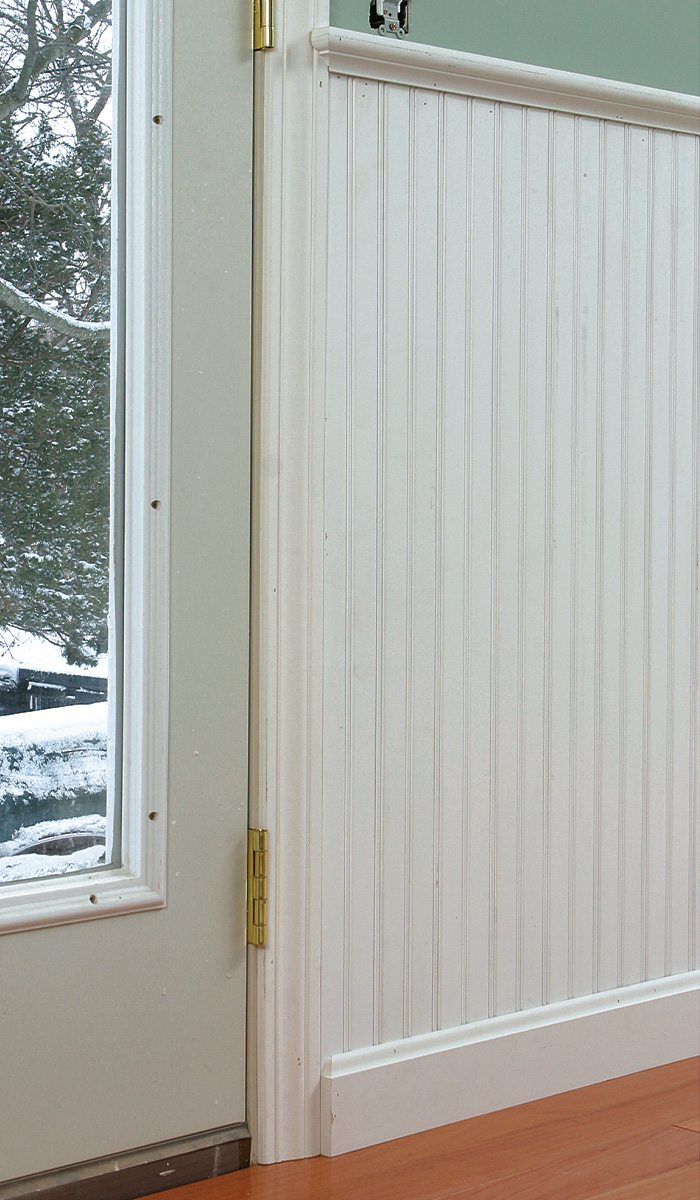
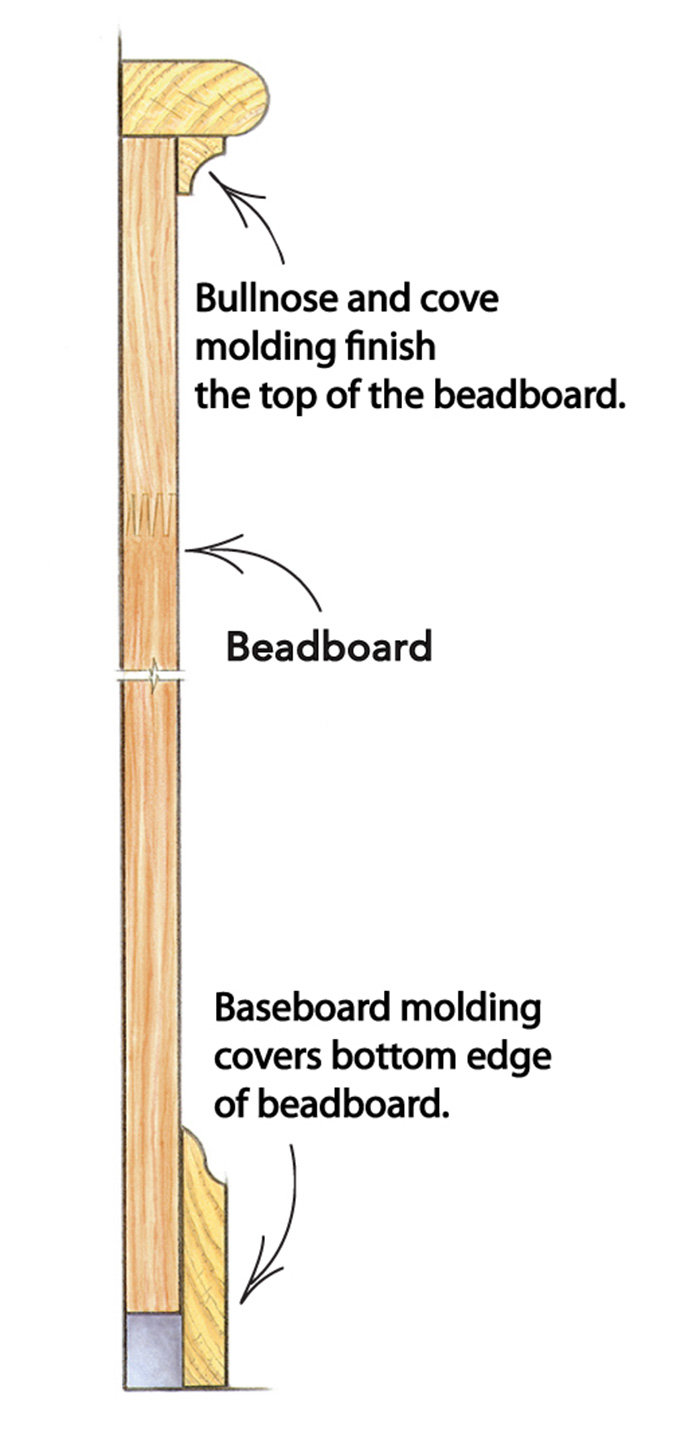
To complement the colonial trim in this house, the wainscot cap is a simple bullnose, which rests on top of the beadboard and is supported by a 3 ⁄ 4-in. cove molding. A standard 3-1 ⁄ 2-in. colonial base covers the bottom edges of the beadboard and returns at the edge of the casing.
 |
 |
Engineered lumber
For paint-grade beadboard, engineered lumber has all the benefits of both regular wood and medium-density fiberboard (MDF) stock. It has the feel, workability, and look of standard lumber, but it enjoys the stability of MDF. Also, its dimensional measurements stay consistent from one board to the next. On this project, I used WindsorONE SPBC4 beadboard (www.windsorone.com; 707-838-7101).
Beadboard Basics
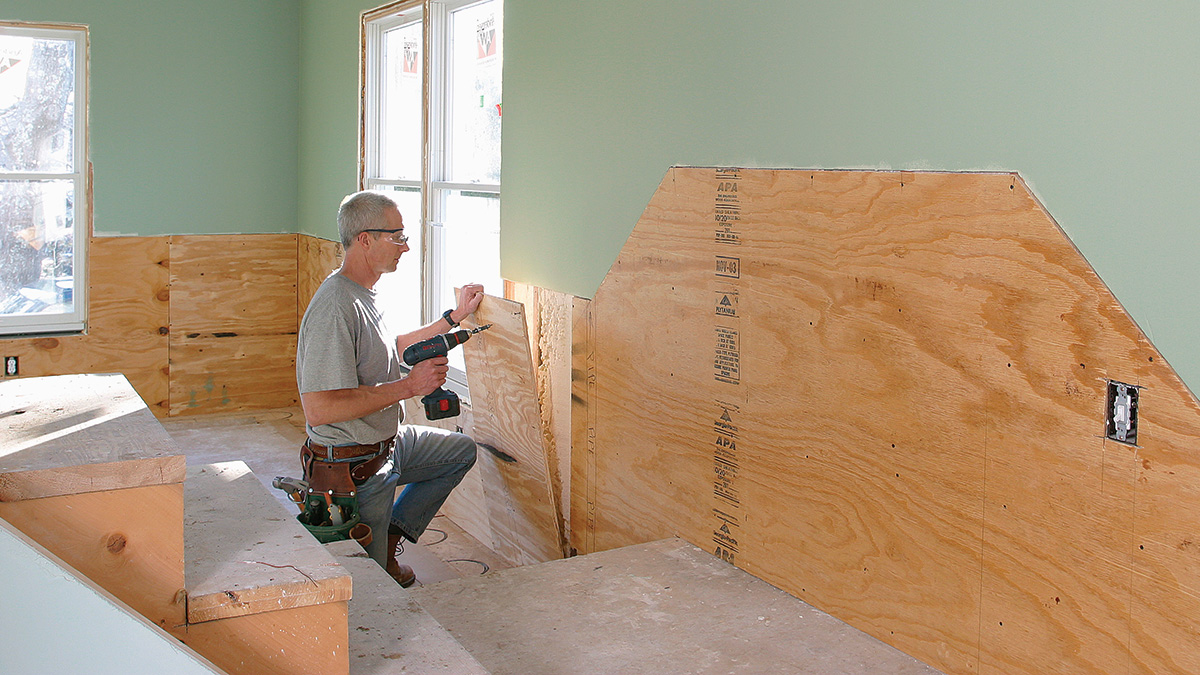
I like to glue beadboard to a clean substrate, so with existing drywall, I cut an inch or so below the top of the future wainscot cap and remove the drywall from there down. In older houses where removing lath and plaster would be messy and impractical, I clean the area as best as possible and make sure to attach the beadboard to the plaster with polyurethane glue.
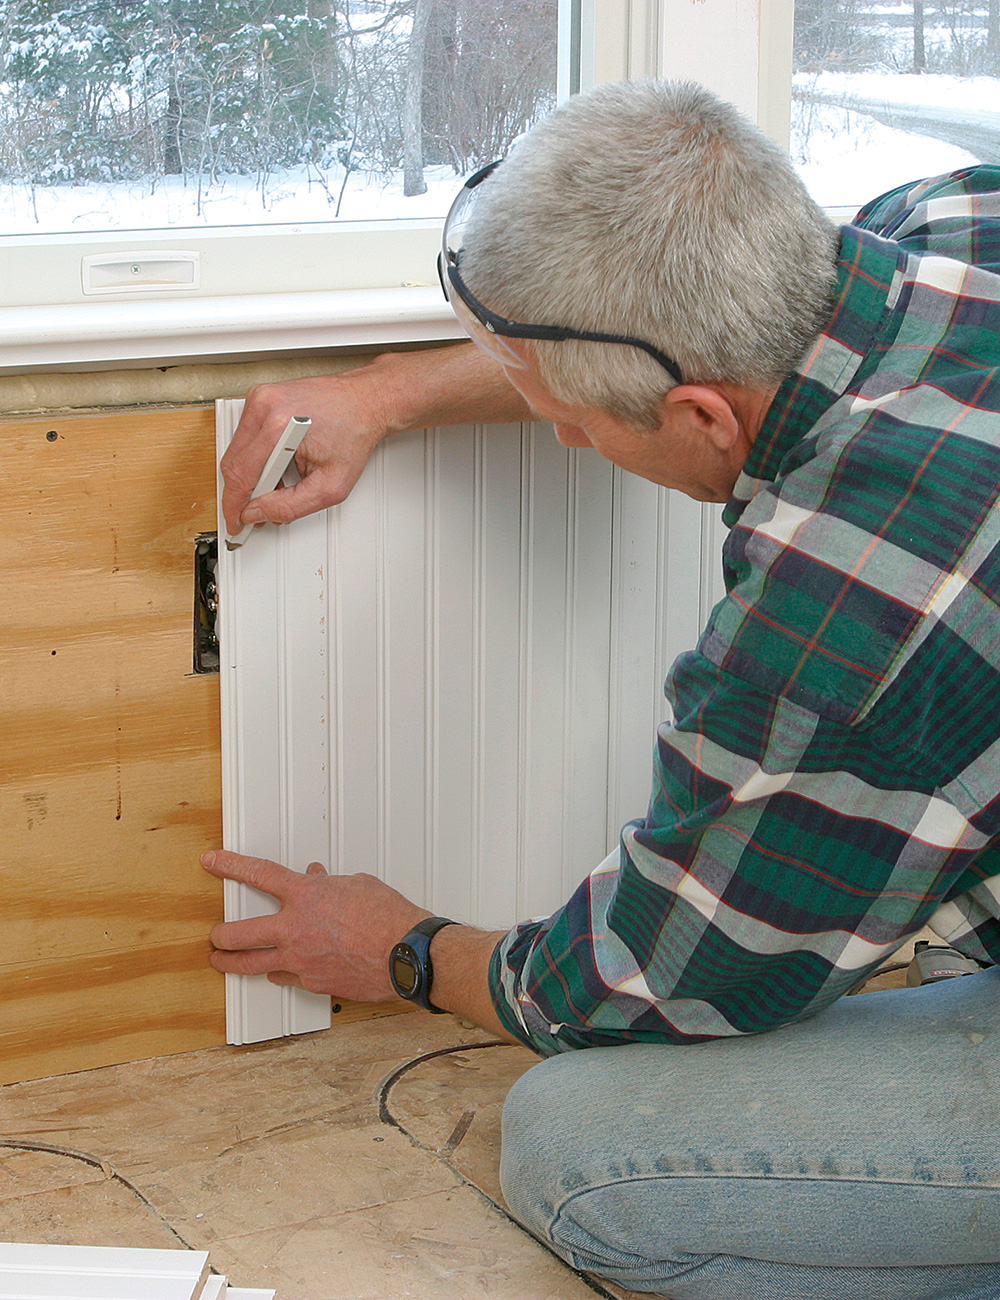
| TIP: Make clear marks on the plywood to pinpoint nailing hazards behind the wall, such as plumbing feeds or wires. |
| TIP: If a correction of 1 ⁄ 8 in. or more is required, spread it out over a few boards. |
Fit around windows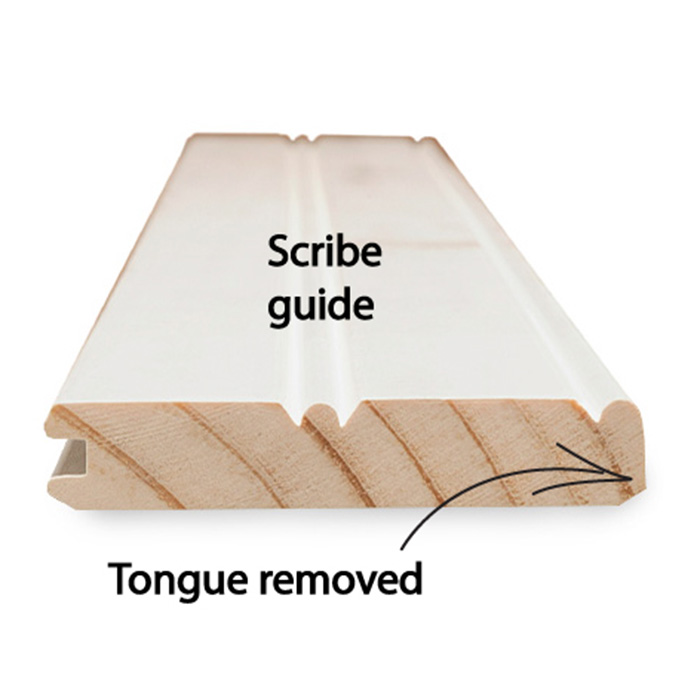
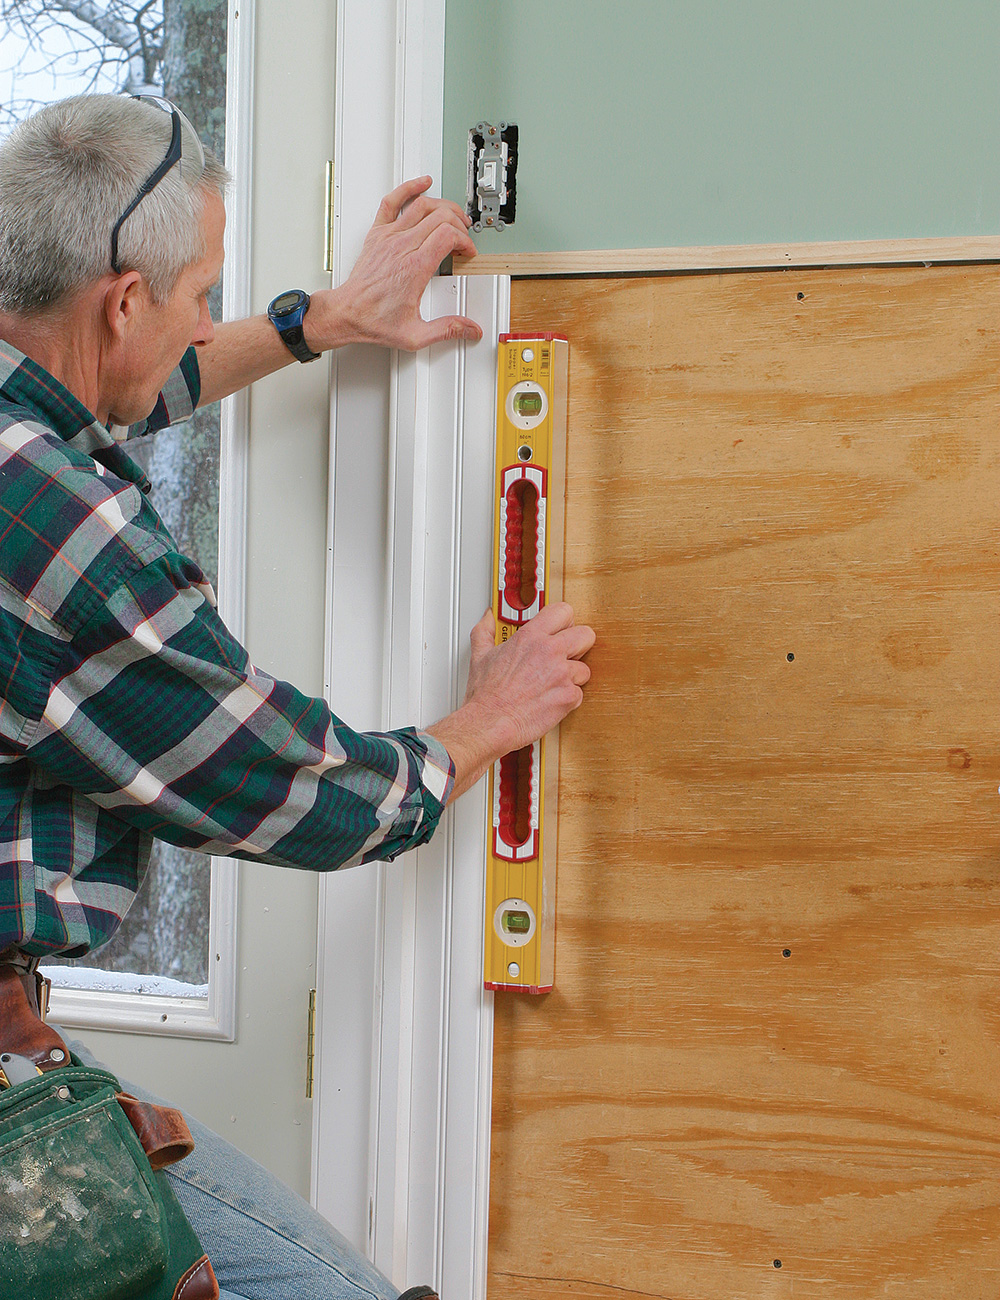
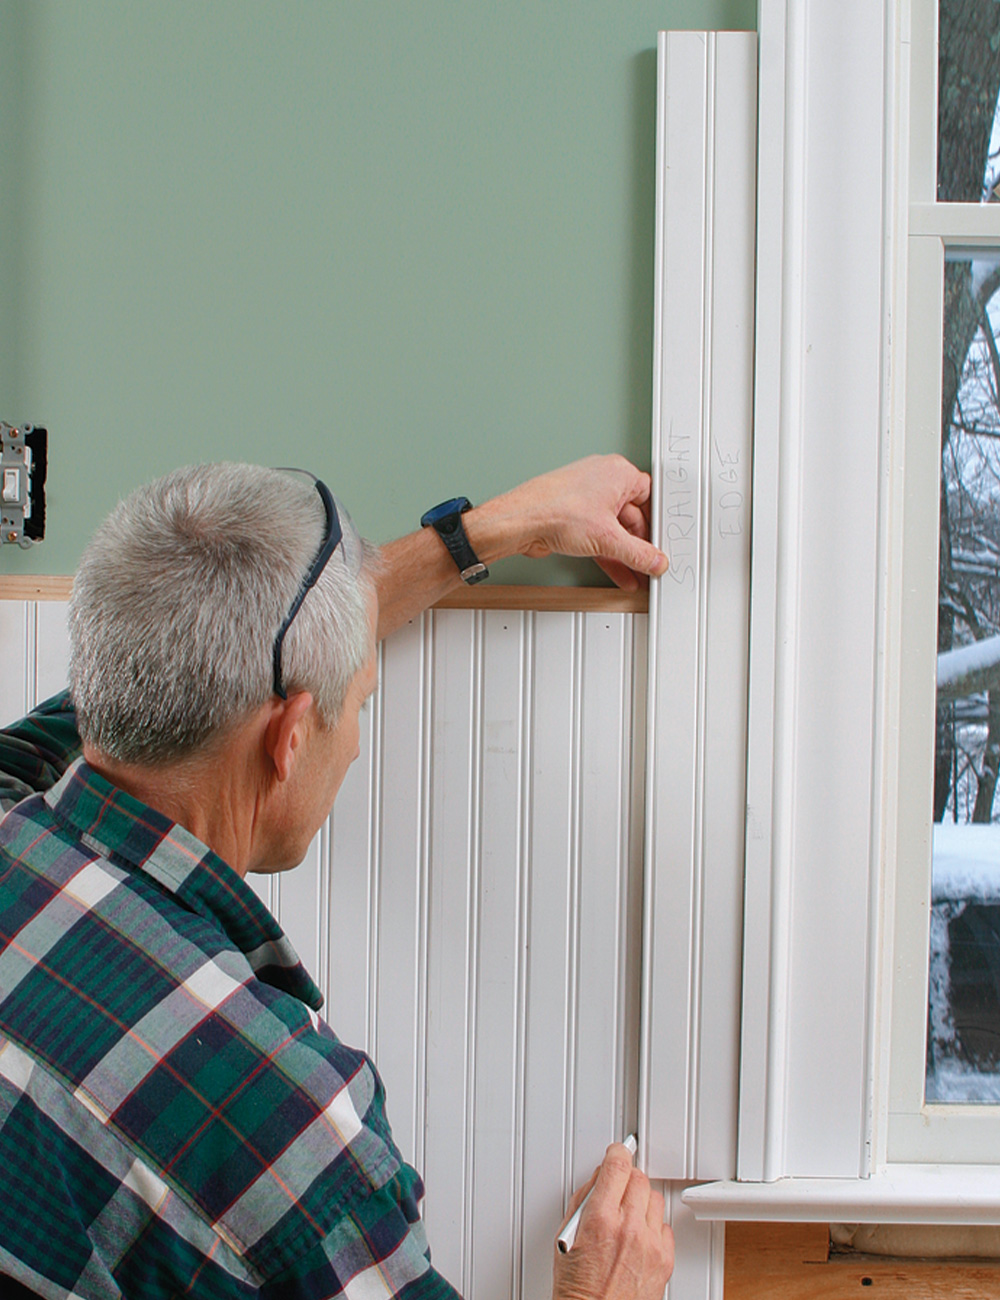
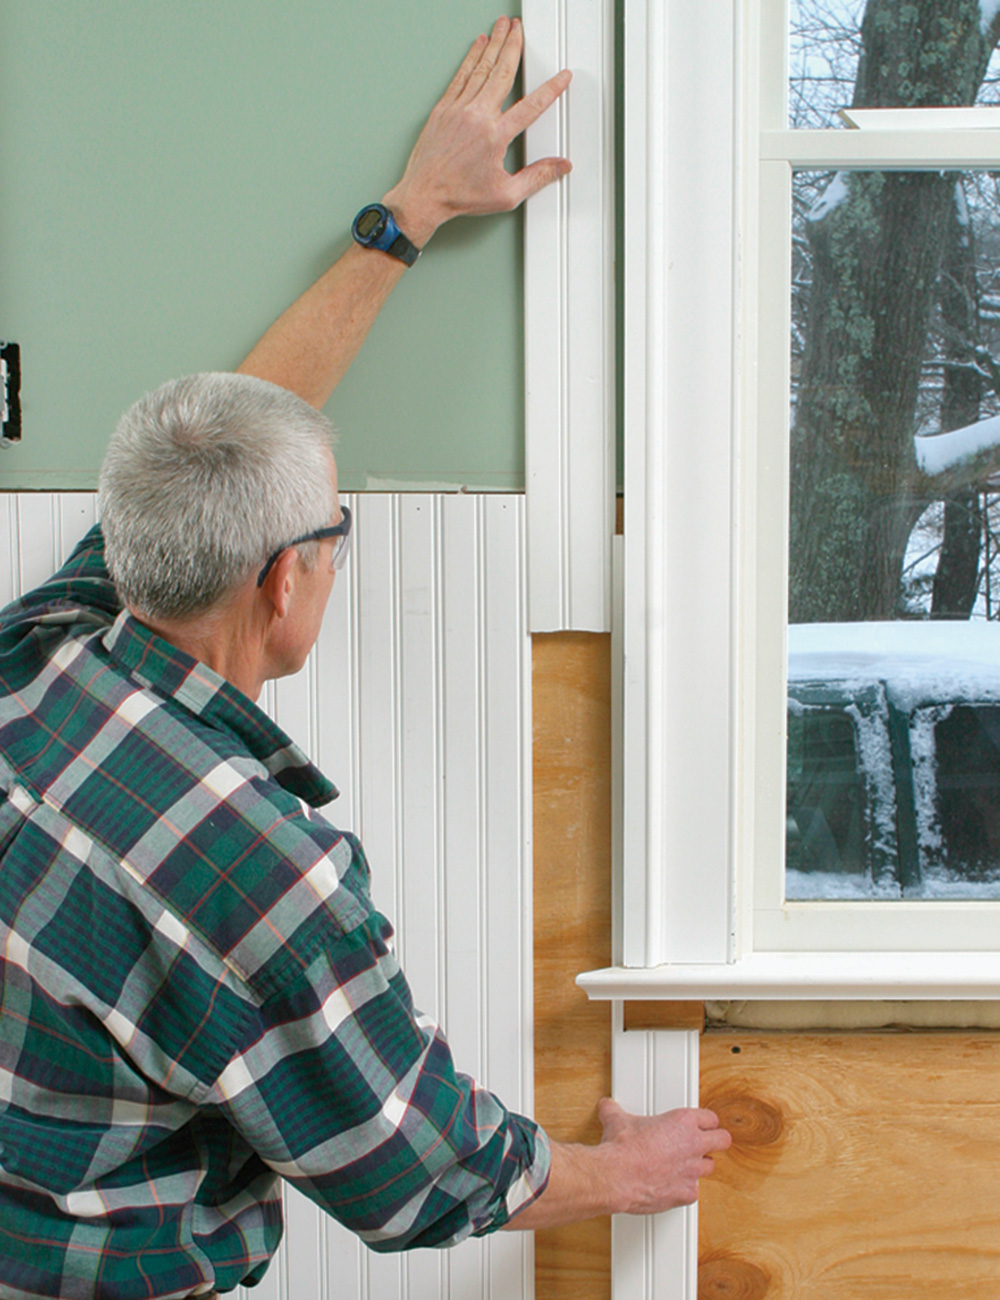
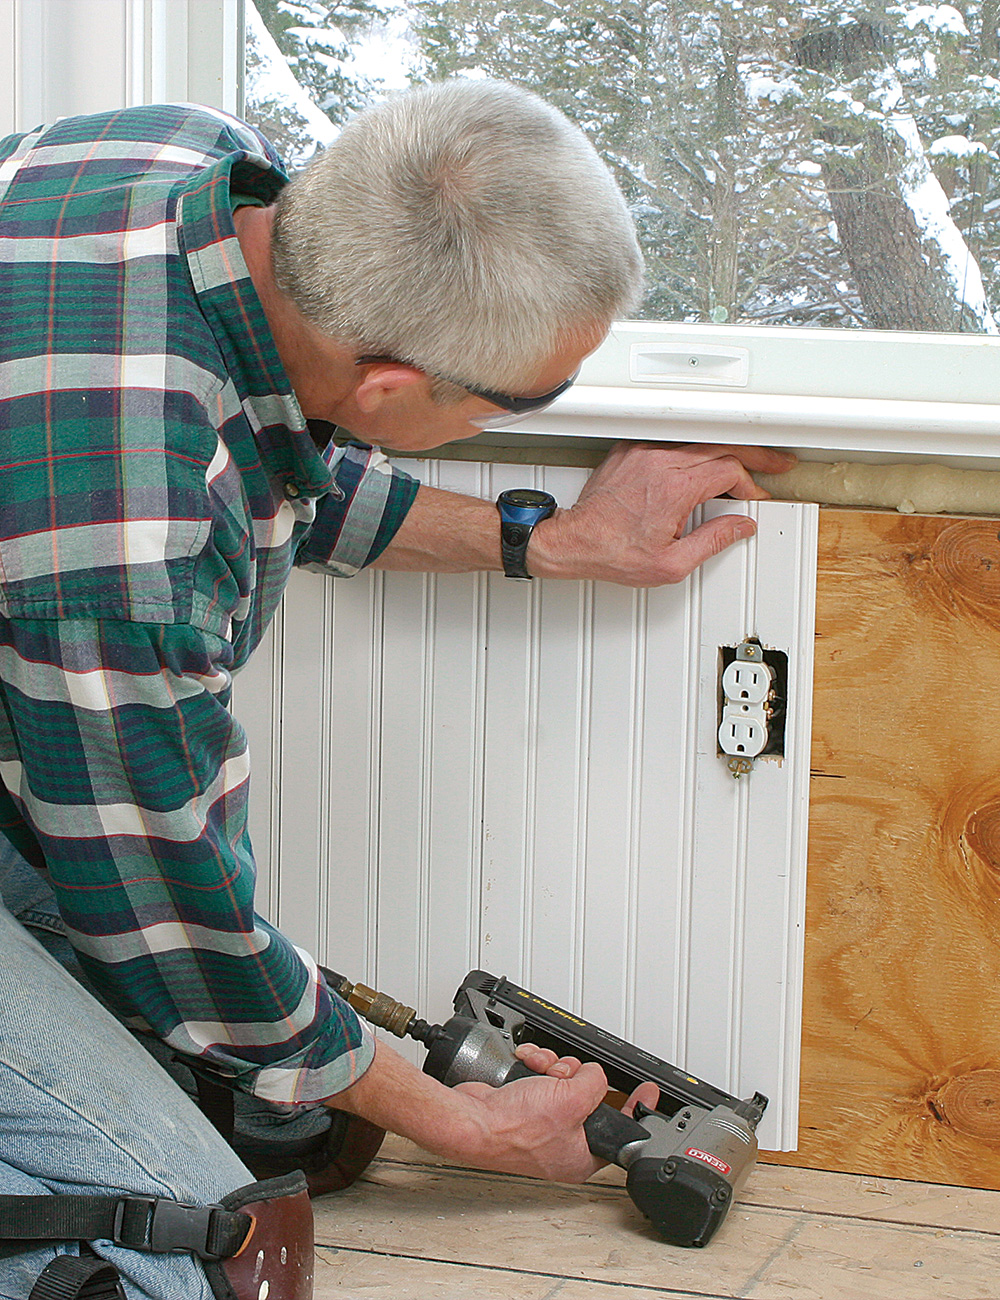
Before running the beadboard, I put in the casing and the stool (without returns) around each window. But I leave the apron off until after the beadboard is installed. The ability to dry-fit tongue-and-groove beadboard is a real plus when installing it around a window.
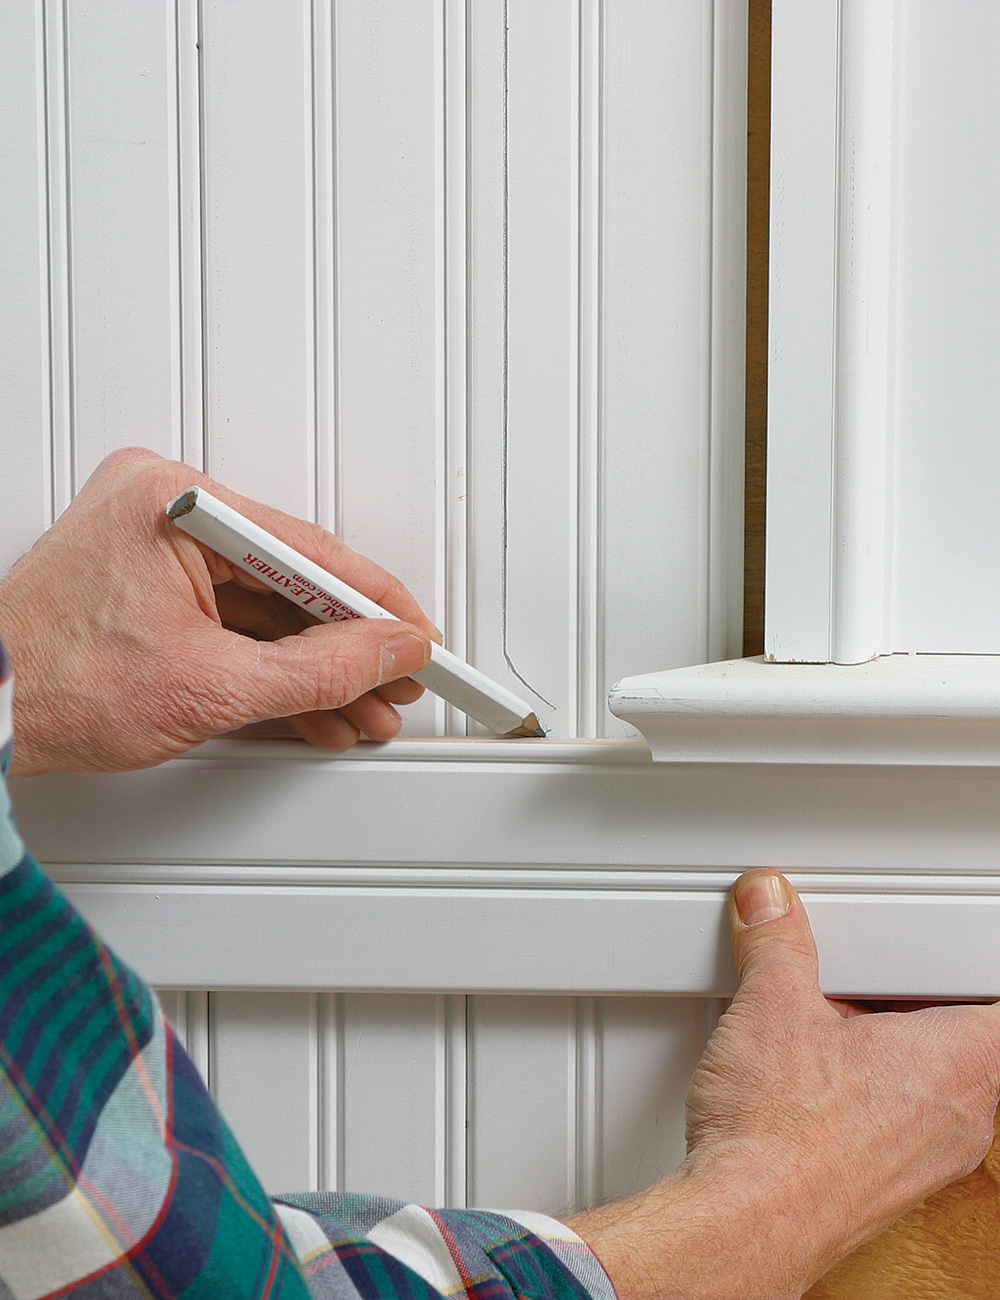
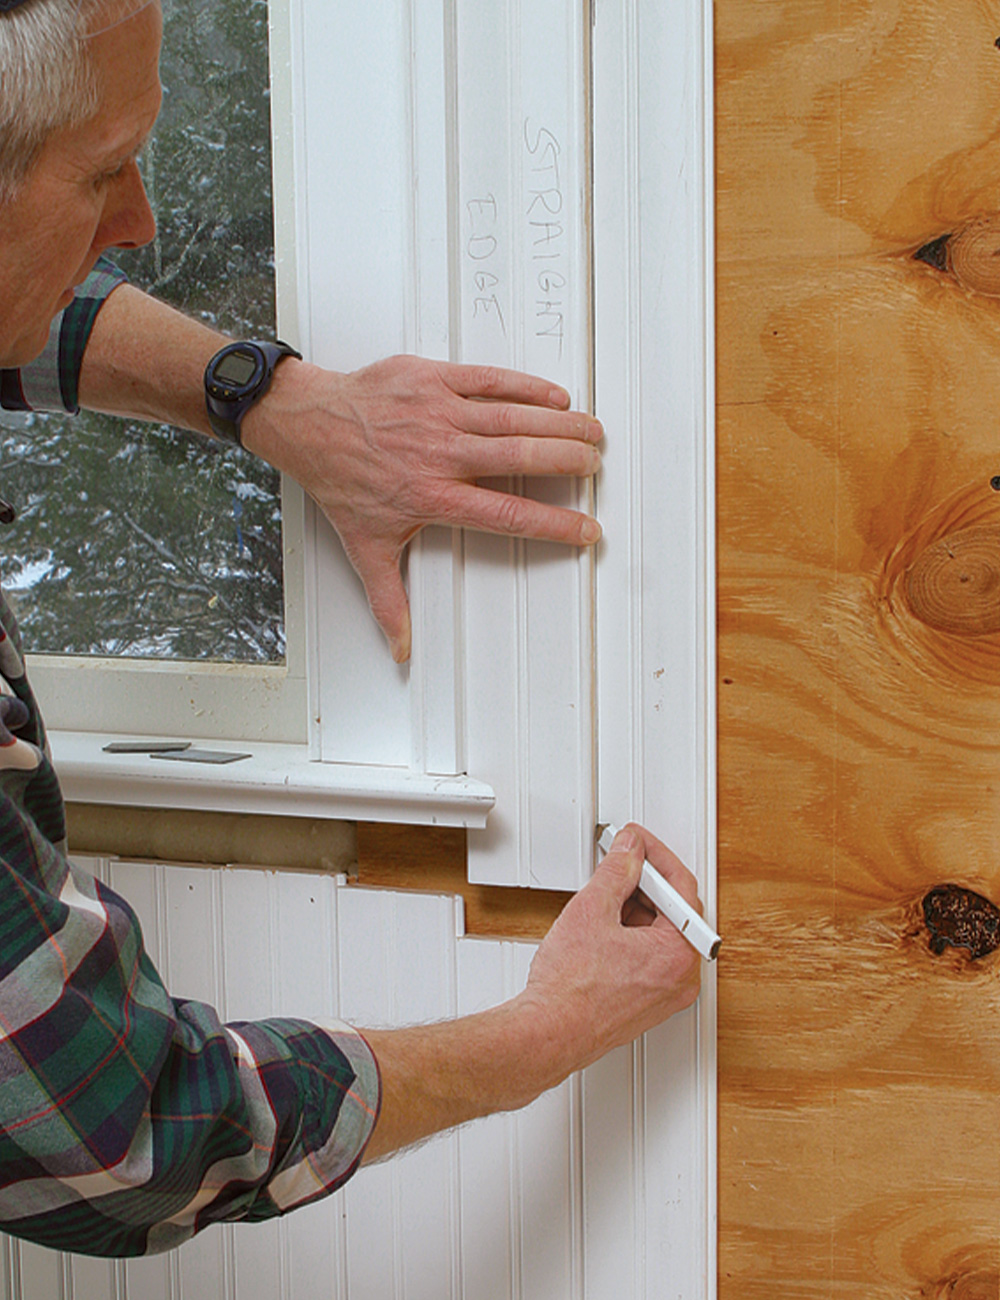
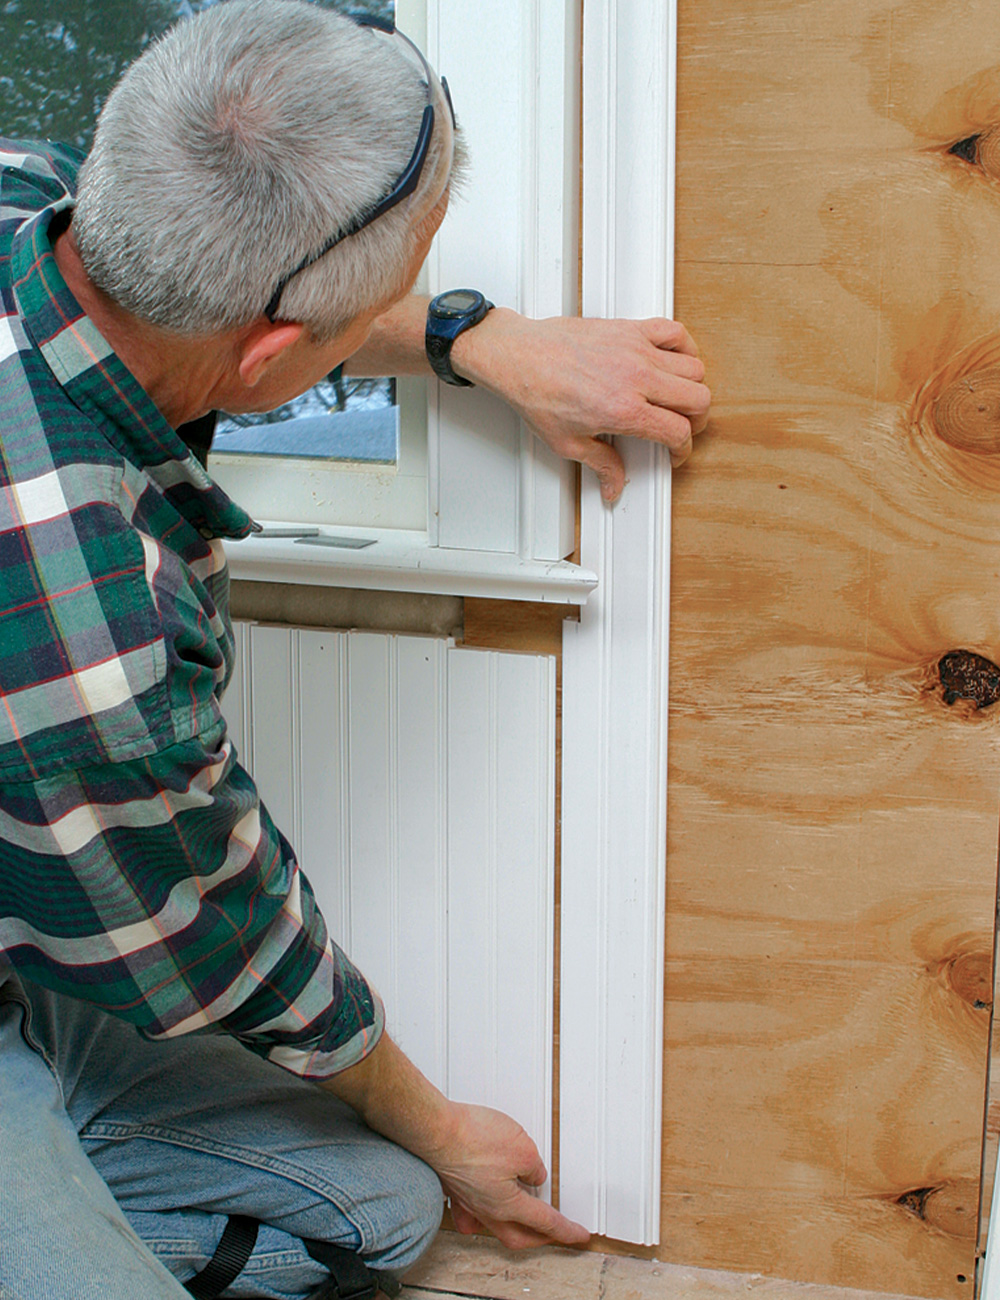
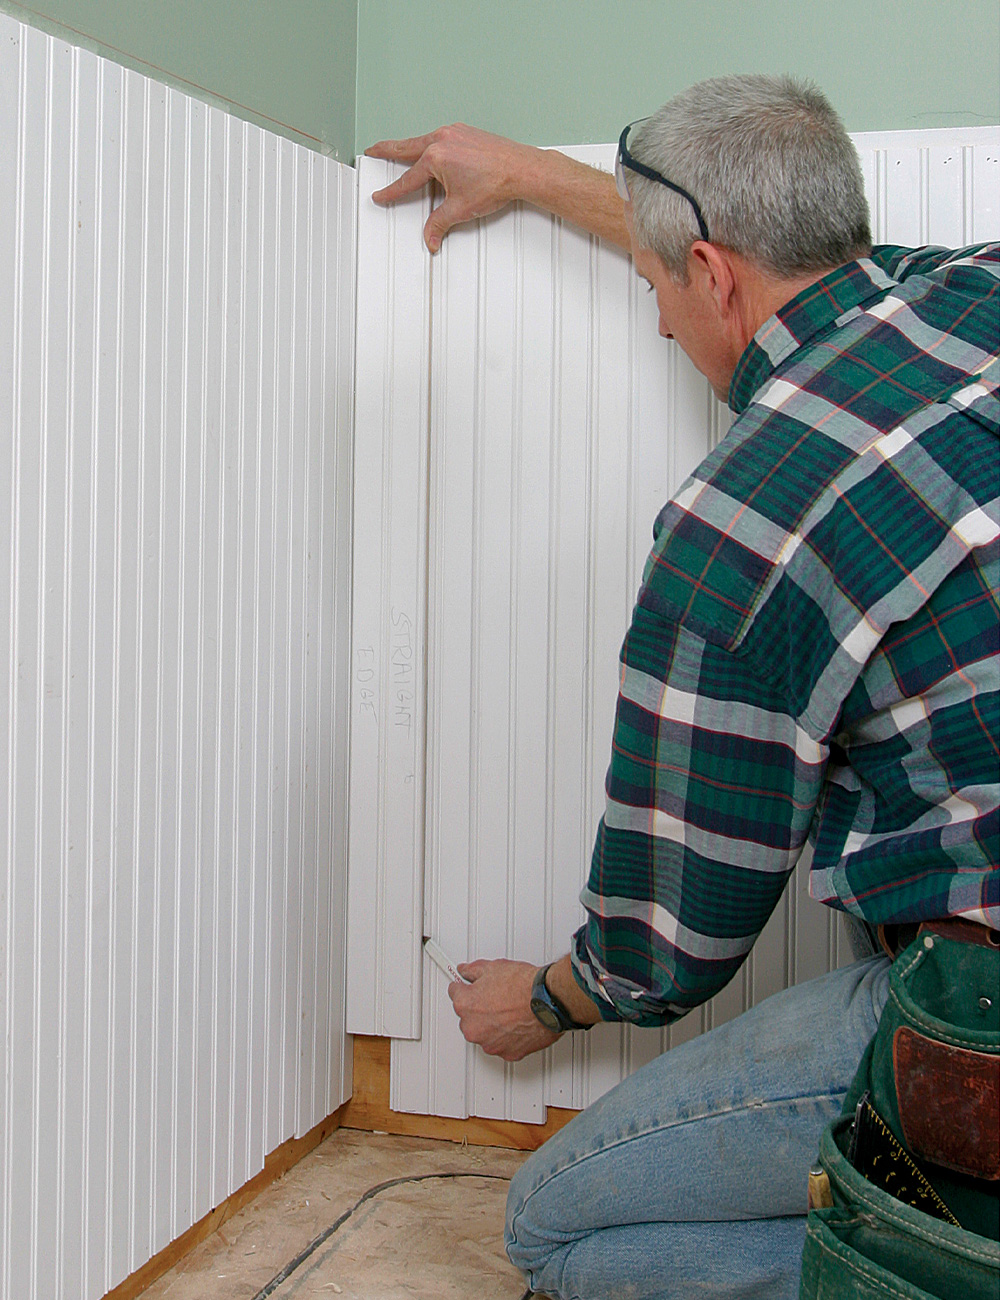
To get precise cutlines around window casing and other obstacles, I make a scribe guide by ripping the tongue off a length of beadboard. This gives me the exact finished width of a board. Each side of the window receives slightly different treatment depending on the direction I run the beadboard.
Approach side of the window
Exit side of the window
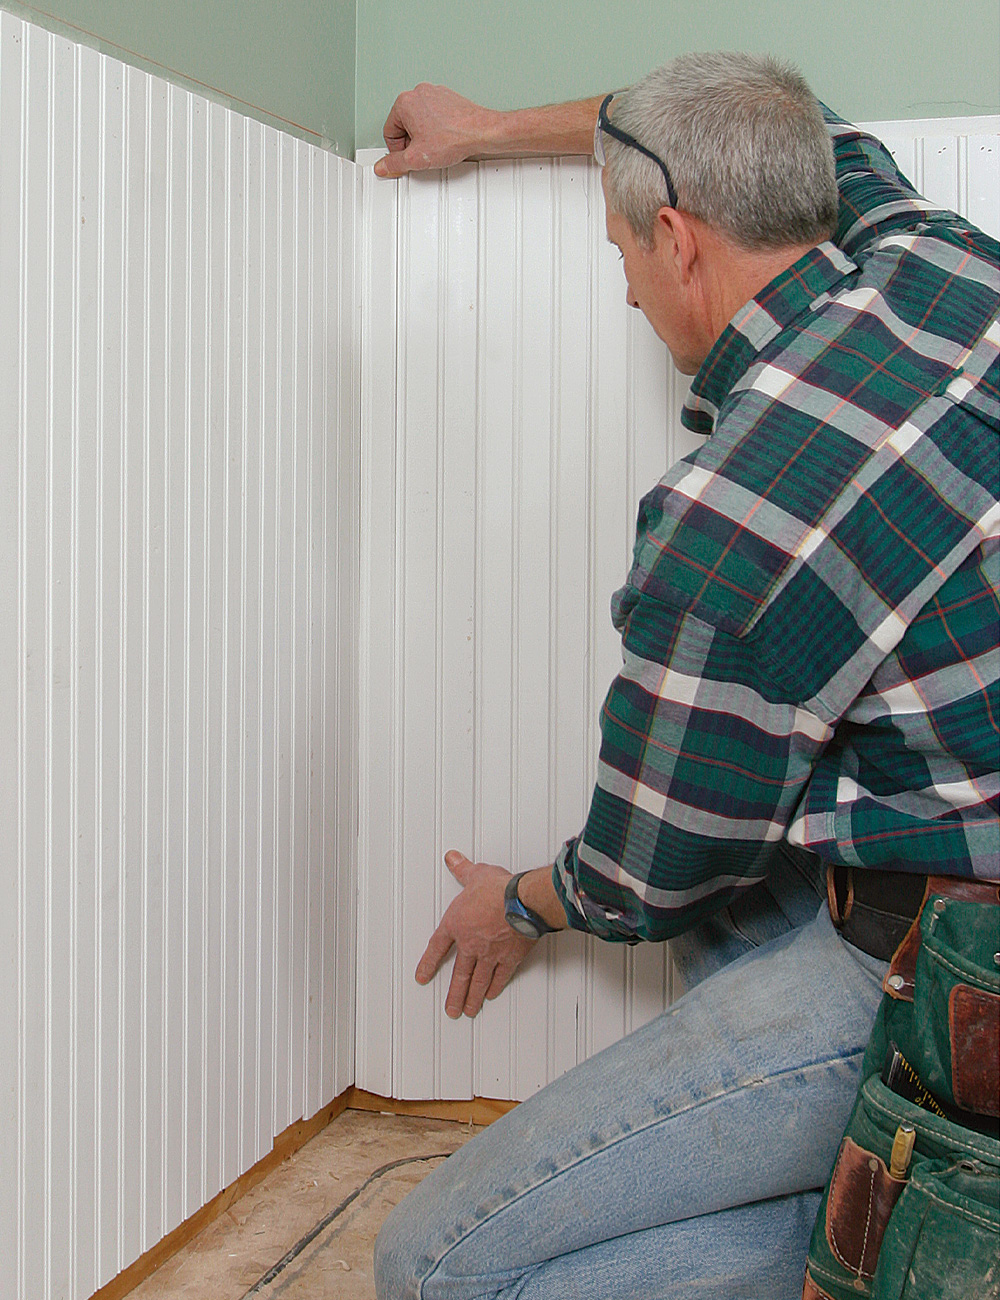
Folded finish in a corner
I don’t bother to fit the corner board precisely for the first wall because the edge is covered by the corner board from the other wall. To make sure that I don’t end up with a narrow sliver in the corner, I take a quick measurement of the wall. If need be, I start with a half-piece instead of a full board.
Other material choices for beadboard
Over the years, I have installed different types of beadboard. Some worked better in certain situations than others, and some I just should have avoided. A general rule of thumb is that the thinner the stock, the shallower the beaded profile. Shallower profiles fill with paint, and their shadowlines don’t look nearly as nice as deeper beads milled in thicker stock.
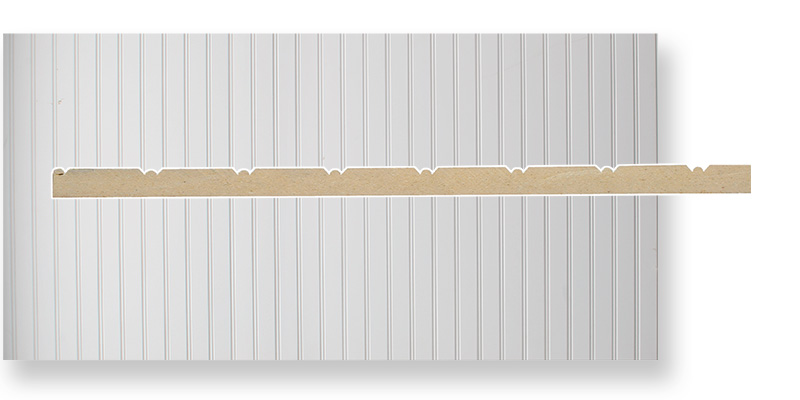
MDF sheetsMedium-density fiberboard (MDF) sheet-stock beadboard comes preprimed in 4-ft. widths. Take extra care to seal cut ends when installing it in moisture-prone areas such as bathrooms. |
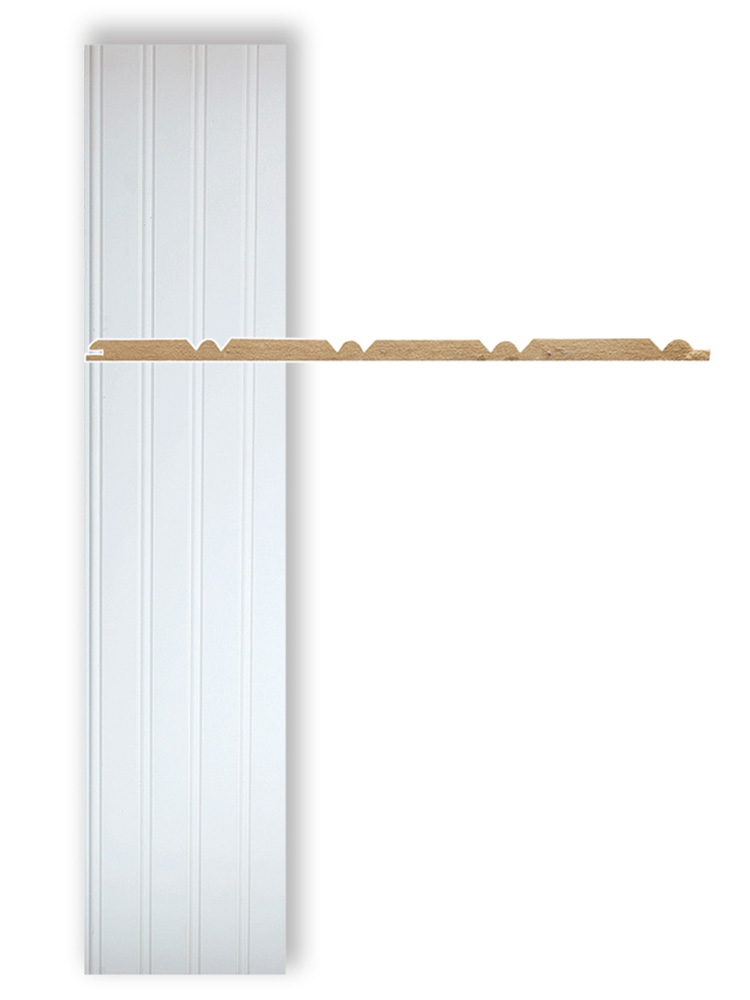
MDF planksPreprimed MDF planks are available in certain areas of the country and usually come either two beads or four beads wide. As with MDF sheet stock, I avoid using these planks in high-moisture areas, and I prime all cuts to keep the boards from absorbing moisture. |
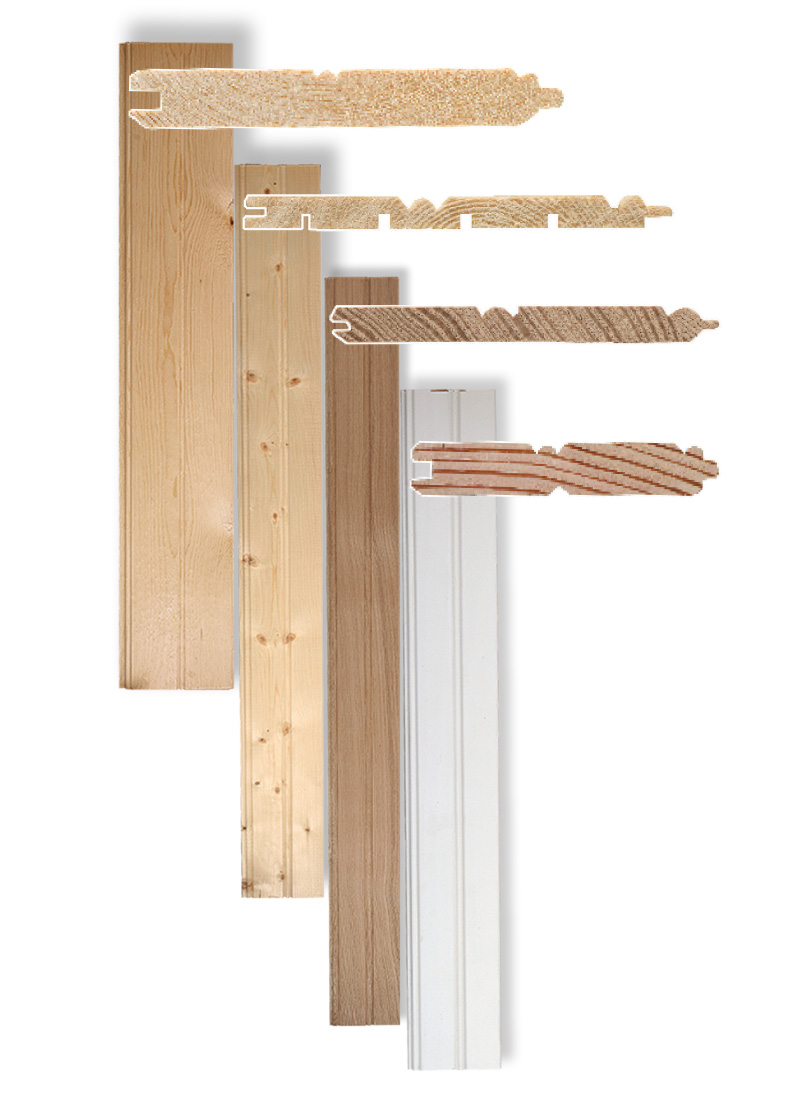
Wood planksBeadboard planks are available in different wood species. Typical thicknesses are 1⁄4 in., 1⁄2 in., or 3⁄4 in., with finished widths of 3 in. or 5 in. Planks come with a primed or natural finish. Solid wood shrinks and swells in response to humidity changes, and unfinished pine beadboard is the worst; it never seems to stop moving. To minimize moisture absorption and wood movement, I stain or paint the boards before I install them. |
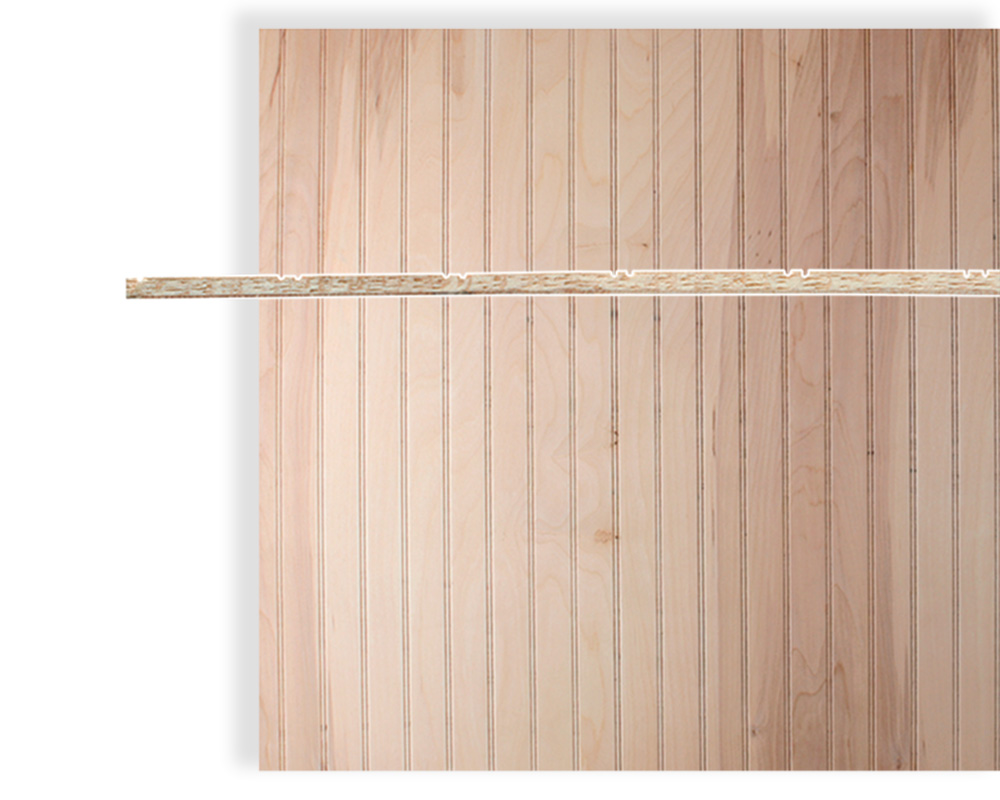
Plywood sheetsUsually 1 ⁄ 4 in. thick, 4-ft.-wide plywood beadboard can be stained or painted. However, I’ve seen it split along a grain line and across bead lines occasionally, so it should be handled with care. |
Fine Homebuilding contributing editor Rick Arnold lives and works in Wickford, R.I. Photos by Roe A. Osborn.
From FineHomebuilding #173

