Craftsman-Style Door Casing
Learn how to install Craftsman door trim, with its distinctive thicker head piece that overhangs the face and the outside edges of the side casings.

Craftsman door trim typically features a thicker head trim piece that overhangs the face and the outside edges of the side casings. Sometimes the head casing may run continuously, connecting with the head casings on the windows and forming a band that runs around the room.
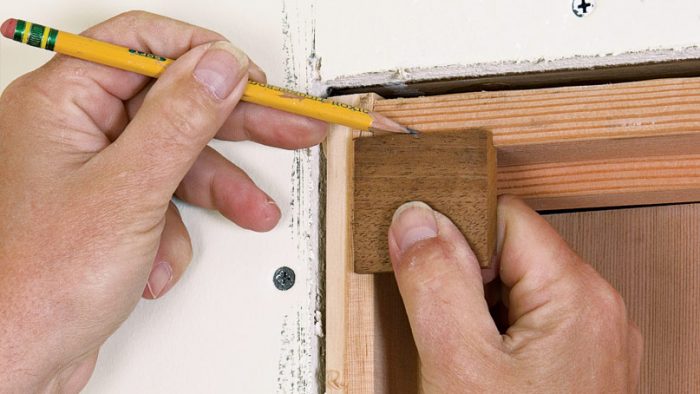
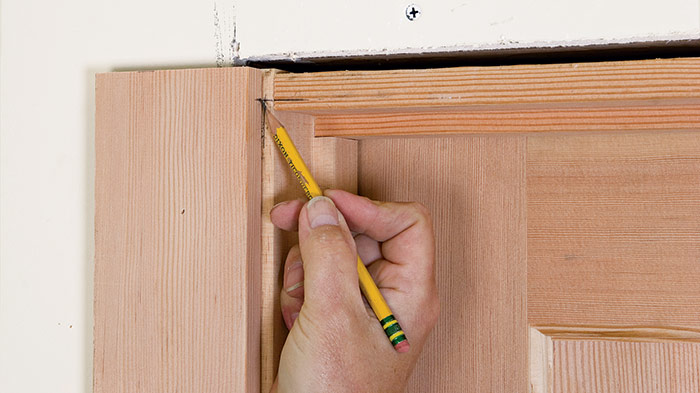
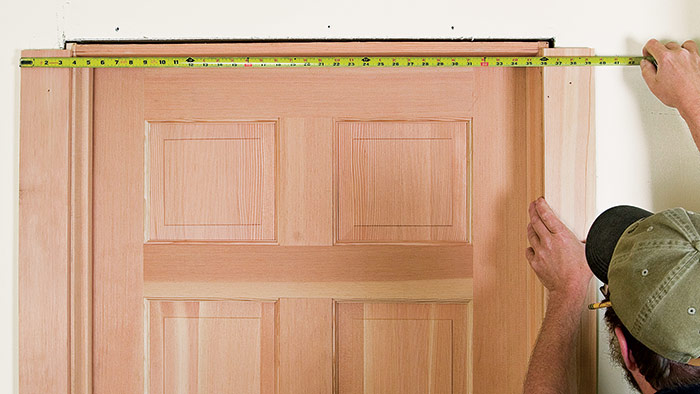
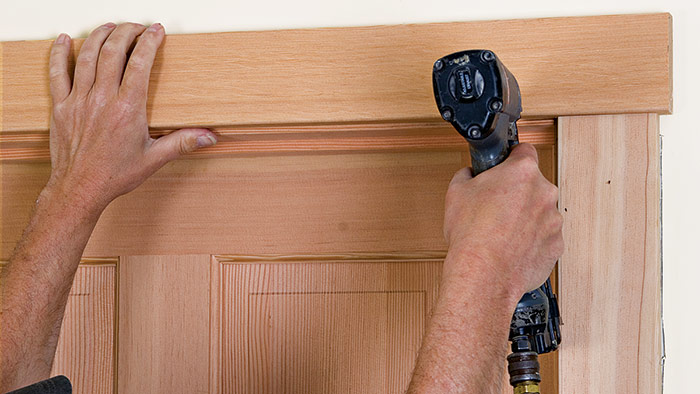
Start by marking the reveal lines on the jamb edges with a reveal gauge ❶. Select only the straightest stock for side casings, especially if the style calls for trim wider than 4 in. You’ll find that wider stock is difficult to straighten edge-wise as you nail it in place. Keeping the bottoms of the casings either tight to the hard finished floor or set onto a 1⁄2-in. spacer to allow for carpet, mark the side casings to length to the reveal marks on the head jamb ❷. Cut the casing legs to length and, while keeping the reveal spacing even, nail them in place ❸. Now determine the length of the head trim by measuring the distance between the outside edges of the casing legs and adding the combined overhang amounts ❹. After slightly sanding the edges, nail the head trim to the wall ❺.


Excerpted from Trim Complete: Expert advice from start to finish by Greg Kossow
Available in the Taunton Store and at Amazon.com.


