Installing Crown Molding around a Cathedral Ceiling
Learn how to make sure your crown molding will still match when it meets the corners of a vaulted ceiling.
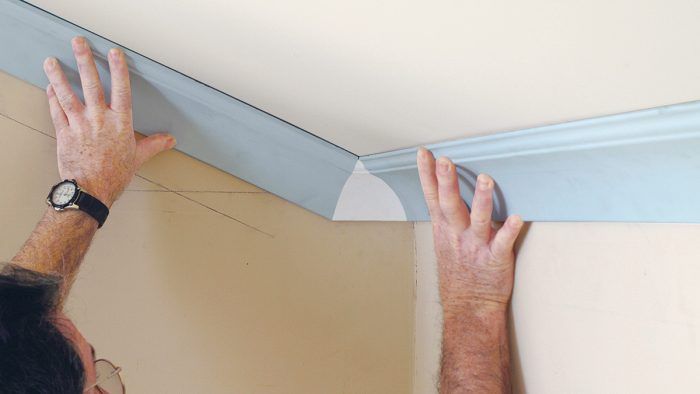
Synopsis: When crown molding runs up a vaulted ceiling, the profiles will not match when they meet at the corners. Learn how to prepare, cut, and install a transition piece to bring the two sides together seamlessly.
For years, whenever people asked me to install crown on a cathedral ceiling, I’d just shake my head and say, “No, that always looks dumb,” and hope they’d forget about it. The problem is that when crown goes from the horizontal run to the run up the rake of a vaulted ceiling, the intersecting faces don’t match perfectly at the corner.
A couple of years back, I ran into Joe Fusco, a veteran finish carpenter and cabinetmaker, at a trade show. Joe showed me a solution using two different-size moldings. A larger version on the horizontal run lets you maintain the same spring line up the rake. But the same crown profile isn’t always available in different sizes; and besides, the smaller crown on the rake looks a little funny to me.
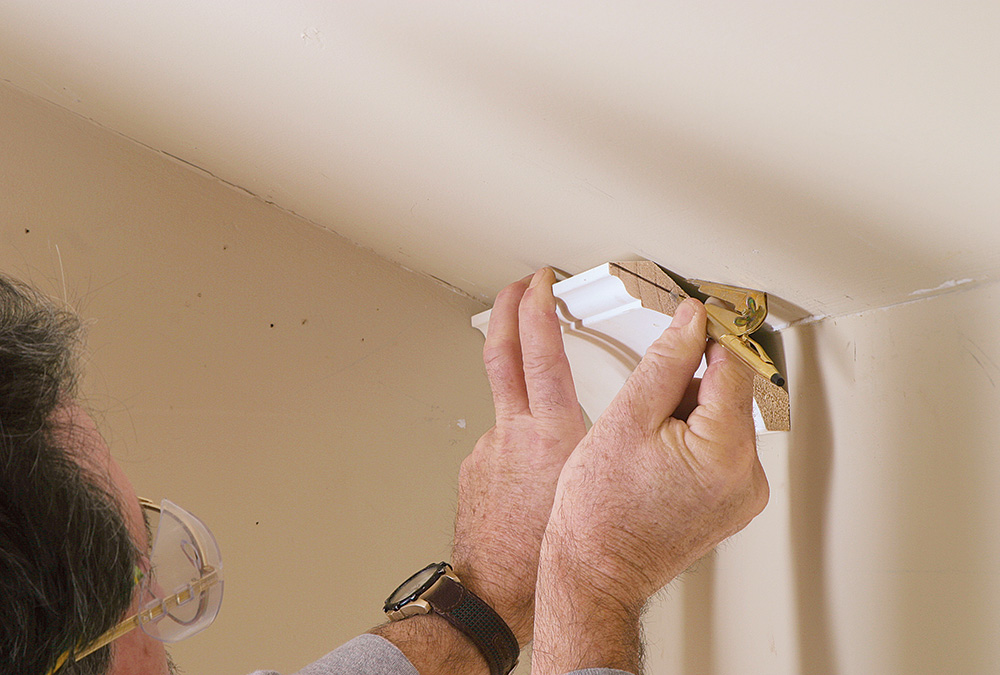
So I was intrigued earlier this year when another colleague of mine, Mike Sloggatt, told me about cutting a transition piece that lets him make the turn at a vaulted corner using the same-size molding. Despite this column’s title, I may not be a “master” carpenter, but I am a dogged one. So on my next job with a vaulted ceiling, I stayed in one corner until I figured it out.
Horizontal runs must be ripped
Crown molding is designed to work with a flat ceiling. So with a vaulted ceiling, horizontal runs of crown molding must be modified to fit against the slope of the ceiling.
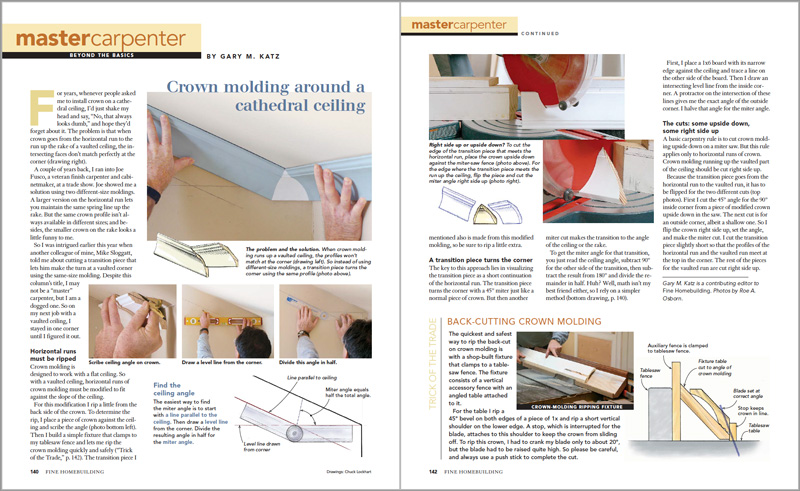
For this modification I rip a little from the back side of the crown. To determine the rip, I place a piece of crown against the ceiling and scribe the angle. Then I build a simple fixture that clamps to my tablesaw fence and lets me rip the crown molding quickly and safely. The transition piece I mentioned also is made from this modified molding, so be sure to rip a little extra.
A transition piece turns the corner
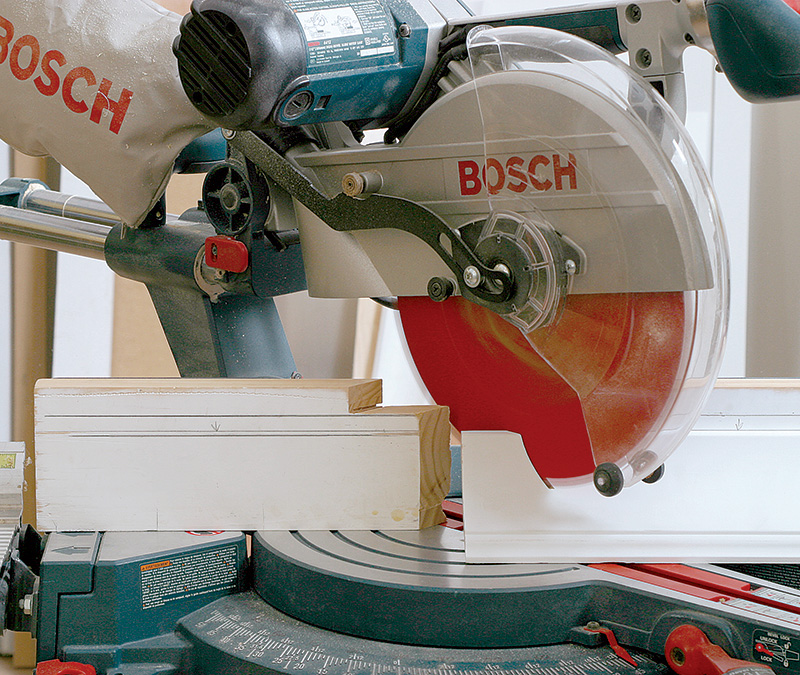
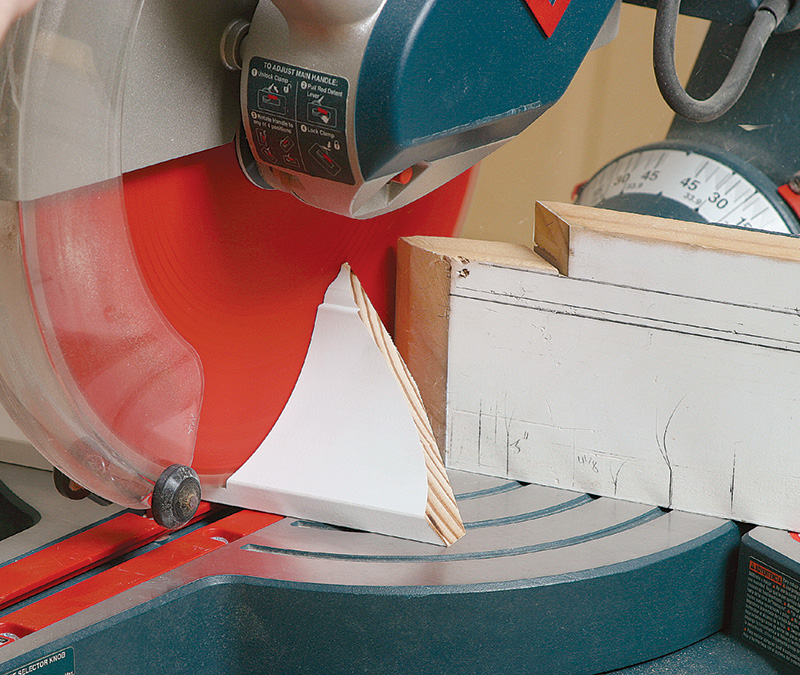
The key to this approach lies in visualizing the transition piece as a short continuation of the horizontal run. The transition piece turns the corner with a 45° miter just like a normal piece of crown. But then another miter cut makes the transition to the angle of the ceiling or the rake.
To get the miter angle for that transition, you just read the ceiling angle, subtract 90° for the other side of the transition, then subtract the result from 180° and divide the remainder in half. Huh? Well, math isn’t my best friend either, so I rely on a simpler method.
First, I place a 1×6 board with its narrow edge against the ceiling and trace a line on the other side of the board. Then I draw an intersecting level line from the inside corner. A protractor on the intersection of these lines gives me the exact angle of the outside corner. I halve that angle for the miter angle.
For more photos, drawings, and details, click the View PDF button below:

