Door Casing with Rosettes and Plinth Blocks
Learn how to install decorative blocks at the base and corners on traditional door trim.

The corner blocks and plinth blocks sometimes used in Victorian door casings add another decorative element and eliminate having to use miter joints at the molding intersections. This is a definite advantage when using the larger dimension moldings typically found in the Victorian style as it creates a joint that has less chance of opening up as the moldings go through their seasonal dimensional changes. The corner blocks are used at the casing intersections while the plinth blocks create a transition point between the standing moldings and the baseboard.
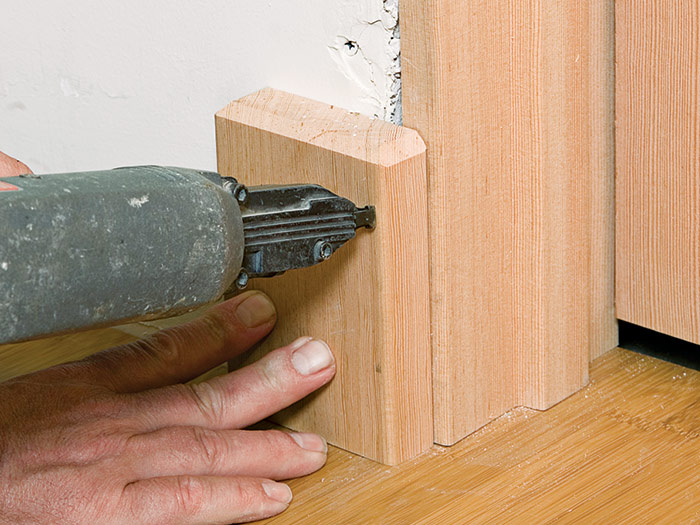
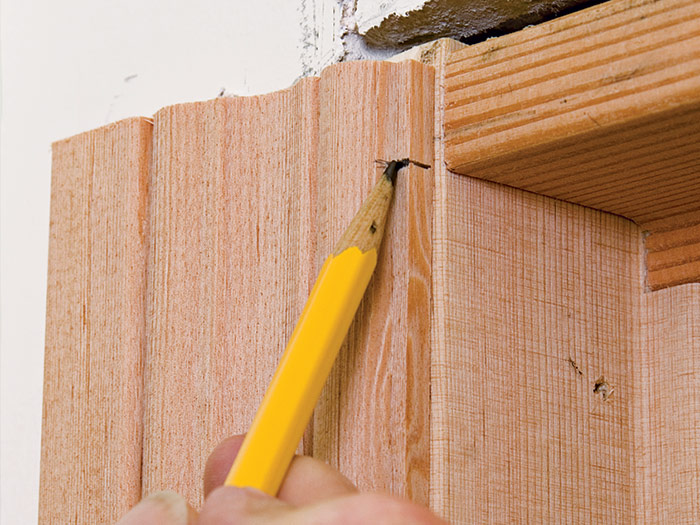
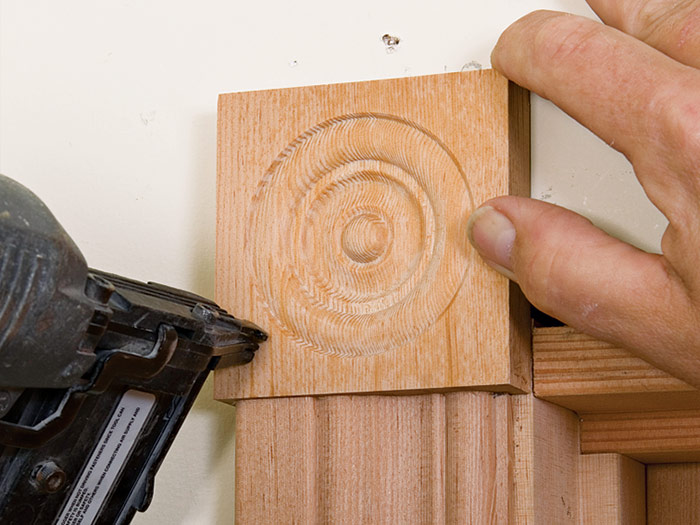
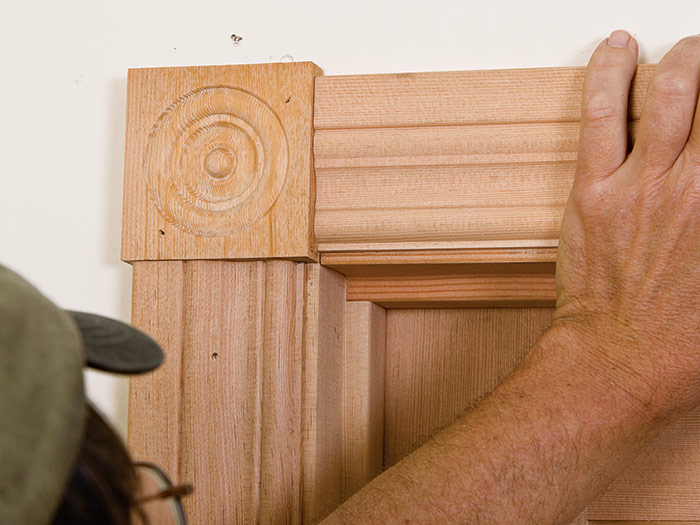
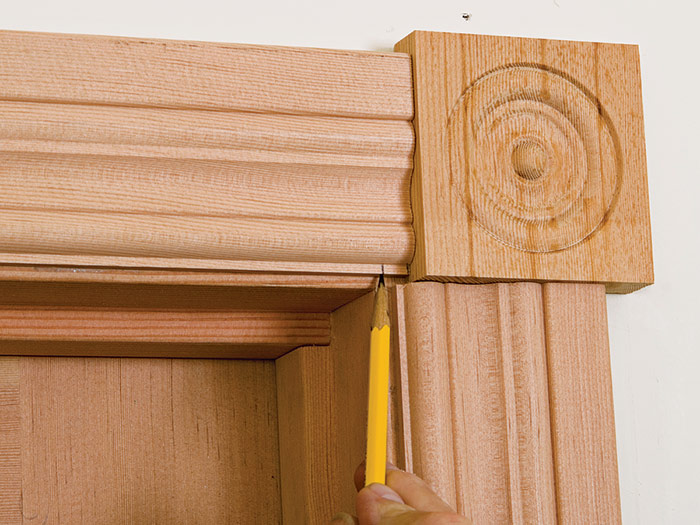
Use a reveal gauge to mark the reveals for the casings. Set the plinth blocks tight to the finished floor and nail them to the wall and jamb ❶. Cut the side casings slightly longer than required. If the joint to the plinth looks good (trim if necessary), hold the casing in place and mark for length at the bottom of the head jamb ❷. Cut the casing to length and nail it in place to the reveal marks ❸. Apply construction adhesive to the back of the first rosette and nail it in position even with the inside edges of the jambs ❹. Cut a piece of trim slightly longer than required for the top casing and check the fit of the joint while aligned to the reveal marks and butted to the installed rosette ❺. Trim this joint to fit if necessary. Now holding the casing on its reveal marks and butted to the installed rosette, mark it to length while checking the fit of the joint at the second rosette setting on top of the casing ❻. After fitting the joint and cutting the piece to length, nail the casing and rosette in place applying construction adhesive to the back of the second rosette ❼.


Excerpted from Trim Complete: Expert advice from start to finish by Greg Kossow
Available in the Taunton Store and at Amazon.com.


