How to Install Built-up Crown Molding
Use these time-tested design principles and basic carpentry techniques to create beautiful layered crown and cornice trim details that will dress up any room in your house.
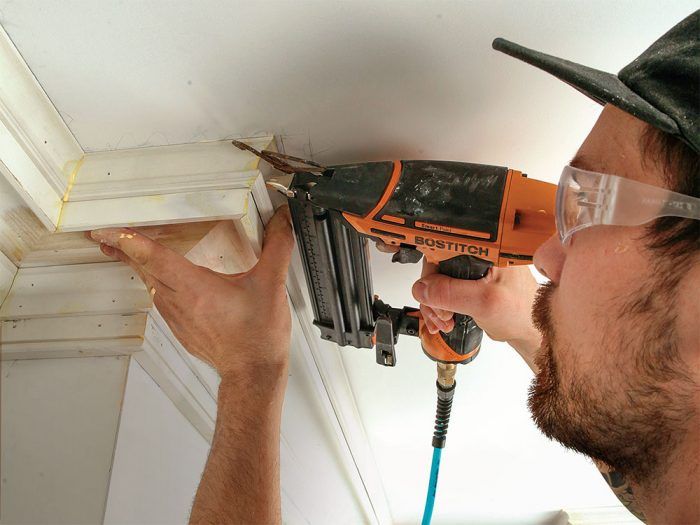
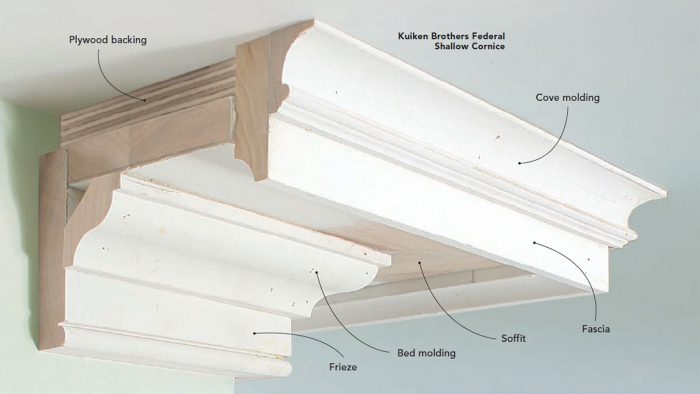
Synopsis: Built-up molding assemblies may seem complex to install, but as remodeler Tyler Grace describes, the work is really just layering molding profiles using simple carpentry. With the example of a shallow cornice molding he installed in a small bathroom, Grace walks through the steps of installing the frieze, soffit, bed molding, fascia, and cove molding, and gives solutions for wavy walls and ceilings. The article includes an explanation of proper architectural profiling with examples of molding designs, as well as tips and techniques for installing a layered buildup.
At first glance, installing a built-up cornice or crown molding assembly may seem complex or daunting for even the most experienced carpenters. Whether it’s the layers of profiles, blocking, copes, miters, angles, or existing conditions, you are contending with a lot of variables during planning and installation. The fact of the matter is that when you break down the assembly, it’s all just basic carpentry. The most difficult aspect of the entire job may very well be nailing the proportions (pun intended) and properly layering the profiles. Once you inventory the space, locate your pinch points, and determine the layout, you’re basically just circling the room one molding profile at a time. Often, at least some of the layers of the buildup can be downright simple. For example, several of the layers used here are installed on reference lines snapped on just the wall or the ceiling.
Before touching a saw, take a look at the room, assess what’s there and what’s going to be there, and figure out what’s going to be a problem. Will the molding bump into window or door casing? Will it overlap a can light? In this bathroom, a bath fan near the end of a narrow corridor to a walk-in shower was a potential pinch point. We had to ensure that the buildup wouldn’t bump into the fan and that the fan was dead center in the space—otherwise the molding would highlight the asymmetry.
This may be obvious, but is worth noting: As you add layers to built-up moldings, the lengths change. Where you may start with, say, 10 ft. between inside corners, the length will shrink as you add layers to the buildup. Likewise, the lengths between outside corners will grow as you add layers.
Architectural profiling
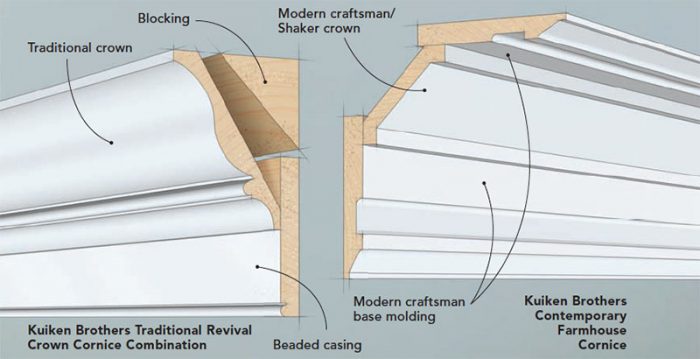
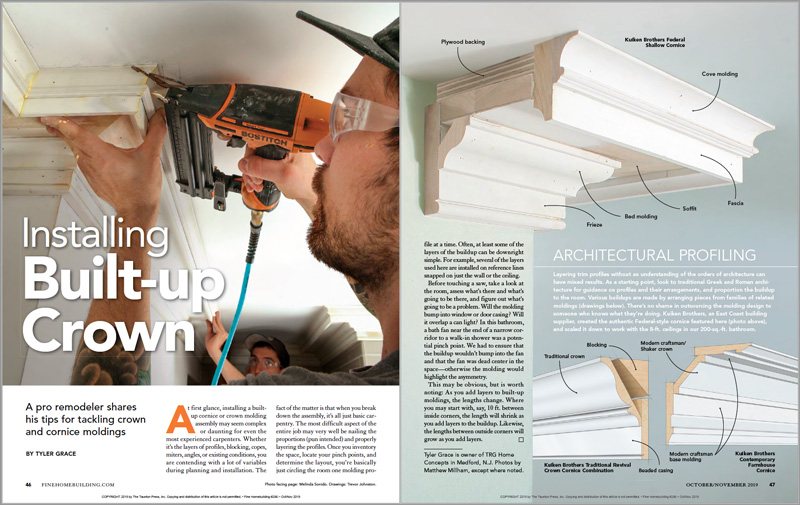
Layering trim profiles without an understanding of the orders of architecture can have mixed results. As a starting point, look to traditional Greek and Roman architecture for guidance on profiles and their arrangements, and proportion the buildup to the room. Various buildups are made by arranging pieces from families of related moldings. There’s no shame in outsourcing the molding design to someone who knows what they’re doing. Kuiken Brothers, an East Coast building supplier, created the authentic Federal-style cornice featured here, and scaled it down to work with the 8-ft. ceilings in our 200-sq.-ft. bathroom.
Part 1: The frieze
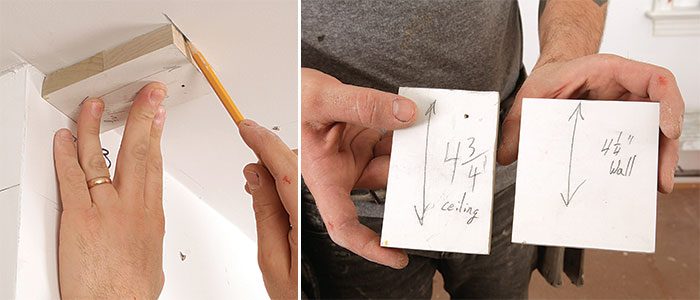
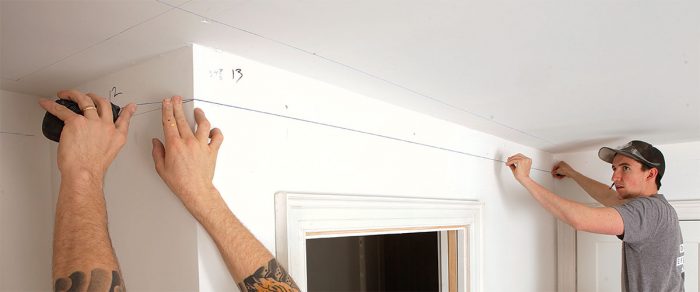
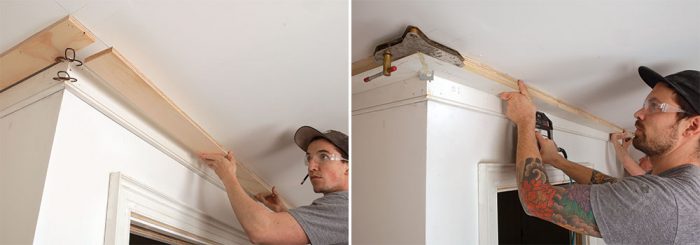
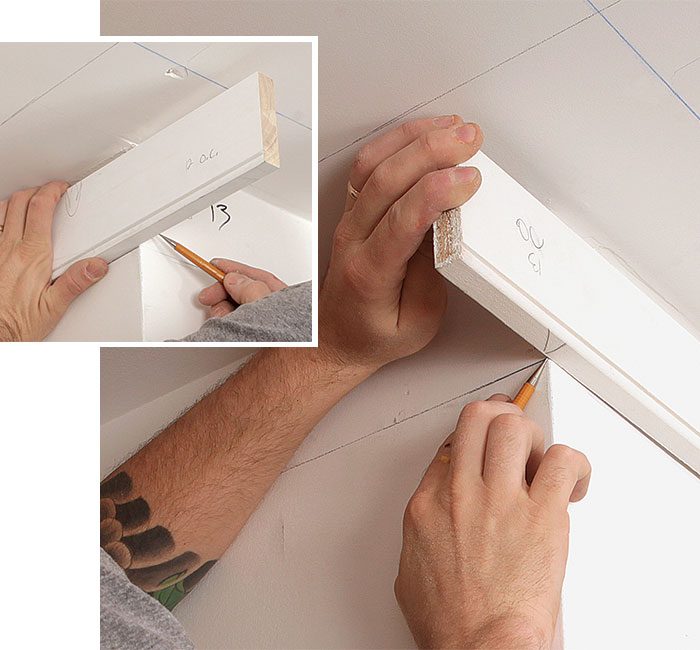
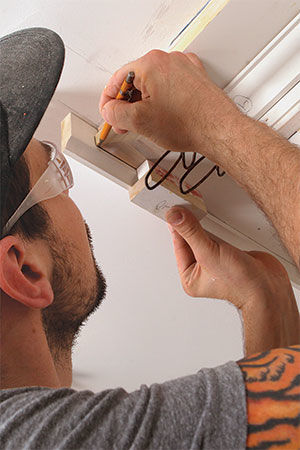
Lines snapped on the ceiling and walls help keep everything on track. Use gauge blocks to set reference marks at every corner, but don’t mark in between corners. Instead, connect the points between corners. This way, you can establish straight lines even if the walls or ceiling are wavy. The bottom of the frieze aligns with the lines on the walls; the lines on the ceiling represent the front of the blocking for the soffit and fascia.
Part 2: The soffit
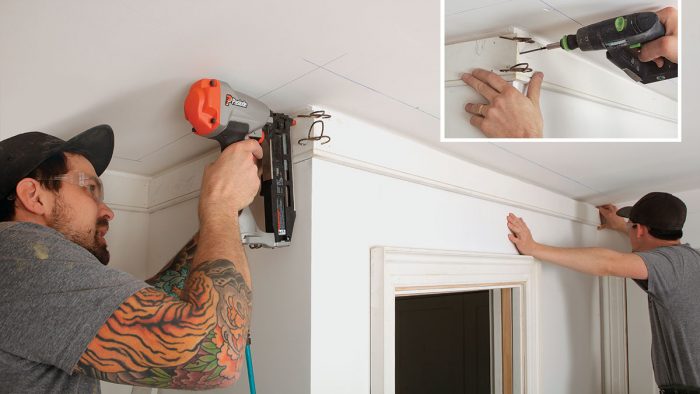
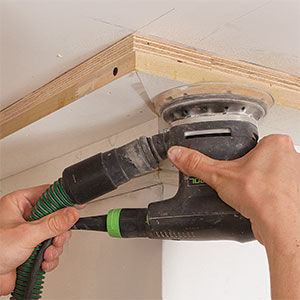
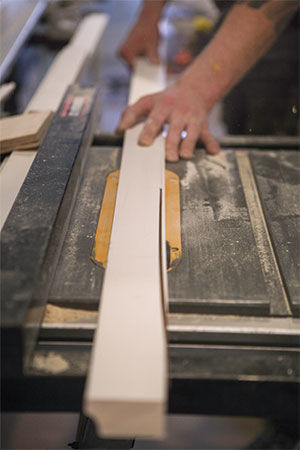
Just as with standard crown, backing and blocking are important elements for a solid installation. If you’re able to open up the ceiling, install blocking between joists so you have something solid to nail to on runs parallel to the joists. In the buildup itself, backing fills voids between molding elements and the substrate for a more robust assembly. Moldings that run perpendicular to floor or ceiling joists can usually be fastened to those framing members. Additional backing or blocking is required for some, but not all, buildups on walls parallel to framing.
Part 3: The bed molding
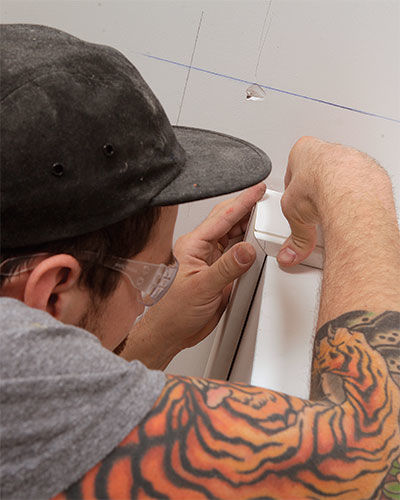
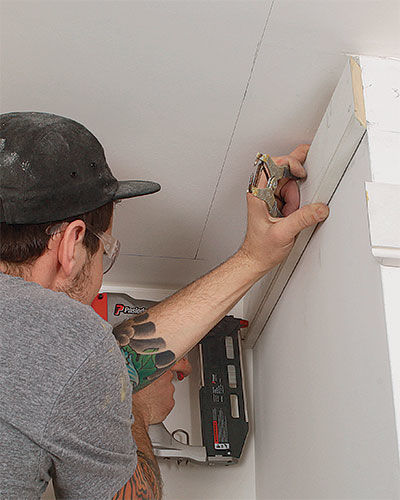
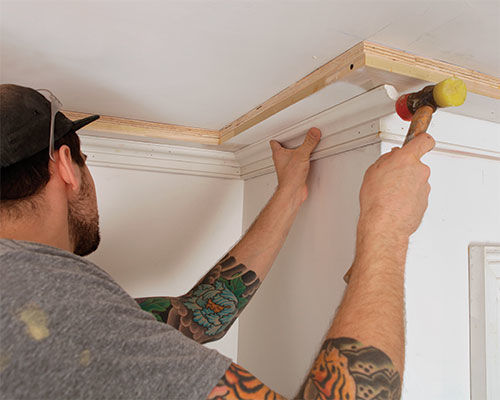
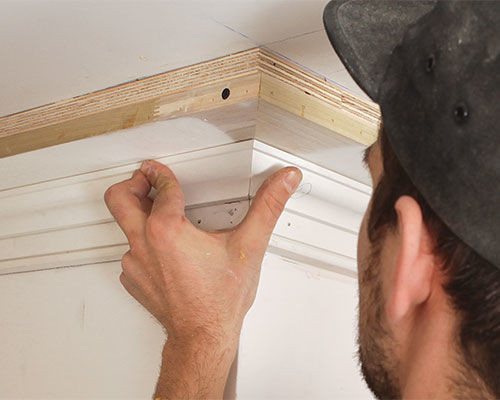
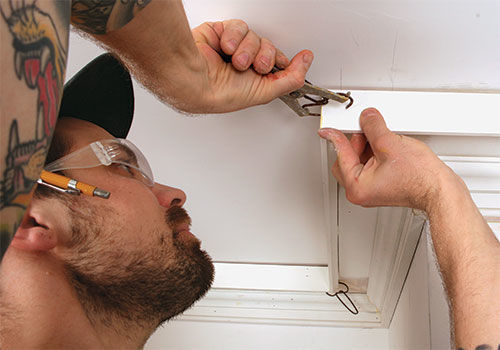
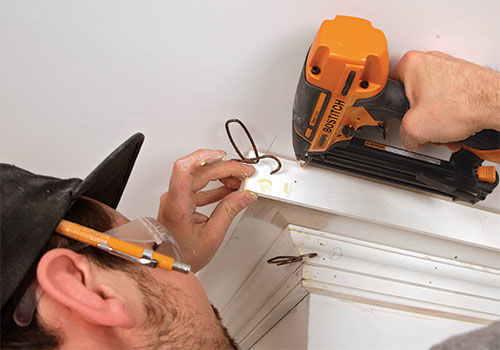
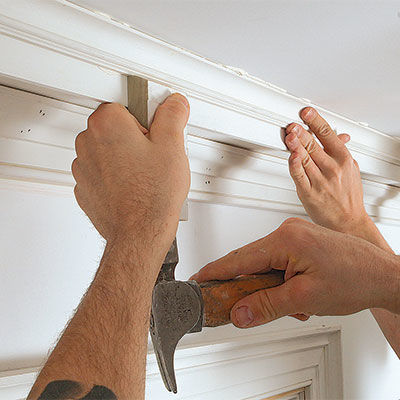
Things can get tricky when layers bridge the wall and ceiling planes. If there are irregularities in either surface, you may be tempted to split the difference—don’t. Keep reveals between moldings consistent on the wall plane. Here, for instance, the eye will more easily pick up if the bed molding is out of parallel with the frieze than with the back of the fascia. Fasten every 12 in. with pairs of 1 1/2-in. 18-ga. finish nails through the meatier parts of the molding and into the soffit and frieze.

Part 4: The fascia
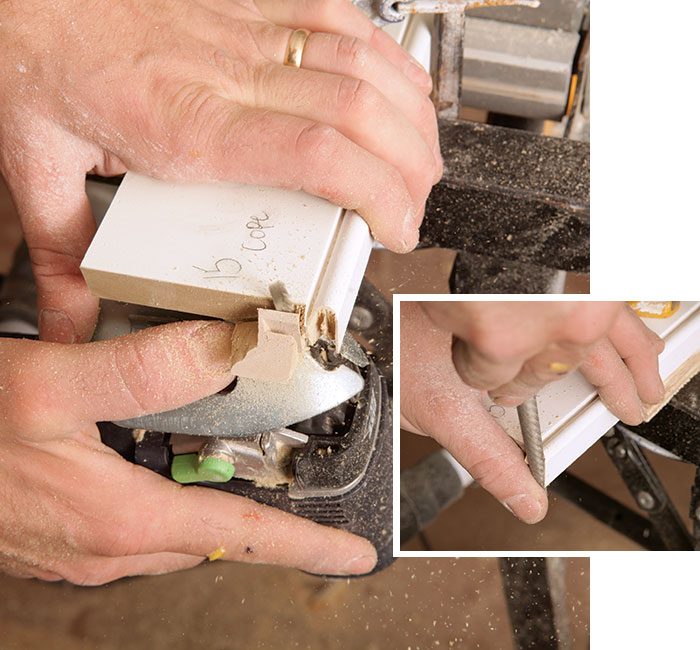
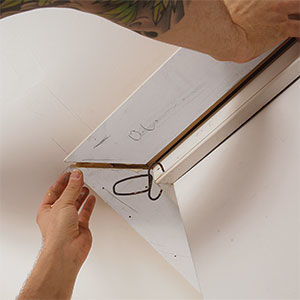
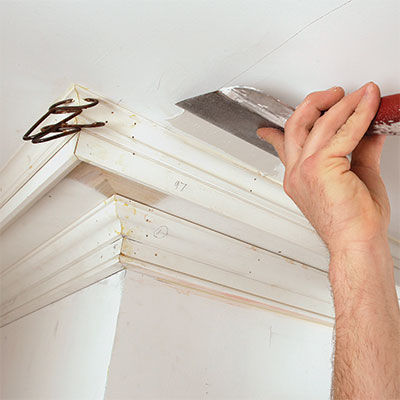
When joints are going to get buried behind other moldings, don’t waste time getting them perfect.
Part 5: The cove molding

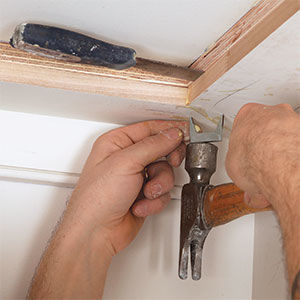
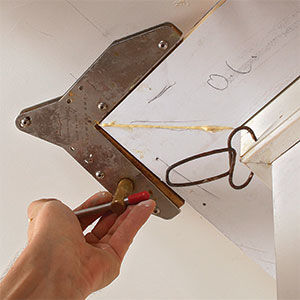
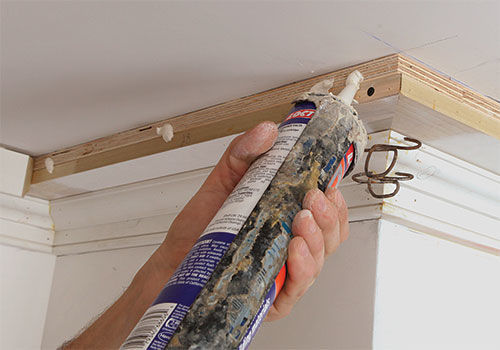
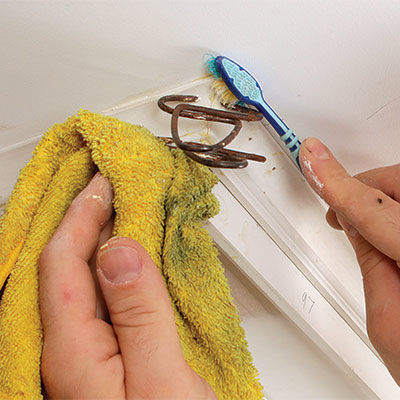
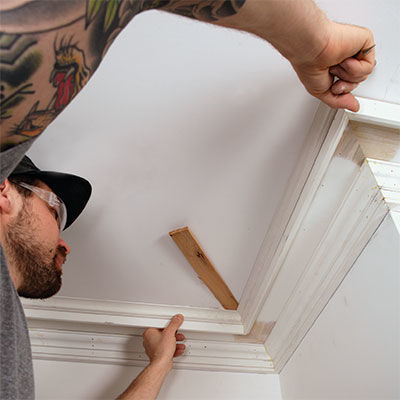
The procedure for installing the cove is similar to the bed molding. At this step, though, I add dabs of PL glue at the joint between the ceiling and fascia to bond the cove to both. Rather than rehash more of the same, here are some additional tips that can work just as well with some, if not all, of the preceding layers.
To view the entire article, please click the View PDF button below.
More about crown molding:
How to Cut Crown Molding – Follow a few basic techniques and there should be no guesswork involved in cutting crown.
Video Series: Installing Built-up Crown Molding – An impressive crown molding profile, or cornice, is an easy way to add defining character to a room. Combine profiles into a stacked profile for a big impact.



View Comments
Great article, and very well shown and explained. There are way to many people installing cornice es that have 0 idea of the architectural standards used. That may be why I cringe when I see some of the stuff being presented on some sites and on job photos. I spent at least 25 years of my career installing and making high end trim and I love to see it done right.