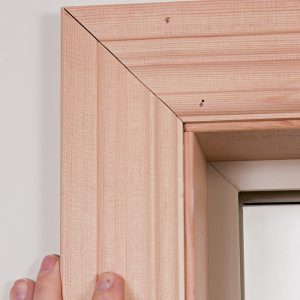
Making Mitered Window Casing
Contractor Greg Kossow shares a fast and foolproof method for creating mitered casing.
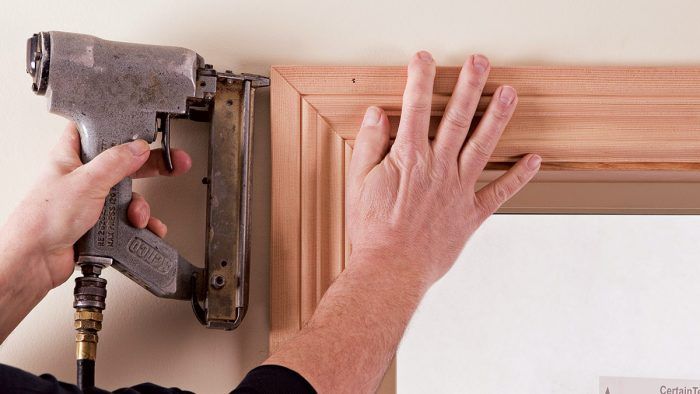
Though there are many strategies for creating mitered casing, I find that the method shown here tends to be faster and more accurate and error-free than most. It takes advantage of the precision cutting action of the miter-trimmer and the chopsaw to allow you to shave the casings to final fit quickly and precisely. Because the miter trimmer is easily portable, you can bring it right next to the window you’re working on, saving time and effort when fitting joints.
A tape measure is useful to determine rough lengths of the individual casings (I pre-cut all the casings for each window adding 1 ⁄ 8 in. to the overall length for trimming the joints to fit)—but the most accurate and efficient way to get the final fit is to mark the pieces in place after you’ve fit the first joint. You’ll fit the joint on one end of each casing to the previous one, then mark the piece to length using the opposite reveal mark.
While preassembling mitered window casings speeds up the installation process, it’s only appropriate when all the jambs are flush to the wall surface. Otherwise, if you have to adjust the casings to fit around either a protruding jamb or wall, the joints may open up as you work on it.
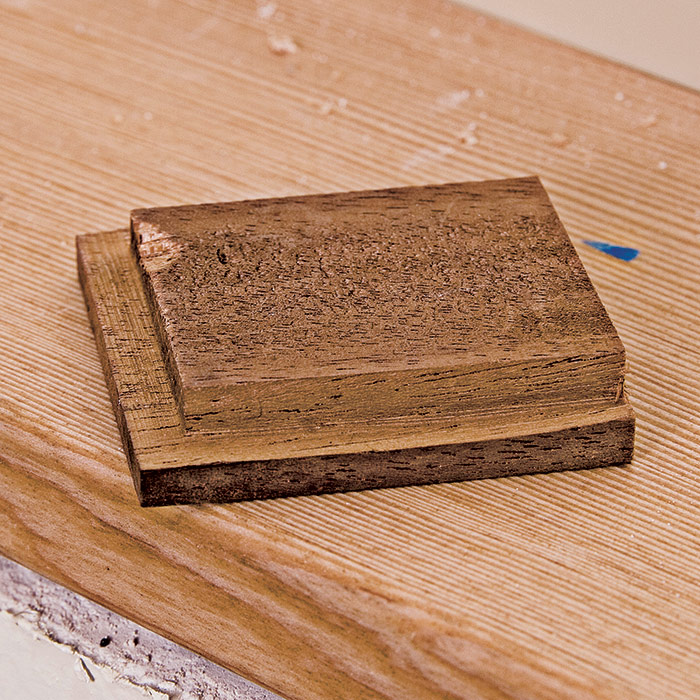
Begin by marking the reveals on the jambs by tracing around a reveal gauge at each corner ❶. Now measure between the reveal marks, add about 1 ⁄ 8 in., and then pre-cut miters on one or both ends of each of the casing pieces to create a trim “package” for that window. If you have other windows to do, for the sake of efficiency go ahead and make packages for them now as well.
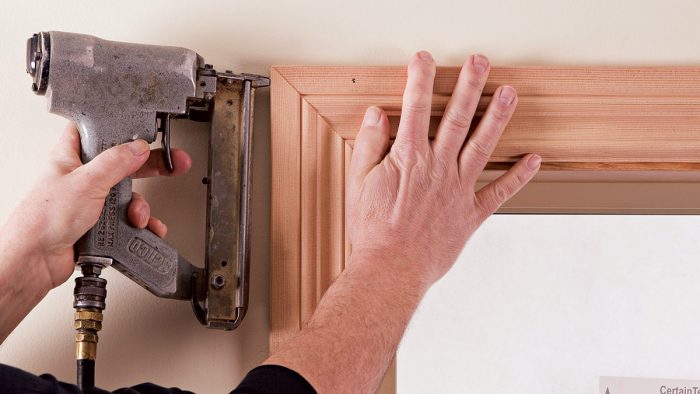
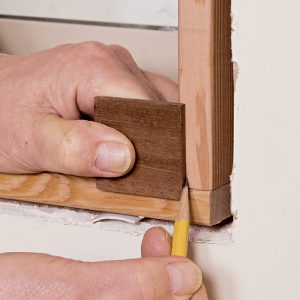
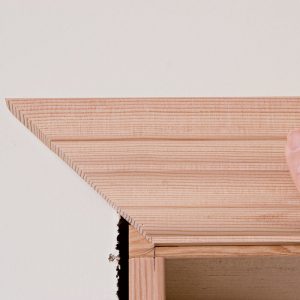
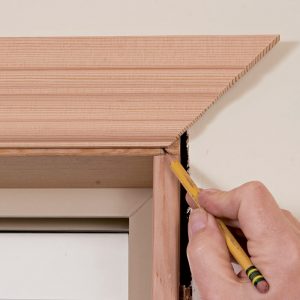
Hold the inside corner of the first piece of casing on the corner mark of the first miter ❷ and mark the other inside corner for length ❸. Cut this piece to length and nail it in place. Line the next piece up on the reveal marks and check the fit of the joint ❹. Trim if necessary.
Line up the piece again and mark the next inside corner for length and cut the miter. Brush a thin coat of glue on the joint and nail the casing permanently in place to prevent the miters from opening up as you work your way around the window ❺. Repeat this process for the third piece. If the walls and jambs aren’t flush, you may need to make adjustments to get a tight-fitting joint.
The last piece is the most challenging to install, as you need to fit a miter precisely on both ends. Begin by fitting the miter at the third corner while allowing the other end to overlap the casing at the final corner. Be sure to keep the overlap even with the corner of the first installed piece as you check and correct the fit with the trimmer. Now repeat this at the final corner, letting the casing overlap the third as you check the fit. When the final corner fits, keep the same angle set on the trimmer or chopsaw and slowly shave back the last miter until the piece slips perfectly into place.
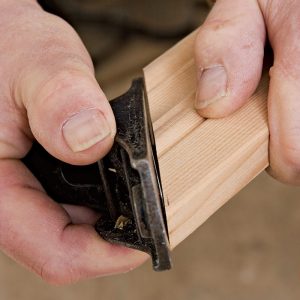
THREE WAYS TO TRIM MITERS
 |
 |
 |
Excerpted from Trim Complete: Expert advice from start to finish by Greg Kossow
Available in the Taunton Store and at Amazon.com.

