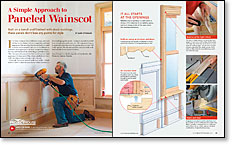
Installing Crown Molding above Paneled Wainscot
In this final episode of a series on paneled wainscot, watch how to install large crown moldings to dress up a paneled room.
In this Project House video series, Justin Fink visits Arkansas, where longtime finish carpenter Gary Striegler teaches his simplified technique for building and installing paneled wainscot. Although Gary has done wainscot many ways, this is one of his favorite approaches because it’s fast but doesn’t sacrifice appearance for speed. The heart of the approach is using a pocket-screw-joined frame assembled on a workbench or sawhorses, which is then finished with a piece of plywood attached to the backside and panel molding attached to the front. Then, the wainscot is installed in prebuilt sections.
Episode 4: Installing Crown Molding
The final step of this project is installing some large crown molding to dress up the top half of the room. Installing crown molding starts by determining the “drop” of the molding, installing nailers, and then piecing together the runs with tight joints in the corners.
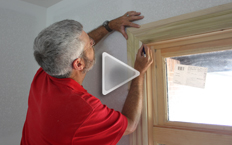 |
Episode 1: Windows, Doors, and Backband Molding
Whether new house or remodel, wainscot always starts the same: trimming windows and doors. |
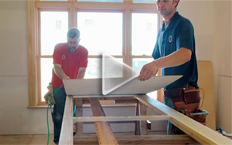 |
Episode 2: Sizing and Assembling Wainscot Panels
Plan the wainscot panels on the wall, but build them on the bench |
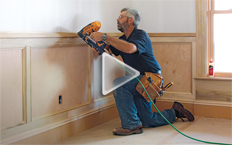 |
Episode 3: Wainscot Cap and Two-Piece Baseboard Molding
With the panels in place, it’s just a matter of adding molding to finish the job |
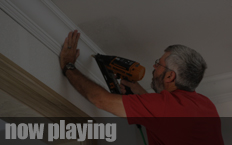 |
Episode 4: Installing Crown Molding
No wainscot job is complete without a run of crown molding above to visually anchor the whole installation |

